
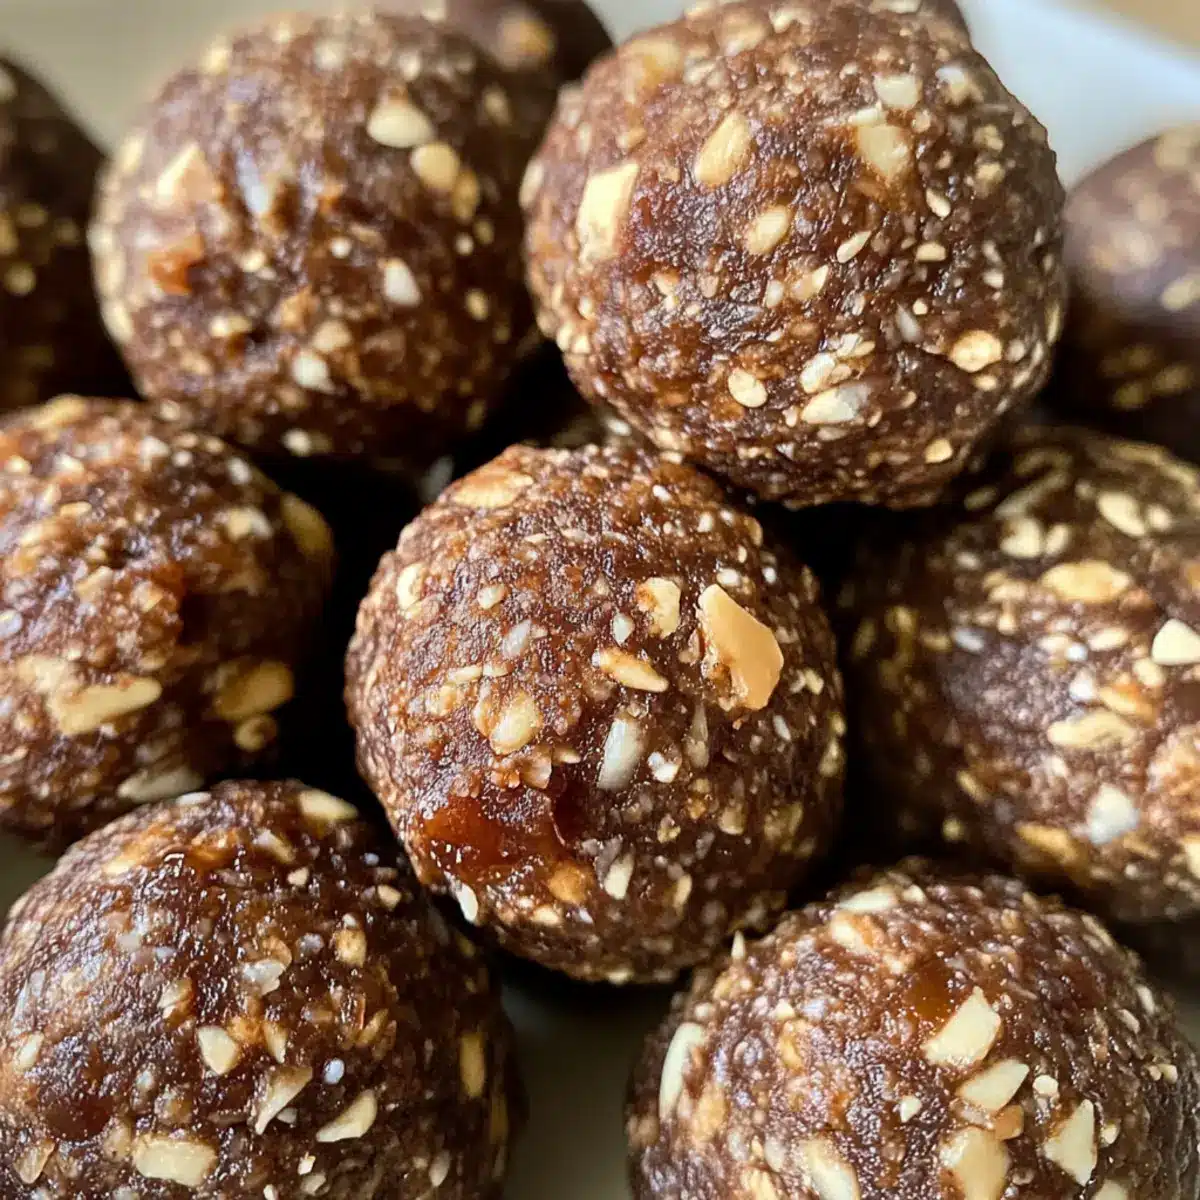
As I rummaged through my pantry one afternoon, a lightbulb moment struck—the sweet, chewy medjool dates I’d been saving for a special occasion were begging to be transformed into something delightful. Enter the Date Protein Balls: these little gems are not only incredibly easy to whip up, but they also serve as nutritious energy bites that help fuel your day. With zero baking required, this recipe is perfect for those moments when you’re short on time but crave a wholesome snack. You can customize them however you like, making them nut-free or even protein powder-free, ensuring everyone can enjoy a bite. So why not join me in embracing a healthy alternative to fast food? What flavor combo are you eager to try first?
Why are Date Protein Balls irresistible?
Flavorful Fusion: The blend of sweet dates and nut butter brings a depth of flavor that satisfies your cravings.
Energy Boost: Packed with nutrients, these bites are designed to keep you energized throughout your busy day.
Customizable Joy: Feeling adventurous? You can easily mix and match ingredients, tailoring these treats to your dietary needs—try them nut-free or without protein powder!
Quick & Easy: With no baking required, you can whip up a batch in just minutes, making them perfect for last-minute snacks or meal prep.
Crowd-Pleasing Snack: Whether it’s for yourself, kids, or guests, these date protein balls are a hit for everyone looking to kick the fast food habit. Try pairing them with a refreshing smoothie, or check out our Turkey Meatballs Cranberry for more healthy snack ideas!
Date Protein Balls Ingredients
For the Base
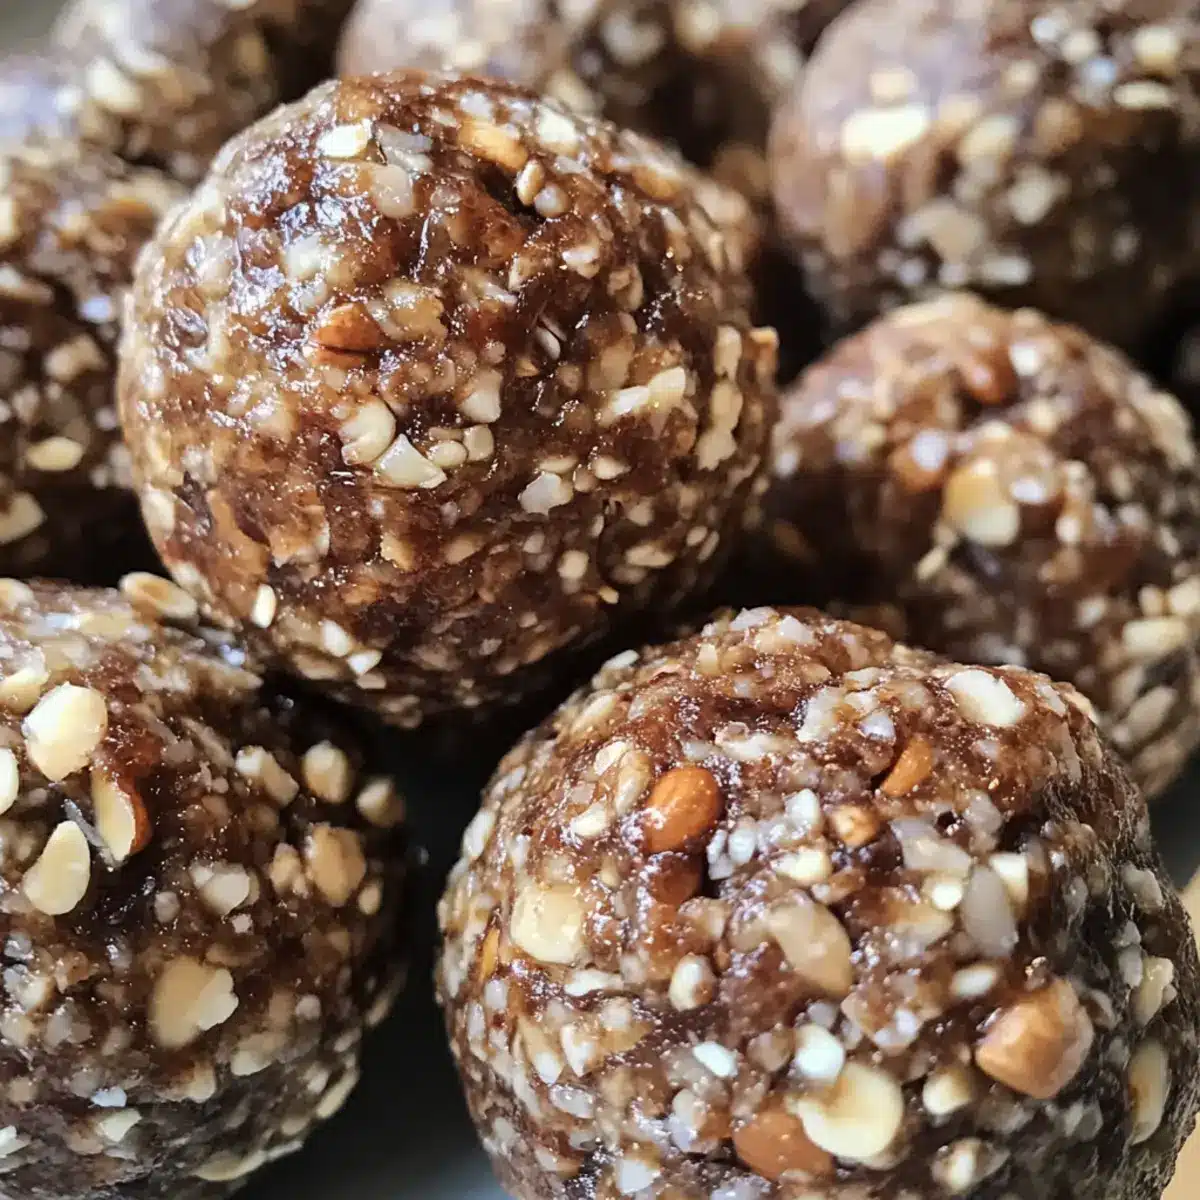
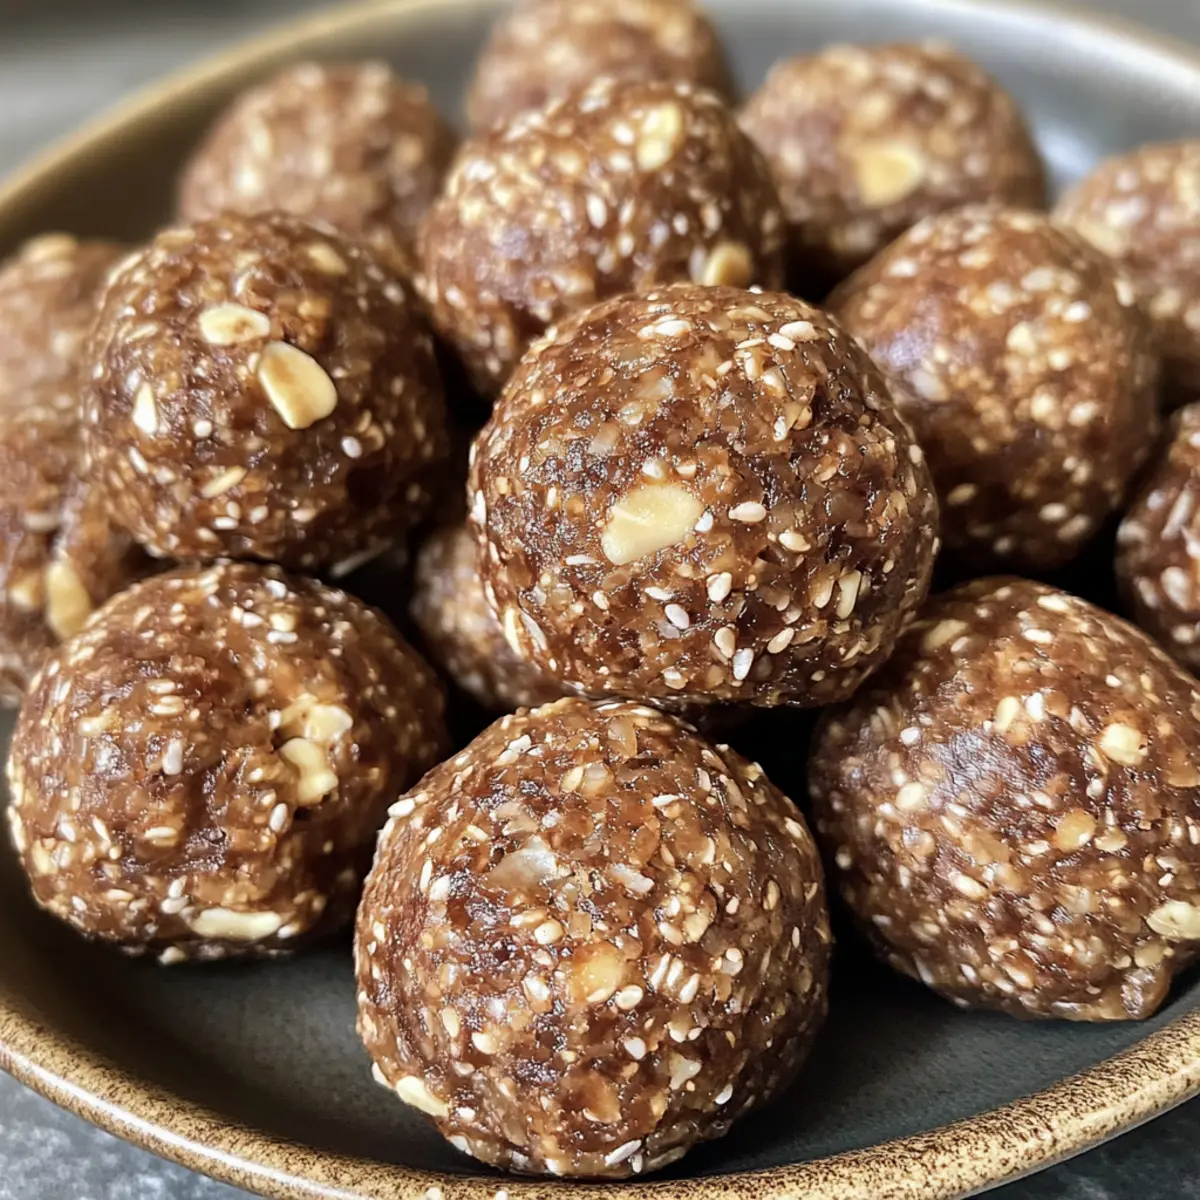
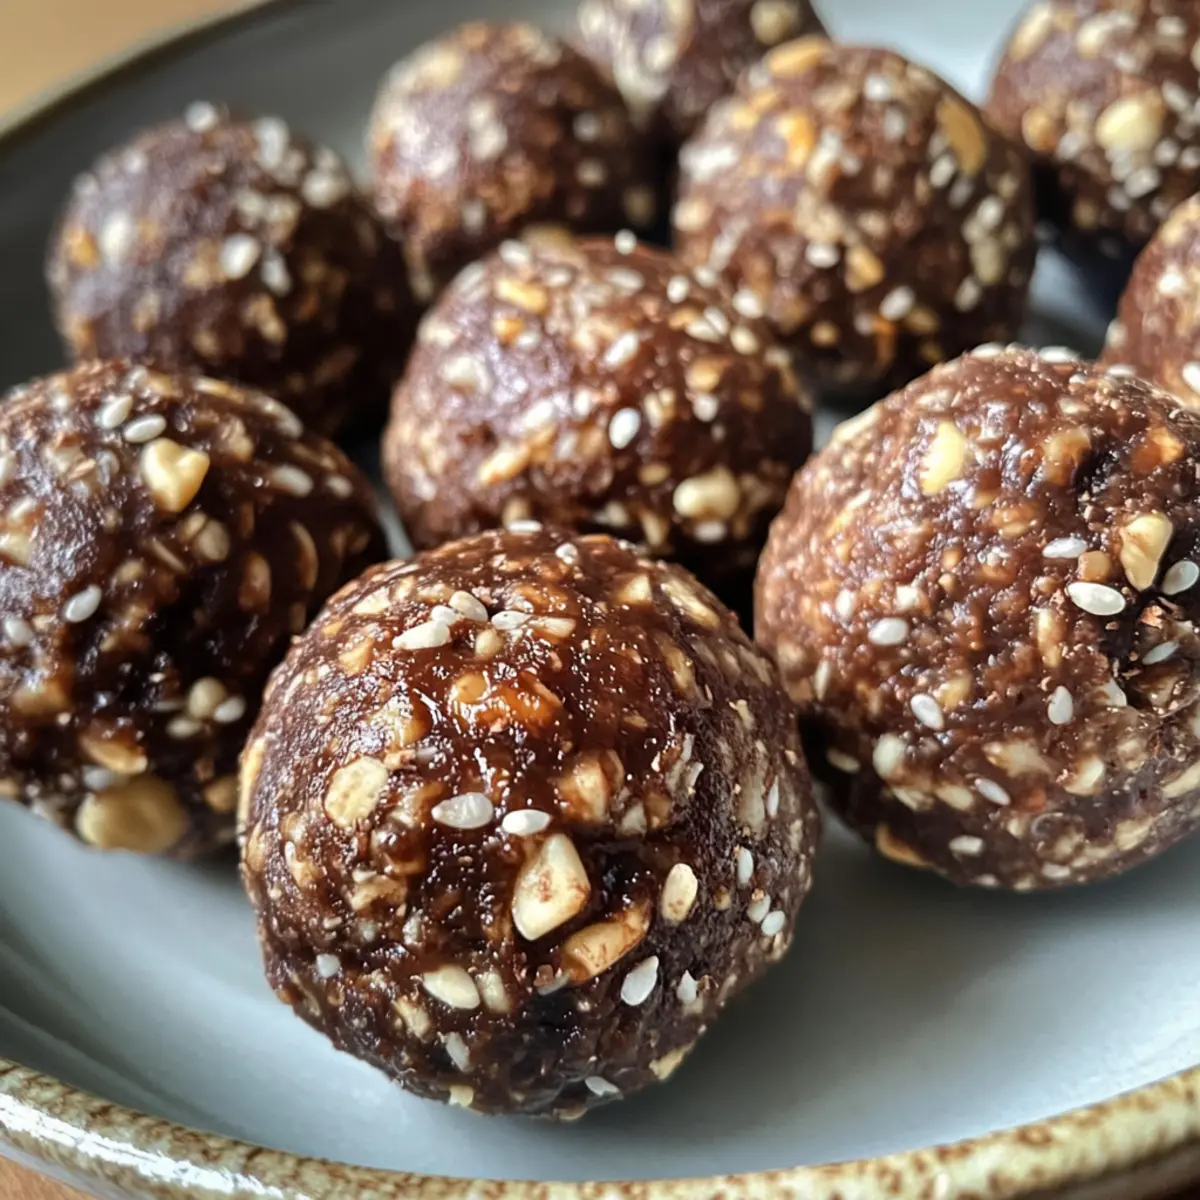
- Dates – A natural sweetener that forms the core of this recipe; Medjool dates are the go-to for their softness and richness.
- Oats – Provides a hearty texture and fiber; rolled oats keep them chewy, while pulsing them into flour gives a smooth finish.
For Binding & Flavor
- Nut Butter – Adds healthy fats and acts as a glue; peanut butter is classic, but feel free to swap it for almond, cashew, or sunflower seed butter to suit your taste.
- Protein Powder (optional) – Boosts protein content for a satisfying snack; can be omitted or replaced with more oats if desired.
- Chia Seeds – Packed with nutrients and healthy fats, these little seeds act as an excellent binding agent when mixed with the other ingredients.
For Extra Flavor
- Cocoa Powder (optional) – Perfect for a chocolate twist; use unsweetened cocoa to keep sugars low.
- Salt – A pinch enhances the overall flavor and balances sweetness.
- Vanilla Extract – Adds a warm aroma and depth to the flavor profile.
With just a handful of ingredients, these Date Protein Balls come together in no time, ensuring that healthy snacking is both delicious and convenient!
Step‑by‑Step Instructions for Date Protein Balls
Step 1: Prep Ingredients
Begin by lining a tray with parchment paper to hold your finished Date Protein Balls. Next, gather and measure out all your ingredients—this includes the dates, oats, nut butter, protein powder, chia seeds, cocoa powder (if using), salt, and vanilla. Having everything ready will make the blending process smooth and efficient.
Step 2: Blend Mixture
In a food processor, add the measured dates, oats, nut butter, protein powder, chia seeds, and optional cocoa powder. Pulse the mixture for about 30 seconds until it becomes a sticky, cohesive dough. You want to stop just before it turns too smooth; it should still have a little texture for those delightful chewy bites.
Step 3: Adjust Texture
After blending, check the consistency of your mixture. If it feels too dry and crumbly, add a tablespoon of warm water or a few more dates, then blend again for a few seconds. Conversely, if it’s too wet, simply mix in a little extra oats or protein powder. Aim for a dough that holds together well when squeezed.
Step 4: Roll Balls
With your dough properly textured, it’s time to form the Date Protein Balls. Use your hands to scoop out portions of the dough, then roll them into approximately 16 smooth balls, ensuring to press firmly so they maintain their shape. Arrange them tightly on the prepared tray for chilling.
Step 5: Chill
Once you’ve formed the balls, place the tray in the refrigerator and allow them to chill for about 10 to 20 minutes. This step not only firms up the Date Protein Balls but also enhances the flavors as they meld together. After chilling, they’re ready to be enjoyed as a wholesome snack.
What to Serve with Date Protein Balls
Indulging in these delightful energy bites can be the start of a wholesome meal journey, filled with vibrant flavors and satisfying textures.
- Fresh Fruit Salad: A medley of juicy fruits adds a refreshing contrast to the chewy bites, enhancing your snacking experience.
- Yogurt Parfait: Layer with creamy yogurt and granola for a balanced treat that pairs beautifully with the sweetness of the protein balls.
- Nutty Trail Mix: Crunchy nuts and seeds offer delightful texture and additional healthy fats, complementing the soft, chewy energy balls.
- Chilled Smoothies: A refreshing fruit or green smoothie acts as a perfect drink pairing, balancing the rich flavors of the Date Protein Balls.
- Dark Chocolate Dipping Sauce: For a decadent twist, dip your protein balls in melted dark chocolate for indulgence that’s still nutritious.
- Herbal Iced Tea: A lightly sweetened herbal tea can cleanse the palate, making it a wonderful sip alongside these guilt-free bites.
- Cheese Platter: Add protein balls to a cheese board with assorted cheeses, crackers, and fresh fruits for a sophisticated, balanced snack experience.
These pairings elevate your Date Protein Balls into a full feast, inviting the whole family to enjoy nutritious bites that won’t let you down!
Date Protein Balls Variations & Substitutions
Feel free to get creative and customize these energy bites to your liking, as the options are endless!
- Nut-Free: Swap out nut butter for sunflower seed butter or tahini, perfect for those with nut allergies.
- Protein-Free: Omit the protein powder and increase oats by 2 tablespoons, simplifying for a clean recipe.
- Cocoa Lovers: Add 2 tablespoons of cocoa powder for a rich chocolatey twist; it’s divine when paired with a hint of vanilla!
- Flavor Enhancers: Mix in a handful of dried fruits or seeds like pumpkin or sunflower seeds to boost nutrition and texture.
- Extra Sweetness: If you prefer sweeter bites, add a tablespoon of honey or maple syrup; just be careful not to make it too sticky!
- Spiced Up: A pinch of cinnamon or nutmeg can elevate the flavor profile, bringing warmth and depth to these delightful treats.
- Fruit Fusion: Incorporate small bits of freeze-dried fruit for vibrant colors and an added tangy taste—strawberry or raspberry work beautifully!
- Texture Blend: If you like a crunch, add chopped nuts to the mixture; pecans or almonds provide a wonderful contrast to the chewy dates.
Looking for more ideas? Try our Turkey Meatballs Sweet for a different twist or check out these tasty Turkey Meatballs Savory as another healthy snacking option!
Make Ahead Options
These Date Protein Balls are perfect for busy home cooks looking to save precious time! You can prepare the mixture up to 24 hours in advance and store it in the refrigerator. Simply blend all the ingredients and form the sticky dough, then cover it tightly with plastic wrap. When you’re ready to enjoy them, roll the dough into balls and chill for about 10-20 minutes before serving. This allows the flavors to develop and ensures they hold their shape better. If you want even more convenience, feel free to freeze the rolled balls for up to three months; just thaw them in the refrigerator overnight before enjoying. They’ll be just as delicious and satisfying!
Storage Tips for Date Protein Balls
- Fridge: Store your Date Protein Balls in an airtight container in the refrigerator for up to one week. This keeps them fresh and ready for snacking!
- Freezer: For longer storage, freeze the balls in a single layer, then transfer to a sealed bag or container. They can last up to three months, perfect for meal prep!
- Thawing: To enjoy frozen Date Protein Balls, simply take them out and let them thaw in the fridge overnight. They’ll be tasty and ready to fuel your day!
- Reheating: If you prefer a warm treat, pop them in the microwave for about 10-15 seconds to enjoy a slightly gooey center!
Expert Tips for Date Protein Balls
- Choose Quality Dates: Use fresh Medjool dates for the best flavor and texture in your Date Protein Balls; if using drier dates, soak them first to soften.
- Don’t Overprocess: Pulse the mixture just enough to combine. Over-blending can make the balls sticky and oily, impacting their texture.
- Keep it Chewy: For a satisfying bite, don’t forget to include rolled oats; they provide a lovely chewiness and help bind the mixture together.
- Try New Mix-ins: Feel free to experiment! Add nuts, seeds, or dried fruit for diverse flavors and textures. Just remember to maintain balance to ensure the Date Protein Balls hold together.
- Adjust Sweetness: If you find your balls need a bit more sweetness, consider drizzling in some maple syrup or agave. Use sparingly to avoid making them too sticky!
Date Protein Balls Recipe FAQs
How do I know if my dates are fresh?
Absolutely! Fresh Medjool dates should feel slightly soft and moist to the touch with a shiny exterior. Look for dark brown skin free of any cracks or dark spots. If your dates seem dry or are hard, soak them in warm water for about 10-15 minutes before using. This will help restore their texture and sweetness, making them perfect for your Date Protein Balls!
What is the best way to store Date Protein Balls?
Very good question! Store your Date Protein Balls in an airtight container in the refrigerator, where they can stay fresh for up to one week. If you’ve made a big batch, consider freezing them! Place the balls in a single layer on a baking sheet, freeze for about an hour, then transfer to a sealed freezer bag. They will keep well for up to three months in the freezer. Just thaw them in the fridge overnight before enjoying!
Can I modify the ingredients if I have allergies?
Absolutely! These Date Protein Balls are super customizable. If you’re nut-free, you can easily swap out the nut butter for sunflower seed butter or tahini. Additionally, if you need to avoid protein powder, simply increase the oats by about two tablespoons for an equally satisfying snack without compromising texture. Remember, the goal is to make it work for you, so feel free to get creative!
What should I do if my mixture is too dry or too wet?
Don’t worry—it’s a common issue! If your mixture feels too dry and crumbly, simply add a tablespoon of warm water or a few more soaked dates and blend again until it comes together. On the other hand, if the mixture is too wet, pop in a little extra oats or protein powder until you achieve your desired consistency. You want the mixture to hold together nicely when rolled into balls—tackiness is good, but not too sticky!
Can I add more ingredients to personalize my Date Protein Balls?
Certainly! These healthy bites are a blank canvas for your favorite flavors. Consider throwing in additional mix-ins like dried fruits, seeds, or even spices such as cinnamon or nutmeg for added warmth. Just keep in mind the overall balance to ensure they maintain their shape. The more the merrier when it comes to flavors!
Are Date Protein Balls safe for pets?
No, it’s important to note that while the ingredients in Date Protein Balls are generally healthy for humans, they can be harmful to pets, particularly dogs. Ingredients like nut butter can cause gastrointestinal issues and dates contain high sugar levels that aren’t good for them. Always keep these delicious treats out of reach of our furry friends!
Date Protein Balls: Deliciously Chewy Energy Bites You’ll Love
Ingredients
Equipment
Method
- Begin by lining a tray with parchment paper to hold your finished Date Protein Balls. Gather and measure all your ingredients.
- In a food processor, add the measured dates, oats, nut butter, protein powder, chia seeds, and optional cocoa powder. Pulse for about 30 seconds until it becomes a sticky dough.
- Check the consistency. If dry, add a tablespoon of warm water or a few more dates. If too wet, mix in extra oats or protein powder until it holds together.
- Scoop out portions of the dough and roll them into approximately 16 smooth balls. Arrange them tightly on the tray.
- Place the tray in the refrigerator and allow them to chill for about 10 to 20 minutes. This firms them up and enhances the flavors.
Leave a Reply