
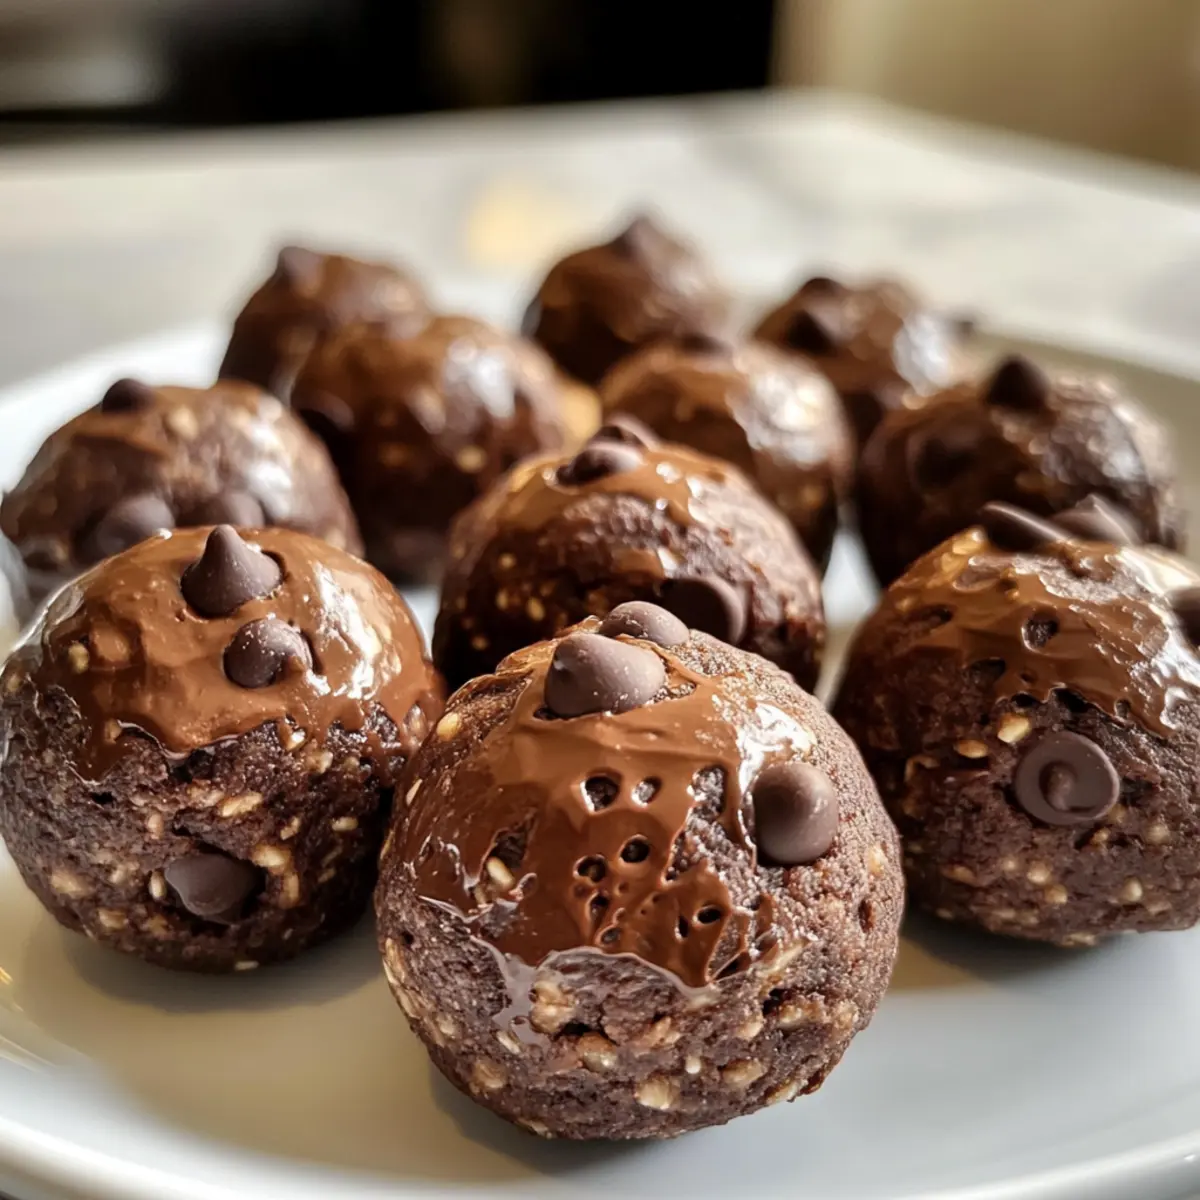
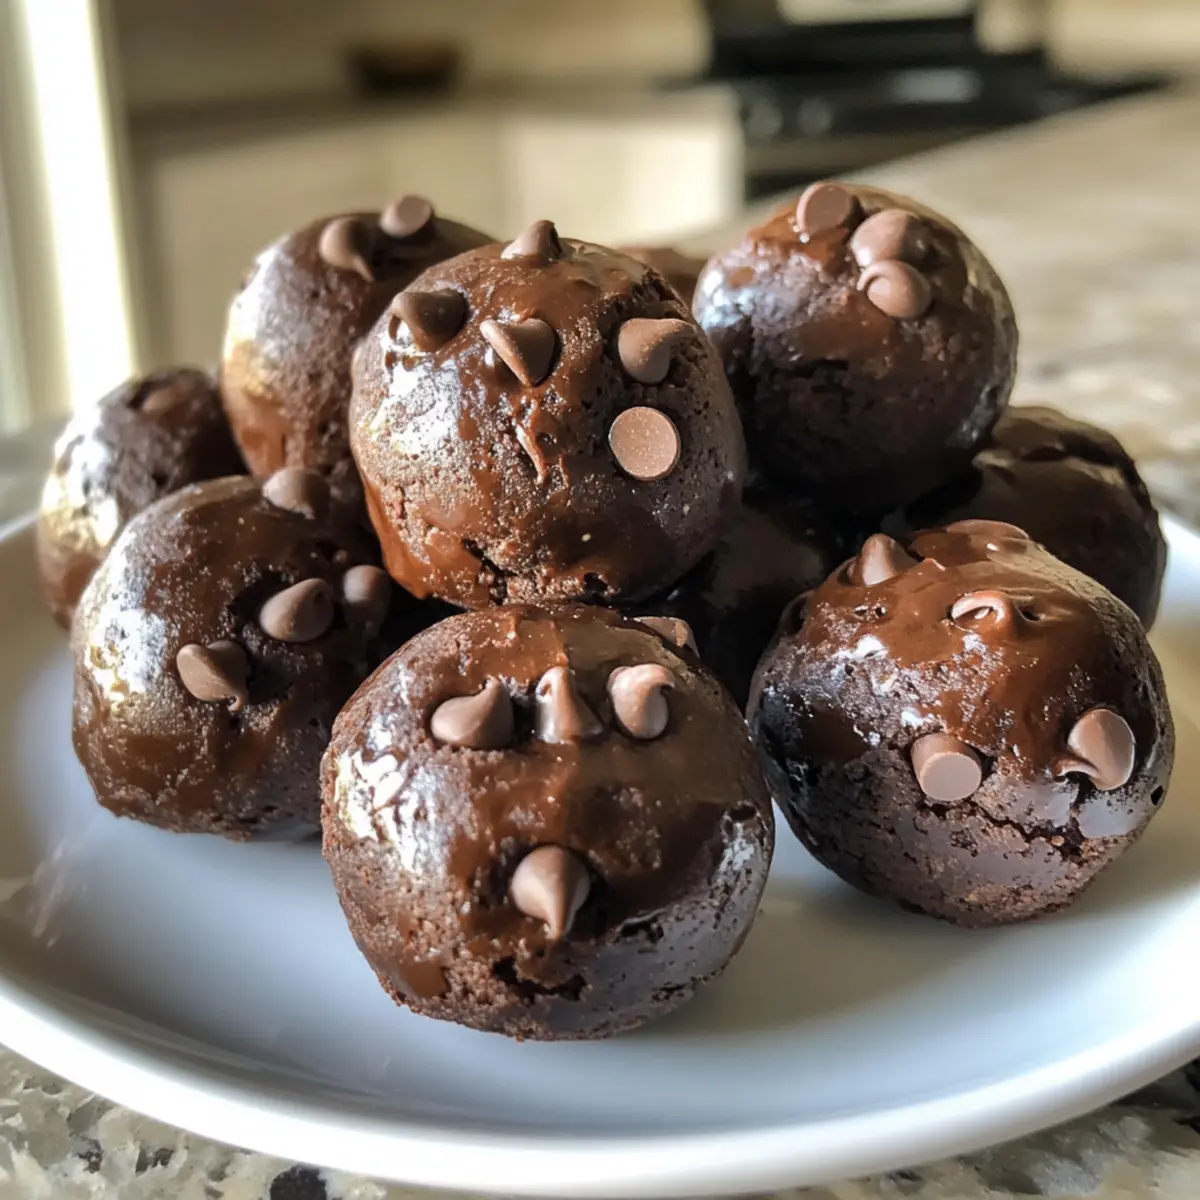
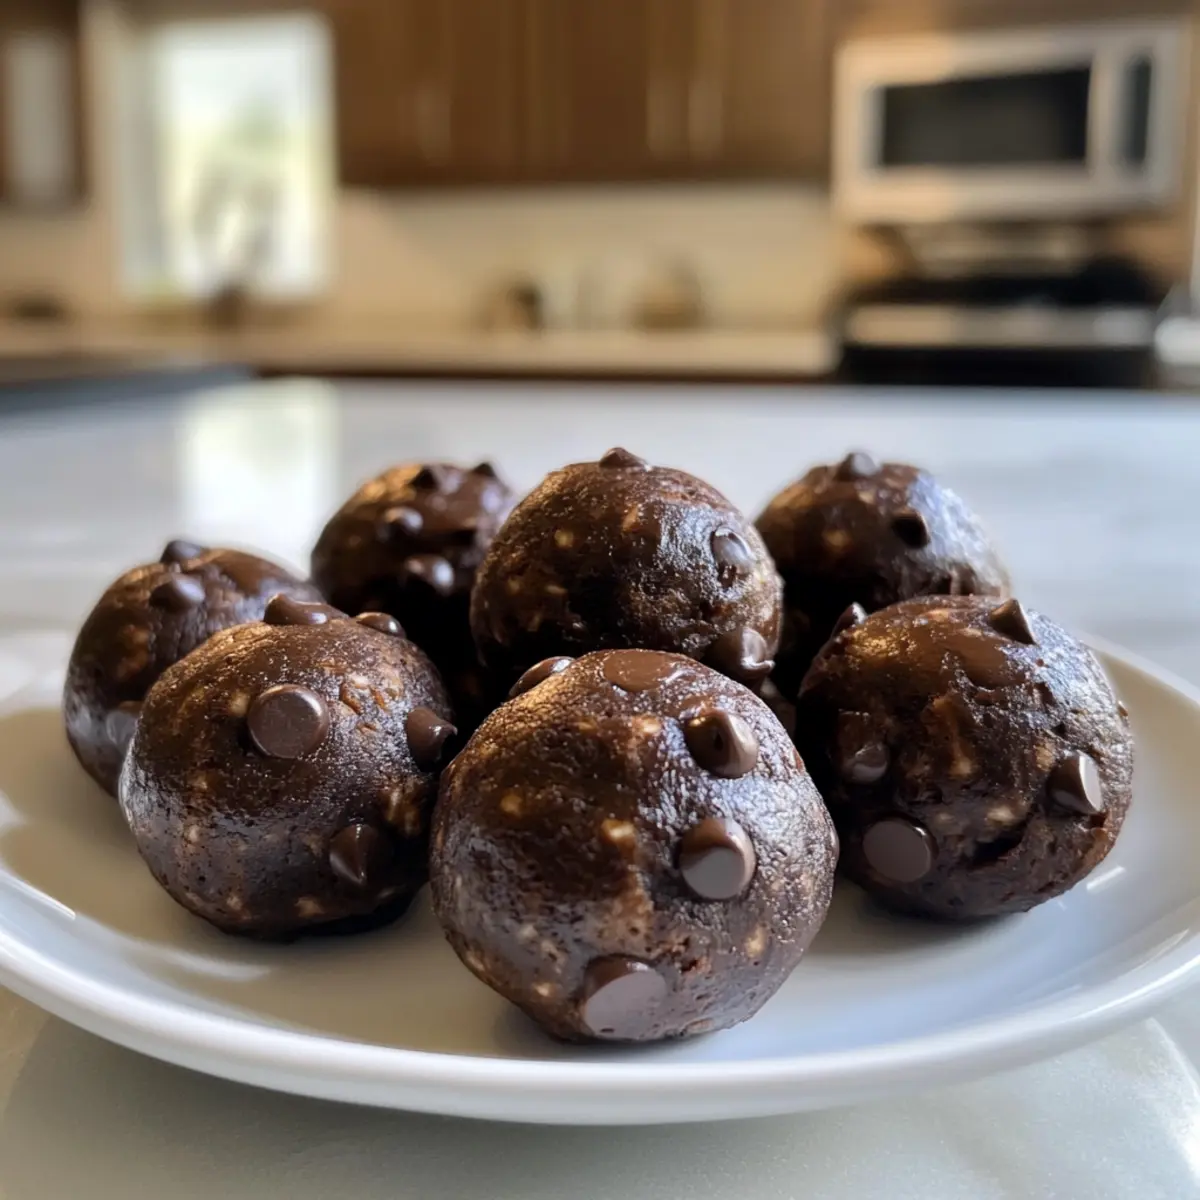
No bake, no fuss! My kitchen adventure took a delightful turn when I decided to whip up these irresistible Brownie Protein Balls, the ultimate guilt-free chocolate fix. Packed with protein and boasting customizable flavors, these little bites are designed to satisfy a sweet tooth while keeping you energized throughout the day. They are perfect for those busy moments when you need a quick, nourishing snack without compromising on taste. Whether you’re craving something chewy and chocolatey post-workout or looking to keep the kids away from store-bought treats, this recipe is a game-changer. Curious about how to create your own version of these tasty bites? Let’s dive in!
Why Choose Brownie Protein Balls?
Nutritious Indulgence: These brownie protein balls are the perfect blend of health and indulgence, bringing you all the chocolatey goodness you crave without the guilt.
No-Bake Ease: Simply mix, roll, and refrigerate—no baking required! This makes them ideal for quick meal prep that fits into any busy schedule.
Customizable Options: Create your perfect bite by swapping in your favorite nuts, sweeteners, or even flavorings! Feeling adventurous? Try adding shredded coconut for a tropical twist.
Protein-Packed Power: With a boost of protein from nut butter and protein powder, these bites make a fantastic post-workout snack or afternoon pick-me-up.
Family-Friendly Fun: Kids will love them just as much as adults—these treats are a great alternative to processed snacks. For an added treat, check out my Dubai Chocolate Balls for another exciting recipe option!
Effortless Storage: Made ahead of time, they can be stored and enjoyed whenever cravings strike. Perfect for those on-the-go days!
Brownie Protein Balls Ingredients
For the Base
• Oats – Provides bulk and texture; substitute with ground almonds or almond flour for a gluten-free option.
• Nut Butter (almond or peanut butter) – Adds healthy fats and creaminess; swap for sunflower seed butter for a nut-free choice.
• Protein Powder – Boosts protein content; can be omitted or replaced with more oats or hemp seeds for non-protein variations.
• Cocoa Powder – Imparts deep chocolate flavor; adjust to taste or replace with carob powder for a unique twist.
For Sweetness
• Honey or Maple Syrup – Natural sweeteners that enhance flavor and bind the ingredients; use agave syrup for a vegan option or sugar-free alternatives for keto.
Optional Add-ins
• Chocolate Chips – Adds extra sweetness and chocolatey richness; can be omitted or replaced with dried fruits or nuts for varied texture.
• Vanilla Extract – Enhances all flavors; while optional, it’s recommended for added depth.
With this simple ingredient list, you’re well on your way to creating delicious Brownie Protein Balls that are perfect for snacking anytime!
Step‑by‑Step Instructions for Brownie Protein Balls
Step 1: Combine Dry Ingredients
In a large mixing bowl, combine 1 cup of oats, 1/2 cup of nut butter, 1 scoop of protein powder, and 1/4 cup of cocoa powder. Use a sturdy spatula to mix everything together thoroughly, ensuring no dry spots remain. The mixture should begin to clump slightly as the nut butter incorporates; this is a great sign that your base for the Brownie Protein Balls is coming together!
Step 2: Add Wet Ingredients
Next, add 1/4 cup of honey or maple syrup and 1 teaspoon of vanilla extract to the mixture. Stir with a spatula until all ingredients are completely incorporated, creating a sticky and cohesive mixture. The wet ingredients will bind the dry components, so keep mixing until the batter feels moist and holds together well when pressed between your fingers.
Step 3: Adjust Texture if Needed
If your mixture appears too dry and crumbly, add a splash of water or an extra spoonful of nut butter to achieve the desired consistency. Continue to mix until the mixture sticks together firmly enough to roll into balls. The texture should feel slightly tacky yet firm, ensuring that your Brownie Protein Balls will hold their shape beautifully once formed.
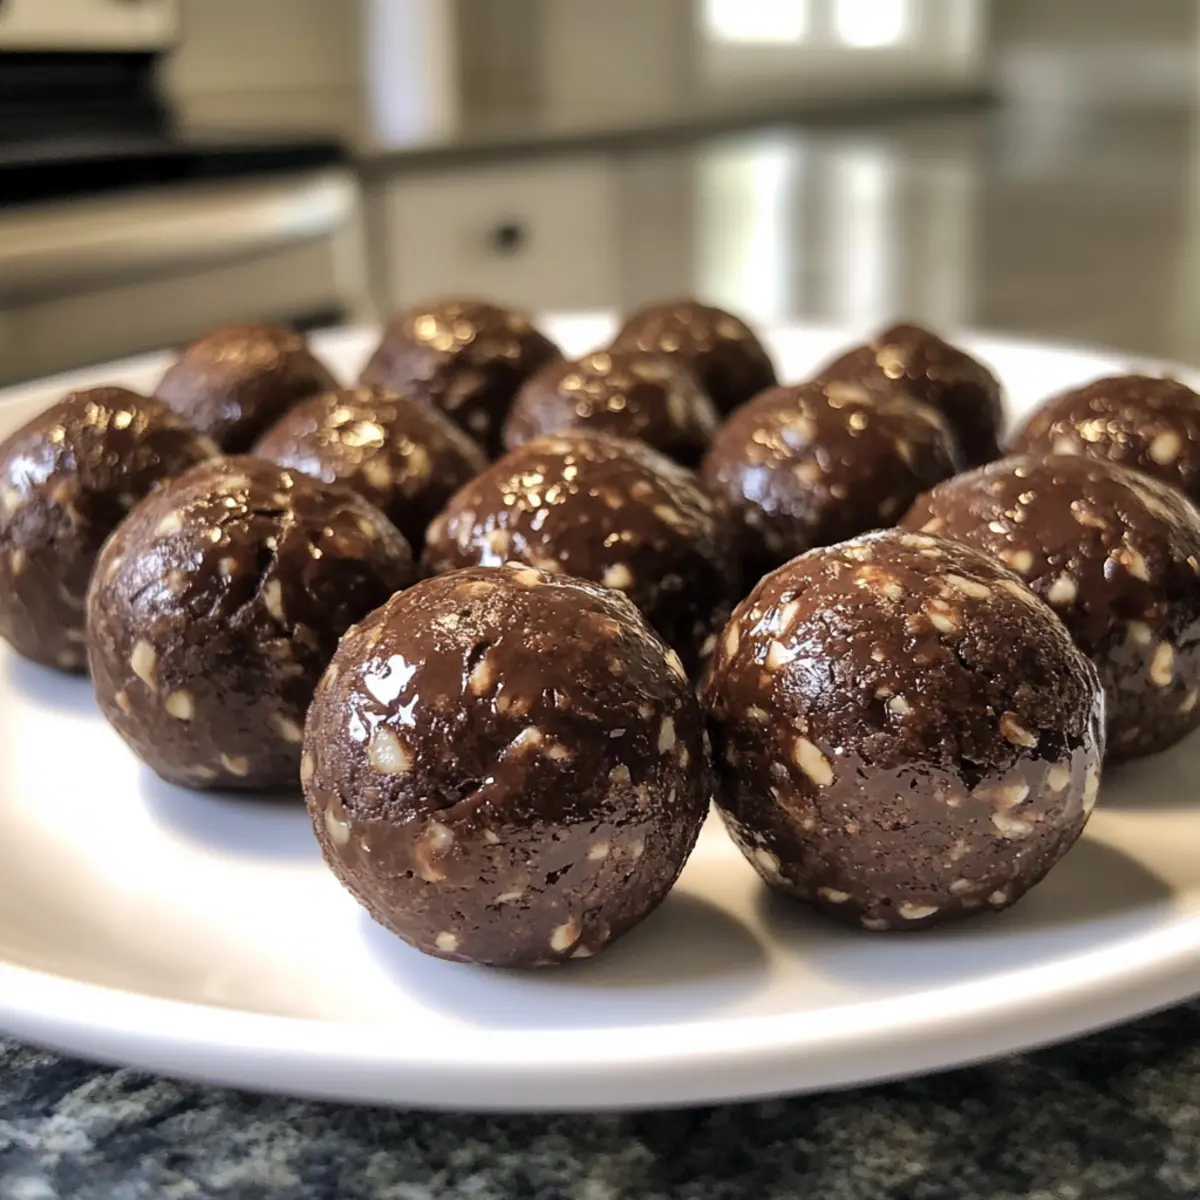
Step 4: Roll into Balls
With clean hands, take small amounts of the mixture (about 1 tablespoon each) and roll them into bite-sized balls. Aim for approximately 12 to 15 balls total. Once rolled, place them on a parchment-lined tray, giving each ball enough space to avoid sticking together in the fridge. These little energy bites will soon be your go-to snack!
Step 5: Chill to Firm Up
Refrigerate the tray of Brownie Protein Balls for at least 30 minutes. This chilling time is essential for firming up the balls, making them easier to enjoy and perfecting their texture. Keep an eye on them as they cool; you’ll know they’re ready when they feel firm to the touch but still retain a slight softness inside.
Step 6: Store and Enjoy
Once the Brownie Protein Balls have chilled, transfer them to an airtight container. Store in the fridge for up to one week, or pop them in the freezer for longer storage. These protein-packed snacks are perfect for grabbing on-the-go or enjoying after a workout, keeping your energy up throughout the day.
What to Serve with Brownie Protein Balls?
Imagine the satisfying crunch of a refreshing snack that complements the soft, fudgy texture of your Brownie Protein Balls.
-
Fresh Fruit Salad: Bright and zesty, a fruit salad adds a refreshing contrast, making your snacking experience more vibrant. Think juicy berries, sweet melon, and citrus bursts!
-
Nutty Granola: A sprinkle of nutty granola offers an extra crunch along with fiber. It pairs beautifully, adding more texture to your treat. Enjoy this combination for breakfast or as a satisfying snack.
-
Greek Yogurt: Creamy and tart, Greek yogurt serves as a delicious dip or topping. Add some honey or a sprinkle of cinnamon to elevate the flavors, creating a delightful snack duo.
-
Chia Seed Pudding: This velvety dessert brings a healthy twist to your snack table. Its creamy consistency pairs well with the chewiness of the Brownie Protein Balls, making it a fun and nutritious combo.
-
Smoothie Bowl: A vibrant and nutrient-packed smoothie bowl makes a perfect partner. Blend your favorite fruits and greens, then top with crunchy nuts and seeds, offering exciting flavors and textures.
-
Nut Milk: For a cozy drink, pour yourself a glass of almond or coconut milk. Their creamy texture beautifully complements the chocolatey richness of your Brownie Protein Balls while keeping you refreshed.
Let your imagination run wild while creating delicious combinations, and remember, snacking can be both nutritious and indulgent!
Expert Tips for Brownie Protein Balls
-
Perfect Consistency: Ensure your mixture is sticky enough to hold together. If it crumbles when you roll it, add more nut butter or a splash of water.
-
Flavor Enhancements: Experiment with spices like cinnamon or cayenne for an unexpected kick. Adding almond extract brings a lovely depth to your brownie protein balls.
-
Portion Control: Avoid adding too many chocolate chips or sweeteners, which can make your snacks overly sweet and calorie-dense. Balance is key!
-
Chilling Time: Don’t skip the refrigeration step! Chilling the balls helps them firm up, making it easier to enjoy them as a healthy snack on-the-go.
-
Creative Variations: Feel free to swap in different nut butters or sweeteners based on your dietary needs or preferences. Customization makes these brownie protein balls uniquely yours!
How to Store and Freeze Brownie Protein Balls
Fridge: Store your Brownie Protein Balls in an airtight container for up to one week. This allows for easy snacking whenever cravings hit!
Freezer: If you want to keep them longer, pop the balls in the freezer. They can last for up to three months. Just let them thaw in the fridge before enjoying.
Wrapping: For freezer storage, wrap each ball individually or place them in a single layer in a freezer-safe bag to prevent sticking.
Reheating: No need to reheat—simply enjoy these protein-packed treats straight from the fridge or freezer for a quick energy boost!
Make Ahead Options
These Brownie Protein Balls are perfect for busy home cooks looking to save time! You can prepare the mixture up to 24 hours in advance; simply follow the steps up to rolling the balls, then refrigerate the mixture in an airtight container. This not only allows the flavors to meld beautifully, but it also makes shaping the balls easier when you’re ready to roll. When you’re set to enjoy them, just roll the chilled mixture into bite-sized balls and refrigerate for an additional 30 minutes to firm up. To maintain their delicious quality, be sure to store them in the fridge for up to a week, or freeze them for longer storage, keeping your healthy snacks on hand whenever cravings strike!
Brownie Protein Balls: Customization Ideas
Feel free to explore your culinary creativity and make these delightful Brownie Protein Balls your own!
-
Gluten-Free: Replace oats with ground almonds or almond flour for a gluten-free treat that’s just as enjoyable.
-
Nut-Free: Use sunflower seed butter instead of nut butter to cater to nut allergies while still enjoying a creamy texture.
-
Lower Sugar: Substitute honey or maple syrup with stevia or monk fruit sweetener for a lower-sugar option that still satisfies your sweet tooth.
-
Extra Crunch: Toss in chopped walnuts or pecans for added crunch and a delightful contrast to the chewy texture.
-
Tropical Flavor: Mix in shredded coconut and a splash of pineapple juice for a sunny twist that transports you to a tropical paradise.
-
Caramel Twist: Incorporate a spoonful of caramel extract for a rich, sweet undertone that complements the chocolate flavor beautifully.
-
Spicy Kick: Add a pinch of cayenne or chili powder for a surprising heat that elevates your snack to a whole new level.
-
Decadent Dessert: For a truly indulgent version, roll the balls in crushed nuts or cocoa powder and add a drizzle of melted dark chocolate on top.
These delightful options allow you to transform your Brownie Protein Balls into something new and exciting with every bite. For a special treat, you might also want to check out my Turkey Meatballs with Cranberry Glaze for another deliciously customizable recipe!
Brownie Protein Balls Recipe FAQs
How do I choose the right ripeness of ingredients?
Absolutely! For the best flavor and texture, use oats that are fresh and free from any dark spots. Ensure your nut butter is smooth, as this will create a creamy consistency. If using honey or maple syrup, opt for pure varieties that are not overly processed.
What’s the best way to store Brownie Protein Balls?
The more the merrier! Store your Brownie Protein Balls in an airtight container in the refrigerator for up to one week. Keep them accessible for those moments when cravings strike—perfect for snacking!
Can I freeze Brownie Protein Balls?
Yes, you can! For longer storage, place your Brownie Protein Balls in the freezer where they’ll last up to three months. Just wrap each ball individually or layer them in a freezer-safe bag to prevent sticking. To enjoy, simply thaw in the fridge overnight.
What should I do if my mixture is too dry?
If your mixture feels crumbly and doesn’t hold together well, no problem! Add a splash of water or an extra spoonful of nut butter to increase moisture. Mix thoroughly until you achieve a sticky texture that holds together—you want it to feel slightly tacky yet firm enough for rolling into balls.
Are these Brownie Protein Balls suitable for those with allergies?
Definitely! You can easily make them allergy-friendly. For a nut-free version, swap nut butter for sunflower seed butter and ensure that your protein powder is free from allergens. Always double-check ingredient labels to accommodate specific dietary restrictions or allergies.
Can I customize flavor or ingredients?
Very much so! Get creative with your mix-ins. Feel free to experiment with different nut butters, protein powders, and sweeteners. Adding shredded coconut or spices can provide unique flavor profiles that will make each batch exciting and new. Enjoy the process!
Brownie Protein Balls: Deliciously Guilt-Free Energy Bites
Ingredients
Equipment
Method
- In a large mixing bowl, combine oats, nut butter, protein powder, and cocoa powder. Mix thoroughly, ensuring no dry spots remain.
- Add honey or maple syrup and vanilla extract to the mixture. Stir until all ingredients are incorporated.
- If the mixture is too dry, add a splash of water or extra nut butter to achieve the desired consistency.
- Roll small amounts of the mixture (about 1 tablespoon each) into balls and place on a parchment-lined tray.
- Refrigerate the tray for at least 30 minutes to firm up the balls.
- Once chilled, transfer to an airtight container for storage.
Leave a Reply