
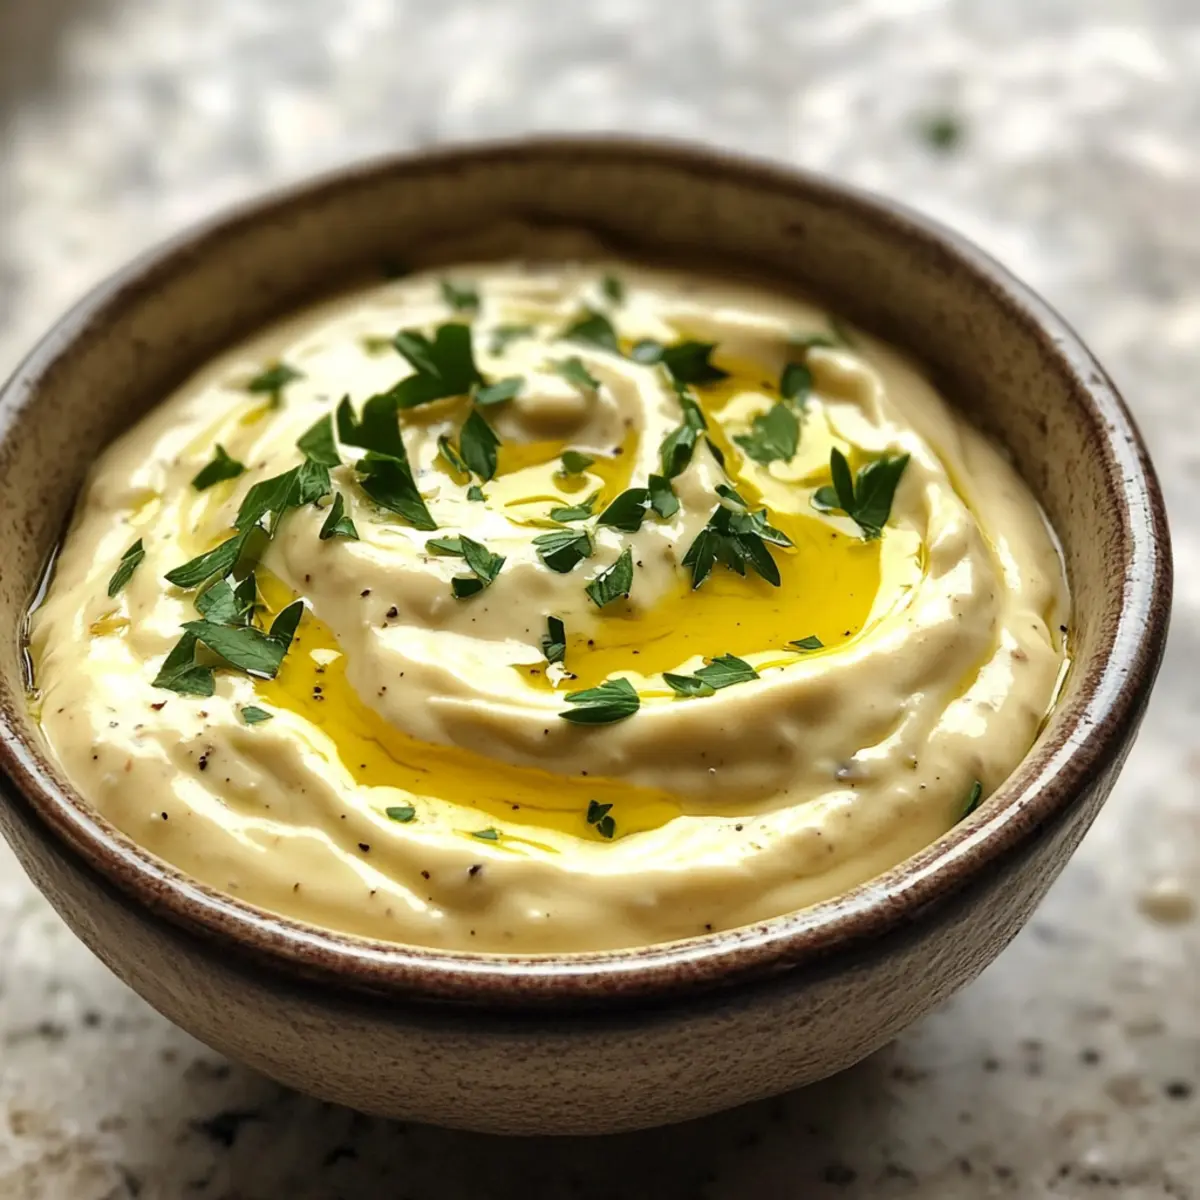
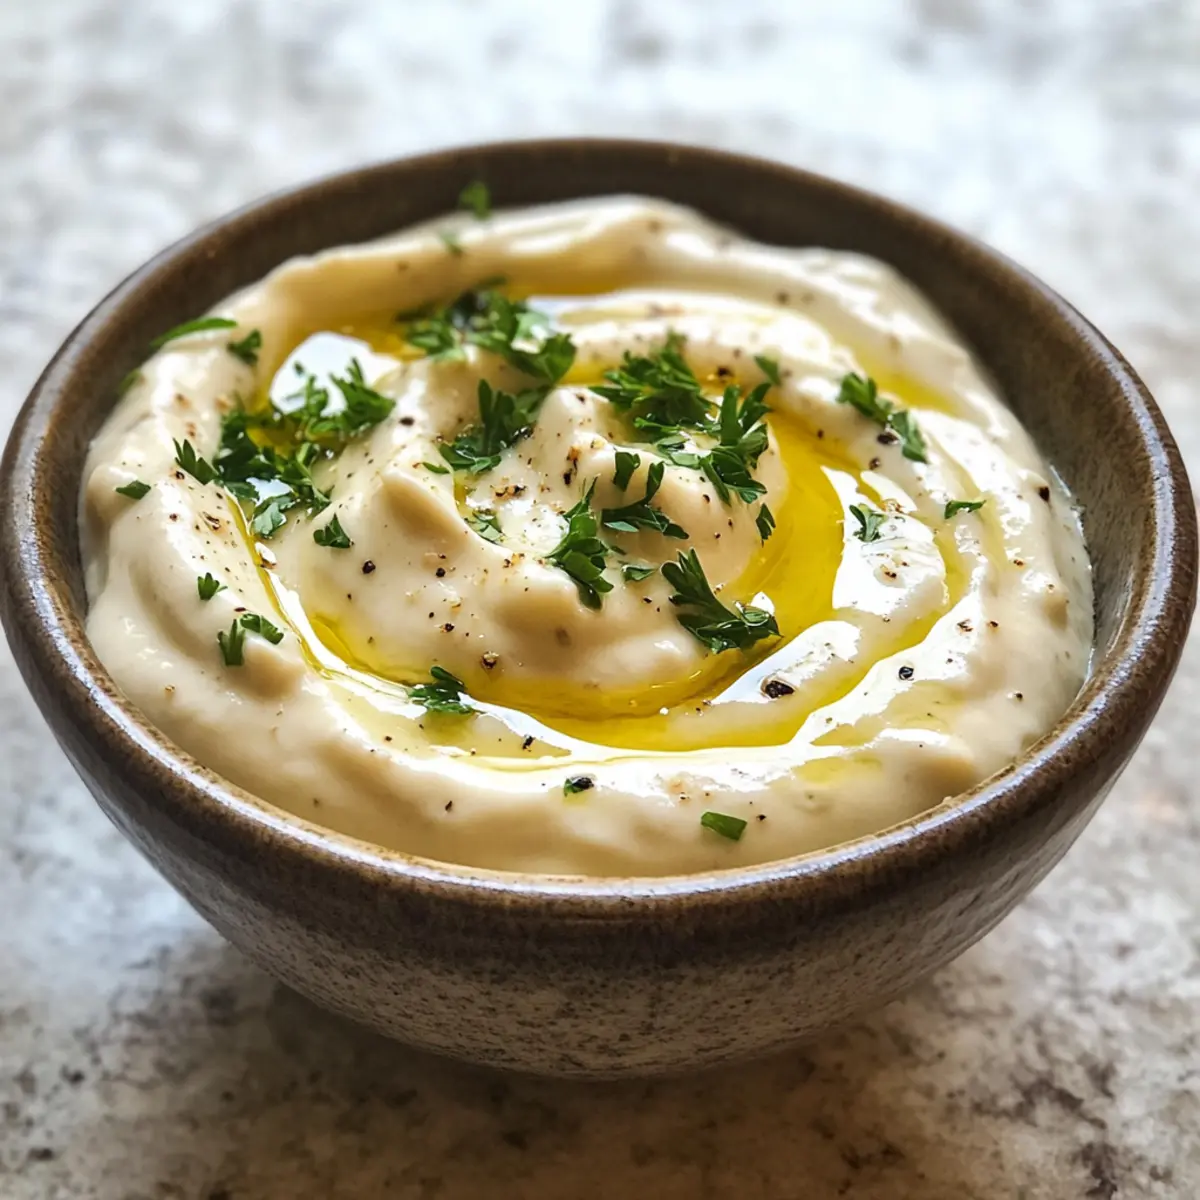
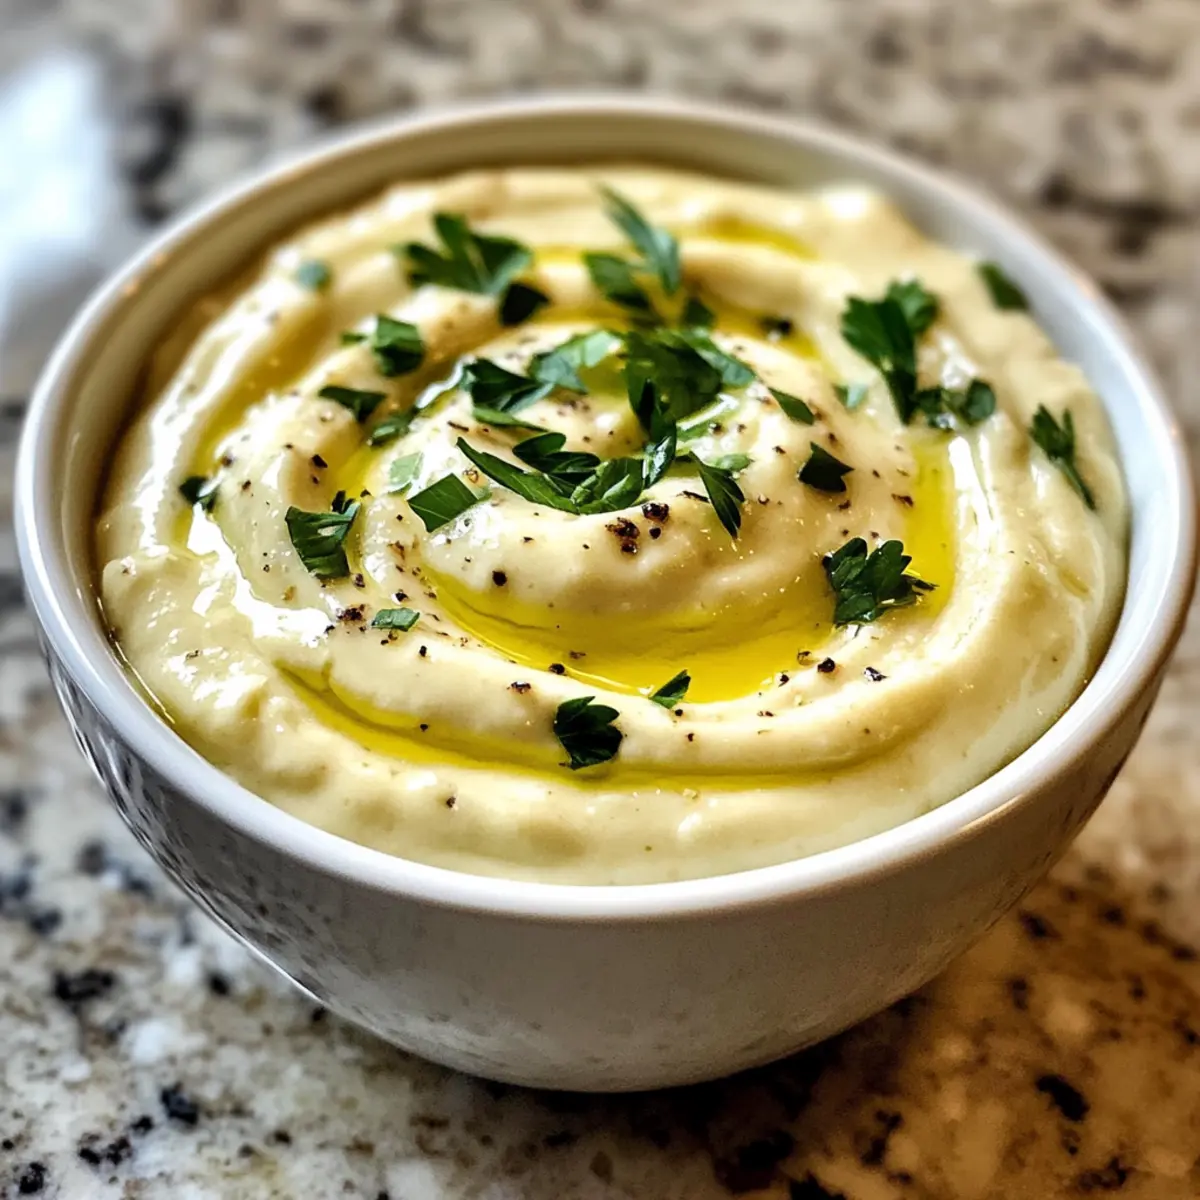
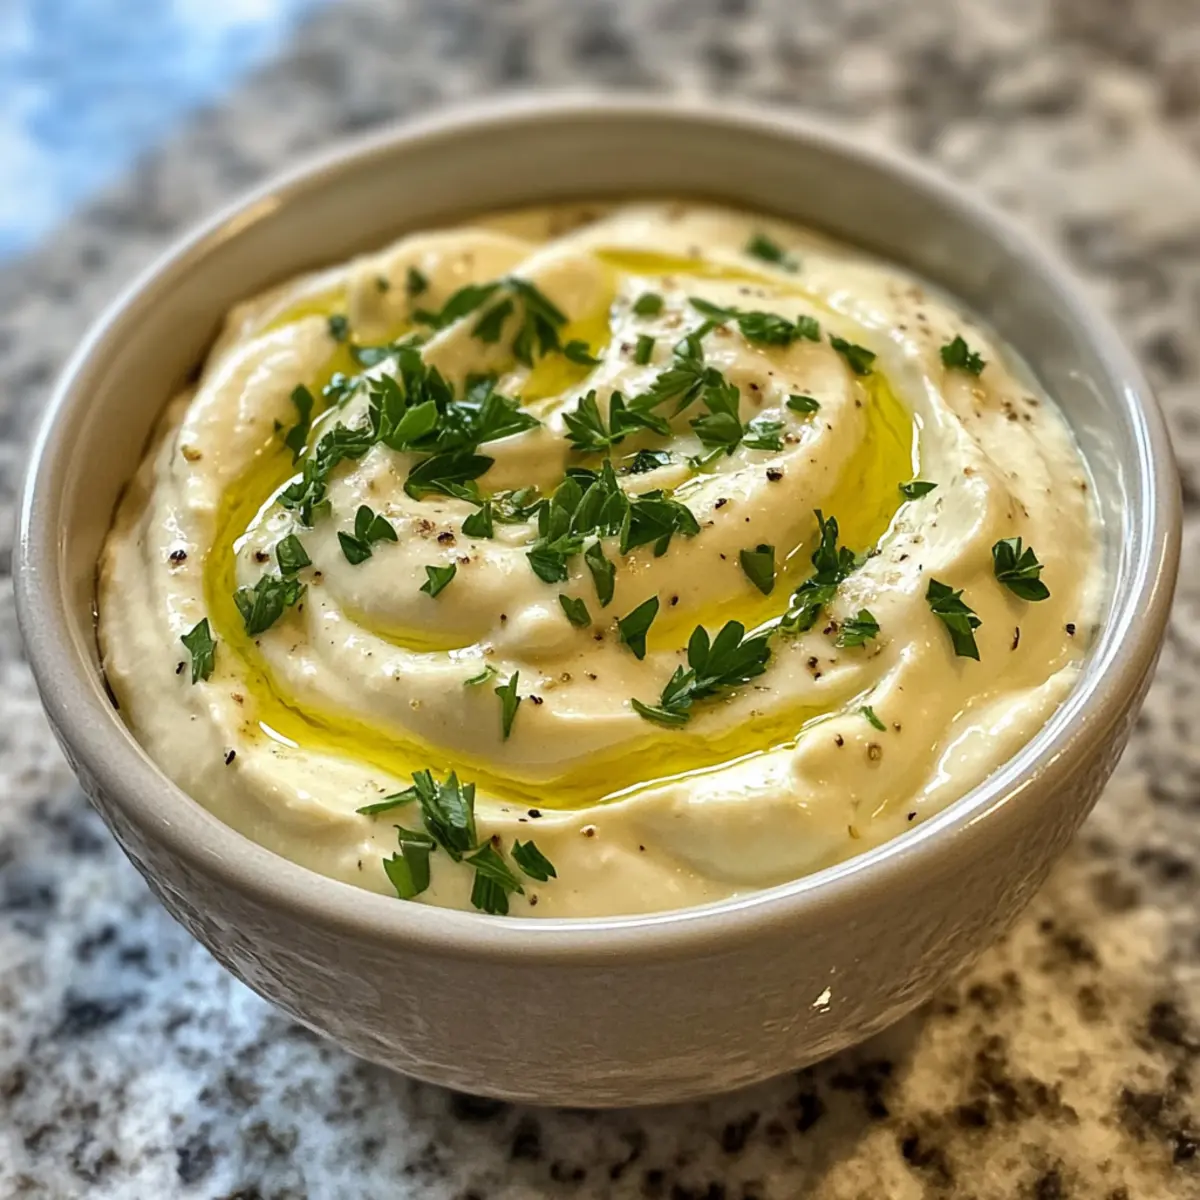
As I stood in my kitchen, the aroma of roasting garlic wafting through the air, I couldn’t help but smile. There’s something magical about taking simple ingredients and transforming them into something extraordinary. This is exactly what happens with my Roasted Garlic Aioli: a creamy gourmet sauce that’s not only easy to whip up but also incredibly versatile. With its rich depth of flavor and a delightful tang from fresh lemon, this aioli takes your favorite dishes to the next level, whether you’re dipping, spreading, or drizzling. Perfect for elevating everyday meals or impressing guests, this gluten-free gem is bound to become your new go-to condiment. Curious how a handful of ingredients can create such a delightful transformation? Let’s dive into the recipe!
Why Is This Aioli So Irresistible?
Simplicity at its finest: With just a handful of fresh ingredients, making Roasted Garlic Aioli at home is a breeze.
Rich, Creamy Flavor: The sweetness of roasted garlic combined with tangy lemon and a hint of Dijon creates a sauce that is simply addictive.
Versatile Condiment: Use it as a dip for veggies, as a spread for sandwiches, or even drizzled over grilled meats for an extra layer of flavor.
Make Ahead: This aioli gets better with time, allowing you to prepare it in advance for gatherings and enjoy its enhanced flavors later. Pair it with your favorite dishes or try it alongside some Garlic Roast Potatoes for a heavenly combination!
Crowd-Pleaser: Whether for a casual meal or a festive gathering, this creamy delight is guaranteed to impress your guests and keep them coming back for more.
Roasted Garlic Aioli Ingredients
• For the Aioli Base
- Garlic – Essential for the aioli; roast to caramelize for that sweet depth of flavor.
- Mayonnaise – Forms the creamy base; swap for Greek yogurt if you prefer a lighter texture.
- Olive Oil – Adds richness and smoothness; extra virgin provides the best flavor.
- Lemon Juice – Brightens the sauce; use freshly squeezed for optimal taste.
- Dijon Mustard – Offers a subtle kick; optional for a more classic aioli.
- Salt and Pepper – Season to taste; enhances the overall flavor profile.
• Optional Garnish
- Parsley or Chives – Adds a pop of color and fresh flavor to your aioli.
Elevate your dishes with this homemade Roasted Garlic Aioli, perfect for spreading, dipping, or drizzling!
Step‑by‑Step Instructions for Roasted Garlic Aioli
Step 1: Preheat the Oven
Begin by preheating your oven to 400°F (200°C). This temperature is perfect for roasting garlic to bring out its sweet, caramelized flavor. Ensure your oven rack is in the middle position to maintain even heat distribution.
Step 2: Prepare the Garlic
Take a head of garlic and peel away the outer layers until you see individual cloves. Use a sharp knife to slice off the top of the garlic head, exposing the tips of the cloves. This step is crucial as it allows the garlic to roast evenly, creating that rich, aromatic essence we want for our Roasted Garlic Aioli.
Step 3: Roast the Garlic
Drizzle the exposed garlic with a generous splash of olive oil, then wrap it tightly in aluminum foil. Place the wrapped garlic on a baking sheet and roast in the preheated oven for 30–40 minutes. Keep an eye on it, as it should become soft and golden brown, delivering that heavenly aroma indicating it’s ready.
Step 4: Mash the Garlic
Once your garlic is roasted, remove it from the oven and let it cool slightly for about 5 minutes. Carefully unwrap the foil and squeeze the cloves into a mixing bowl, discarding the papery skin. Use a fork to mash the soft, golden garlic into a smooth paste, which will serve as the flavorful foundation for your aioli.
Step 5: Mix the Aioli Ingredients
In a separate bowl, combine the mashed garlic with mayonnaise, freshly squeezed lemon juice, and Dijon mustard if you’re using it. Stir everything together until the mixture is smooth and well-blended. The creamy texture and rich flavor of your Roasted Garlic Aioli will begin to take shape in this step.
Step 6: Season to Taste
Taste your aioli and season it with salt and pepper according to your preference. This step enhances the overall flavor, ensuring every bite of your Roasted Garlic Aioli is perfectly balanced. Stir to combine the seasoning thoroughly, and feel free to adjust as needed to suit your palate.
Step 7: Optional Garnish
If you’d like an added touch, chop some fresh parsley or chives and fold them into the aioli. This optional step not only enhances the flavor but also adds a beautiful pop of color to your Roasted Garlic Aioli, making it even more appetizing for serving.
Step 8: Chill and Serve
For the best flavor, transfer your Roasted Garlic Aioli to an airtight container and refrigerate for at least 30 minutes. This allows the flavors to meld beautifully. When you’re ready to serve, enjoy it as a dip, spread, or drizzle, elevating your homemade dishes to new heights!
Make Ahead Options
You can definitely make your Roasted Garlic Aioli ahead of time, making meal prep a breeze! Prepare the aioli and store it in an airtight container in the refrigerator for up to one week. To ensure it remains fresh and delicious, mix the ingredients as directed and refrigerate for at least 30 minutes before serving to allow the flavors to meld beautifully. If considering a longer timeframe, you can roast the garlic up to 3 days in advance; simply mash it and store separately until you’re ready to combine it with the mayo and other ingredients. When you’re ready to serve, just give your aioli a good stir, and it’s just as tasty as when freshly made—saving you time while still impressing your guests!
Roasted Garlic Aioli Variations
Feel free to get creative with your Roasted Garlic Aioli and make it uniquely yours!
-
Vinegar Twist: Substitute apple cider vinegar for lemon juice to add a fruity zing. This swap introduces a delightful sweetness to the sauce, perfect for dressing salads.
-
Smoky Surprise: Replace roasted garlic with roasted red peppers for a smoky aioli variation. This gives you a vibrant color and a rich, sweet flavor profile that pairs beautifully with grilled meats.
-
Herbed Delight: Mix in fresh herbs like basil or dill for an aromatic twist. This variation not only looks stunning but also adds a refreshing taste that brightens up any dish.
-
Heat It Up: Add a pinch of cayenne pepper or a dash of your favorite hot sauce for a spicy kick. This twist is perfect for those who love their aioli with a little heat!
-
Nutty Flavor: Incorporate some tahini for a nutty depth to your aioli. It thickens the sauce and adds that creamy richness while offering an unexpected flavor layer.
-
Cheesy Aioli: Mix in freshly grated Parmesan cheese for a cheesy version that takes rich flavors to new heights. It’s perfect for drizzling over roasted vegetables or pasta!
-
Zesty Kick: Stir in some grated lemon zest for an extra burst of citrus. This will enhance the freshness and make your aioli even more vibrant, especially when paired with seafood.
-
Avocado Smoothness: Swap half of the mayonnaise for ripe avocado to create a creamier, yet equally rich aioli. This variation provides a healthy twist and a lush texture that’s irresistible.
Each variation opens up a new world of flavors to pair with your favorite dishes! For a perfect side, consider some delicious Garlic Roast Potatoes or a fresh salad to complement your aioli masterpiece.
How to Store and Freeze Roasted Garlic Aioli
Fridge: Store your Roasted Garlic Aioli in an airtight container for up to one week. This keeps it fresh and prevents any unwanted odors from affecting the flavor.
Make-Ahead: Prepare your aioli in advance; the flavors will deepen and enhance over time, making it an excellent addition to any meal prep!
Freezer: If you’d like to store it longer, freeze the aioli in small portions using ice cube trays. It can last for up to three months; just thaw in the fridge before use.
Reheating: When ready to serve, allow your aioli to come to room temperature, as it’s best enjoyed chilled. Stir well before serving to redistribute the flavors!
What to Serve with Roasted Garlic Aioli
Elevate your mealtime with delightful pairings that perfectly complement this creamy, flavorful sauce.
-
Grilled Vegetables: A medley of charred veggies enhances the aioli’s richness while adding a smoky flavor profile.
-
Crispy French Fries: The crunchy exterior and soft interior of fries create an irresistible interplay with the creamy texture of the aioli.
-
Savory Sandwiches: A spread of aioli adds gourmet flair to any sandwich, offering a creamy richness that brings layers of flavor together.
-
Fresh Crudités: Crisp, colorful raw veggies provide a refreshing crunch, balancing the smoothness of the aioli with their vibrant flavors.
-
Roasted Chicken: Drizzled over succulent roasted chicken, the aioli adds depth and moisture that transforms each bite into something extraordinary.
-
Homemade Pizza: Use the aioli as a dipping sauce or drizzle, offering a creamy twist to the classic pizza experience.
-
Chilled White Wine: A crisp glass of white wine pairs beautifully with the garlicky notes, enhancing the overall dining experience.
Expert Tips for Roasted Garlic Aioli
• Watch the Timing: Keep a close watch while roasting garlic to achieve a perfect caramelized color without burning; it’s easy to go from golden to burnt!
• Chill for Flavor: Allow the aioli to chill for at least 30 minutes before serving; this time helps all the flavors meld beautifully, enhancing your roasted garlic aioli.
• Substitutions: If you’re running low on ingredients, half mayonnaise and half Greek yogurt can create a lighter texture without compromising the creaminess.
• Optional Add-ins: Don’t hesitate to experiment! Add roasted red peppers for a smoky twist or herbs for freshness; it’s a wonderful way to personalize your aioli.
• Perfect Pairings: For serving, try your aioli with freshly cut veggies, grilled fish, or even as a luscious sandwich spread—your taste buds will thank you!
Roasted Garlic Aioli Recipe FAQs
What kind of garlic should I use for the best flavor?
Absolutely! Fresh, whole heads of garlic are best for roasting. Look for heads that feel firm and have tightly packed cloves. Avoid any that show dark spots or feel soft, as they’re past their prime.
How should I store leftover Roasted Garlic Aioli?
After serving, transfer any leftover aioli to an airtight container and refrigerate it for up to one week. This storage method keeps it fresh and prevents odors from mingling in your fridge. If you notice any separation or discoloration, give it a good stir before enjoying!
Can I freeze Roasted Garlic Aioli?
Very! Freezing is a great option if you want to keep your aioli longer. Pour the aioli into ice cube trays for easy portion control, then freeze until solid. Once frozen, transfer the cubes to a zip-top bag. Your aioli should last for up to three months. Just thaw the cubes in the fridge before using, and give them a good stir when ready to serve!
What should I do if my aioli is too thick?
If you find your Roasted Garlic Aioli is thicker than you’d like, don’t fret! Simply thin it out by adding a teaspoon of water or a bit more lemon juice. Mix well until you reach your desired consistency. This can also enhance the flavor, so it’s a win-win!
Could I make this aioli dairy-free or vegan?
Absolutely! For a dairy-free or vegan version of Roasted Garlic Aioli, simply replace the mayonnaise with a plant-based alternative like vegan mayo or aquafaba (the liquid from canned chickpeas). This will ensure you still get that creamy texture and flavor without any animal products.
What meals pair best with Roasted Garlic Aioli?
This creamy sauce is incredibly versatile! It pairs beautifully with grilled meats and vegetables, acts as a divine dip for fresh veggies or chips, and makes sandwiches sing. I often drizzle it over roasted potatoes or use it as a spread for wraps, elevating those dishes to new heights!
Creamy Roasted Garlic Aioli: Elevate Your Homemade Dishes
Ingredients
Equipment
Method
- Preheat your oven to 400°F (200°C).
- Peel the outer layers of a head of garlic and slice off the top.
- Drizzle garlic with olive oil, wrap in foil, and roast for 30-40 minutes.
- Once cooled, squeeze roasted garlic into a bowl and mash into a smooth paste.
- In another bowl, mix mashed garlic with mayonnaise, lemon juice, and Dijon mustard until smooth.
- Season with salt and pepper to taste and stir to combine.
- Optionally, fold in chopped parsley or chives.
- Transfer to an airtight container and chill for at least 30 minutes before serving.
Leave a Reply