
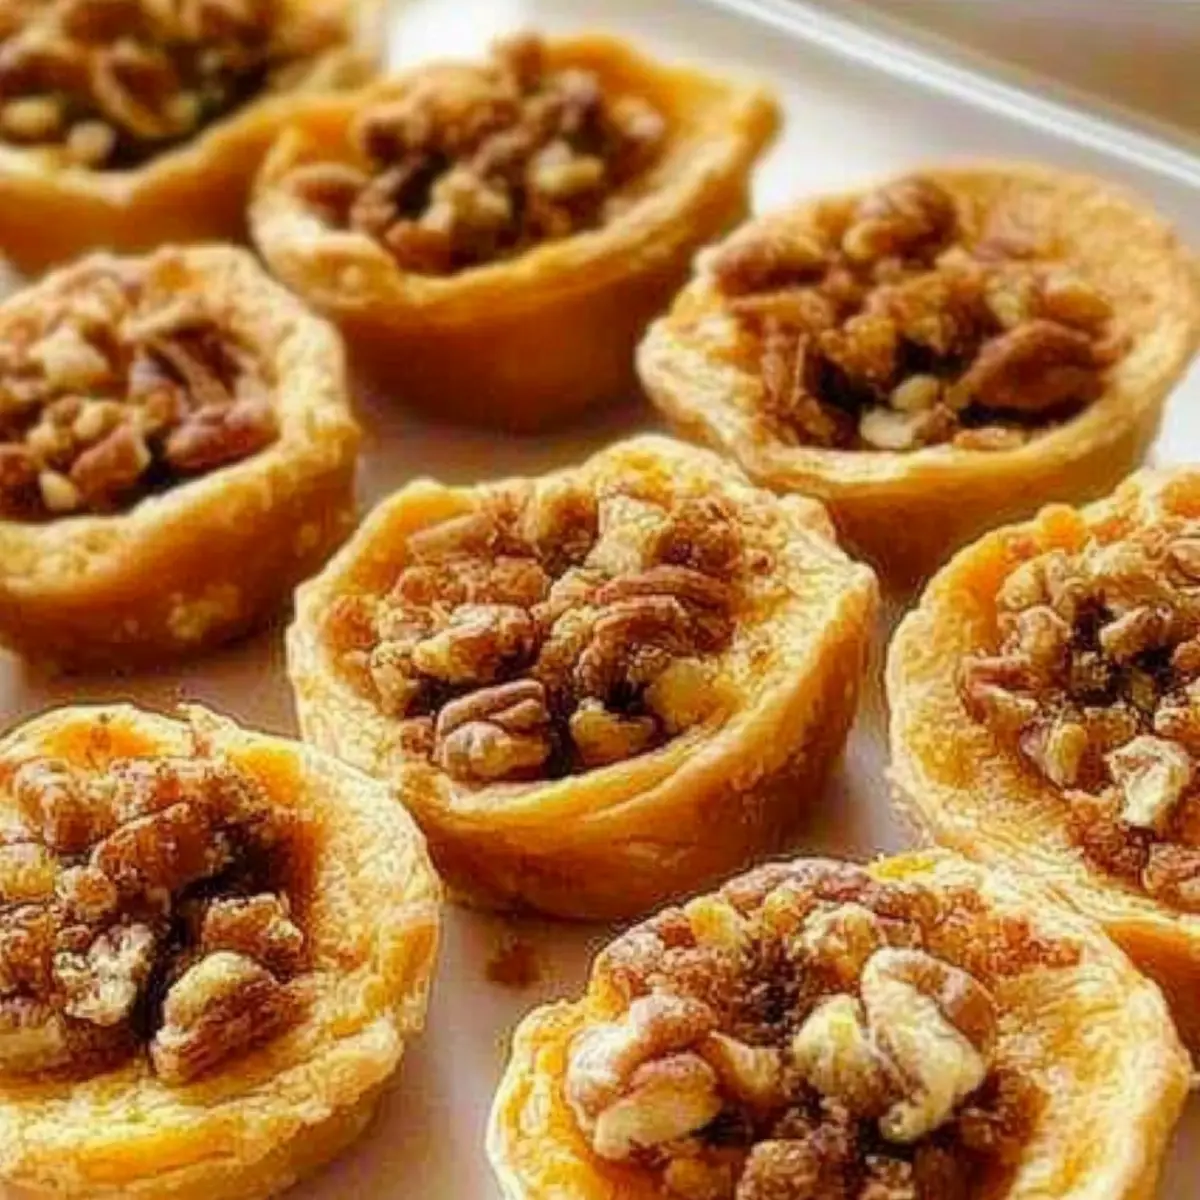
As the aroma of cinnamon and nutmeg dances through the air, I can’t help but feel a wave of nostalgia wash over me. One bite of these Pecan Tassies, with their buttery crust and gooey, sweet pecan filling, immediately takes me back to my childhood Thanksgiving gatherings. These delightful mini pies are not only a crowd-pleaser but also incredibly simple to whip up—perfect for those busy holiday kitchens! What’s more, they can be made ahead of time, freeing you to enjoy more moments with your loved ones. So, are you ready to impress your guests and elevate your Thanksgiving feast with this delightful twist on a classic dessert? Let’s dive into the world of flavors and comfort that these vintage treats bring to the table!

Why Are Pecan Tassies So Irresistible?
Sweet, Nostalgic Flavors: With their delectable pecan filling, these mini pies evoke warm memories of holiday gatherings, making them the perfect treat to share.
Simple to Make: You don’t need to be a baking pro to whip these up! The easy-to-follow recipe ensures that even novice bakers can impress their guests.
Make-Ahead Convenience: Pecan Tassies can be prepared in advance, allowing you to spend more quality time with family and friends during the busy holiday season.
Crowd-Pleaser: Whether it’s kids or adults, everyone loves these delightful bites, ensuring that they’ll disappear from the dessert table quickly!
Unique Twist on Tradition: If you’re looking for something special, try swapping in different nuts or flavors to give your Pecan Tassies your own unique touch. Elevate your dessert game this Thanksgiving with these irresistible treats!
Pecan Tassies Ingredients
• These mini pies are not only delicious but easy to make with simple ingredients.
For the Crust
- Butter – Adds richness and a flaky texture to the crust.
- Cream Cheese – Ensures the crust is tender and easy to work with.
- All-Purpose Flour – The base for the crust; consider gluten-free flour for a different twist.
- Powdered Sugar – Sweetens the crust without adding graininess.
For the Filling
- Chopped Pecans – Provides that signature nutty flavor and crunch; walnuts can be used as a substitution.
- Granulated Sugar – Sweetens the filling; brown sugar can add depth of flavor.
- Corn Syrup – Binds the filling together and gives it a lovely gooeyness.
- Eggs – Helps set the filling; for a vegan option, try a flaxseed meal replacement.
- Vanilla Extract – Enhances the sweetness and adds complexity to the flavors.
- Salt – Balances the sweetness for a well-rounded flavor profile.
Get ready to create magic in your kitchen with these simple ingredients, and let the delightful aroma of fresh Pecan Tassies fill the air this Thanksgiving!
Step‑by‑Step Instructions for Pecan Tassies
Step 1: Prepare the Dough
In a mixing bowl, combine 1 cup of softened butter, 8 oz of cream cheese, 2 cups of all-purpose flour, and 1 cup of powdered sugar. Use a hand mixer on low speed until the mixture is smooth and creamy. Chill the dough in the refrigerator for about 30 minutes, allowing it to firm up and making it easier to handle as you create your Pecan Tassies.
Step 2: Form the Crusts
Preheat your oven to 350°F (175°C). Once the dough is chilled, scoop about a tablespoon into each compartment of a greased mini muffin tin. Use your fingers to press the dough into the bottom and up the sides of each cup, making them look like small cups. This forms the base for your Pecan Tassies and should create an even thickness.
Step 3: Mix the Filling
In a medium mixing bowl, whisk together 1 cup of chopped pecans, 1 cup of granulated sugar, 2/3 cup of corn syrup, 2 beaten eggs, 1 teaspoon of vanilla extract, and a pinch of salt. Mix thoroughly until all ingredients are well combined and the sugar is dissolved. The filling should be slightly runny and glossy, ready to pour into your prepared crusts.
Step 4: Fill the Crusts
Carefully pour the pecan filling into each of the crusts in the mini muffin tin, filling them about three-quarters full. Ensure even distribution, as this allows for uniform baking and ensures all your Pecan Tassies are filled sufficiently. Be cautious not to overfill, as the filling will expand while baking.
Step 5: Bake the Pecan Tassies
Place the mini muffin tin in the preheated oven and bake for 20-25 minutes, or until the filling is set and the tops are a beautiful golden brown. Keep an eye on them towards the end; they should puff up slightly and look firm, indicating they are finished baking.
Step 6: Cool and Serve
Once baked, remove the Pecan Tassies from the oven and allow them to cool in the tin for about 10 minutes. Carefully transfer them to a wire rack to cool completely. These delightful mini pies are best served at room temperature, ready to be enjoyed by family and friends gathered around your Thanksgiving table!

Expert Tips for Pecan Tassies
-
Chill the Dough: Ensure the dough is chilled for at least 30 minutes. This prevents it from becoming too sticky and helps create a tender crust.
-
Don’t Overfill: Fill the crusts only three-quarters full to avoid spillover during baking. This ensures perfectly puffy Pecan Tassies that hold their shape.
-
Watch the Bake Time: Keep an eye on the Tassies as they bake; ovens may vary. They should be golden brown and set in the center when done.
-
Use Room Temperature Ingredients: For a smooth filling, make sure your eggs and other ingredients are at room temperature. This helps them blend evenly.
-
Experiment with Nuts: Feel free to swap out pecans for other nuts, such as walnuts or hazelnuts, for a fun twist on traditional Pecan Tassies.
What to Serve with Irresistible Pecan Tassies
Indulge your guests and create a delightful Thanksgiving spread alongside these charming sweet bites.
- Creamy Pumpkin Soup: This velvety soup pairs beautifully with the nutty sweetness of the Pecan Tassies, offering warmth and comfort.
- Cranberry Sauce Delight: The tangy tartness of cranberry sauce complements the sweet filling, making for a harmonious combination on the table.
- Classic Vanilla Ice Cream: A scoop of creamy vanilla ice cream provides a lovely contrast to the buttery crusts, enhancing the dessert experience.
- Fresh Fruit Salad: Bright, fresh fruits add a lightness to the meal, balancing the richness of the Pecan Tassies. Berries, apples, and citrus create a colorful medley!
- Coffee or Spiced Tea: A warm cup of coffee or spiced tea enhances the flavors of the Tassies while adding a comforting warmth to your gathering.
- Whipped Cream Topping: A dollop of fresh whipped cream crowns these mini pies with added richness, elevating their sweet, nutty flavor even further.
- Nutty Cheese Board: A selection of cheeses, nuts, and honey beautifully complements the pecans in the Tassies, making for a sophisticated, grazing-style dessert.
- Chocolate Sauce Drizzle: For chocolate lovers, a light drizzle of chocolate adds an exquisite touch, turning these Tassies into a more luxurious indulgence.
Pecan Tassies Variations & Substitutions
Get ready to personalize your Pecan Tassies! Elevate these tasty bites with delightful twists that will intrigue all your guests.
- Nutty Alternatives: Swap pecans for walnuts or hazelnuts to give your filling a new flavor profile. You might discover a new family favorite!
- Sweetener Swap: Use brown sugar instead of granulated sugar for a deeper, richer sweetness that enhances the gooey filling perfectly.
- Flavor Boost: Add a splash of bourbon to the filling for an adult-friendly twist that deepens the flavor. Just a little goes a long way!
- Chocolate Lovers: Fold in some mini chocolate chips into the filling for an unexpected treat—it adds a delightful richness and a bit of indulgence.
- Dairy-Free Option: Use a dairy-free cream cheese alternative to ensure everyone can enjoy these simple yet exquisite mini pies. You won’t sacrifice flavor!
- Vegan Variation: Replace eggs with a mixture of ground flaxseed and water (1 tablespoon flaxseed + 3 tablespoons water) for a vegan-friendly filling that still holds together well.
- Seasonal Spice: Incorporate a dash of pumpkin spice into your filling for a festive fall flavor that complements the pecans beautifully.
- Mini Dessert Boards: Serve your Pecan Tassies with an assortment of cheeses and fruits for a beautiful dessert board—a great way to impress guests and add variety!
Don’t hesitate to experiment with these variations, and for more delightful ideas, check out my Pecan Pie Crescent for another twist on these classic flavors! Enjoy discovering the endless possibilities!
Make Ahead Options
These delightful Pecan Tassies are perfect for meal prep, allowing you to enjoy a stress-free Thanksgiving! You can prepare the crust up to 24 hours in advance. Simply follow the crust instructions, then chill the dough, cover it tightly with plastic wrap, and refrigerate. For the filling, mix it up to 3 days in advance; store it in an airtight container in the fridge to maintain flavor. When you’re ready to bake, simply follow the filling instructions and fill the chilled crusts, then pop them in the oven. This way, you get irresistibly delicious Pecan Tassies with minimal effort, freeing up time to connect with loved ones on a busy holiday!
Storage Tips for Pecan Tassies
Room Temperature: Store leftover Pecan Tassies in an airtight container for up to 3 days; enjoy their sweet, nutty flavor fresh and at their best!
Fridge: If you need them to last longer, you can refrigerate Pecan Tassies for up to a week. Just make sure they’re in a sealed container to prevent them from drying out.
Freezer: For longer storage, freeze Pecan Tassies for up to 3 months. Wrap each piece individually in plastic wrap, then place them in a freezer-safe bag to maintain freshness.
Reheating: To enjoy them warm, let thaw at room temperature, then bake at 350°F (175°C) for about 5-10 minutes. This will restore their lovely gooey filling!

Pecan Tassies Recipe FAQs
How do I know if my pecans are fresh?
Absolutely! Fresh pecans should smell nutty and not have any rancid odor. Look for nuts that are firm and glossy without any dark spots or signs of mold. If you find them in the freezer, they can stay good for up to a year!
What’s the best way to store leftover Pecan Tassies?
I recommend storing any leftovers in an airtight container at room temperature for up to 3 days for the freshest taste. If you want them to last longer, refrigerate them for up to a week, ensuring they’re well-sealed to prevent drying.
Can Pecan Tassies be frozen?
Very! To freeze Pecan Tassies, wrap each piece individually in plastic wrap. Then place them in a freezer-safe bag or container, and they’ll keep well for up to 3 months. When you’re ready to enjoy them again, let them thaw at room temperature, and warm them in the oven at 350°F (175°C) for about 5-10 minutes.
What should I do if my Pecan Tassies overflowed during baking?
Don’t worry! Oven mishaps happen to the best of us. If the filling has overflowed, let the Tassies cool completely in the pan—this will make it easier to remove them. For future bakes, simply fill the crusts about three-quarters full to prevent spillage.
Are Pecan Tassies safe for those with nut allergies?
Not at all! Pecan Tassies contain nuts, which can cause allergic reactions in sensitive individuals. I suggest offering an alternative dessert, such as fruit tarts or chocolate chip cookies, that don’t contain nuts to accommodate your guests’ dietary restrictions.
Can I make Pecan Tassies ahead of time?
Absolutely! Preparing Pecan Tassies a day in advance allows the flavors to meld beautifully. Bake them and store them in an airtight container at room temperature, or if you’re preparing them even earlier, freeze them before baking and just follow the previous instructions for reheating. This way, you can enjoy quality time with your loved ones on the big day!
Irresistible Pecan Tassies: Sweet Nibbles for Everyone
Ingredients
Equipment
Method
- In a mixing bowl, combine butter, cream cheese, flour, and powdered sugar. Use a hand mixer on low speed until smooth. Chill for 30 minutes.
- Preheat oven to 350°F (175°C). Scoop about a tablespoon of dough into each compartment of a greased mini muffin tin. Press the dough to form cups.
- In a medium bowl, whisk together chopped pecans, granulated sugar, corn syrup, beaten eggs, vanilla extract, and salt until well combined.
- Pour the filling into the crusts in the mini muffin tin, filling them about three-quarters full.
- Bake for 20-25 minutes or until filling is set and tops are golden brown. Watch closely towards the end.
- Remove from oven and cool in the tin for 10 minutes before transferring to a wire rack to cool completely.
Leave a Reply