
There’s something magical about the sound of a blender revving up, especially when ice cream and cookies are about to meld into a treat that’s pure bliss. Enter the Oreo Milkshake: a classic dessert that whisks you away to simpler times with each indulgent sip. What makes this recipe truly special is its simplicity; with just three main ingredients, you can whip up a delightful and creamy concoction in mere minutes. Perfect for those sweltering summer afternoons or as the sweetest finale to a cozy movie night, this milkshake isn’t just quick and easy—it’s also incredibly versatile. Want a nutty twist? Toss in some peanut butter or maybe a dash of caramel for a golden swirl. Curious about other flavor variations? I promise you’ll be inspired to shake things up in the kitchen! Ready to blend your way to happiness? Let’s dive in.
Why Is This Oreo Milkshake So Irresistible?
Ease of Preparation: In just minutes, you can create a delicious dessert that impresses friends and family alike.
Decadent Flavor: The combination of rich vanilla ice cream and crunchy Oreo cookies delivers a tempting cookies-and-cream experience.
Customizable Goodness: From peanut butter twists to strawberry variations, the endless combinations keep things exciting for every taste bud.
Kid-Friendly Fun: Whipping up this milkshake is a delightful activity for kids, making snack time full of joy and creativity.
Crowd Pleaser: Perfect for parties and gatherings, it’s a nostalgic treat that appeals to all ages!
With its simple recipe, unique flavors, and fun toppings, this Oreo milkshake will quickly become your go-to dessert anytime the craving strikes!
Oreo Milkshake Ingredients
For the Base
- Oreo cookies – These are the stars of the show, bringing that iconic cookies and cream flavor that you’ll love.
- Vanilla ice cream – Adds a creamy, sweet texture; swap it for chocolate ice cream for a richer experience.
- Whole milk – Helps to achieve that perfect milkshake consistency; feel free to use almond or oat milk for a lighter touch.
For Extra Flavor
- Vanilla extract – Optional but recommended for a little extra depth of flavor that enhances the overall taste.
For Toppings
- Whipped cream – Tops off the milkshake beautifully, adding a cloud of sweetness; choose between dairy and non-dairy options.
- Chocolate syrup – Drizzle over the whipped cream for a decadent finish; caramel syrup works wonderfully as a delightful alternative.
- Extra Oreos – Crush them as a garnish for added crunch and visual appeal.
With these simple yet essential ingredients, your Oreo milkshake is just a blend away from being a delicious reality!
Step‑by‑Step Instructions for Oreo Milkshake
Step 1: Crush Oreos
Start by placing about 6-8 Oreo cookies in a sturdy plastic bag. Using a rolling pin, gently crush the cookies into small pieces, aiming for a mix of fine crumbs and chunky bits for textural contrast. This process should take around 2-3 minutes. Set the crushed Oreos aside, ready to be blended into your delicious Oreo milkshake.
Step 2: Blend Ingredients
In a blender, combine 2 cups of vanilla ice cream and 1 cup of whole milk. Add your crushed Oreos to the mix for that irresistible cookies and cream flavor. Blend everything on high speed for about 30-45 seconds until smooth and creamy, ensuring there are no large lumps. You’re aiming for a thick and luscious consistency that’s perfect for a milkshake.
Step 3: Serve
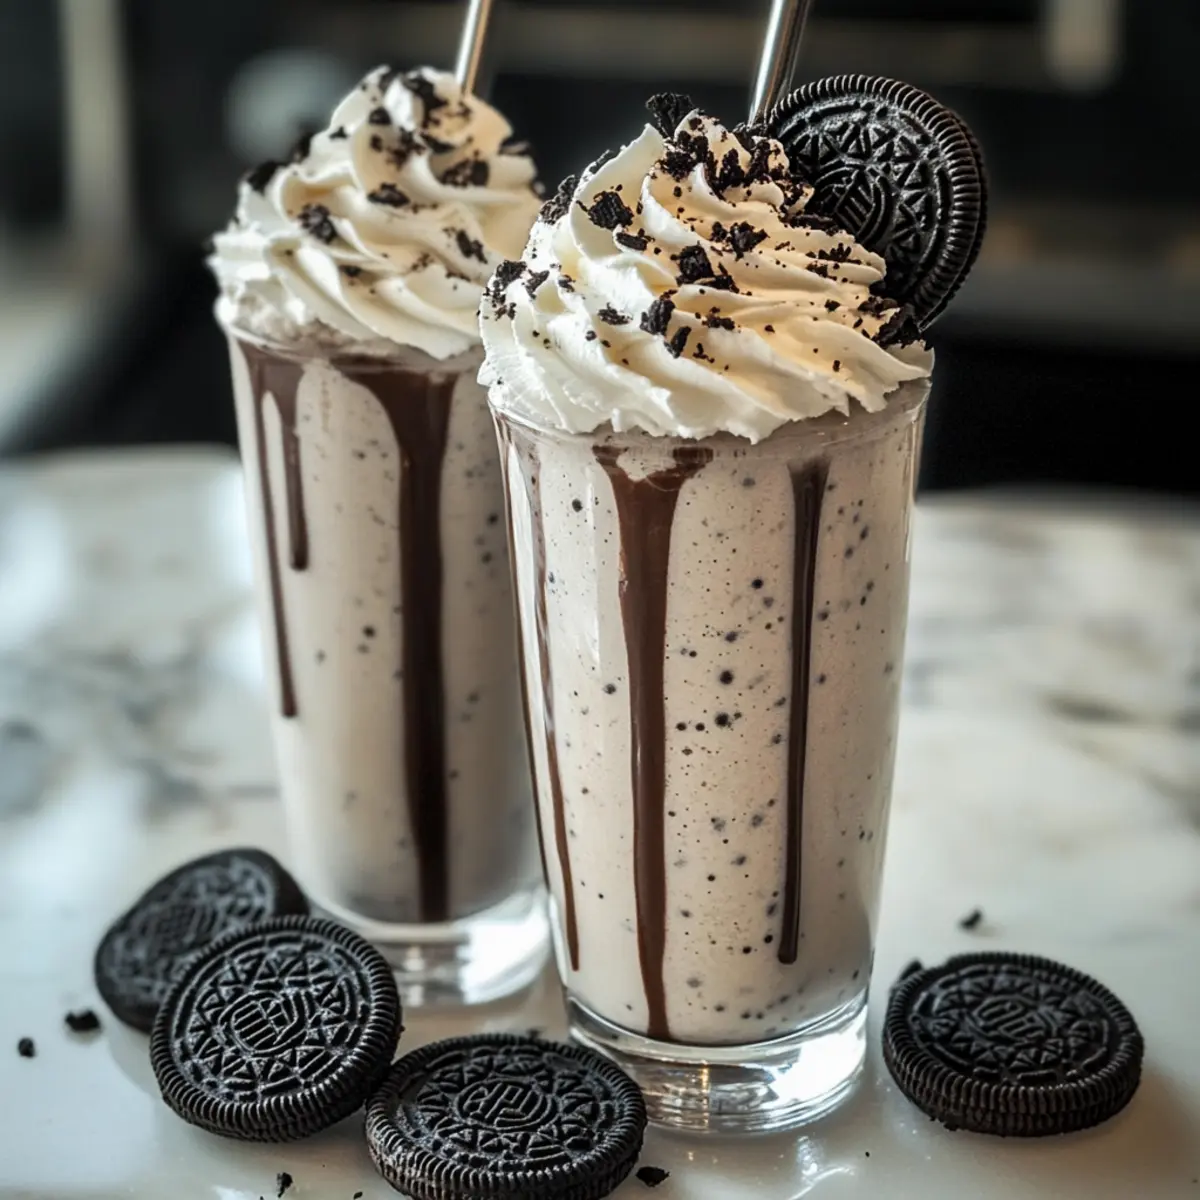
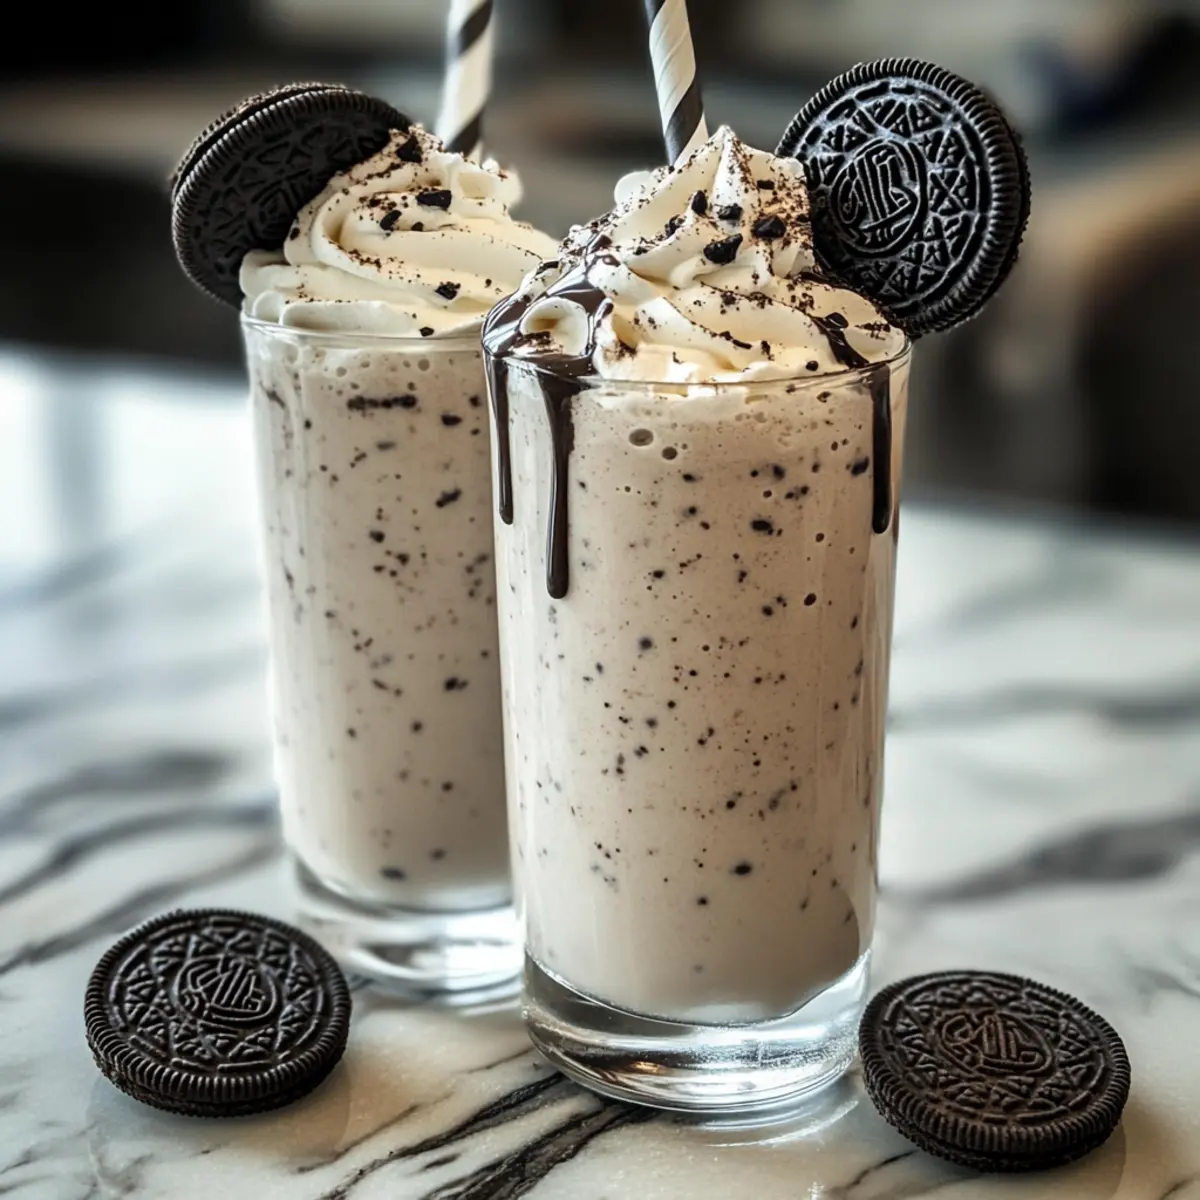
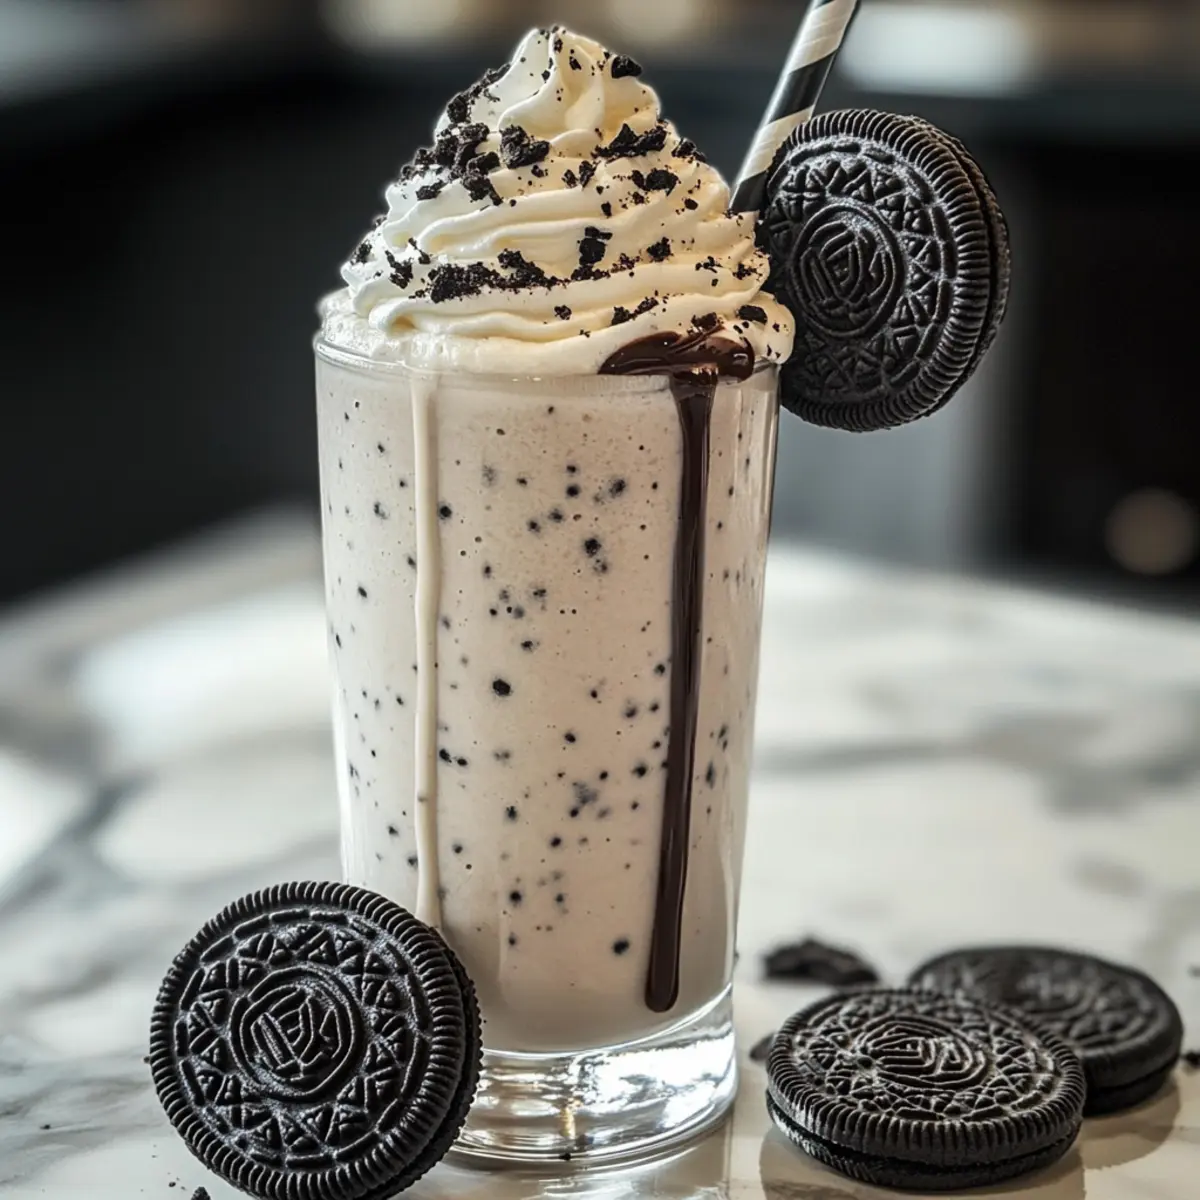
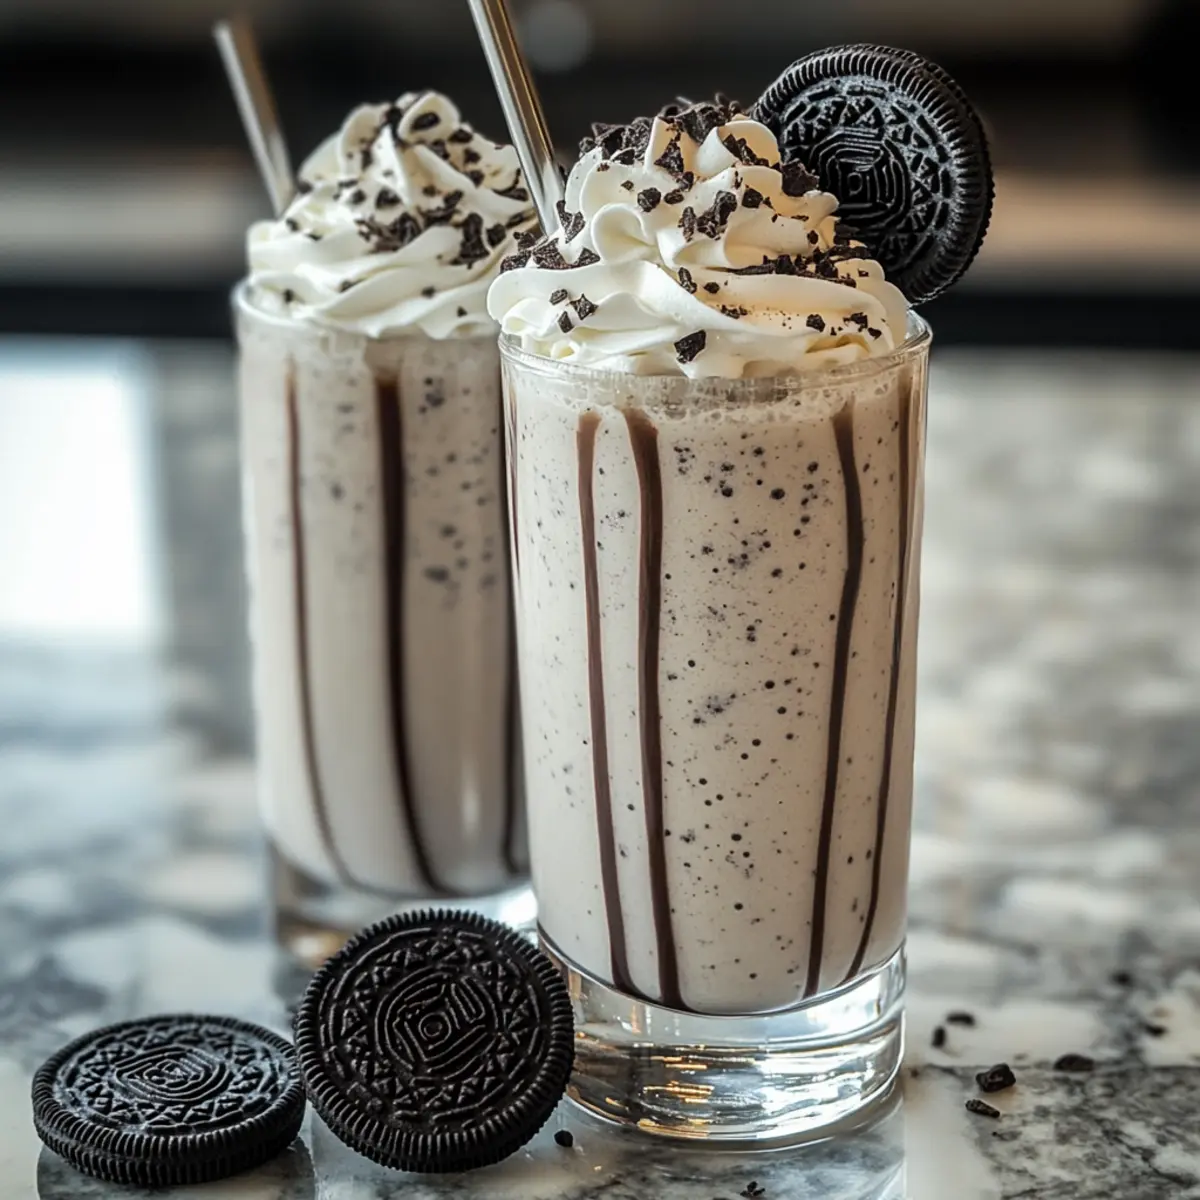
Once your milkshake is beautifully blended, pour it into tall glasses, filling them about three-quarters full to allow space for toppings. Take a moment to appreciate the creamy texture before adding a generous dollop of whipped cream on top. This adds an irresistible flair to your Oreo milkshake, making it even more indulgent.
Step 4: Garnish and Enjoy
For that extra touch of decadence, drizzle chocolate syrup over the whipped cream, letting it cascade down the sides. If you desire, chop up an additional Oreo for a delightful garnish on top. Now, grab a straw and a spoon; your delightful Oreo milkshake is ready to be savored immediately!
Expert Tips for Perfect Oreo Milkshake
-
Blend to Perfection: Ensure you blend thoroughly to achieve a silky-smooth texture. Stopping too early may leave lumps in your Oreo milkshake.
-
Adjust Thickness: Experiment with the milk quantity! For a thicker shake, add less milk, or for a thinner version, incorporate more.
-
Chill Your Glasses: To keep your milkshake cold longer, chill your glasses in the freezer for a few minutes before serving.
-
Crush Carefully: Don’t over-crush your Oreos! Aim for a mix of crumbs and larger chunks to enhance the texture and flavor of your milkshake.
-
Taste as You Go: If you love a stronger Oreo flavor, add a few more crushed cookies to the blend before serving.
With these tips in mind, your Oreo milkshake will be the highlight of your dessert table!
Oreo Milkshake Variations & Substitutions
Ready to take your Oreo milkshake to new heights? Let your creativity flow with these fun twists!
-
Peanut Butter: Mix in a spoonful of creamy peanut butter for a delightful nutty flavor that complements the Oreo perfectly. It’s a sweet and salty dream come true!
-
Strawberry Shake: Swap vanilla ice cream for strawberry ice cream, and add some fresh strawberries. This fruity twist gives a refreshing spin to your classic milkshake.
-
Chocolate Overload: Use rich chocolate ice cream instead of vanilla, and add a spoonful of chocolate syrup for an indulgent, decadently delicious experience.
-
Golden Caramel Swirl: Replace regular Oreos with Golden Oreos and drizzle caramel syrup into the mix. It’s a sweet symphony of flavors!
-
Boozy Adult Shake: For a grown-up treat, add a splash of whipped cream vodka. This adds warmth and a touch of fun to your dessert!
-
Minty Freshness: Add a few drops of peppermint extract to your milkshake for a refreshing mint Oreo flavor. Top with crushed mint Oreos for a delightful crunch!
-
Nut-Free Swaps: If you’re looking to remove nut ingredients altogether, you can substitute peanut butter with sunflower seed butter. It’s just as tasty and safe for allergy concerns.
-
Dairy-Free Delight: Use coconut ice cream and almond milk for a fully dairy-free option that’s still creamy and delicious. Customize your toppings with coconut whipped cream for extra flavor!
Feel free to explore these delicious variations while also checking out our delightful chocolate syrup or caramel drizzle recipe for added sweetness! Enjoy your milkshake journey!
How to Store and Freeze Oreo Milkshake
-
Best Enjoyed Fresh: For the ultimate taste and texture, consume your Oreo milkshake immediately after making it, as it may separate over time.
-
Fridge: If you have leftovers, store them in a sealed container in the fridge for up to 2 hours, but be aware that the texture may change.
-
Freezer: To freeze, pour the milkshake into an airtight container for up to 1 month. Thaw in the fridge before re-blending for a smooth consistency.
-
Reheating: Since this is a milkshake, you won’t be reheating it like a meal. Instead, if it thickens, simply blend again with a splash of milk to restore the creaminess.
What to Serve with Easiest Oreo Milkshake?
There’s nothing quite like complementing a creamy dessert with delightful pairings that spark joy and flavor.
-
Classic Cheesecake: Its rich and creamy texture balances the sweetness of the milkshake, enhancing every bite with luxurious flavor. A slice of cheesecake can take your dessert experience to new heights.
-
Chocolate Cake: A rich, moist chocolate cake is a superb match for the Oreo milkshake, creating a heavenly dessert duo that chocolate lovers will adore. Pairs perfectly alongside a nice scoop of vanilla ice cream.
-
Fresh Strawberries: Juicy, sweet strawberries add a fresh contrast to the rich, creamy shake, brightening up the dessert experience beautifully. They can also be dipped into the creamy milkshake for a delightful treat.
-
Peanut Butter Cookies: The nutty flavor of peanut butter cookies complements the cookies and cream base of the milkshake, creating a comforting, indulgent snack. The crunchiness adds a fun texture contrast as well.
-
Homemade Brownies: Fudgy brownies served warm beside your Oreo milkshake will add an extra layer of richness and delight. Their chewy texture pairs beautifully with the creamy shake.
-
Root Beer Float: For a refreshing twist, combine a root beer float with your Oreo milkshake. The fizzy contrast turns your dessert into a fun and nostalgic experience, reminiscent of old-fashioned soda shops.
-
Hot Fudge Sundae: This decadent dessert alongside the cookies-and-cream milkshake amplifies all those sweet, comforting flavors. Drizzled hot fudge can elevate the experience beautifully.
-
Mint Chocolate Chip Ice Cream: A vibrant scoop of mint chocolate chip ice cream offers a refreshing coolness that cuts through the richness of the Oreo shake, adding complexity to the flavor palette.
These pairings not only elevate your experience but also make for an unforgettable dessert spread that will leave everyone smiling!
Make Ahead Options
These Oreo Milkshakes are perfect for meal prep enthusiasts who want to save time on busy weeknights! You can crush the Oreos and blend the ice cream with milk up to 24 hours in advance. Simply store the crushed cookies in an airtight container and refrigerate the blended mixture. When you’re ready to serve, just give it a quick stir and pour into glasses; top with whipped cream and a drizzle of chocolate syrup. For optimal quality, keep the blended milkshake in the refrigerator to ensure it remains creamy and delicious. This way, you’ll enjoy a refreshing treat with minimal effort!
Oreo Milkshake Recipe FAQs
How do I pick the best Oreos for my milkshake?
Absolutely! For the most flavorful Oreo milkshake, choose fresh Oreo cookies that are free of dark spots or any signs of moisture. This ensures that you’ll get that crunchy texture and rich flavor that makes the shake so delightful. If you prefer a twist, you can try using different flavors like Double Stuf or even the seasonal options.
How should I store any leftover milkshake?
I always recommend enjoying your Oreo milkshake fresh for the best taste and texture. However, if you have leftovers, keep them in a sealed container in the fridge. They’re best consumed within 2 hours, but do note that the milkshake may separate, so give it a good stir before indulging again!
Can I freeze my Oreo milkshake for later?
Yes, you can! To freeze your Oreo milkshake, simply pour it into an airtight container and freeze it for up to a month. When you’re ready to enjoy it, take it out of the freezer and let it thaw in the fridge for about 2-3 hours. Once thawed, re-blend it with a splash of milk to restore that creamy consistency you love.
What if my milkshake is too thick or too thin?
No worries at all! If your milkshake is too thick, just add a splash of milk gradually until you reach your desired consistency. Conversely, if it’s too thin, throw in a bit more ice cream or some additional crushed Oreos to thicken it up. You can always taste and adjust to your liking!
Is this milkshake safe for kids?
Very! This Oreo milkshake recipe is kid-friendly and made with simple ingredients that kids love. However, for younger children, it’s wise to monitor their sugar intake or offer smaller portions and perhaps skip the chocolate syrup for a lighter alternative. Enjoy making this treat together—it’s a fun way to bond in the kitchen!
Decadent Oreo Milkshake: Your Creamy 3-Ingredient Escape
Ingredients
Equipment
Method
- Start by placing about 6-8 Oreo cookies in a sturdy plastic bag. Using a rolling pin, gently crush the cookies into small pieces. This process should take around 2-3 minutes.
- In a blender, combine 2 cups of vanilla ice cream and 1 cup of whole milk. Add your crushed Oreos to the mix and blend on high speed for about 30-45 seconds until smooth and creamy.
- Pour the milkshake into tall glasses, filling them about three-quarters full. Add a generous dollop of whipped cream on top.
- Drizzle chocolate syrup over the whipped cream and garnish with chopped Oreo if desired. Enjoy your Oreo milkshake immediately!
Leave a Reply