
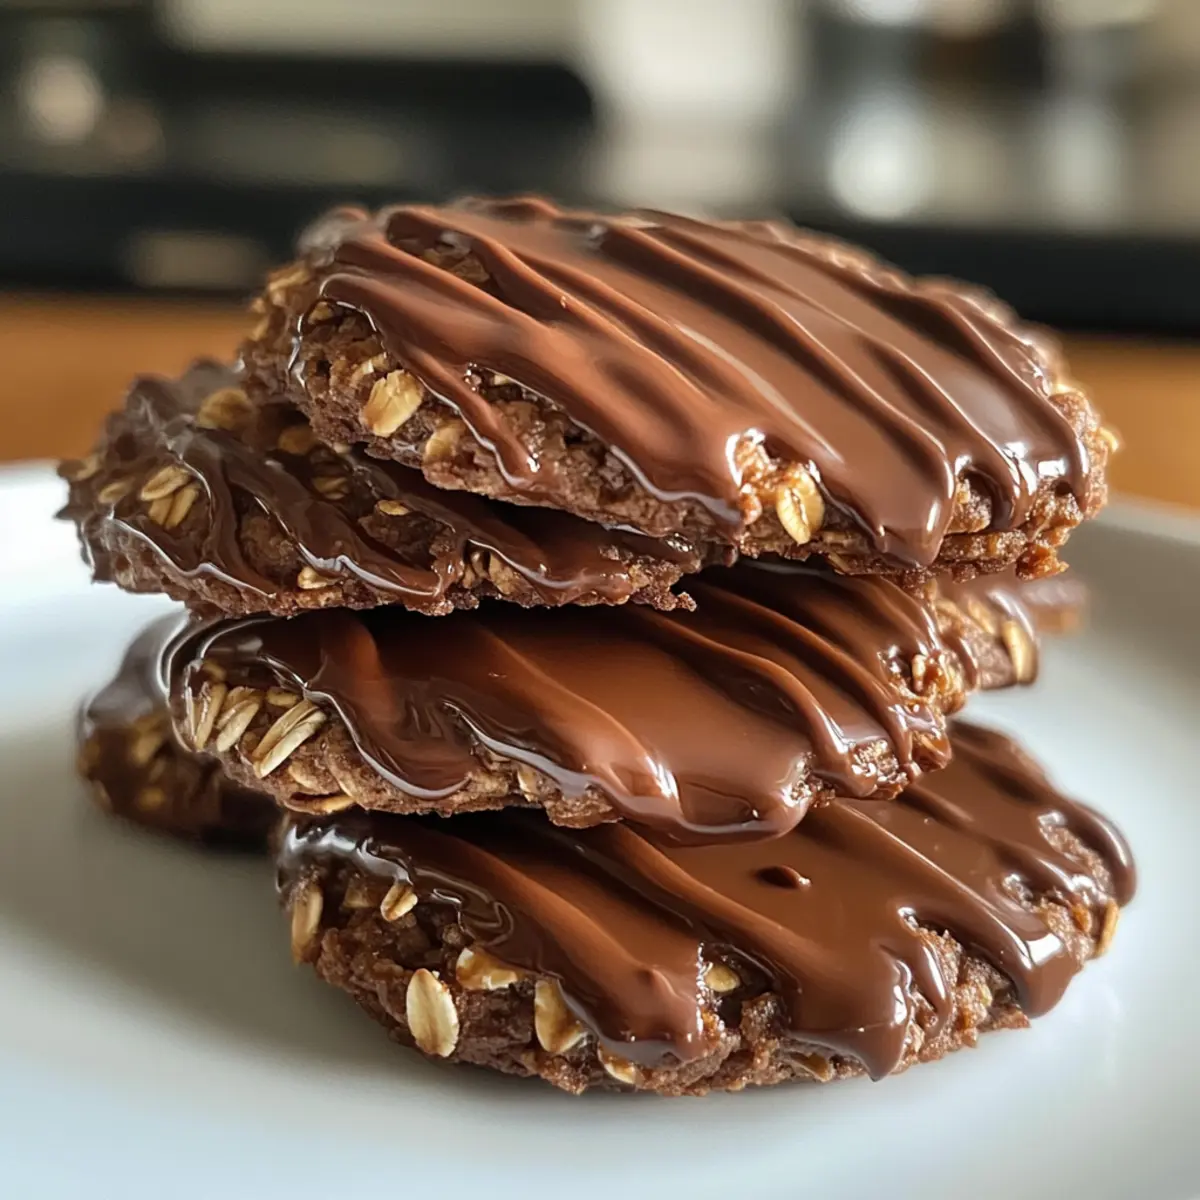
The moment the sun dips below the horizon, a wave of nostalgia sweeps over me, bringing memories of cozy afternoons filled with sweet treats. One of my fondest is biting into a No-Bake Chocolate Oat Cookie, where rich cocoa and chewy oats create a delightful harmony. This recipe is perfect for anyone seeking a quick and easy dessert, making it a lifesaver on those busy days when you crave something sweet without the fuss of baking. Plus, they’re gluten-free and effortlessly customizable, meaning everyone can indulge guilt-free! Are you ready to whip up a batch and experience this chocolaty delight? Let’s dive in!
Why Are No-Bake Cookies a Must-Try?
Quick and Easy: The beauty of these cookies lies in their simplicity, offering a hassle-free solution for those short on time.
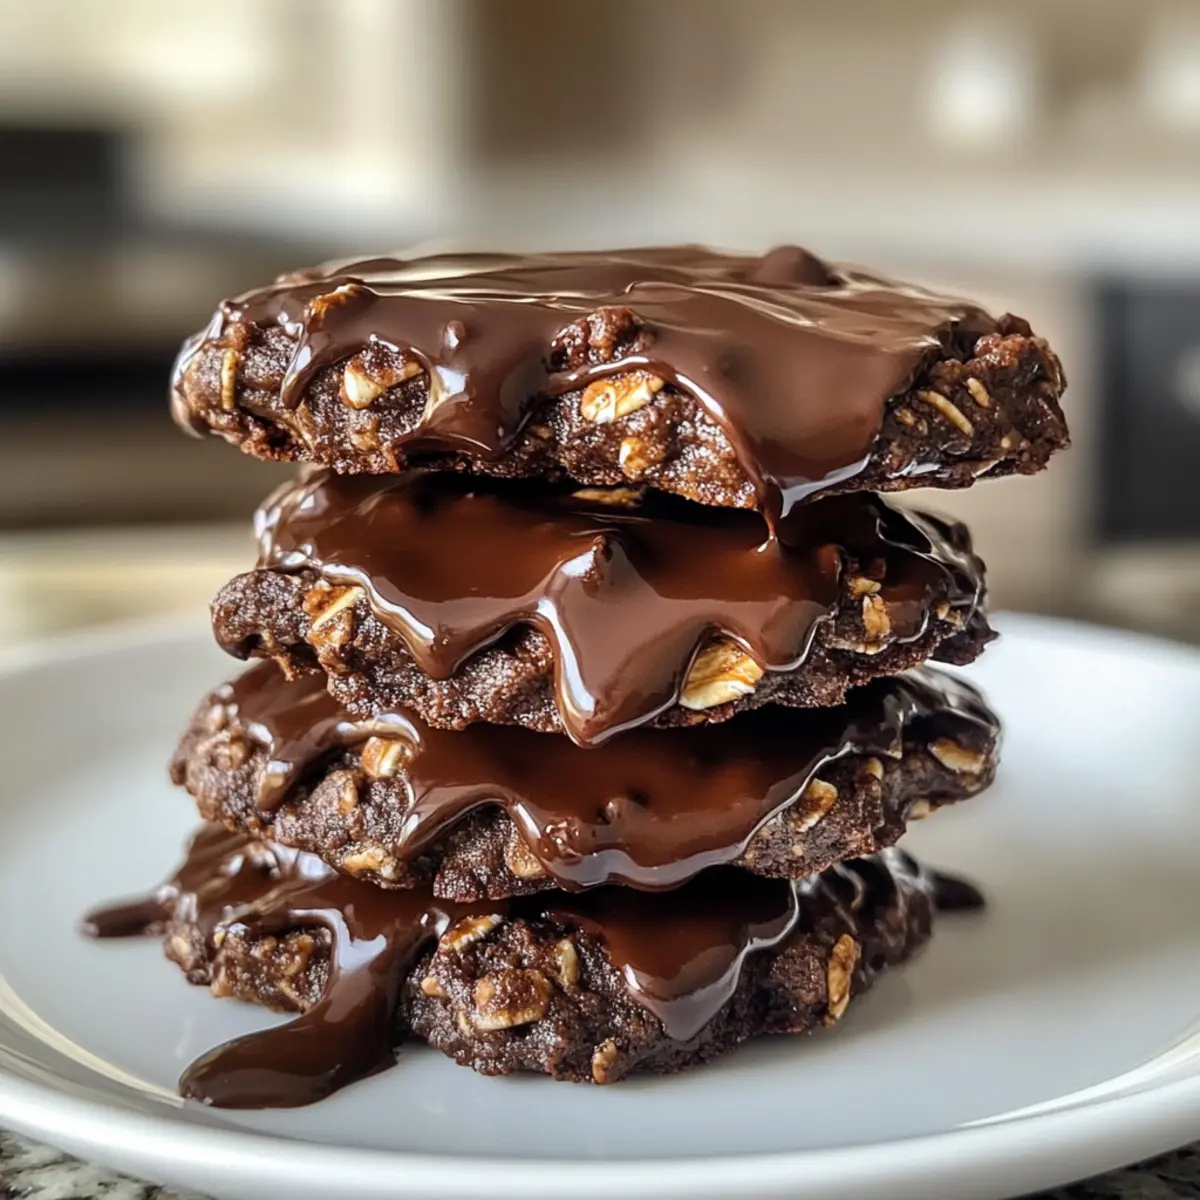
Rich Chocolate Goodness: Each bite is bursting with deep cocoa flavor, satisfying your sweetest cravings without the guilt.
Customizable Delights: Feel free to personalize with your favorite mix-ins, whether it’s raisins or coconut for extra flair!
Healthy Indulgence: With wholesome ingredients, these cookies pack a nutritious punch, making them perfect for an afternoon snack or energy booster.
No Oven Required: Say goodbye to the heat of the oven and enjoy a refreshing treat that’s great for warm days.
Not sure what to pair them with? These cookies also complement a savory dish like a Chicken Torta Sandwich beautifully!
No-Bake Chocolate Oat Cookie Ingredients
For the Cookies
• Old-Fashioned Oats – Provide structure and chewiness; opt for gluten-free oats if needed.
• Nut Butter (Peanut/Almond) – Acts as a binder while adding creaminess; substitute sunflower seed butter for nut allergies.
• Cocoa Powder – Infuses rich chocolate flavor without added sugar; unsweetened cocoa yields the best results.
• Maple Syrup/Honey – Sweetens and binds the ingredients; use agave syrup for a vegan-friendly option.
• Vanilla Extract – Enhances the cookie’s flavor profile; pure vanilla extract works best for a robust taste.
• Salt – Balances sweetness and elevates flavor; sea salt or kosher salt is recommended.
Enjoy crafting these delicious no-bake chocolate oat cookies, and you’ll see how they can complement a savory favorite like a Chicken Torta Sandwich!
Step‑by‑Step Instructions for No-Bake Gluten-Free Chocolate Oat Cookies
Step 1: Combine Dry Ingredients
In a medium mixing bowl, combine 1 cup of old-fashioned oats, 1/2 cup of unsweetened cocoa powder, and a pinch of salt. Use a whisk to mix them thoroughly, ensuring they are evenly blended. This step lays the foundation for your no-bake chocolate oat cookies, creating the perfect texture for the final treat.
Step 2: Heat Wet Ingredients
In a separate microwavable bowl, add 1/2 cup of your preferred nut butter (like peanut or almond) and 1/3 cup of maple syrup. Microwave the mixture in 15-second intervals until warm but not boiling, stirring well until it’s smoothly combined. This creamy blend will help bind the cookies together, enhancing their fudgy texture.
Step 3: Mix in Vanilla
Remove your warmed nut butter mixture from the microwave to add a teaspoon of pure vanilla extract. Stir until the vanilla is fully incorporated, creating a fragrant and smooth mixture. This essential step ensures that all flavors shine through in your no-bake chocolate oat cookies.
Step 4: Combine Wet and Dry Ingredients
Pour the warm nut butter mixture over the dry ingredients in your mixing bowl. Use a sturdy spatula to mix everything until the oats are well-coated, and the cocoa powder is fully integrated. You should see a cohesive mixture form, sticky yet manageable, ready to shape into delicious cookie bites.
Step 5: Shape the Cookies
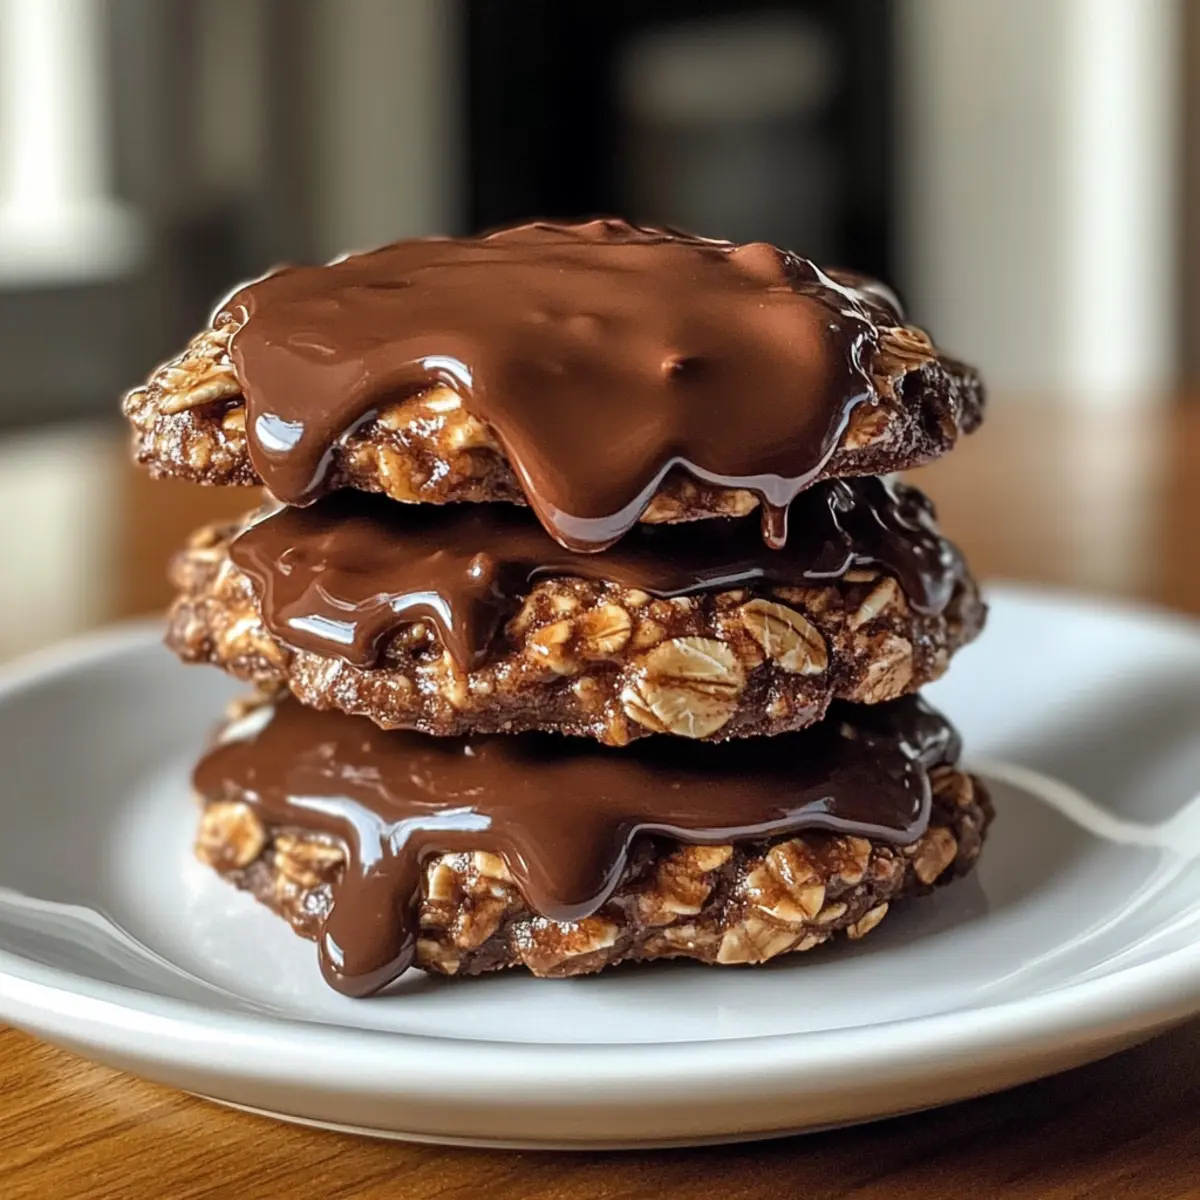
Using a tablespoon or cookie scoop, take portions of the mixture and roll them into balls or flatten them slightly to form cookie shapes. Place each one on a parchment-lined tray, ensuring they’re spaced about an inch apart. This step helps the cookies maintain their shape while chilling in the refrigerator.
Step 6: Chill to Firm Up
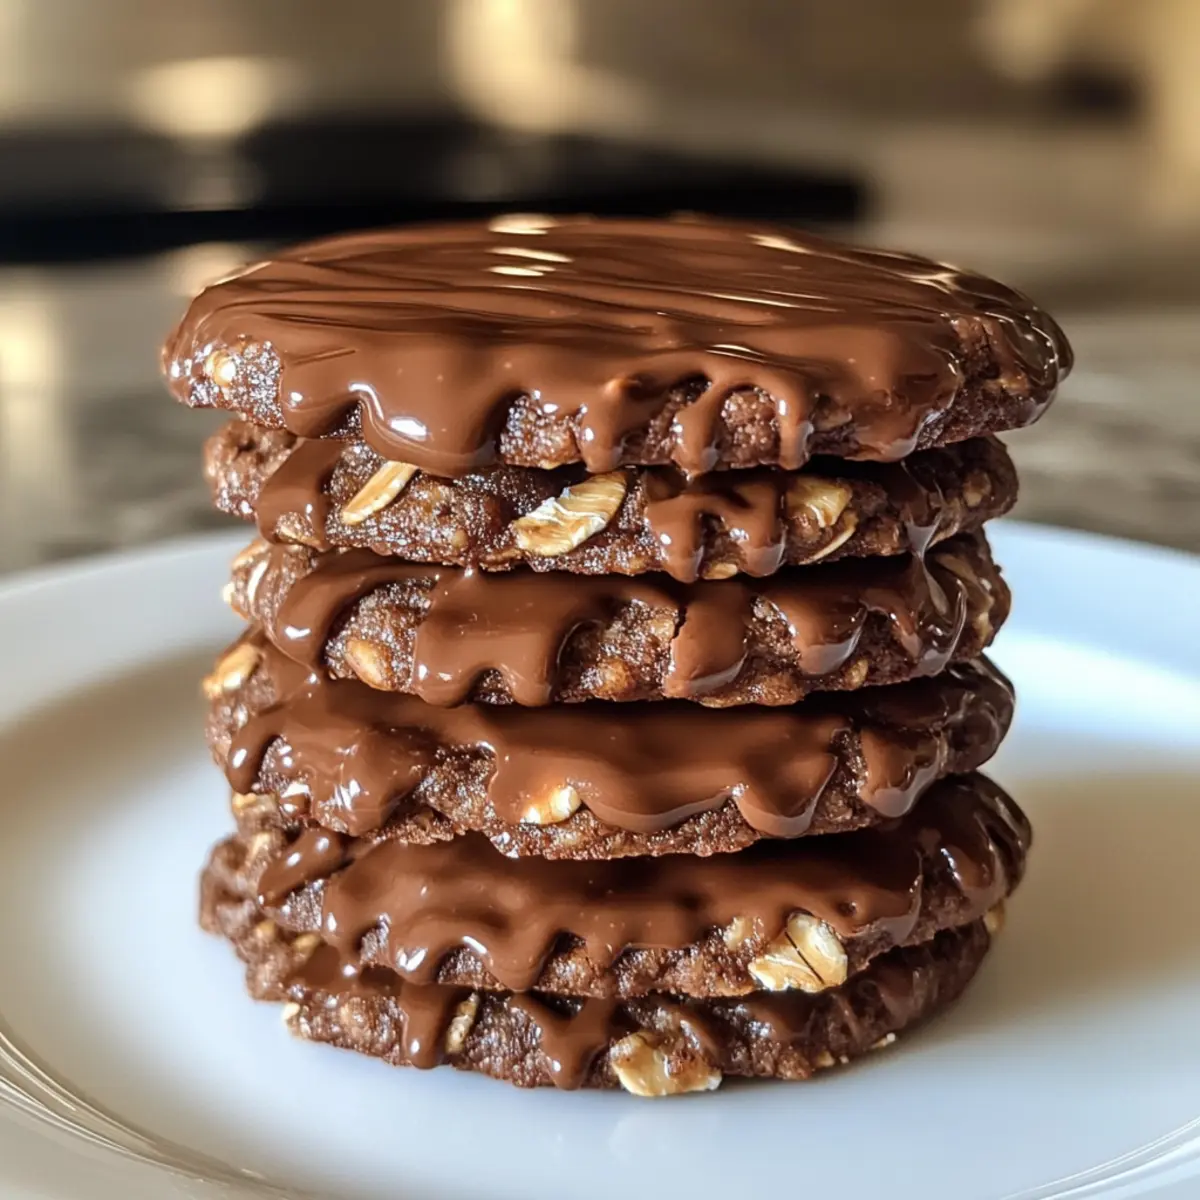
Transfer the tray with your shaped cookies to the refrigerator and let them chill for at least 30 minutes. This cooling period allows the cookies to firm up, ensuring that each bite of your no-bake chocolate oat cookies has a chewy yet satisfying texture when you’re ready to enjoy them.
What to Serve with No-Bake Gluten-Free Chocolate Oat Cookies
Indulging in these easy-to-make cookies invites the perfect opportunity to create a delightful meal experience.
- Creamy Greek Yogurt: A dollop of creamy Greek yogurt with a drizzle of honey adds a tangy contrast, balancing the sweetness of the cookies beautifully.
- Fresh Berries: A mix of strawberries, raspberries, and blueberries offers a refreshing burst of fruity flavor and a pop of color on your plate.
- Nutty Granola: Sprinkle a handful of crunchy granola for added texture and a wholesome edge, bringing a satisfying crunch that complements the chewy cookies.
- Chocolate Milkshake: Pair your cookies with a rich chocolate milkshake for an indulgent treat; the creaminess enhances the chocolate flavor, making every bite irresistible.
- Coffee or Espresso: A warm cup of coffee or an espresso shot enhances the chocolate taste, creating a comforting duo that’s perfect for afternoon cravings.
- Cheese Platter: Serve alongside a cheese platter filled with creamy brie and sharp cheddar, creating an unexpected savory contrast to the sweet cookies.
- Coconut Whipped Cream: Whipped coconut cream adds a light, fluffy sweetness that pairs well with the rich chocolate without overwhelming your palate.
- Frozen Banana Bites: For a fun treat, serve frozen banana bites drizzled with chocolate; their naturally sweet flavor complements the cookies gracefully.
Storage Tips for No-Bake Chocolate Oat Cookies
Room Temperature: Store cookies in an airtight container at room temperature for up to 3 days. Enjoy them fresh with a soft, chewy texture!
Fridge: Keep your cookies in the refrigerator for up to a week. The cool environment helps maintain their firmness, making them perfect for on-the-go snacking.
Freezer: For longer storage, freeze the cookies in a single layer on a baking sheet. Once frozen, transfer them to an airtight container; they can last up to 3 months.
Reheating: For a softer texture, let cookies sit at room temperature for about 10 minutes before enjoying. This no-bake chocolate oat cookie treat is best when served fresh!
No-Bake Chocolate Oat Cookies Variations
Feel free to let your creativity run wild as you customize these delightful cookies to suit your taste and dietary preferences!
- Gluten-Free: Use certified gluten-free oats to ensure that everyone can enjoy these treats safely.
- Vegan: Substitute honey with agave syrup and choose a plant-based nut butter to make these cookies completely vegan-friendly.
- Nut-Free: Swap out nut butter for sunflower seed butter or tahini for a nut-free alternative that still provides creaminess.
- Sweetener Swap: Use stevia or monk fruit sweetener for a low-sugar version without compromising on taste.
- Added Crunch: Fold in chopped nuts like almonds or walnuts for an earthy crunch that contrasts beautifully with the chewy texture!
Elevate your cookies by playing around with flavors and textures. Consider adding spices such as cinnamon or even a hint of cayenne for a surprising kick. They would pair perfectly with a hearty dish like a Chicken Torta Sandwich for a balanced meal, offering that rich chocolatey sweetness after the savory!
- Dried Fruits: Incorporate raisins, cranberries, or chopped dates for a chewy burst of natural sweetness in every bite.
- Coconut Bliss: Mix in shredded coconut for a tropical touch; this will enhance both flavor and appearance, making your cookies irresistibly fun!
Make Ahead Options
These No-Bake Chocolate Oat Cookies are perfect for meal prep enthusiasts! You can prepare the dry ingredients (oats, cocoa powder, and salt) up to 3 days in advance, storing them in an airtight container to maintain freshness. Additionally, you can mix the nut butter and sweetener (maple syrup or honey) and keep them refrigerated for up to 24 hours before you’re ready to assemble. When you’re set to enjoy, simply combine the wet and dry ingredients, shape them into cookies, and chill for at least 30 minutes to firm up. This allows you to enjoy a quick, delicious treat with minimal fuss, making busy days a little sweeter!
Expert Tips for No-Bake Chocolate Oat Cookies
• Ingredient Quality: Use high-quality natural nut butter for optimal flavor and creamy texture; this enhances the cookies’ overall taste.
• Mix Well: Ensure all ingredients are thoroughly combined to prevent cookies from crumbling apart; your cookies need a cohesive mixture for stability.
• Chill Time: Don’t skip the chilling step! Allowing cookies to set in the refrigerator is crucial for achieving the right chewy consistency.
• Proper Measuring: Accurately measure your oats and cocoa powder; too much can result in dry cookies, while too little may lead to a soggy texture.
• Custom Add-ins: Feel free to experiment with mix-ins, but keep the ratios balanced for the best no-bake chocolate oat cookie results.
Enjoy crafting your delicious cookies, and keep these tips in mind for a smooth baking experience!
No-Bake Gluten-Free Chocolate Oat Cookies Recipe FAQs
What type of oats should I use for the cookies?
Absolutely! Old-fashioned oats provide the best texture and chewiness for no-bake cookies. If you require a gluten-free option, just make sure to select certified gluten-free oats to avoid cross-contamination.
How long do these cookies last when stored?
You can store your no-bake chocolate oat cookies in an airtight container at room temperature for up to 3 days for a softer texture. If you prefer them chilled, keep them in the fridge for up to a week. They remain delicious and satisfying throughout the week!
Can I freeze these cookies?
Very much so! To freeze your no-bake chocolate oat cookies, place them in a single layer on a baking sheet and freeze until solid, about 1-2 hours. Once frozen, transfer them to an airtight container or freezer bag. They’ll keep well for up to 3 months! Just remember to thaw them at room temperature for about 10 minutes before enjoying for optimal texture.
How can I troubleshoot if my cookies are too crumbly?
If your cookies are falling apart, it’s often due to insufficient moisture. Ensure that your nut butter is properly heated and combined with the maple syrup to create a cohesive mixture. Alternatively, try adding a bit more nut butter or syrup, one tablespoon at a time, mixing thoroughly until the dough holds together well before shaping.
Are these cookies suitable for those with nut allergies?
Absolutely! You can substitute the nut butter for sunflower seed butter or soy nut butter to accommodate nut allergies, ensuring everyone can enjoy these delightful treats without worry. Just be sure to check labels for cross-contamination if allergies are severe.
Can I make these cookies vegan?
Yes! To create vegan no-bake chocolate oat cookies, simply use maple syrup as your sweetener and choose a nut or seed butter that doesn’t contain animal products. This way, you can indulge in these cookies while sticking to your dietary preferences!
Irresistible Chicken Torta Sandwich for Ultimate Flavor Bliss
Ingredients
Equipment
Method
- In a medium bowl, combine old-fashioned oats, cocoa powder, and salt.
- In a separate bowl, mix nut butter and maple syrup, and heat until warm.
- Add vanilla to the nut butter mixture and stir until combined.
- Combine the wet and dry ingredients until well-coated.
- Shape the mixture into balls or cookies and place on a tray.
- Chill in the refrigerator for at least 30 minutes to firm up.
Leave a Reply