
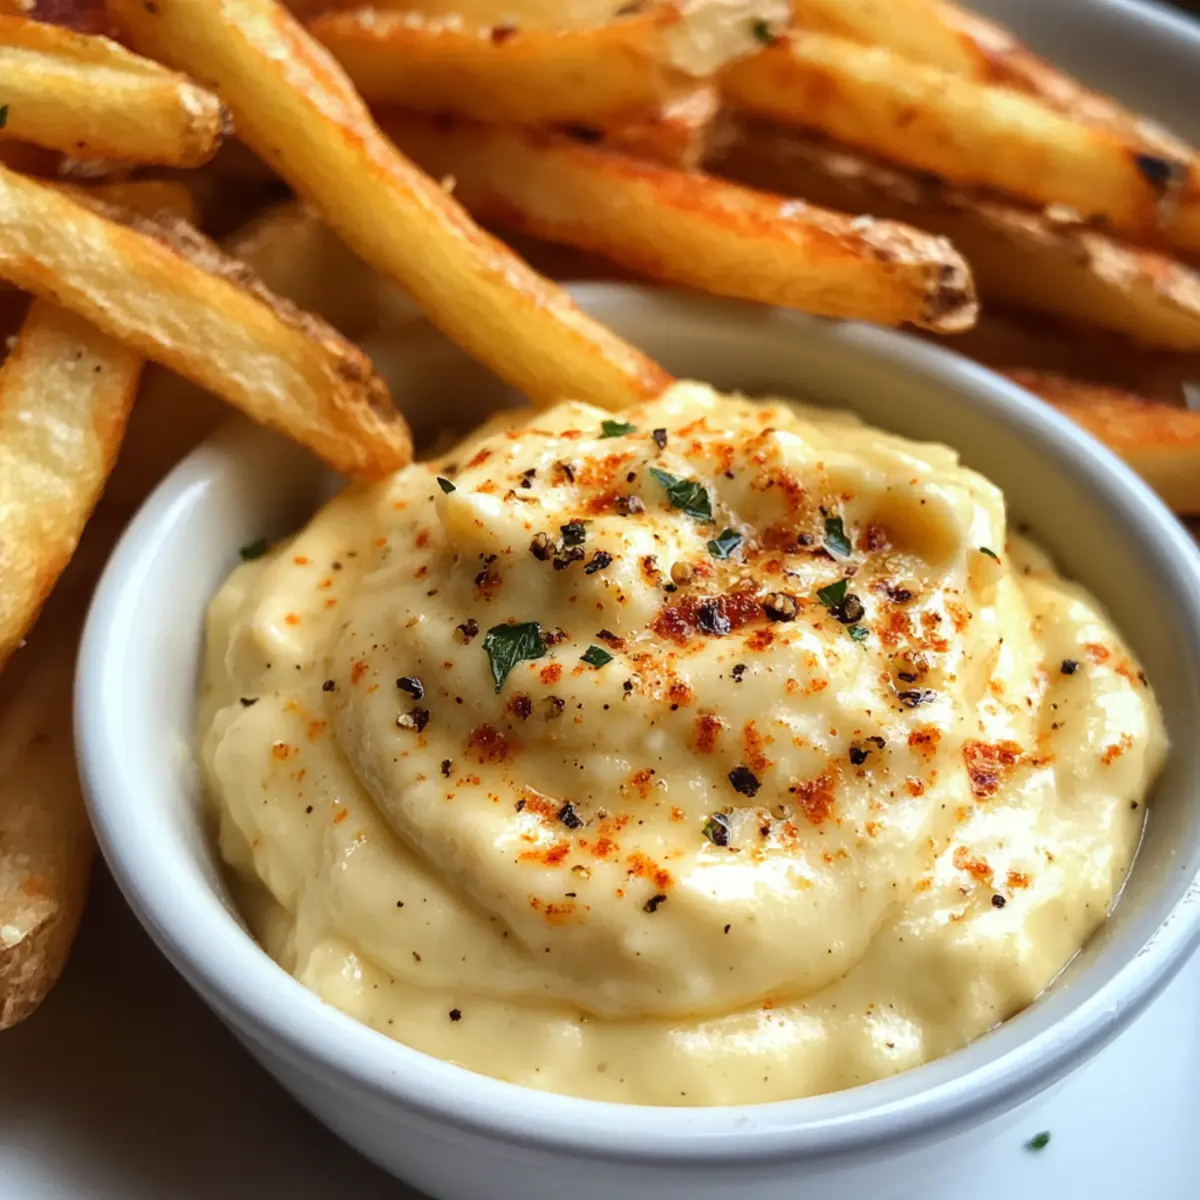
“Did you ever find yourself sitting with a plate of crispy fries and wishing for the perfect dipping sauce?” That was me until I discovered my go-to recipe for Garlic Aioli. This creamy, garlicky sauce takes just six simple ingredients to whip up, making it a breeze for any home chef, no matter your level. It’s not just a fantastic dip for fries or onion rings; this versatile delight also elevates sandwiches and wraps, giving them a flavor boost they didn’t know they needed! Plus, it’s quick to prepare, which means more time enjoying good food and less time fussing in the kitchen—what’s not to love? Ready to dive into the creamy goodness? Let’s get started on making your new favorite condiment!
Why Is Garlic Aioli So Irresistible?
Creamy Delight: The foundation of this aioli is mayonnaise, ensuring a smooth and rich texture that perfectly complements your favorite snacks.
Flavor Explosion: Fresh garlic paired with zesty lemon juice brings an irresistible garlicky tang, elevating simple dishes into high-end delights.
Quick & Easy: With just six ingredients and minimal prep, this recipe is ideal for busy home cooks looking to add excitement to their meals.
Versatile Uses: Whether as a dip for crispy fries or a scrumptious spread for sandwiches, this aioli adapts to suit any occasion. Try it with Garlic Roast Potatoes or Garlic Parmesan Roasted Sprouts for a flavor boost!
Crowd-Pleaser: Serve it at gatherings or simply as a delectable accompaniment to your family dinner—everyone will love this luscious creation!
Garlic Aioli Ingredients
For the Base
• Mayonnaise – Forms the creamy foundation of the aioli; Hellman’s brand is highly recommended for the best flavor.
• Garlic – Freshly grated; Use a microplane for the finest garlic texture, ensuring a bold flavor.
For the Flavor
• Lemon Juice – Freshly squeezed; Bring brightness to the aioli—packaged lemon juice won’t deliver that fresh zing.
• Salt – Amplifies the overall taste; Essential for balancing the flavors in your garlic aioli.
• Sugar – Adds a hint of sweetness to counter the acidity; Just a pinch helps to create a more rounded flavor.
• Ground Black Pepper – Provides a subtle hint of heat; Perfect for adding depth to your creaminess.
• Garlic Powder – Enhances the garlicky flavor; A layer that adds nuttiness, making this aioli truly irresistible.
Now, let’s blend these fantastic ingredients to create your new favorite dipping sauce!
Step‑by‑Step Instructions for Garlic Aioli
Step 1: Combine Ingredients
In a small mixing bowl, add 1 cup of mayonnaise, 2 cloves of freshly grated garlic, and 1 tablespoon of freshly squeezed lemon juice. Also, add a pinch of salt, 1 teaspoon of sugar, a dash of ground black pepper, and 1/2 teaspoon of garlic powder for an extra flavor boost. Using a whisk, blend these ingredients together until you achieve a smooth, creamy consistency.
Step 2: Whisk Until Smooth
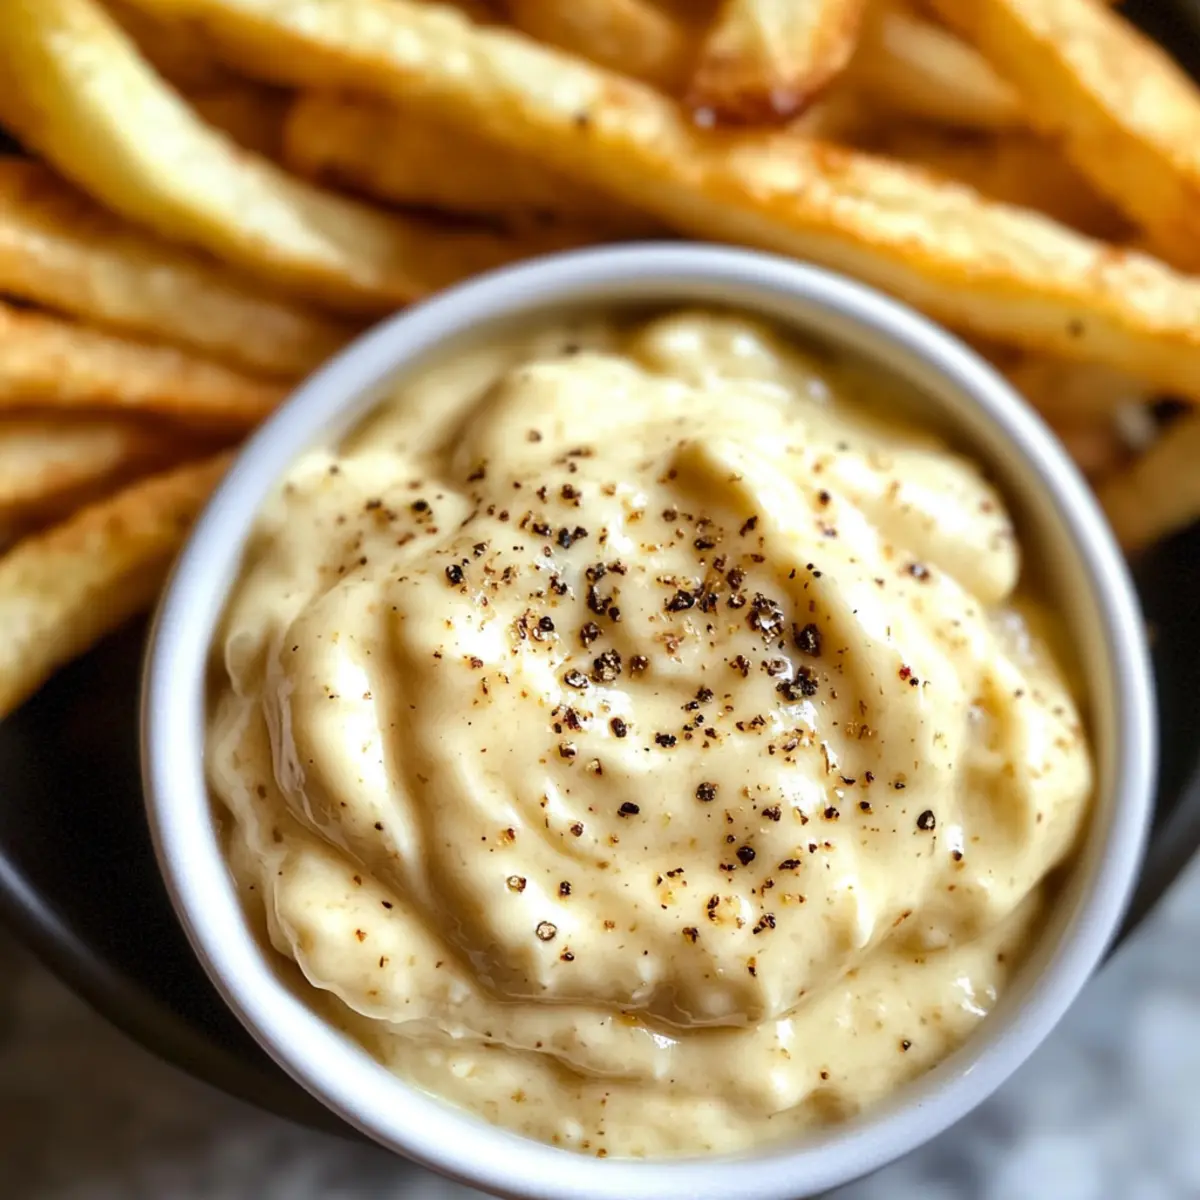
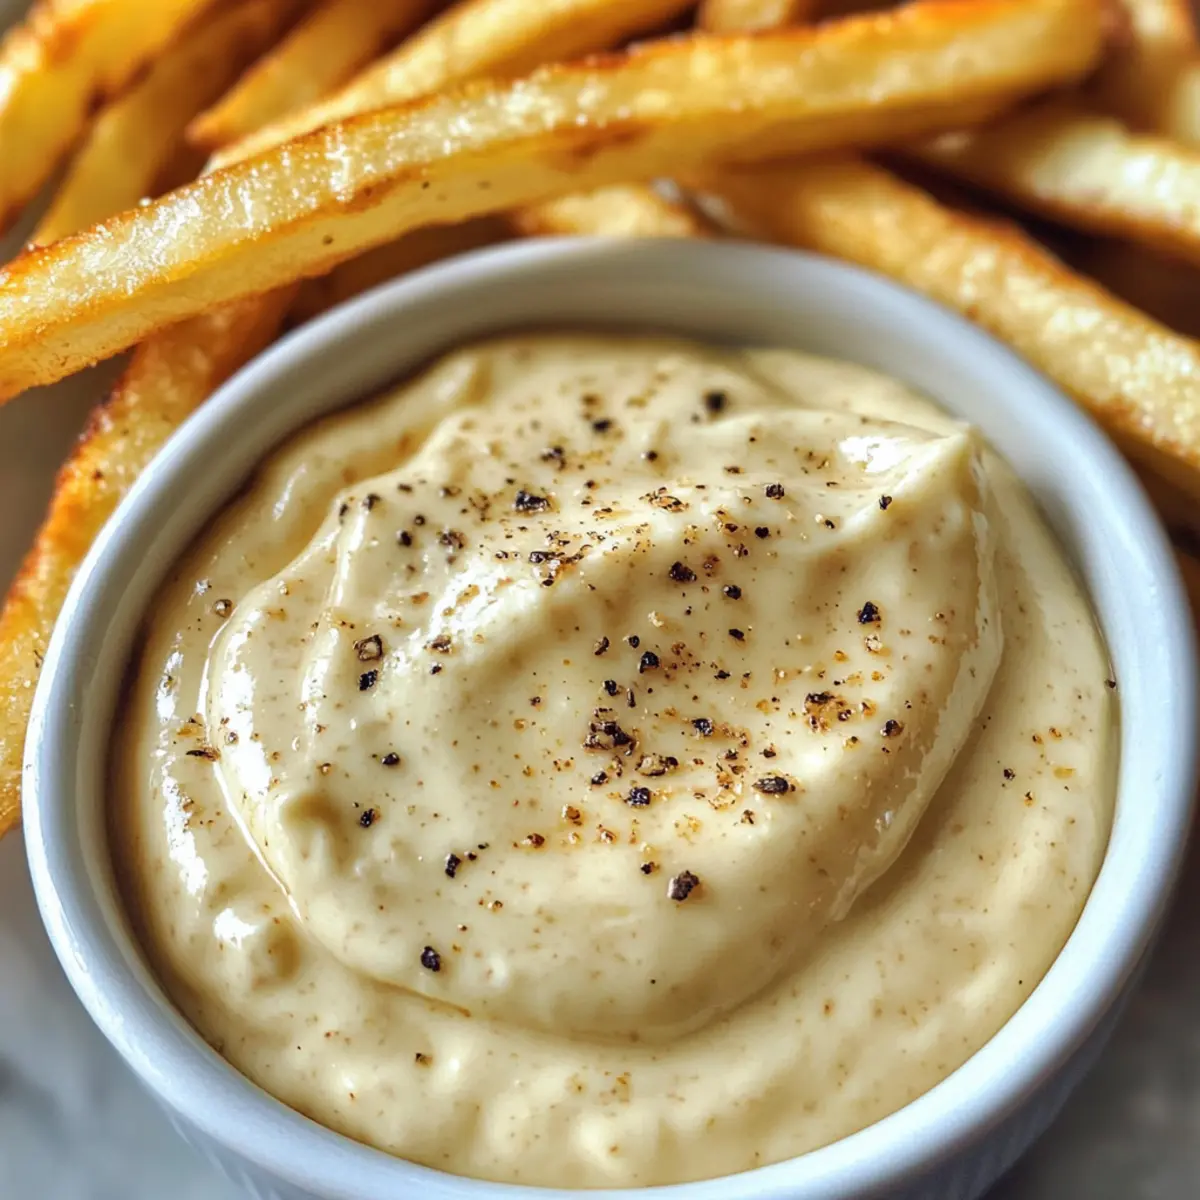
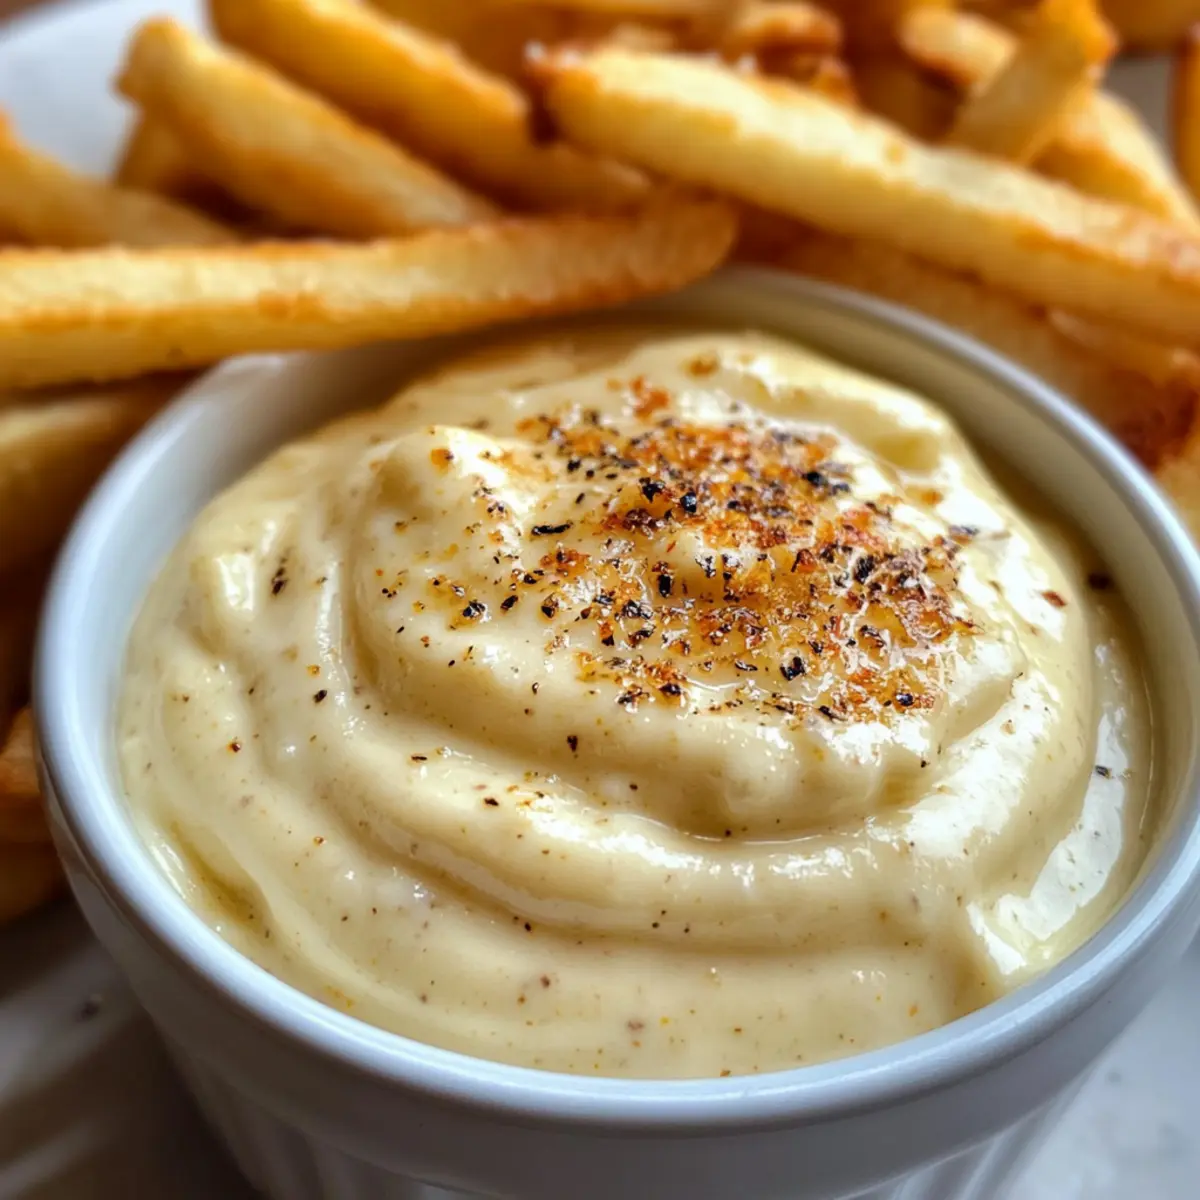
Continue whisking vigorously for about 1-2 minutes to ensure that all ingredients are thoroughly combined. The texture should be creamy and slightly thick, with a beautiful pale yellow hue. This is your Garlic Aioli base, rich with flavor, ready to elevate your snacks or sandwiches.
Step 3: Chill for Flavor Development
Once mixed, cover the bowl with plastic wrap or transfer the Garlic Aioli to an airtight container. Allow it to chill in the refrigerator for at least 15 minutes; this step is crucial as it lets the flavors meld beautifully, enhancing the overall taste.
Step 4: Serve and Enjoy
After chilling, give the aioli a quick stir before serving. It should be perfectly creamy and ready to delight your taste buds. Spoon the Garlic Aioli into a serving dish and pair it with crispy fries, onion rings, or as a luscious spread for your favorite wrap or sandwich.
Step 5: Store Leftovers Properly
If you have any leftovers, store the Garlic Aioli in an airtight container in the refrigerator. It can stay fresh for up to 5 days. Be sure to check its texture before serving again—it should remain creamy and delicious, ready to take your meals to the next level!
Make Ahead Options
These Garlic Aioli preparations are perfect for busy weeknights or meal prepping! You can easily prepare the aioli up to 3 days in advance; simply combine all the ingredients and store the mixture in an airtight container in the refrigerator. To maintain its creamy texture and vibrant flavor, ensure it’s well sealed to prevent any air exposure. When it’s time to serve, just give the aioli a quick stir to re-emulsify and enhance the flavors. This time-saving strategy means you’ll have a delightful, homemade dipping sauce ready to elevate your meals and snacks without any last-minute fuss!
What to Serve with Garlic Aioli
Elevate your dining experience by pairing this velvety dipping sauce with delightful sides and mains that harmonize perfectly.
-
Crispy French Fries: The golden crunch of fries meets the creamy satisfaction of garlic aioli, creating a classic taste experience.
-
Onion Rings: Their crispy exterior and sweet interior make onion rings the perfect companion for dipping into the rich, garlicky goodness.
-
Vegetable Crudités: Fresh, crunchy vegetables like carrots and bell peppers provide a vibrant contrast, making this aioli a refreshing dip.
-
Grilled Chicken Sandwiches: Slather this aioli on your favorite grilled chicken sandwich for an extra layer of flavor that enhances every bite.
-
Roasted Potatoes: Crisp, herb-infused roasted potatoes are deliciously elevated by a dip in this tangy aioli, making each bite a flavor explosion.
-
Shrimp Tacos: The creamy garlic aioli is a perfect match for zesty shrimp tacos, balancing spiced flavors with its rich consistency.
-
Salads: Use garlic aioli as a creamy dressing for salads, adding a flavorful twist to the greens and proteins that lift your meal.
-
Beer or Citrus-based Cocktails: Refreshing drinks like a cold brew or a zesty gin and tonic pair delightfully with the creamy richness of garlic aioli, ensuring an enjoyable dining experience.
Storage Tips for Garlic Aioli
Fridge: Store your garlic aioli in an airtight container in the refrigerator for up to 5 days. Ensure the lid is tight to maintain freshness and flavor.
Freezer: For longer storage, garlic aioli can be frozen in a sealed container or freezer bag. It will maintain quality for up to 3 months but may slightly change in texture upon thawing.
Reheating: If you’ve frozen it, allow the garlic aioli to thaw in the refrigerator overnight before using. Give it a good stir to restore its creamy consistency before serving.
Make-Ahead: Consider preparing this luscious garlic aioli ahead of time for gatherings or meal prep. It tastes even better after a day in the fridge, allowing flavors to meld!
Garlic Aioli Variations & Substitutions
Feel free to personalize your garlic aioli by experimenting with these enticing variations!
-
Vegan Option: Swap regular mayonnaise with a plant-based variety like avocado or chickpea mayonnaise for a creamy vegan version. It’s just as delicious and perfect for sandwich spreads or dips!
-
Herb-Infused: Add a tablespoon of finely chopped fresh herbs like parsley or dill to enhance the aioli with fresh, vibrant flavors. This twist adds a lovely splash of color and fresh taste to your aioli.
-
Roasted Garlic: Instead of fresh garlic, use a few cloves of roasted garlic for a sweet and mellow flavor profile. Roasting transforms the garlic, making it buttery and rich—an unbeatable combo!
-
Spicy Kick: Mix in a teaspoon of sriracha or your favorite hot sauce for a zesty heat that can elevate your dips even further. It’ll add the perfect kick to your crispy fries or veggie snacks!
-
Lemon Zest Boost: Incorporate zest from the lemon along with the juice for an added citrusy brightness. This tiny addition makes a huge difference in bringing out those delightful flavors.
-
Smoky Flavor: Blend in a pinch of smoked paprika or chipotle powder to introduce a tantalizing smokiness that pairs beautifully with crudités and grilled meats. This will take your garlic aioli to barbecue-worthy status!
-
Creamy Avocado: For a unique and creamy twist, blend in ripe avocado. This addition not only makes for a lush texture but also adds a healthy dose of nutrients to your favorite dip!
Feeling inspired? This garlic aioli pairs wonderfully with dishes like Garlic Roast Potatoes or could enhance your meal alongside Garlic Parmesan Roasted Sprouts. Enjoy crafting your perfect dip!
Expert Tips for Garlic Aioli
Chill Time Matters: Allowing your garlic aioli to chill for at least 15 minutes is essential; this lets the flavors meld beautifully, enhancing its deliciousness.
Fresh Garlic Only: Always use freshly grated garlic rather than pre-minced; this small switch will significantly boost the flavor intensity of your garlic aioli.
Proper Storage: Store your homemade aioli in an airtight container to keep it fresh for up to 5 days, avoiding exposure to air which can affect its creaminess.
Adjust Sweetness: If your aioli tastes too tangy, add a touch more sugar to balance the flavors nicely without overpowering the garlic.
Experiment with Variations: Don’t hesitate to try adding herbs or roasted garlic for a unique twist on your classic garlic aioli; your taste buds will thank you!
Garlic Aioli Recipe FAQs
What type of garlic should I use for the best flavor?
Absolutely! For an intense and vibrant garlic flavor, always opt for freshly grated garlic. I highly recommend using a microplane or zester to achieve the finest texture possible. Pre-minced garlic just doesn’t provide the same punch, so fresh garlic is definitely the way to go!
How long can I store garlic aioli in the refrigerator?
You can store your garlic aioli in an airtight container in the refrigerator for up to 5 days. To maintain its freshness, be sure to tightly close the lid after each use to prevent air exposure that might affect its creamy texture.
Can I freeze garlic aioli?
Yes! For longer storage, garlic aioli can be frozen for up to 3 months. To do this, scoop it into a sealed container or freezer bag, making sure to push out any excess air. When you’re ready to use it, allow it to thaw overnight in the refrigerator and give it a good stir before serving to restore its wonderful creaminess.
How can I adjust the flavors if my aioli is too tangy?
If you find your garlic aioli is too tangy, it’s an easy fix! Just add a small pinch of sugar—start with about 1/8 teaspoon—and mix thoroughly. The sweetness will help balance the acidity of the lemon juice without overpowering the garlicky goodness. Taste and adjust as necessary until it hits that perfect note!
Are there any dietary considerations for garlic aioli?
Definitely! If you’re preparing garlic aioli for someone with dietary restrictions, you can easily make it vegan by substituting regular mayonnaise with a plant-based version. Also, always double-check the labels to ensure there are no allergens present, especially if you’re serving it to guests with food sensitivities.
Can I add herbs or other flavors to my garlic aioli?
Very much! Don’t hesitate to get creative with your garlic aioli. Fresh herbs like parsley or dill can brighten up the flavor beautifully. Alternatively, consider roasting garlic instead of using raw for a mellow, sweet flavor that adds a nice twist to this classic dip. Enjoy experimenting!
Creamy Garlic Aioli: Your New Favorite Dipping Delight
Ingredients
Equipment
Method
- In a small mixing bowl, add mayonnaise, grated garlic, lemon juice, salt, sugar, black pepper, and garlic powder. Whisk until smooth.
- Continue whisking for about 1-2 minutes until creamy and slightly thick.
- Cover the bowl with plastic wrap and chill in the refrigerator for at least 15 minutes to let the flavors meld.
- Give the aioli a quick stir before serving. Spoon into a serving dish and pair with fries, onion rings, or sandwiches.
- Store any leftovers in an airtight container in the refrigerator for up to 5 days.
Leave a Reply