
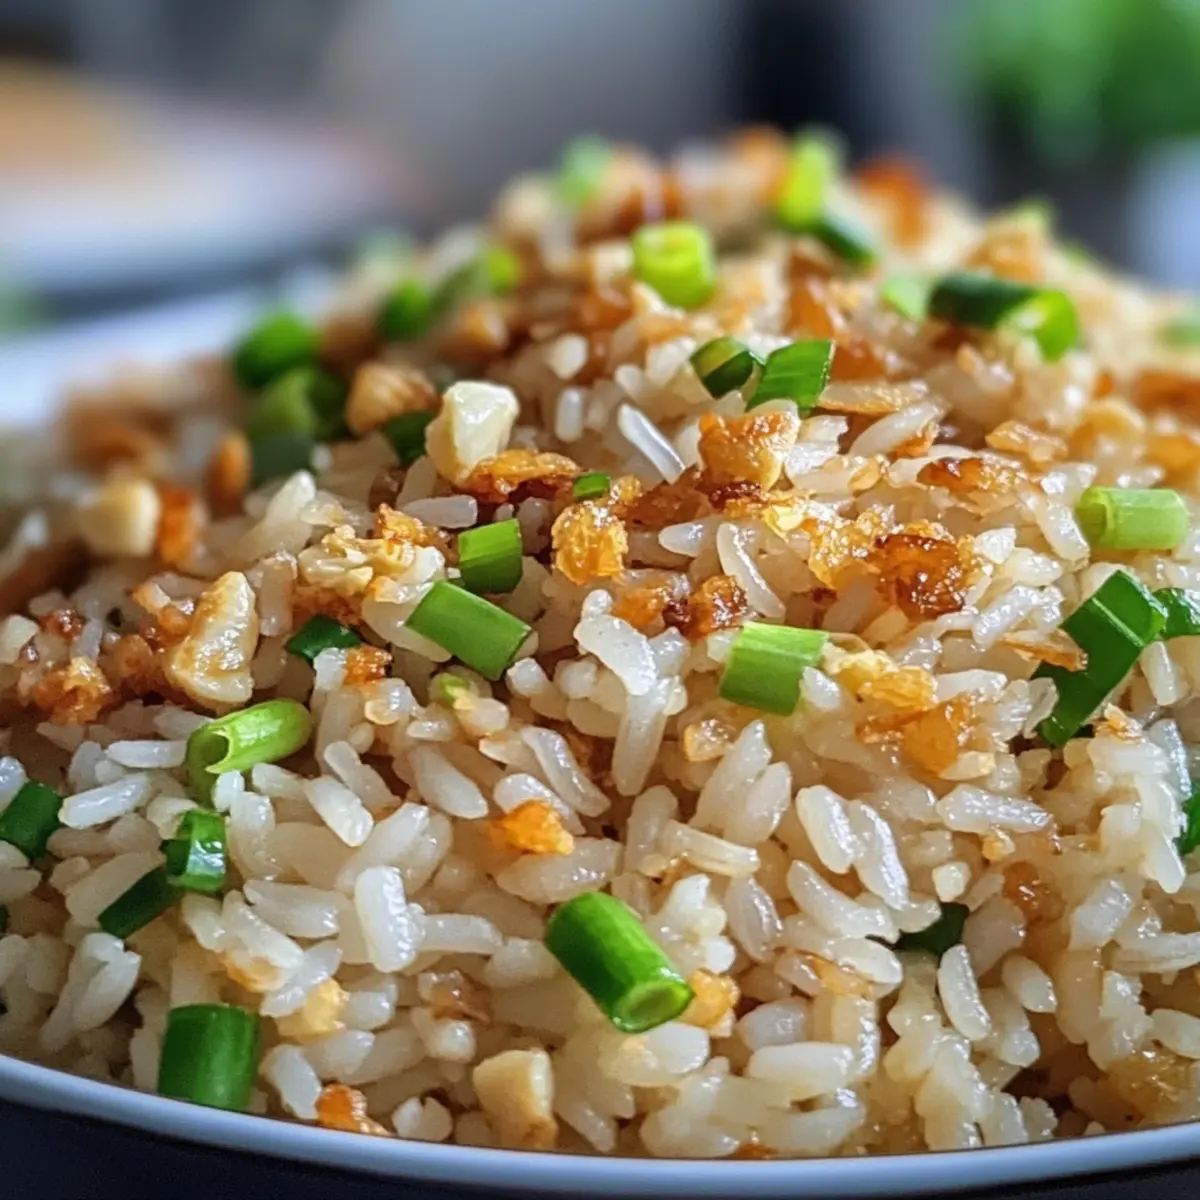
There’s something magical about a simple dish bringing everyone together, isn’t there? Sinangag, the beloved Filipino garlic fried rice, transforms humble leftovers into a fragrant masterpiece that warms both the heart and the stomach. In just a few minutes, you can create this quick and easy recipe that not only marries perfectly with a hearty breakfast or dinner but also shines on its own as the star of the meal. Imagine the aroma of garlic filling your kitchen, enticing your family or friends to gather around the table. With its customizable nature, from spicy to cheesy variations, this Filipino Garlic Fried Rice is destined to become a favorite in your household. Plus, it’s a meal prep dream—just make a big batch and enjoy it throughout the week! Are you ready to embark on this savory adventure? Let’s dive into the recipe!
Why is Filipino Garlic Fried Rice a Must-Try?
Comforting, delicious, and easy: Sinangag is perfect for both busy weekdays and laid-back weekends.
Customizable to your taste: From adding vegetables to experimenting with a cheesy twist, the possibilities are endless!
Quick and simple: It takes just minutes to whip up, making it ideal for last-minute meals.
Flavor-packed goodness: The aromatic garlic elevates everyday rice to something truly special.
Great for meal prep: Make a big batch, and you’ll have a tasty side or base for lunches and dinners! Pair it with Garlic Roast Potatoes for a complete meal experience.
Filipino Garlic Fried Rice Ingredients
Get ready to experience the mouthwatering flavors of this classic dish!
For the Rice
- Cooked White Rice – 4 cups; use day-old rice for the best texture and to prevent mushiness.
For the Flavor
- Garlic – 5-6 cloves, minced; adjust the amount based on your love for garlic!
- Vegetable Oil – 2 tablespoons; perfect for sautéing and provides a neutral base, but feel free to substitute with olive oil for a richer taste.
- Salt – 1 teaspoon; essential for enhancing the overall flavor—sea salt can bring a unique mineral twist.
- Black Pepper – to taste; adds a subtle warmth to balance flavors.
For the Garnish
- Chopped Green Onions (optional) – for a fresh, colorful touch that brightens up the dish.
With these ingredients, you’re well on your way to making an unforgettable Filipino Garlic Fried Rice that will surely become a family favorite!
Step‑by‑Step Instructions for Filipino Garlic Fried Rice
Step 1: Heat the Oil
Begin by preheating a large skillet or wok over medium heat for 2 minutes. Once heated, pour in 2 tablespoons of vegetable oil, allowing it to shimmer slightly. This step sets the stage for the aromatic magic of your Filipino Garlic Fried Rice as the oil prepares to sauté the garlic beautifully.
Step 2: Sauté the Garlic
Add 5 to 6 minced garlic cloves to the hot oil and sauté for 2-3 minutes. Stir frequently until the garlic turns golden brown and fragrant, being careful not to let it burn, as that could add bitterness to your dish. The delicious scent will fill your kitchen, signaling the delightful dish to come!
Step 3: Add the Rice
Incorporate 4 cups of cooked white rice into the skillet, breaking up any clumps with a spatula. Gently mix the rice with the sautéed garlic, ensuring each grain gets a touch of that rich garlic flavor. This process should take about 1-2 minutes, creating a delicious foundation for your Filipino Garlic Fried Rice.
Step 4: Mix Thoroughly
Continue to stir the rice and garlic mixture for another 2-3 minutes, ensuring even distribution of the garlic throughout the rice. You want the rice to be well-coated without sticking together. Visual cues include the rice becoming visibly warmer and slightly more fragrant as the flavors meld beautifully.
Step 5: Season the Rice
Sprinkle 1 teaspoon of salt and some black pepper over the rice, adjusting to your taste. Stir well for about 1 minute, allowing the seasonings to cook into the rice. The mouth-watering aroma will intensify, making your Filipino Garlic Fried Rice even more enticing as it gains flavor.
Step 6: Fry for Crispiness
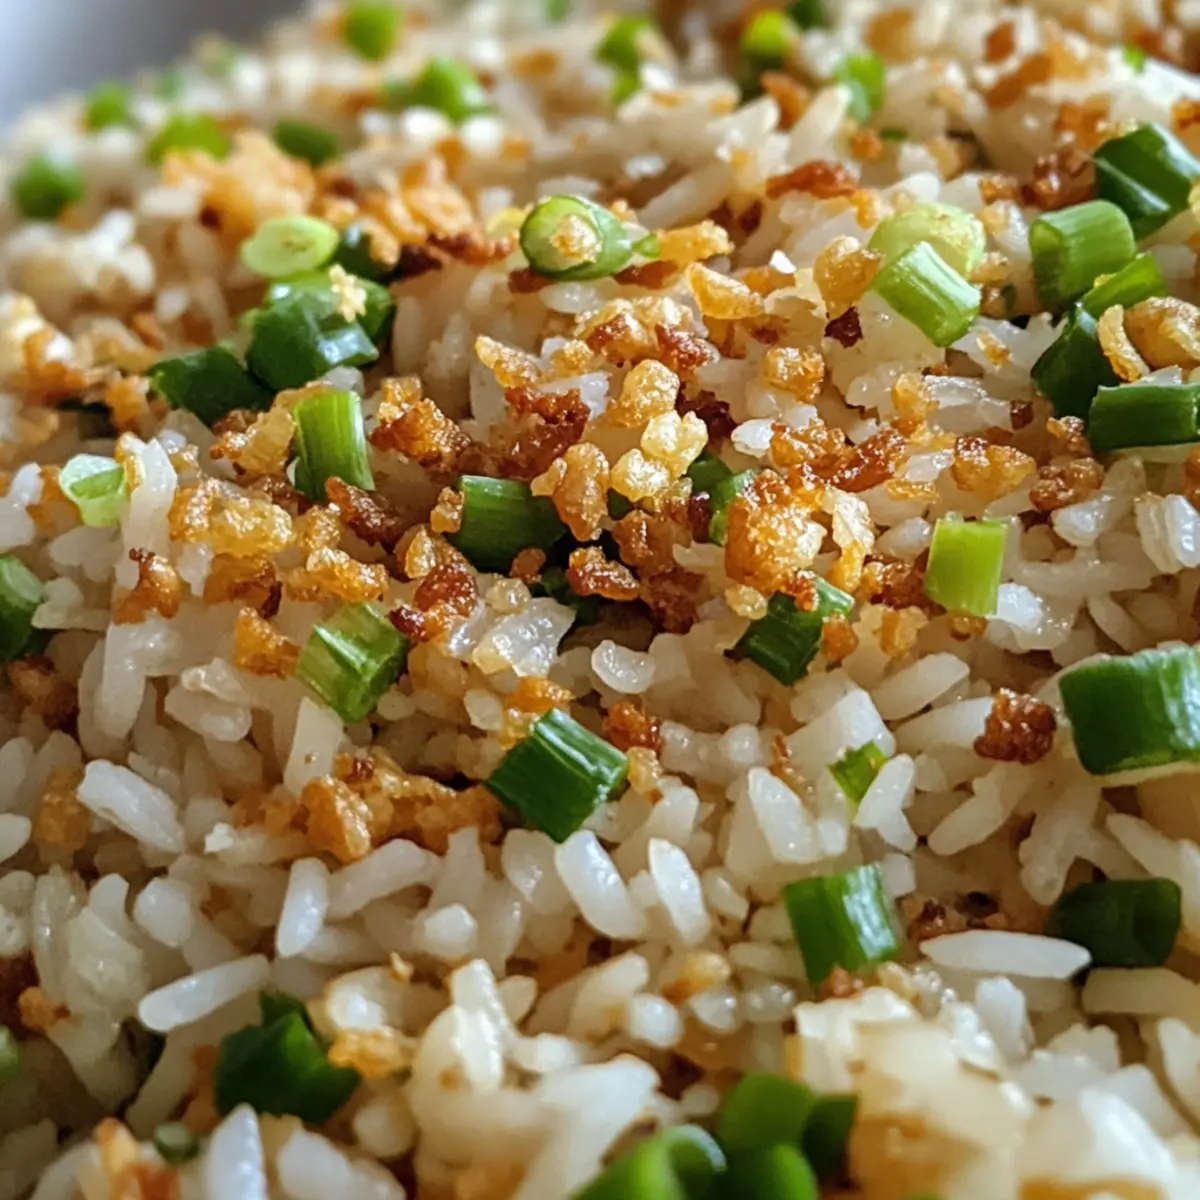
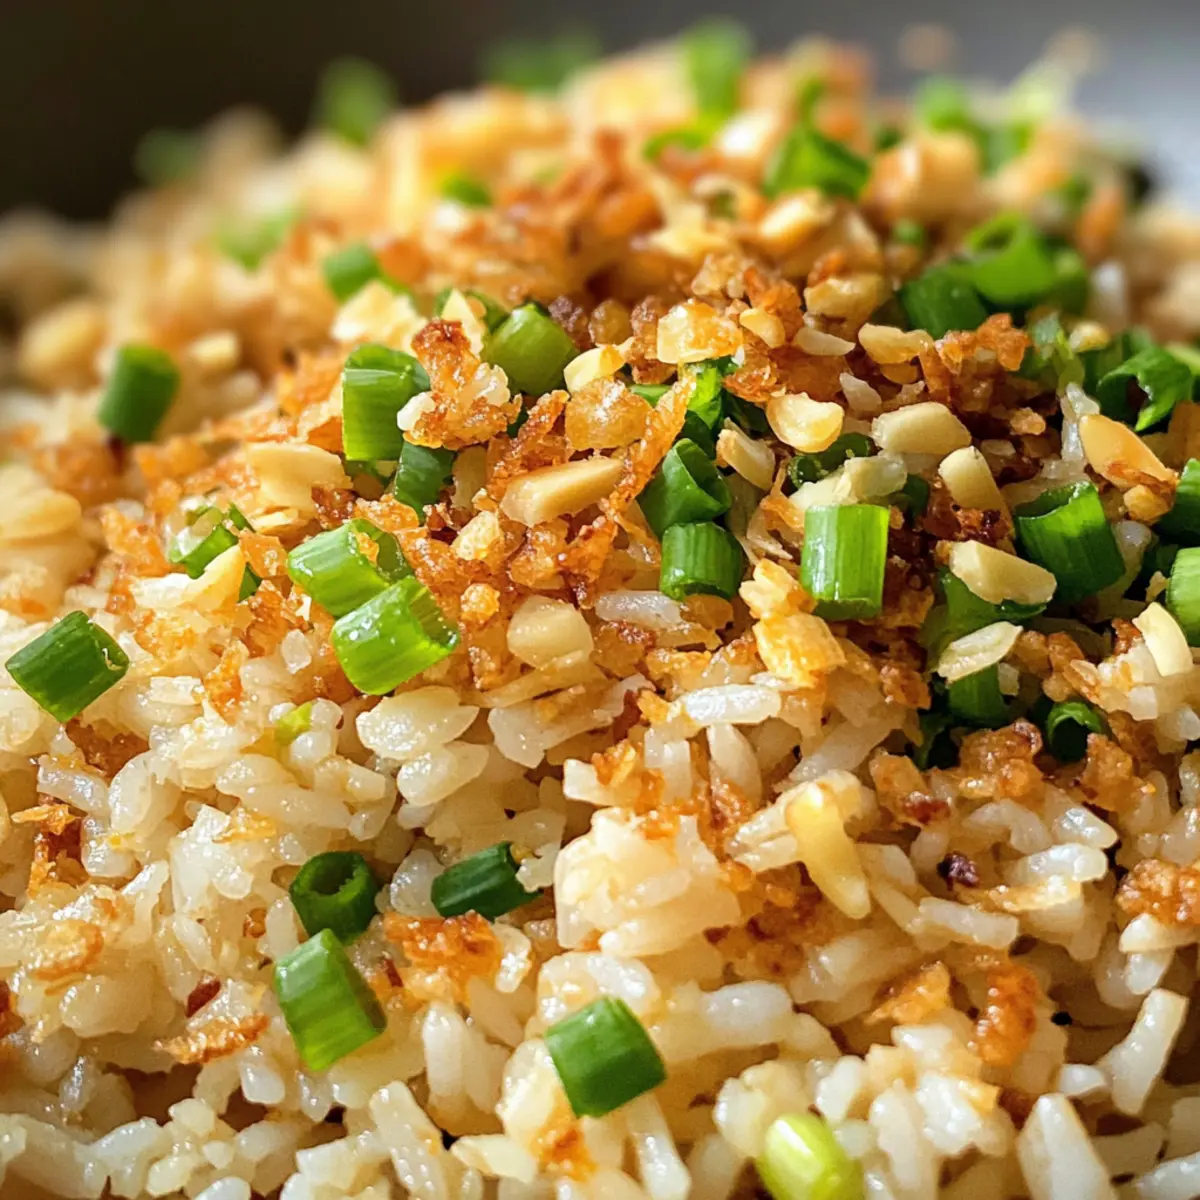
Let the rice cook, undisturbed, for about 5-7 minutes. Stir occasionally, allowing the rice to develop a slight crispness on the bottom while staying fluffy throughout. You will know it’s ready when the rice is heated through and has a lovely golden hue, enticing you with its savory aroma.
Step 7: Garnish and Serve
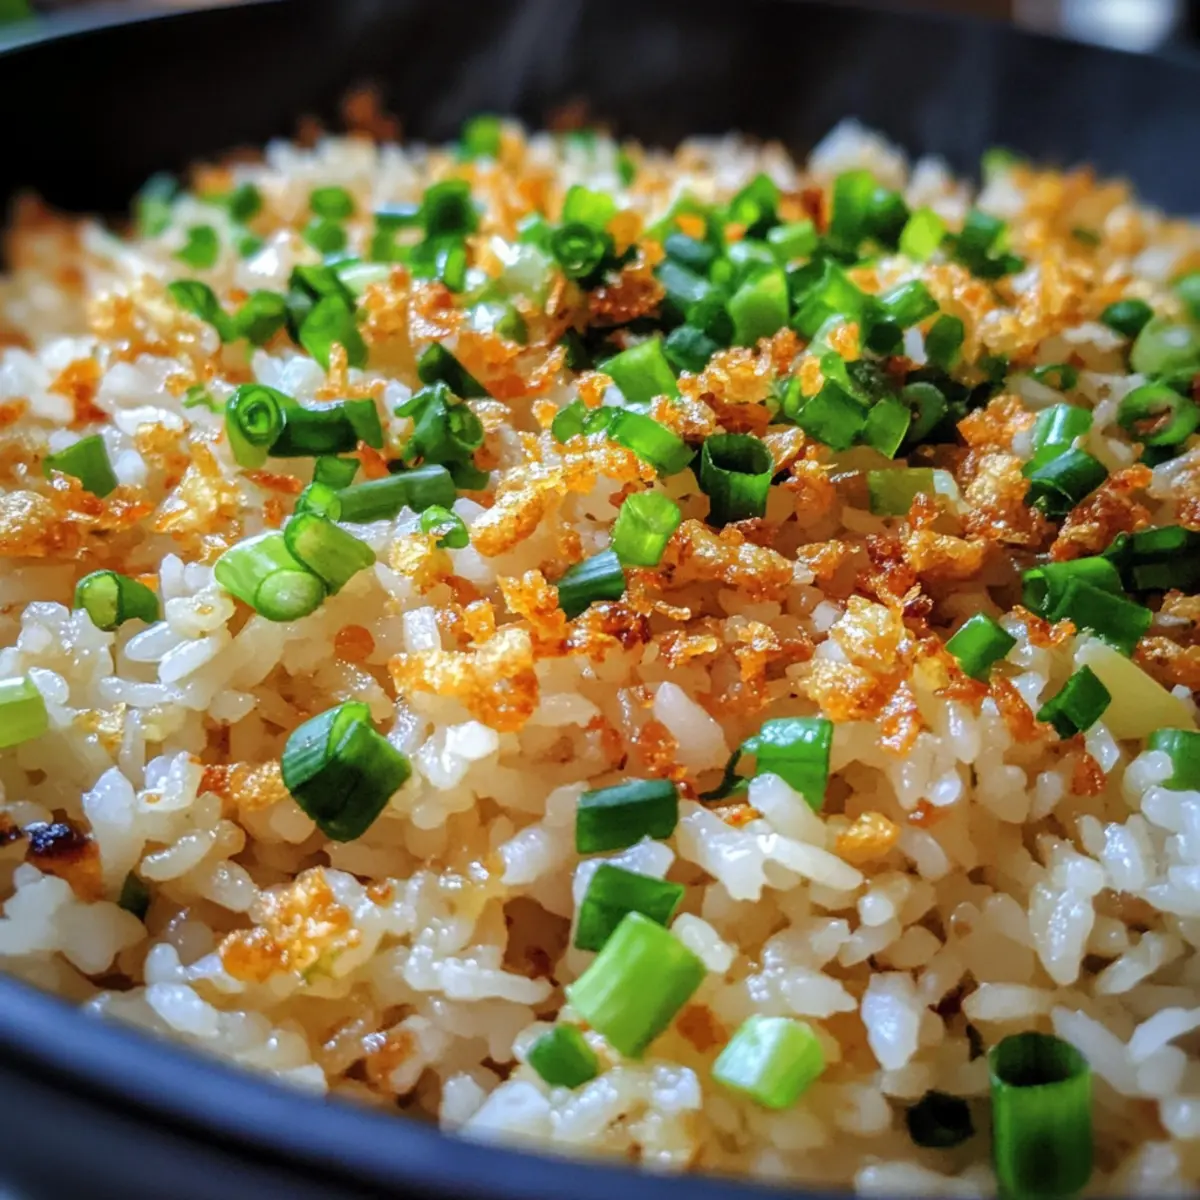
Once cooked, remove the skillet from the heat and transfer your Filipino Garlic Fried Rice to a serving plate. Optionally, sprinkle chopped green onions on top for a fresh, vibrant finish. This last touch elevates the dish, making it visually appealing and ready to wow your family or guests!
Expert Tips for Filipino Garlic Fried Rice
- Use Day-Old Rice: For best results, choose rice that’s been refrigerated overnight. Freshly cooked rice can become mushy when fried.
- Mind the Garlic: Adjust the garlic amount based on your preference. Too much can turn bitter if overcooked; aim for golden brown.
- Medium Heat is Key: Always cook on medium heat to prevent burning the garlic, ensuring you achieve that perfect flavor in your Filipino Garlic Fried Rice.
- Frequent Tasting: As you season, taste frequently! This ensures the perfect balance of salt and flavor is achieved to your liking.
- Experiment with Variations: Don’t hesitate to add veggies or proteins to your fried rice. Customize it to keep it exciting and suited to your palate!
Storage Tips for Filipino Garlic Fried Rice
Fridge: Store leftovers in an airtight container for up to 3-4 days. This keeps your Filipino Garlic Fried Rice fresh and flavorful, ready to enjoy anytime!
Freezer: For longer storage, freeze the fried rice in a freezer-safe bag or container for up to 1 month. Be sure to squeeze out excess air to prevent freezer burn.
Reheating: When ready to eat, reheat in a skillet over medium heat for about 5-7 minutes, adding a splash of water if needed to maintain moisture. Enjoy your delicious leftovers!
Make Ahead Options
These Filipino Garlic Fried Rice is a fantastic choice for busy cooks aiming to save time during the week! You can prepare the garlic and oil mixture up to 24 hours in advance. Simply sauté the garlic and let it cool before storing it in an airtight container in the refrigerator. You can also cook your rice a day ahead, ensuring it’s chilled before being refrigerated—this helps prevent mushiness when frying. When you’re ready to serve, reheat the garlic-oil mixture in a skillet, add the rice, and follow the final steps of seasoning and frying for that crispy, delicious finish. Just like that, you’ll have a flavorful dish ready to delight your family with minimal effort!
Filipino Garlic Fried Rice Variations
Unlock the full potential of this delicious recipe and make it truly yours with these delightful twists!
-
Vegetable Sinangag: Add peas, carrots, or bell peppers for vibrant colors and nutrients. This twist makes the dish even heartier while keeping it fresh and delightful!
-
Protein-Packed Sinangag: Stir in cooked chicken, shrimp, or tofu to create a satisfying and substantial meal. It’s a great way to make the dish more filling without compromising flavor.
-
Spicy Sinangag: Incorporate chili peppers or chili flakes for a zesty kick that tantalizes your taste buds. The heat from the spices elevates the traditional recipe into a new realm of flavor.
-
Cheesy Sinangag: Mix in shredded cheese during frying for a creamy, indulgent texture. The melting cheese brings a whole new level of comfort and satisfaction alongside each garlicky bite.
-
Lemon Zest Sinangag: Add a sprinkle of lemon zest right before serving for a bright, fresh finish. It adds an unexpected zing that beautifully complements the garlic flavor.
-
Herb-Infused Sinangag: Toss in fresh herbs like cilantro or basil for a fragrant twist. The herbs bring an extra layer of flavor and a burst of freshness that feels like spring on your plate!
-
Breakfast Sinangag: Top it with a fried egg for a hearty breakfast option. The creaminess of the egg pairs wonderfully with the textured garlic rice for a delightful morning treat.
-
Sweet Sinangag: For a unique twist, mix in some cooked cinnamon fried apples. This unexpected addition transforms the dish into a sweet and savory adventure, perfect for any meal!
Don’t forget to pair your Sinangag with a side of Garlic Parmesan Roasted sprouts or enjoy some Cinnamon Fried Apples for a perfect balance of flavors in your meal!
What to Serve with Quick and Easy Sinangag?
There’s nothing quite like transforming a simple dish into a full meal experience, draped in warmth and delightful flavors.
-
Fried Eggs: A breakfast classic, the runny yolk mingles effortlessly with the garlic rice, enriching every bite.
-
Tocino: This sweet and savory pork dish adds a luscious contrast to the garlic’s robustness, creating a harmony that’s irresistible.
-
Longganisa: These Filipino sausages bring a pop of flavor and a touch of sweetness that perfectly complements the savory rice.
-
Steamed Vegetables: Brighten up your plate with a medley of fresh vegetables. Their crunch offers a refreshing counterbalance to the fluffy rice.
-
Adobo: This hearty chicken or pork stew adds a depth of flavor and richness that pairs beautifully with the lightness of Sinangag.
-
Cucumber Salad: Crisp and refreshing, the coolness of cucumbers will cleanse your palate while accentuating the garlic notes in the rice.
-
Sinigang: Serve with this sour soup for a delightful contrast; the tanginess will elevate the savory elements in your dish.
-
Sweet Coconut Macaroons: Finish off your meal with these chewy, sweet bites for a perfect, nostalgic dessert that echoes Filipino flavors.
-
Iced Tea: A glass of this mildly sweet beverage refreshes and balances the rich and fragrant notes of the garlic rice beautifully.
Filipino Garlic Fried Rice Recipe FAQs
What type of rice is best for Filipino Garlic Fried Rice?
Absolutely, using day-old cooked white rice is ideal for achieving the best texture in your Sinangag. Freshly cooked rice tends to be too moist and can clump together, leading to a mushy outcome when fried. Look for rice that’s been refrigerated overnight for fluffier grains that fry beautifully!
How should I store leftover Filipino Garlic Fried Rice?
I recommend storing any leftovers in an airtight container in the refrigerator, where they’ll stay fresh for up to 3-4 days. If longer storage is needed, freeze the rice in a freezer-safe bag or container for up to a month. Just remember to remove excess air from the bag to prevent freezer burn!
How can I reheat frozen Filipino Garlic Fried Rice?
When you’re ready to enjoy your frozen Filipino Garlic Fried Rice, simply transfer it to the refrigerator to thaw overnight. For reheating, place it in a skillet over medium heat for about 5-7 minutes. If it seems a bit dry, adding a splash of water can help restore moisture, ensuring it’s just as delicious as the first time!
Can I make Filipino Garlic Fried Rice gluten-free?
Very much so! This dish is naturally gluten-free by using rice and basic seasonings. Just double-check any added ingredients, like soy sauce, and use a gluten-free brand if you choose to incorporate it. The beauty of Sinangag is its versatility, making it easy to adapt to various dietary needs.
What if I have too much garlic in my Filipino Garlic Fried Rice?
If your dish ends up too garlicky, try balancing the flavors by adding additional cooked rice (you can also sneak in some sautéed veggies for good measure!). Stir it all together to help distribute the flavors more evenly. Tasting as you go is key to achieving your desired flavor balance!
How do I make a cheesy version of Filipino Garlic Fried Rice?
To create a cheesy twist, just mix in your favorite shredded cheese during the final stages of cooking. Stir until melted and thoroughly combined with the rice. This creamy addition can elevate your Sinangag experience, making it an indulgent comfort food treat!
Filipino Garlic Fried Rice: Comfort Food with a Twist
Ingredients
Equipment
Method
- Begin by preheating a large skillet or wok over medium heat for 2 minutes. Once heated, pour in 2 tablespoons of vegetable oil, allowing it to shimmer slightly.
- Add 5 to 6 minced garlic cloves to the hot oil and sauté for 2-3 minutes. Stir frequently until the garlic turns golden brown and fragrant.
- Incorporate 4 cups of cooked white rice into the skillet, breaking up any clumps with a spatula. Gently mix the rice with the sautéed garlic.
- Continue to stir the rice and garlic mixture for another 2-3 minutes, ensuring even distribution of the garlic throughout the rice.
- Sprinkle 1 teaspoon of salt and some black pepper over the rice, adjusting to your taste. Stir well for about 1 minute.
- Let the rice cook, undisturbed, for about 5-7 minutes. Stir occasionally, allowing the rice to develop a slight crispness on the bottom.
- Once cooked, remove the skillet from the heat and transfer your Filipino Garlic Fried Rice to a serving plate. Optionally, sprinkle chopped green onions on top.
Leave a Reply