
As I rummaged through my pantry, I stumbled upon a forgotten bag of chickpeas and a container of sweet dates. The wheels started turning, and just like that, I was inspired to whip up a deliciously unique treat: Protein-Packed Chickpea and Date Snack Bars. Perfectly no-bake, these bars come together in a flash, making them a lifesaver for those hectic days when you still want something nutritious. Packed with protein and fiber, they are not only a great post-workout pick-me-up but also a delightful snack to satisfy your cravings without the guilt. Plus, if you’re looking for nut-free alternatives, you can easily swap out the ingredients to suit your needs. Curious about how these wholesome bars can transform your snacking game? Let’s dive into the recipe!
Why Choose Chickpea and Date Snack Bars?
Nutritious and Delicious! These bars are a fantastic way to fuel your day without sacrificing taste.
No-Bake Convenience: Whip them up in a snap—perfect for your busy schedule!
Adaptable Ingredients: Swap in nut-free options or add your favorite superfoods for a personal touch.
Crowd-Pleasing Appeal: Kids and adults alike will love the sweet, chewy goodness!
Health Boost: Packed with protein and fiber, they make for a guilt-free snack that keeps you satisfied.
Easy Storage: Make ahead and store for a week or freeze for later—ideal for meal prep!
Chickpea and Date Snack Bars Ingredients
For the Base
- 1 cup Cooked Chickpeas – A rich source of plant-based protein; ensure they’re well-rinsed if using canned.
- 1 cup Pitted Dates – Their natural sweetness is essential; soak them if they appear dry for easier blending.
- 1/2 cup Oats – Adds great texture; opt for certified gluten-free oats to keep it gluten-free.
For the Creaminess
- 1/4 cup Peanut Butter/Almond Butter – Provides richness; substitute with sunflower seed butter for nut-free bars.
- 1 tablespoon Honey/Maple Syrup – Sweetens the mix; for vegan options, use agave syrup instead.
For Flavor Enhancement
- 1 teaspoon Vanilla Extract – Enhances flavor; can be swapped with almond extract for a different twist.
- 1/2 teaspoon Cinnamon – Adds warmth; adjust the amount based on your taste preference.
- 1/4 teaspoon Salt – Balances flavors; feel free to adjust to your taste.
For Extra Indulgence (Optional)
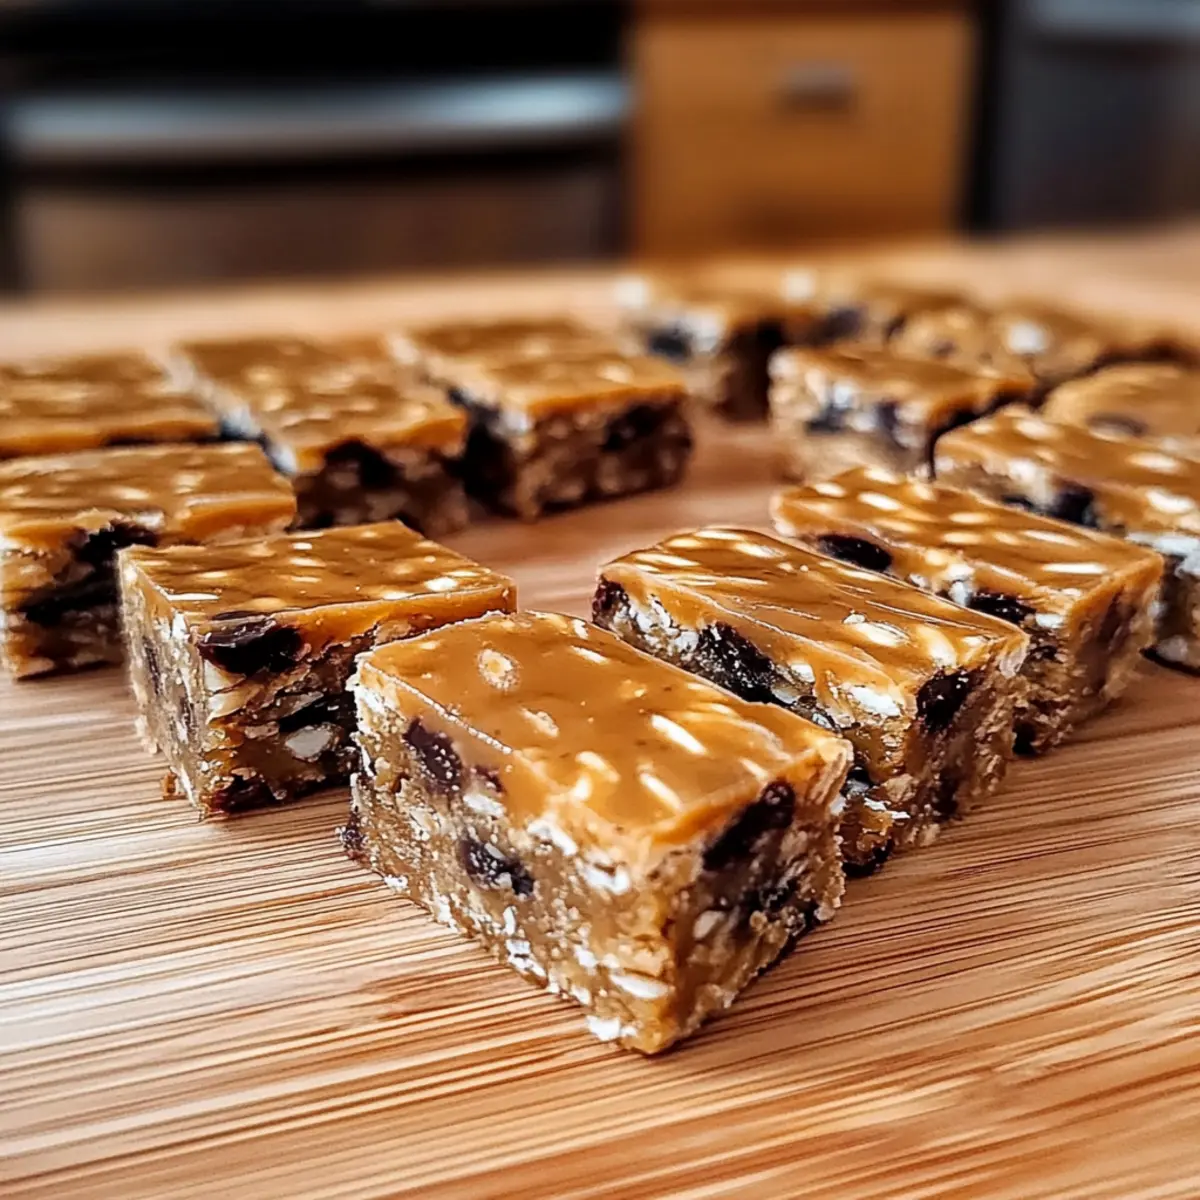
- 1/4 cup Dark Chocolate Chips – Adds a touch of indulgence; you can replace them with carob chips or omit altogether.
These Chickpea and Date Snack Bars are not only delicious but also customizable to suit your dietary preferences!
Step‑by‑Step Instructions for Chickpea and Date Snack Bars
Step 1: Prepare Base
In a food processor, add 1 cup of cooked chickpeas and 1 cup of pitted dates. Blend these ingredients together on high for about 1-2 minutes until they form a creamy and smooth mixture, resembling a thick paste. You may need to scrape down the sides occasionally to ensure everything gets blended evenly.
Step 2: Add Ingredients
Next, add 1/2 cup of oats, 1/4 cup of your choice of nut butter, 1 tablespoon of honey or maple syrup, 1 teaspoon of vanilla extract, 1/2 teaspoon of cinnamon, and 1/4 teaspoon of salt into the food processor. Blend everything together for another 1-2 minutes until fully combined and well-mixed, creating a cohesive dough-like consistency.
Step 3: Include Chocolate Chips
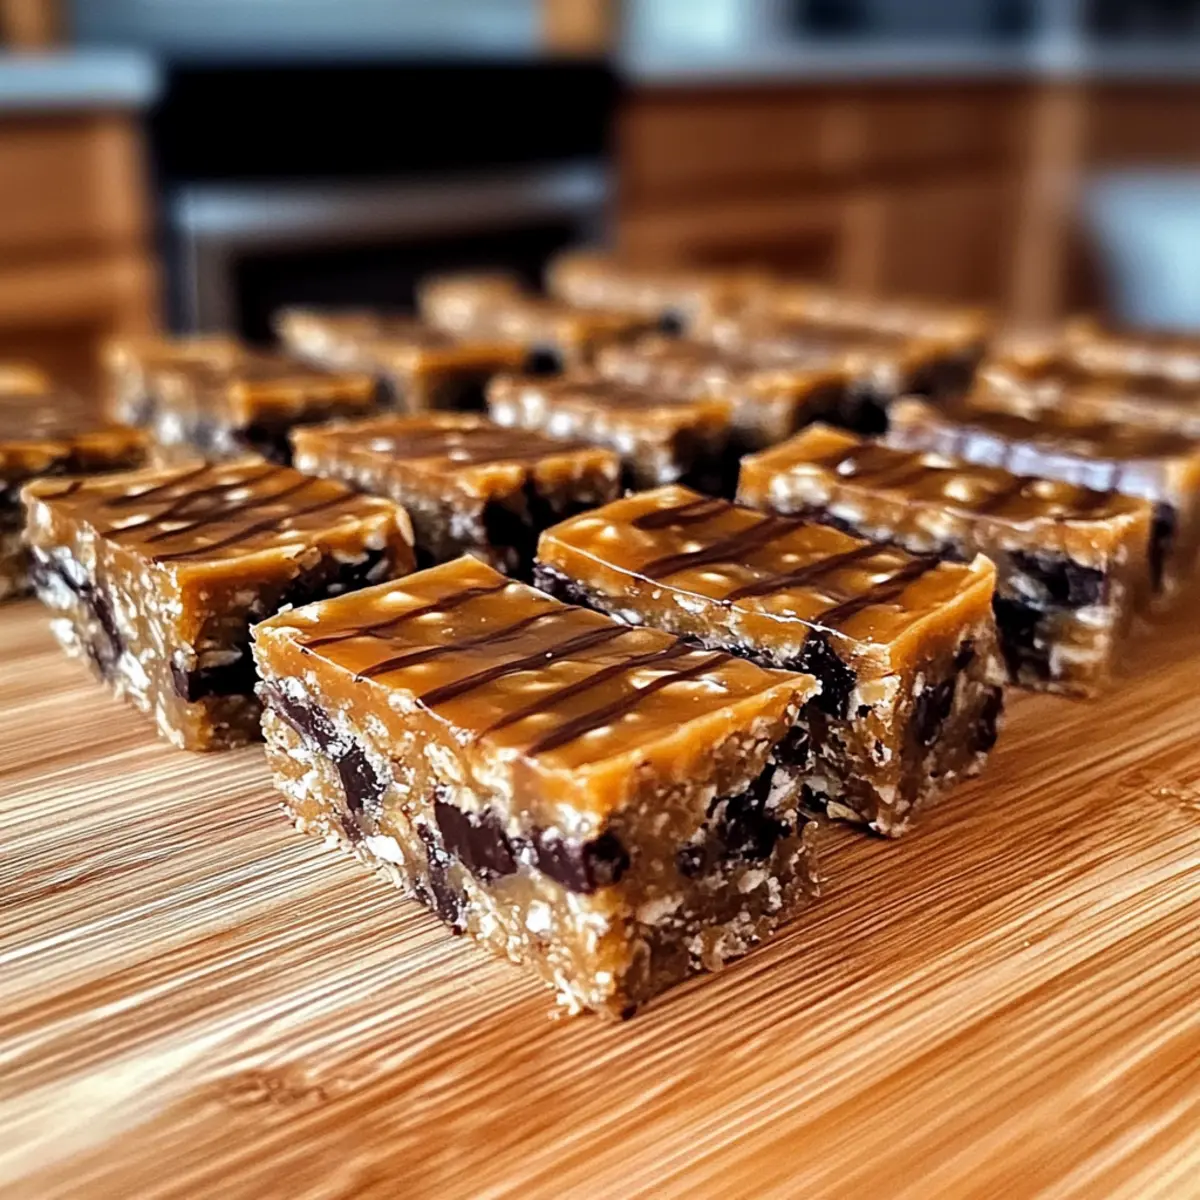
If you’d like to add a touch of indulgence to your Chickpea and Date Snack Bars, gently fold in 1/4 cup of dark chocolate chips after blending. Use a spatula to carefully incorporate the chocolate without over-processing, ensuring the chips remain intact for a delightful texture.
Step 4: Prep Baking Dish
Line an 8×8-inch baking dish with parchment paper, making sure the edges of the paper hang over the sides for easy removal later. This will help keep your bars intact. Press the parchment snugly against the dish to prevent any slippage.
Step 5: Press Mixture
Transfer the blended mixture into the prepared baking dish. Using a spatula, evenly spread the mixture while pressing down firmly to create a smooth, compact layer across the bottom. Make sure it’s well-packed to help the bars hold their shape once set.
Step 6: Chill to Set
Place the baking dish in the refrigerator and let it chill for at least 1 hour. This will allow the Chickpea and Date Snack Bars to firm up properly, making them easier to cut into squares or rectangles once removed from the dish.
Step 7: Slice and Serve
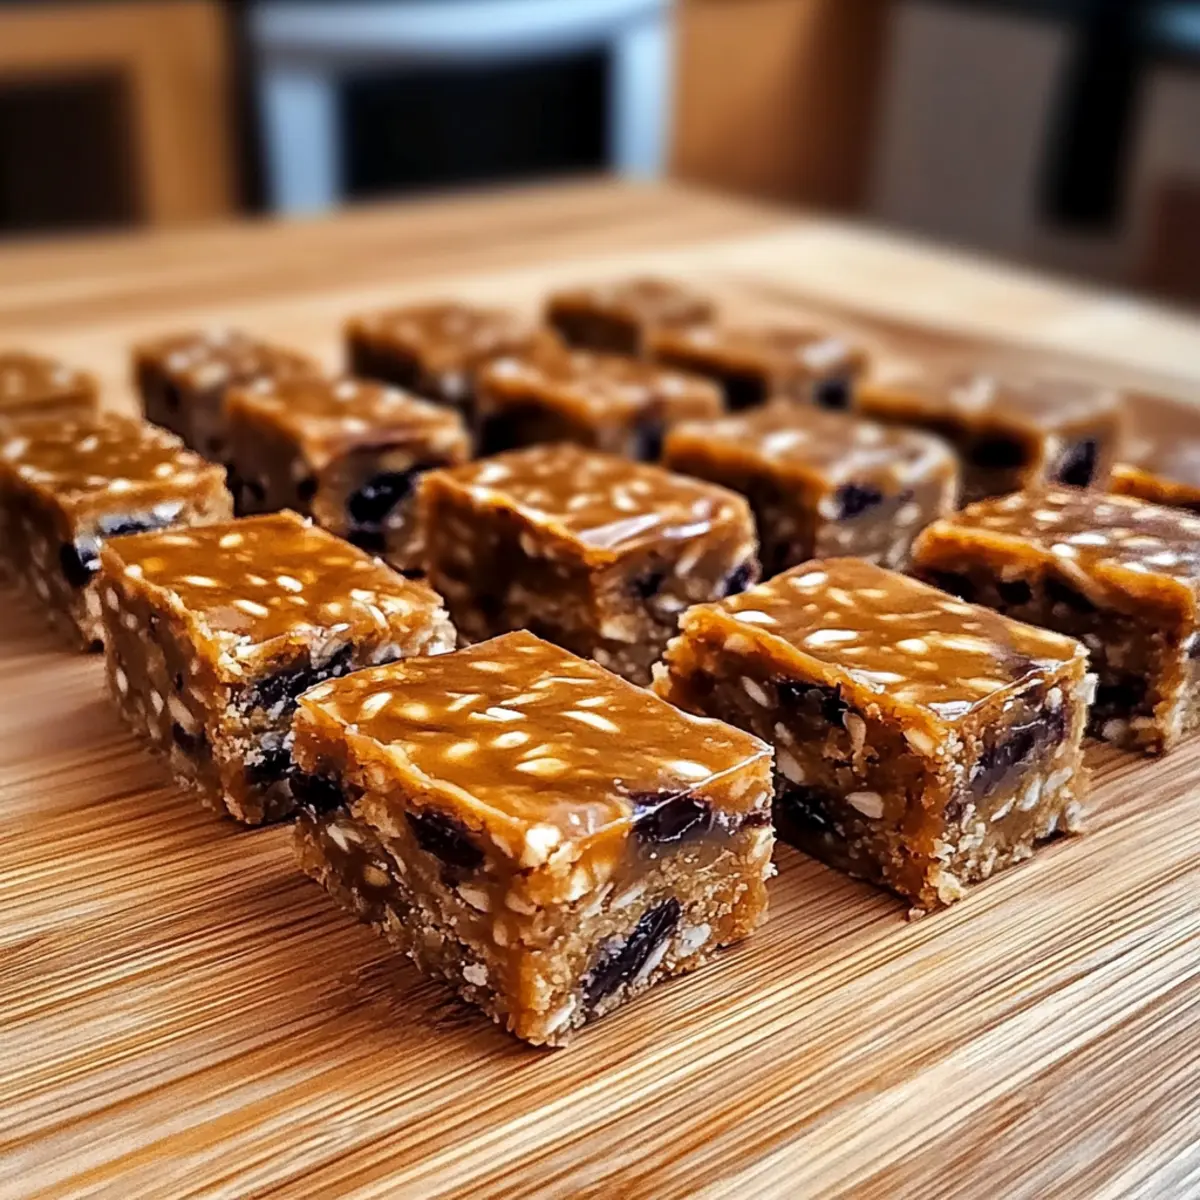
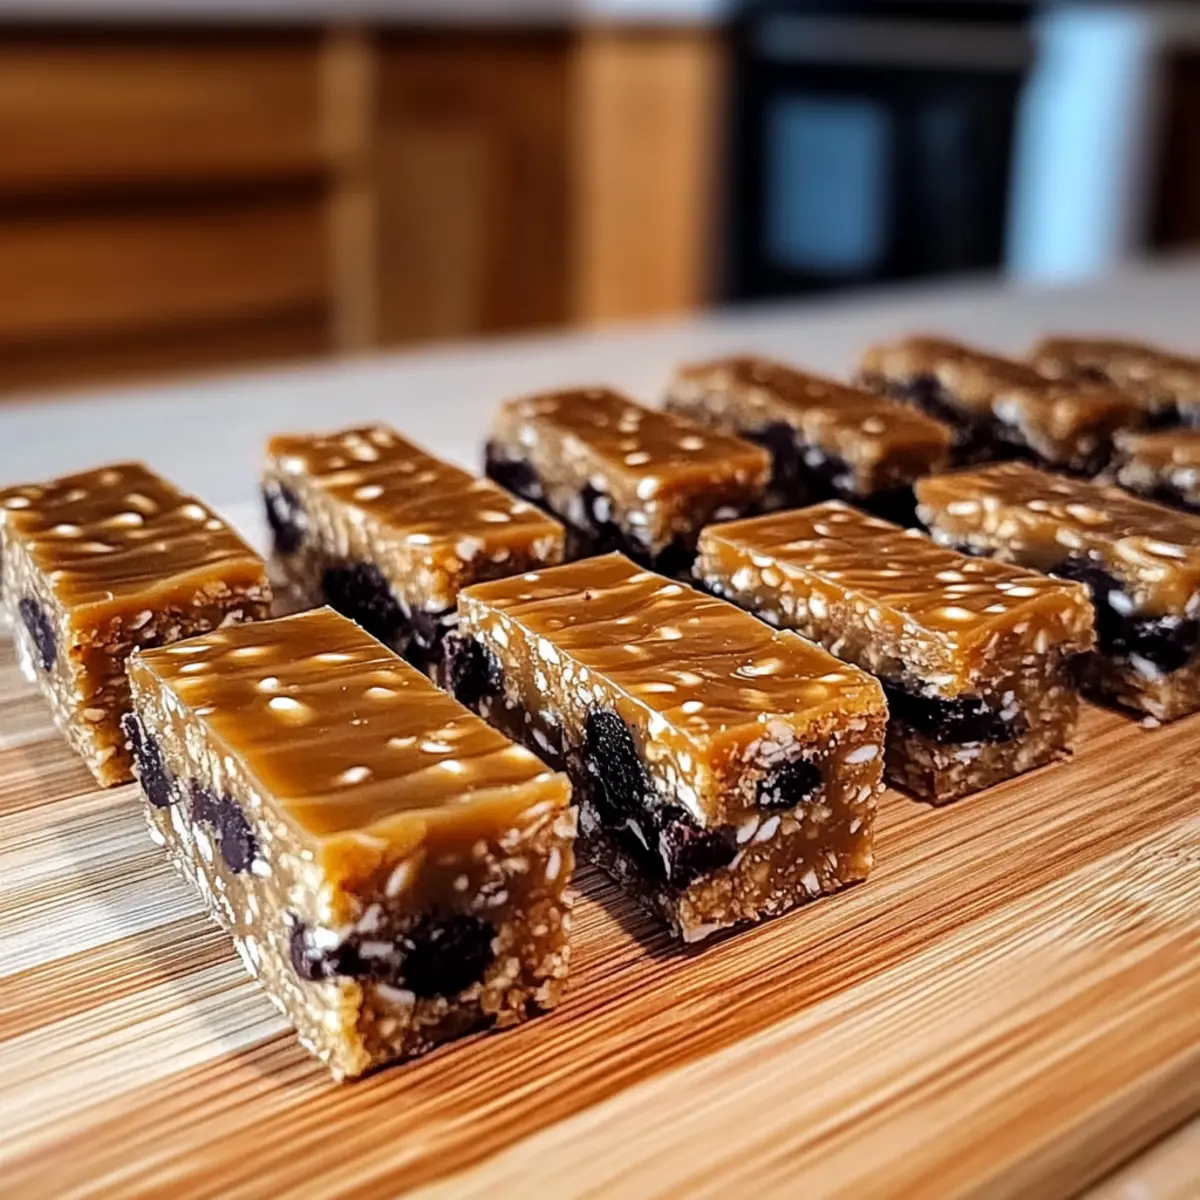
After chilling, carefully lift the bars out of the baking dish using the overhanging parchment paper. Place them on a cutting board and use a sharp knife to slice them into your desired shapes. Your nutritious Chickpea and Date Snack Bars are now ready to be enjoyed!
Make Ahead Options
These Chickpea and Date Snack Bars are perfect for busy home cooks looking to save time during hectic days! You can prepare the base mixture up to 24 hours in advance by blending the chickpeas and dates, then mixing in the oats and nut butter; simply refrigerate it in an airtight container. To maintain quality and texture, store the mixture in the fridge to prevent browning and drying out. When you’re ready to finish, just press the mixture into the baking dish, chill until firm, and slice into bars. With this make-ahead step, you’ll enjoy nutritious snacks at your convenience, all while keeping deliciousness intact!
Expert Tips for Chickpea and Date Snack Bars
-
Use Fresh Ingredients: Opt for fresh chickpeas and soft dates to achieve a smooth texture. This ensures your bars blend well together without lumps.
-
Perfect Texture: If your mixture seems too wet, add a bit more oats. Conversely, if it’s dry, a small splash of water will help achieve the desired consistency.
-
Chill Time Matters: Allowing the bars to chill for at least an hour is essential. This step helps them set properly, making them easier to slice without falling apart.
-
Mind the Sweetness: Adjust the sweetness to your liking! You can reduce or increase honey or maple syrup based on your preference and desired sweetness in the snack bars.
-
Customize with Add-Ins: Feel free to include extras like dried fruits or seeds to enhance the flavor and nutrition of your Chickpea and Date Snack Bars.
What to Serve with Protein-Packed Chickpea and Date Snack Bars?
Discover the perfect pairings to elevate your snacking experience and satisfy your taste buds.
- Creamy Greek Yogurt: A dollop of smooth yogurt adds creaminess and tang, perfectly balancing the sweetness of the bars.
- Fresh Berries: Juicy strawberries or blueberries create a vibrant pop of color and freshness, enhancing the overall flavor profile.
- Nutty Granola: Crunchy granola provides a delightful contrast to the chewy bars, adding an extra layer of texture and taste.
These bars shine even brighter when served alongside a refreshing smoothie. A fruit-infused green smoothie can amplify the healthy vibes while making your snack a wholesome meal.
- Dairy-Free Ice Cream: Scoop some dairy-free ice cream alongside for a sweet and indulgent treat that feels oh-so-good.
- Almond Milk: A chilled glass of almond milk is a light and nutritious drink that beautifully complements the hearty nature of these snack bars.
- Chia Seed Pudding: A creamy chia seed pudding topped with fruit and nuts offers additional fiber, creating a satisfying and complete snack experience.
With these delightful accompaniments, your Protein-Packed Chickpea and Date Snack Bars will be nothing short of a culinary celebration!
How to Store and Freeze Chickpea and Date Snack Bars
Fridge: Store your bars in an airtight container in the refrigerator for up to one week, ensuring they stay fresh and chewy.
Freezer: For longer preservation, wrap each bar individually in plastic wrap and place them in a freezer-safe bag. They will keep well for up to three months.
Thawing: When ready to enjoy, simply thaw the bars in the fridge overnight or at room temperature for a few hours.
Reheating: If you prefer a warm treat, you can microwave individual bars for 10-15 seconds to enjoy that freshly made feel.
Variations & Substitutions for Chickpea and Date Snack Bars
Feel free to make these delightful bars your own with a variety of substitutions and twists that will tantalize your taste buds!
- Nut-Free Twist: Use sunflower seed butter instead of peanut or almond butter to easily create a nut-free version.
- Sweetness Boost: Add a tablespoon of agave syrup for an extra touch of sweetness while keeping it vegan-friendly.
- Fruit Explosion: Mix in dried cranberries or apricots for a fruity burst that brightens every bite!
- Superfood Addition: Toss in a couple of tablespoons of chia seeds for added omega-3 fatty acids and a delightful crunch.
- Chocolate-Free Option: Omit the dark chocolate chips for a simpler bar that focuses more on the wholesome goodness of chickpeas and dates.
For those looking for even more tasty ideas, you could explore recipes like Dried Bread Stuffing that incorporate unique flavors or seasonal ingredients. Or how about pairing your snacks with a side of Crockpot Cranberries Strawberries for a refreshing touch?
- Citrus Zing: Add a teaspoon of orange or lemon zest for a refreshing citrus flavor that awakens the palate.
- Spicy Kick: Incorporate a pinch of cayenne pepper for a surprising kick that elevates the traditional sweetness.
- Texture Variety: Swap half of the oats for puffed quinoa to introduce a lighter texture and an exciting crunch.
By customizing your Chickpea and Date Snack Bars, you can enjoy a satisfying and flavorful treat just the way you like it!
Chickpea and Date Snack Bars Recipe FAQs
How do I choose the best chickpeas for my bars?
Absolutely! When selecting chickpeas, opt for fresh, dry chickpeas if you’re cooking them from scratch, or if using canned, make sure they are well-rinsed to reduce excess sodium. Look for canned varieties labeled as “low sodium,” and avoid any that show dark spots or an off smell.
How should I store my Chickpea and Date Snack Bars?
Store your bars in an airtight container in the refrigerator for up to 1 week. This keeps them fresh and chewy. If you want to keep them longer, you can freeze them by wrapping each bar individually in plastic wrap before placing them in a freezer-safe bag. They will last up to 3 months this way.
Can I freeze Chickpea and Date Snack Bars? If so, how?
Absolutely! To freeze your Chickpea and Date Snack Bars, first, wrap each bar individually in plastic wrap. Then, place them in a freezer-safe bag or container. When you’re ready to enjoy, just thaw the bars in the fridge overnight or at room temperature for a few hours. You can even microwave them for 10-15 seconds if you prefer a warm treat!
What can I do if my mixture is too dry or too wet?
Very good question! If your mixture feels too dry, add a splash of water or additional nut butter to achieve the desired consistency. On the flip side, if it’s too wet, incorporate extra oats—start with 1 tablespoon at a time—until you reach a better texture that’s easier to mold.
Are there any allergens I should be concerned about when making these bars?
Yes, if you have nut allergies, feel free to substitute almond or peanut butter with sunflower seed butter. Also, ensure that any oats used are certified gluten-free if you’re concerned about gluten sensitivity. Always double-check ingredient labels to keep it safe for everyone!
Chickpea and Date Snack Bars: Healthy No-Bake Delight!
Ingredients
Equipment
Method
- In a food processor, add the cooked chickpeas and pitted dates. Blend on high for 1-2 minutes until creamy.
- Add oats, nut butter, honey or maple syrup, vanilla extract, cinnamon, and salt. Blend for another 1-2 minutes until combined.
- If using, fold in dark chocolate chips gently without over-processing.
- Line an 8x8-inch baking dish with parchment paper.
- Transfer the mixture into the baking dish, spreading evenly and pressing down to create a compact layer.
- Refrigerate for at least 1 hour to set.
- Lift the bars out using the parchment paper and slice into desired shapes.
Leave a Reply