
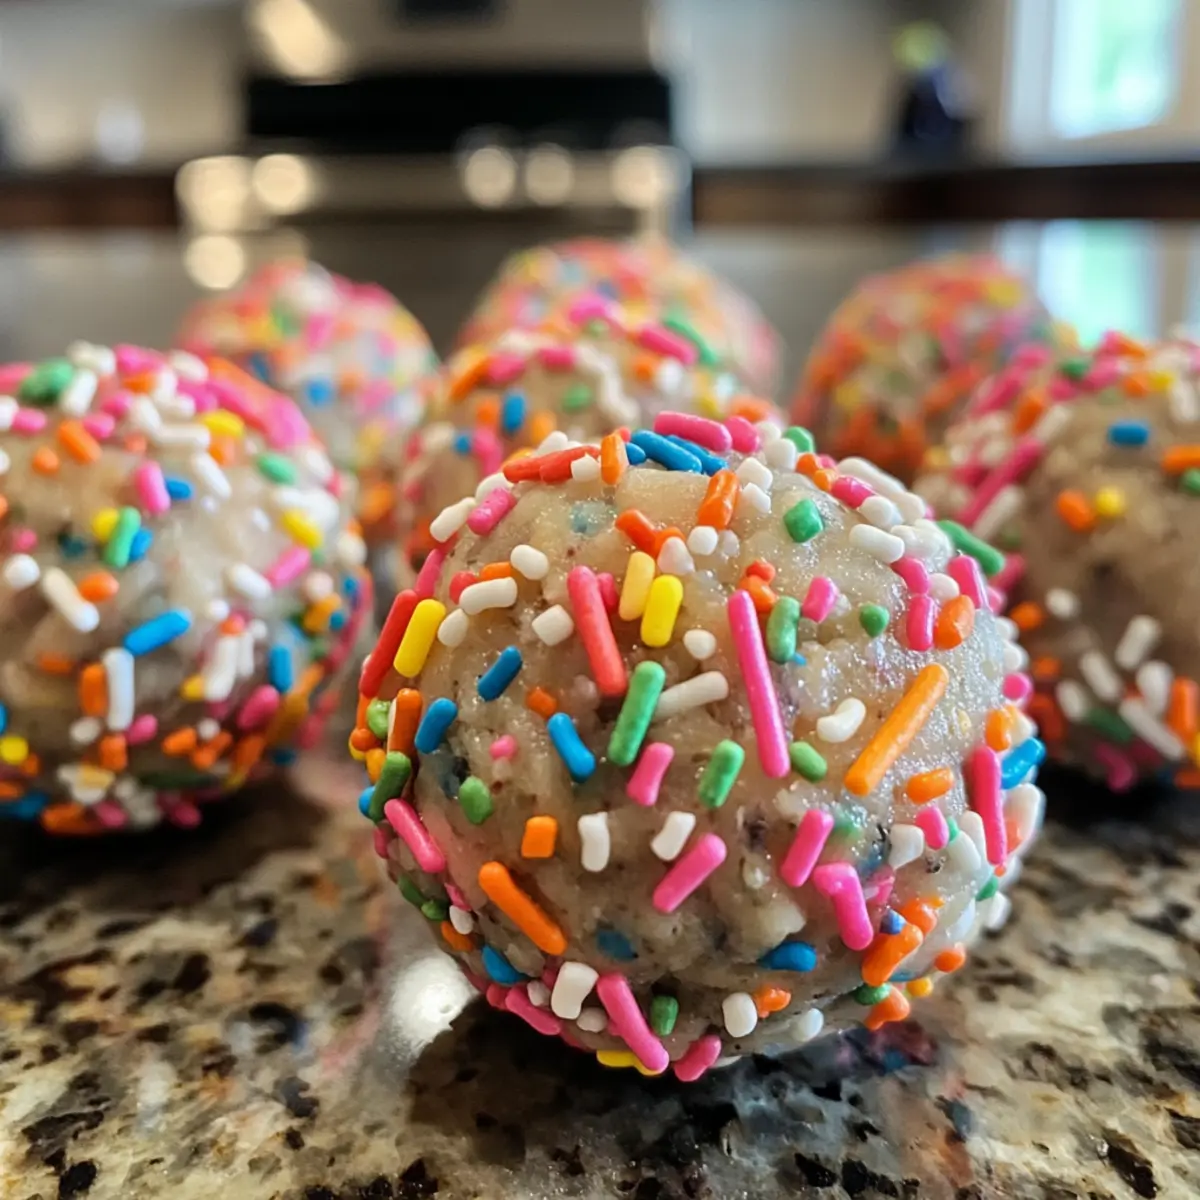
Have you ever craved that sweet taste of birthday cake but wanted to skip the guilt and extra calories? My No-Bake Birthday Cake Batter Protein Balls are the answer! These delightful snacks combine the nostalgia of cake batter with a healthy twist, merging chewy texture and finger-licking flavors without any baking. They’re packed with protein to keep your energy up, and best of all, you can whip up a batch in under 15 minutes. Whether you need a quick post-workout boost or a fun treat for the kids, these versatile bites come with nut-free and vegan options, ensuring everyone can enjoy. Curious about how to transform indulgence into a healthy habit? Let’s dive in!
Why Choose Birthday Cake Batter Protein Balls?
Guilt-free indulgence: Satisfy your sweet cravings without any remorse, as these protein balls are made to be nutritious yet decadent.
No-bake convenience: These treats require minimal effort, making them perfect for busy days or last-minute snacks.
Customizable flavors: With options like almond butter or different protein powder flavors, you can easily put your spin on these bites.
Perfect for all occasions: Whether it’s a post-workout snack or a fun treat for kids’ lunches, they fit seamlessly into any lifestyle!
Healthier alternative: They’re lower in sugar and higher in protein than traditional sweets, so you can enjoy the taste of birthday cake anytime. If you love to experiment, try these delicious Dubai Chocolate Balls or have a classic Black Forest Cake as inspiration for your next baking adventure!
Birthday Cake Batter Protein Balls Ingredients
• Elevate your snack game with these healthy bites!
For the Base
• Peanut Butter – Provides creaminess and forms the base of the protein balls. Substitution: Sunflower seed butter for nut-free option.
• Honey – Acts as a natural sweetener and binds the ingredients together. Substitution: Maple syrup for vegan option.
• Vanilla Protein Powder – Adds protein content while enhancing flavor. Note: Can substitute oat flour, but protein content will be lower.
For the Fun
• Rainbow Sprinkles – For added fun and texture. Optional: Use less or omit if desired for fewer calories.
For Consistency
• Milk/Water – Adjustment for consistency; added if the mixture is too dry. Only add in small amounts.
Step‑by‑Step Instructions for Birthday Cake Batter Protein Balls
Step 1: Microwave the Base
In a microwave-safe bowl, combine peanut butter and honey, ensuring you measure accurately. Microwave this mixture for 20-30 seconds until it softens and becomes easy to stir. Afterward, remove it from the microwave and stir it until it’s completely smooth and well-blended, creating a creamy base for your Birthday Cake Batter Protein Balls.
Step 2: Mix in Protein Powder
Add the vanilla protein powder to the warmed peanut butter and honey mixture. Stir thoroughly until it forms a cohesive, dough-like consistency. If the mixture is too dry, gradually add a splash of milk or water to achieve the desired texture. The goal is to create a dough that holds together without being overly sticky.
Step 3: Fold in the Fun
Gently fold in the rainbow sprinkles, being careful not to overmix as this can cause the colors to bleed. You want to maintain the vibrant appearance of the sprinkles within your dough. This step adds a delightful visual appeal to your Birthday Cake Batter Protein Balls while also enhancing the flavor and texture.
Step 4: Portion the Dough
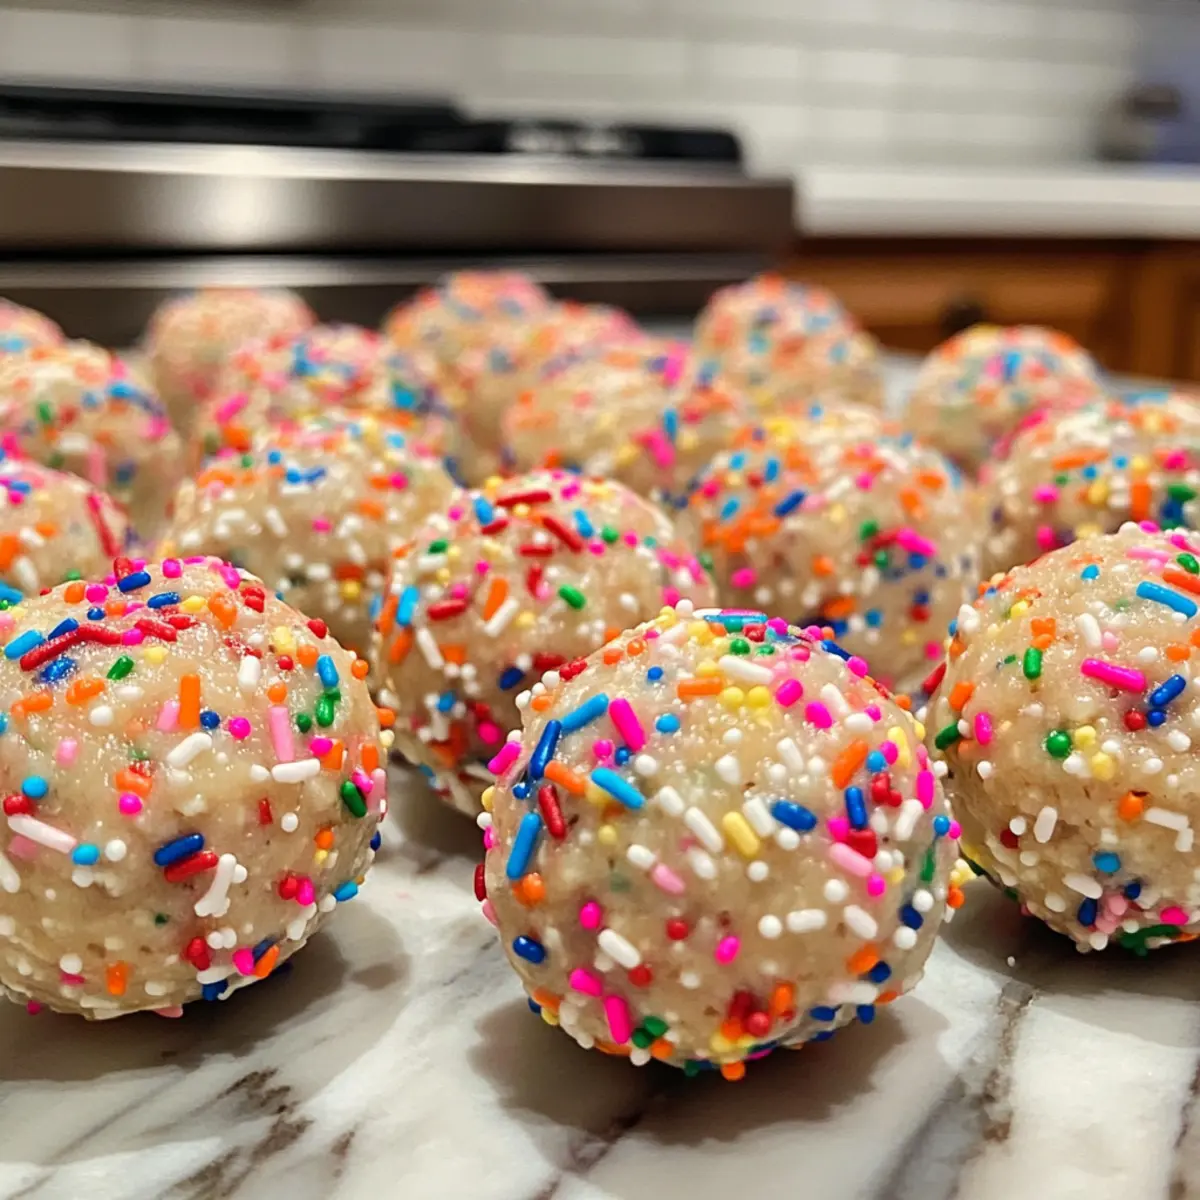
Using a tablespoon or small cookie scoop, portion out the dough into equal amounts. Roll each portion between your hands to form smooth balls. This step allows you to create bite-sized snacks that are perfect for enjoying anytime, whether it’s a quick boost during the day or a fun treat for kids.
Step 5: Roll in Extra Sprinkles
For an additional burst of color and joy, roll each ball in extra rainbow sprinkles. This step not only enhances the aesthetic but also adds a little crunch, making your Birthday Cake Batter Protein Balls feel even more festive and exciting.
Step 6: Chill to Firm Up
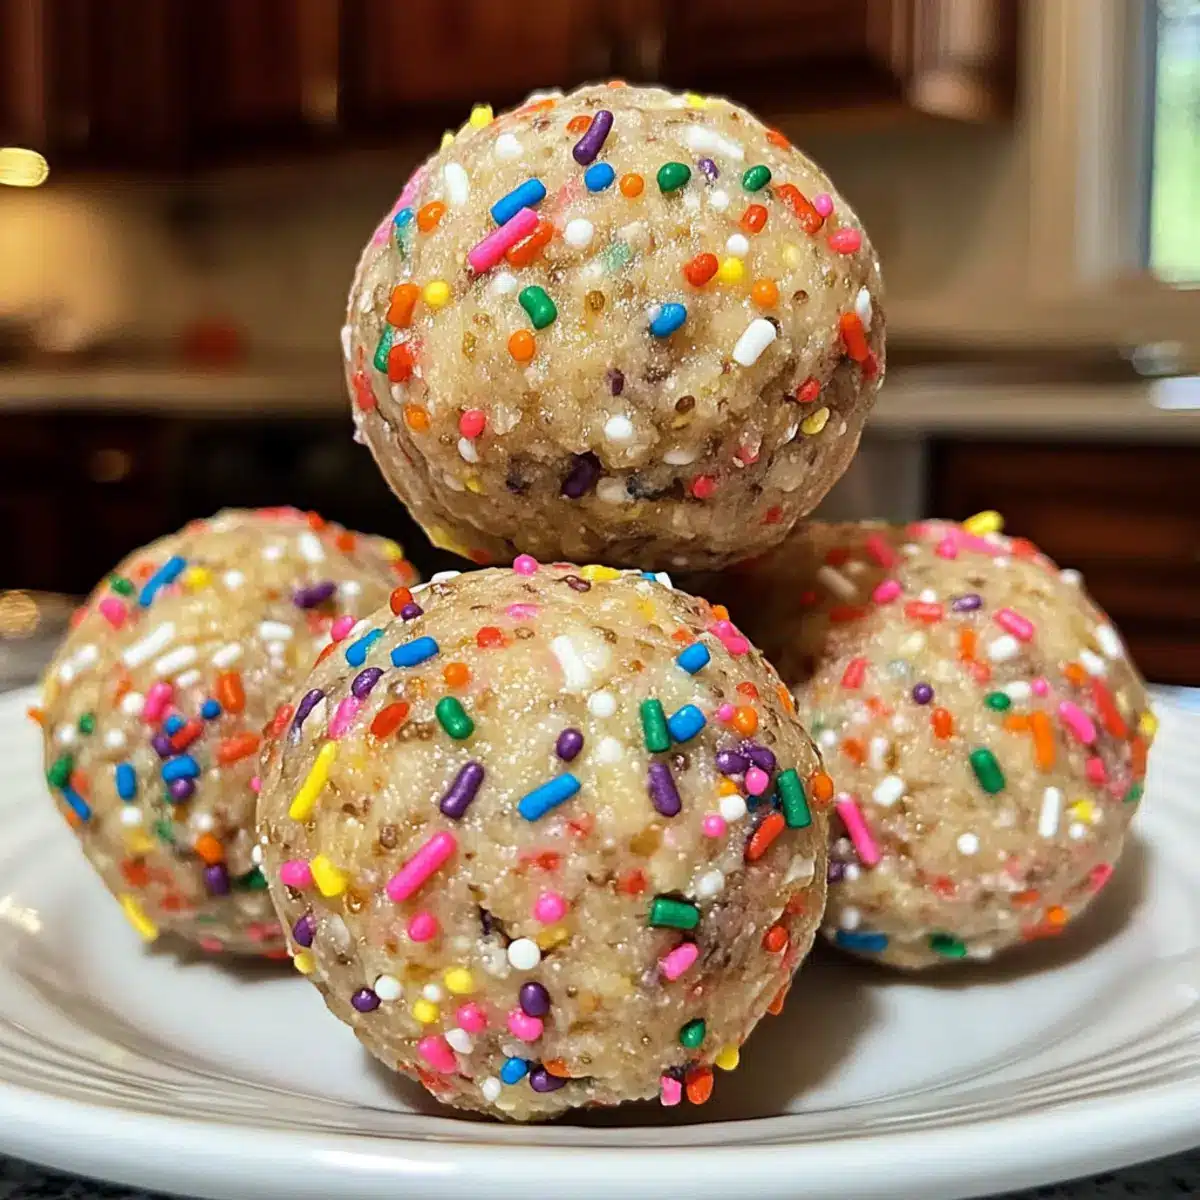
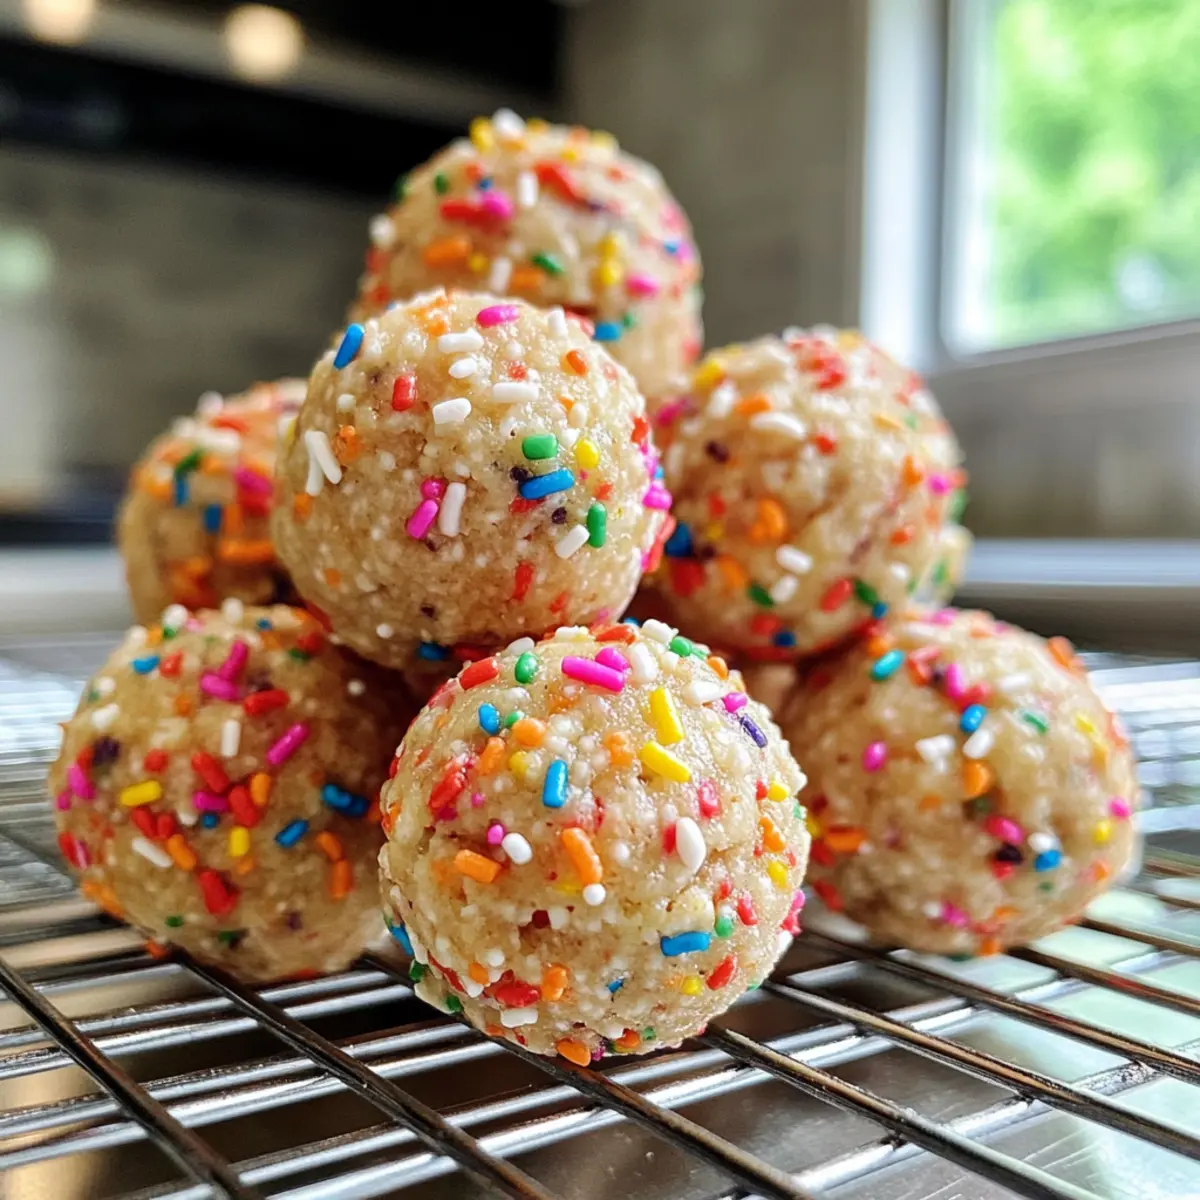
Place the formed balls on a parchment-lined tray, ensuring they are spaced out slightly. Refrigerate them for about 20 minutes. This chilling time allows the protein balls to firm up, ensuring they hold their shape when you grab them for snacking or sharing.
What to Serve with Birthday Cake Batter Protein Balls?
Transforming a simple snack into a memorable meal is easy with these delightful bites at the center of your table.
-
Creamy Greek Yogurt: A dollop of Greek yogurt adds a protein punch and a creamy texture that pairs beautifully with the chewiness of the balls.
-
Fresh Fruit Platter: Juicy strawberries, bananas, or apples provide a fresh contrast, offering a burst of natural sweetness that enhances the flavor.
-
Nutty Granola: Crunchy granola adds texture and a nutty flavor, creating a wonderful balance to the soft, chewy protein balls. Enjoy it on the side for extra filling power.
-
Chocolate Drizzle: Drizzling a bit of melted dark chocolate creates an indulgent touch that elevates these protein balls into a decadent dessert experience.
-
Nut-Kick Smoothie: Blend together banana, almond milk, and a scoop of your favorite protein powder for a nutrient-packed drink that complements the snacks perfectly.
-
Sparkling Lemonade: A glass of refreshing sparkling lemonade brings a zesty brightness that cuts through the sweetness and makes any gathering feel festive.
-
Chocolate Chip Cookies: For an extra treat, serve alongside miniature chocolate chip cookies for a delightful mix of textures that kids will love.
-
Homemade Trail Mix: Create a fun trail mix with dried fruits and seeds for a crunchy, healthy snack option that complements the chewy protein balls.
These pairing ideas not only enhance the flavors but also elevate your snacking experience to new heights, making each bite a joyous celebration!
Birthday Cake Batter Protein Balls Variations
Feel free to take these protein balls to the next level by mixing and matching ingredients! Your creativity can lead to delicious discoveries.
-
Nut-Free: Substitute peanut butter with sunflower seed butter for a delightful nut-free option that doesn’t skimp on flavor.
-
Vegan: Use maple syrup instead of honey and sunflower seed butter for a tasty vegan snack everyone can enjoy.
-
Chocolate Lovers: Add a handful of mini chocolate chips for an extra layer of sweetness and indulgence that pairs beautifully with the cake flavor.
-
Flavor Explosion: Experiment with flavored protein powders, like chocolate or strawberry, to switch up the flavor profile while keeping that protein boost.
-
Dried Fruits: Fold in some finely chopped dried fruits, such as cherries or apricots, for a chewy texture that complements the sweetness of the protein balls.
-
Spiced Up: Enhance the flavor by adding a sprinkle of cinnamon or nutmeg for a warm, spiced twist that makes every bite feel extra special.
-
Coconut Bliss: Roll your protein balls in unsweetened shredded coconut for a tropical flair that adds texture and a hint of sweetness.
-
Mix and Match: Combine various ingredients, such as different nut butters with flavored protein powders, to create your perfect blend. With endless possibilities, you’ll never get bored!
Now, how about pairing these delightful bites with some cheerful treats, like a classic Boozy Fruit Cake or warm, comforting Fall Pumpkin Cake? Your snack game just got a whole lot more exciting!
How to Store and Freeze Birthday Cake Batter Protein Balls
Fridge: Keep your protein balls in an airtight container in the fridge for up to 1 week, ensuring they remain fresh and ready to grab for a quick snack.
Freezer: For longer storage, freeze the Birthday Cake Batter Protein Balls in a single layer on a baking sheet before transferring them to a freezer-safe container or bag. They can last up to 3 months.
Thawing: When ready to enjoy, thaw in the fridge overnight or leave at room temperature for about 15-30 minutes to soften slightly before consuming.
Reheating: There’s no need to reheat these treats. Simply enjoy them cold or at room temperature for a delightful, guilt-free indulgence!
Expert Tips for Birthday Cake Batter Protein Balls
• Gentle Mixing: When folding in the rainbow sprinkles, be gentle to avoid color bleeding. This maintains the fun, vibrant look of your Birthday Cake Batter Protein Balls.
• Watch the Heat: Overheating the peanut butter can change its texture. Microwave it just enough to soften, ensuring a creamy base that mixes smoothly.
• Storage Secrets: These protein balls can be stored in the fridge for up to a week or frozen for three months. Use an airtight container to keep them fresh and delicious.
• Vegan Option: For a completely vegan treat, opt for maple syrup instead of honey and sunflower seed butter instead of peanut butter to enjoy guilt-free indulgence.
• Texture Adjustment: If your mixture feels too dry, add milk or water in small amounts. This will help achieve the perfect consistency for rolling into balls.
Make Ahead Options
These Birthday Cake Batter Protein Balls are perfect for meal prep enthusiasts! You can prepare the base mixture of peanut butter, honey, and protein powder up to 24 hours in advance—simply store it airtight in the fridge to maintain its creamy texture. Additionally, you can roll the mixture into balls and refrigerate them for up to 3 days; just be sure to cover them well to prevent them from drying out. When you’re ready to serve, simply roll them in the extra rainbow sprinkles for a delightful finish. By prepping these protein balls ahead, you’ll have a convenient, guilt-free snack ready whenever hunger strikes!
Birthday Cake Batter Protein Balls Recipe FAQs
What kind of peanut butter should I use?
For the best texture and flavor, use a creamy, natural peanut butter without added sugars or hydrogenated oils. However, if you have nut allergies or want a nut-free option, sunflower seed butter works beautifully as a substitute.
How should I store the protein balls?
Keep your protein balls in an airtight container in the fridge for up to 1 week. This way, they stay fresh and convenient for snacking. If you choose to make a larger batch, you can also freeze them for up to 3 months. Just ensure they’re well-packaged in a freezer-safe container or bag.
Can I freeze Birthday Cake Batter Protein Balls?
Absolutely! To freeze your protein balls, first place them in a single layer on a baking sheet and freeze until solid. Then, transfer them to a freezer-safe container or bag for up to 3 months. Thaw them in the fridge overnight before enjoying, or leave them at room temperature for about 15-30 minutes for a quick treat!
What should I do if my mixture is too dry?
If you find that the mixture is on the dry side while preparing your protein balls, don’t fret! Gradually add in small amounts of milk or water—start with a tablespoon at a time—until you reach a smooth, dough-like consistency that’s easy to roll into balls. You want it to hold together nicely without being overly sticky.
Are these protein balls allergy-friendly?
Yes, they can be! You can easily make these protein balls nut-free by using sunflower seed butter. Additionally, substituting honey for maple syrup makes them vegan-friendly. Just be sure to check the labels of all your ingredients to ensure they meet your dietary needs.
How do I prevent color bleeding with the sprinkles?
To avoid color bleeding in your sprinkles, gently fold them into the dough when mixing. This keeps their vibrant hues intact and ensures your Birthday Cake Batter Protein Balls look as fun as they taste! Remember, the more gently you mix, the better the outcome.
Birthday Cake Batter Protein Balls for Guilt-Free Indulgence
Ingredients
Equipment
Method
- In a microwave-safe bowl, combine peanut butter and honey. Microwave for 20-30 seconds until soft. Stir until smooth.
- Add vanilla protein powder to the mixture. Stir thoroughly until it forms a dough-like consistency. If dry, add a splash of milk or water.
- Gently fold in rainbow sprinkles.
- Portion out the dough and roll into smooth balls using your hands.
- Roll each ball in extra rainbow sprinkles if desired.
- Place the balls on a parchment-lined tray and refrigerate for about 20 minutes to firm up.
Leave a Reply