
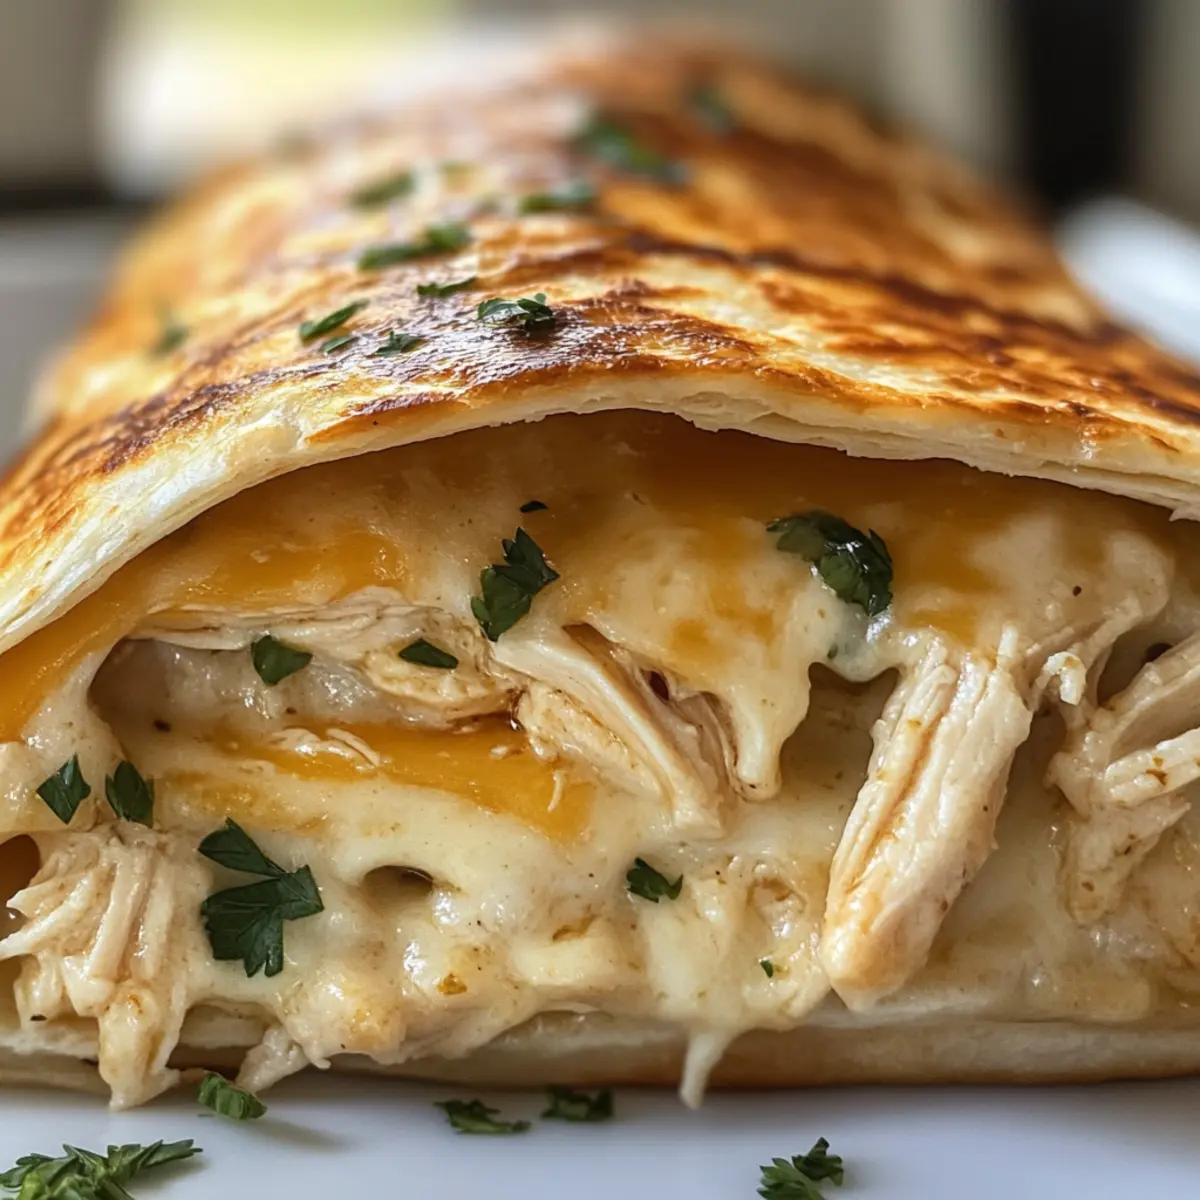
“Crunch, crunch, ahh!” That’s the sound my friends make when they take their first bite of my Low Carb Cheesy Garlic Chicken Wraps. In just 20 minutes, these wraps come together to create a family-friendly dish that’s perfect for anyone who craves a comforting meal without the dreaded carb crash. With high-protein chicken, gooey cheese, and a delightful garlic kick, you’ll discover a quick and flavorful way to satisfy those hunger pangs—ideal for busy weekdays or a fun lunch option. Plus, each bite is a reminder that healthy eating doesn’t have to sacrifice taste. So, are you ready to roll up some deliciousness together?
Why Are These Wraps a Must-Try?
Quick and Easy: With just 20 minutes to prepare, these wraps cater to your busy lifestyle while delivering a satisfying meal.
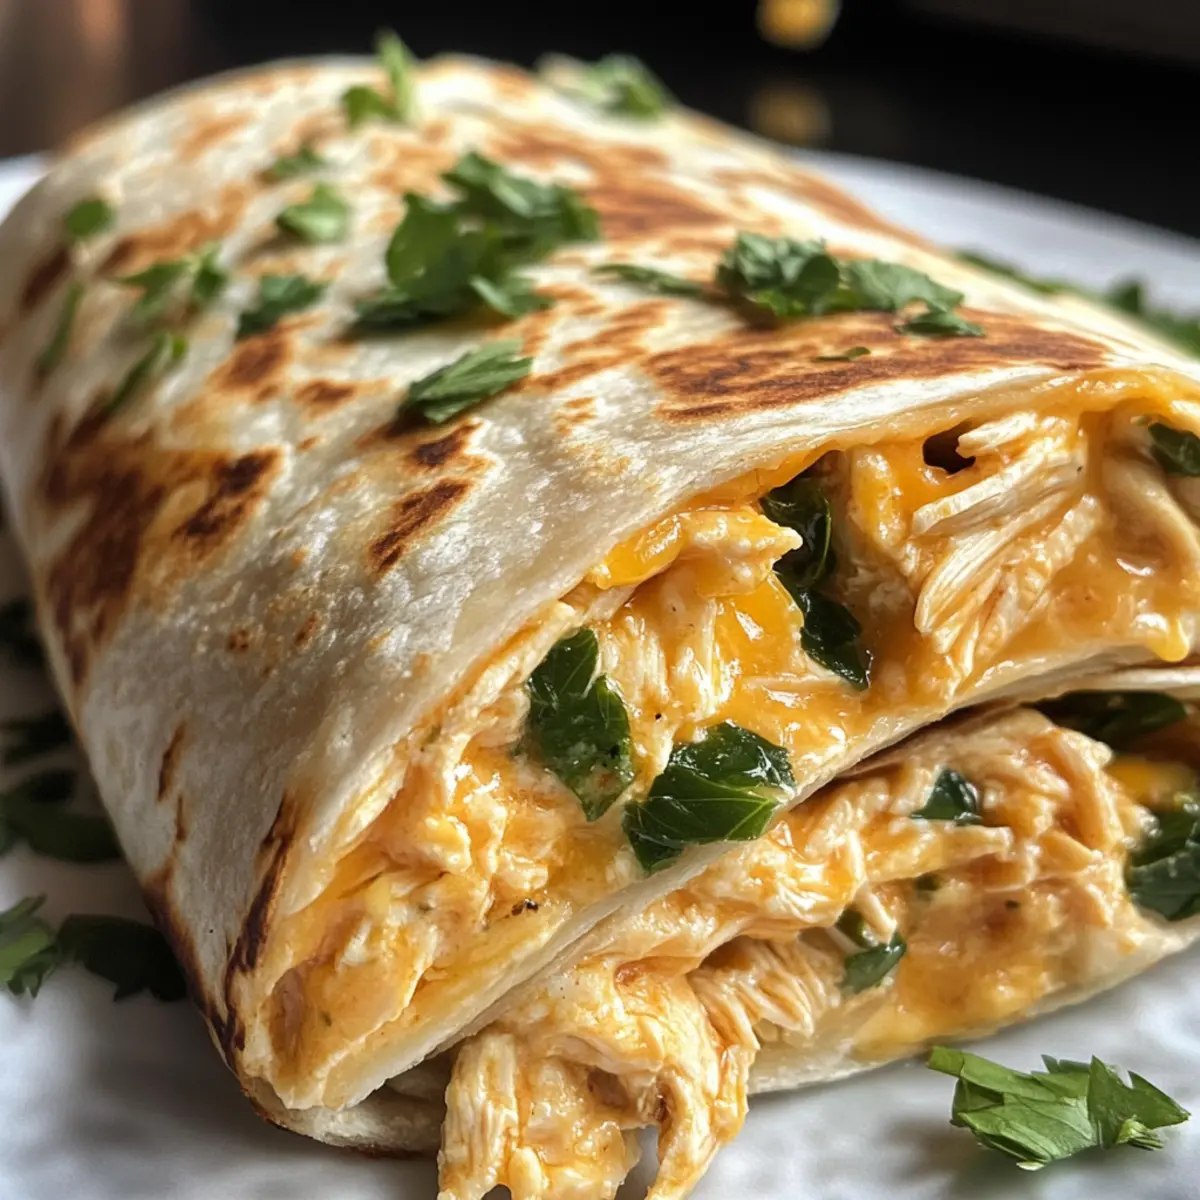
Flavor Explosion: The combination of garlic, melted cheeses, and savory chicken creates a mouthwatering flavor profile that will delight your taste buds.
Low Carb Goodness: Perfect for keto enthusiasts, these wraps let you enjoy comfort food without the extra carbs, making them a guilt-free indulgence.
Crowd-Pleaser: Everyone from kids to adults will love these! Pair them with a refreshing cucumber tomato salad or some Garlic Roast Potatoes for a complete meal.
Versatile: Feel free to customize the filling—swap chicken for turkey, toss in some veggies, or even try crumbled bacon for extra crunch!
Whether it’s weekday dinners or lunch prep, these Low Carb Cheesy Garlic Chicken Wraps are the ultimate answer to mealtime boredom!
Cheesy Garlic Chicken Wraps Ingredients
For the Filling
• Cooked Chicken Breast – Shredded for a hearty protein source; rotisserie chicken recommended for extra flavor.
• Shredded Mozzarella Cheese – 1 cup for a gooey texture; feel free to experiment with other cheeses for a twist.
• Shredded Cheddar Cheese – ½ cup for a sharp and delightful flavor contrast.
• Minced Garlic – 2 cloves to infuse the filling with aromatic goodness; use fresh garlic for the best taste.
• Cream Cheese – ¼ cup, softened to create a rich and creamy base that binds the filling together nicely.
• Fresh Parsley – 1 tablespoon, chopped for a touch of freshness; cilantro can be swapped for a zestier flavor.
• Salt and Pepper – To taste for essential seasoning; adjust according to your flavor preference.
• Baby Spinach – Handful, optional for added nutrition and a pop of color; can also substitute with kale.
For Cooking
• Olive Oil – 1 tablespoon to achieve a crispy exterior; avocado oil is a great alternative if desired.
• Low-Carb Tortillas – 4 large to hold all the deliciousness; Mission Carb Balance works wonderfully for this recipe.
These Cheesy Garlic Chicken Wraps combine delightful flavors and textures, making them an easy choice for your quick-meal needs!
Step‑by‑Step Instructions for Cheesy Garlic Chicken Wraps
Step 1: Preheat the Skillet
Start by heating a skillet or grill pan over medium heat, adding 1 tablespoon of olive oil. Let the oil heat up for about 2 minutes until it shimmers, indicating it’s ready for cooking. This step ensures that your Cheesy Garlic Chicken Wraps will have a deliciously crispy exterior.
Step 2: Prepare the Tortillas
While the skillet warms up, take 4 large low-carb tortillas and place them on a microwave-safe plate. Cover them with a damp paper towel and heat in the microwave for 10-15 seconds. This softening step is crucial to prevent cracking when you roll your wraps later.
Step 3: Mix the Filling
In a mixing bowl, combine shredded cooked chicken breast, 1 cup of shredded mozzarella, ½ cup of shredded cheddar, ¼ cup softened cream cheese, 2 cloves of minced garlic, and 1 tablespoon of chopped fresh parsley. Season with salt and pepper to taste, then mix thoroughly until the ingredients are evenly coated. This flavorful filling will be the star of your Cheesy Garlic Chicken Wraps.
Step 4: Assemble the Wraps
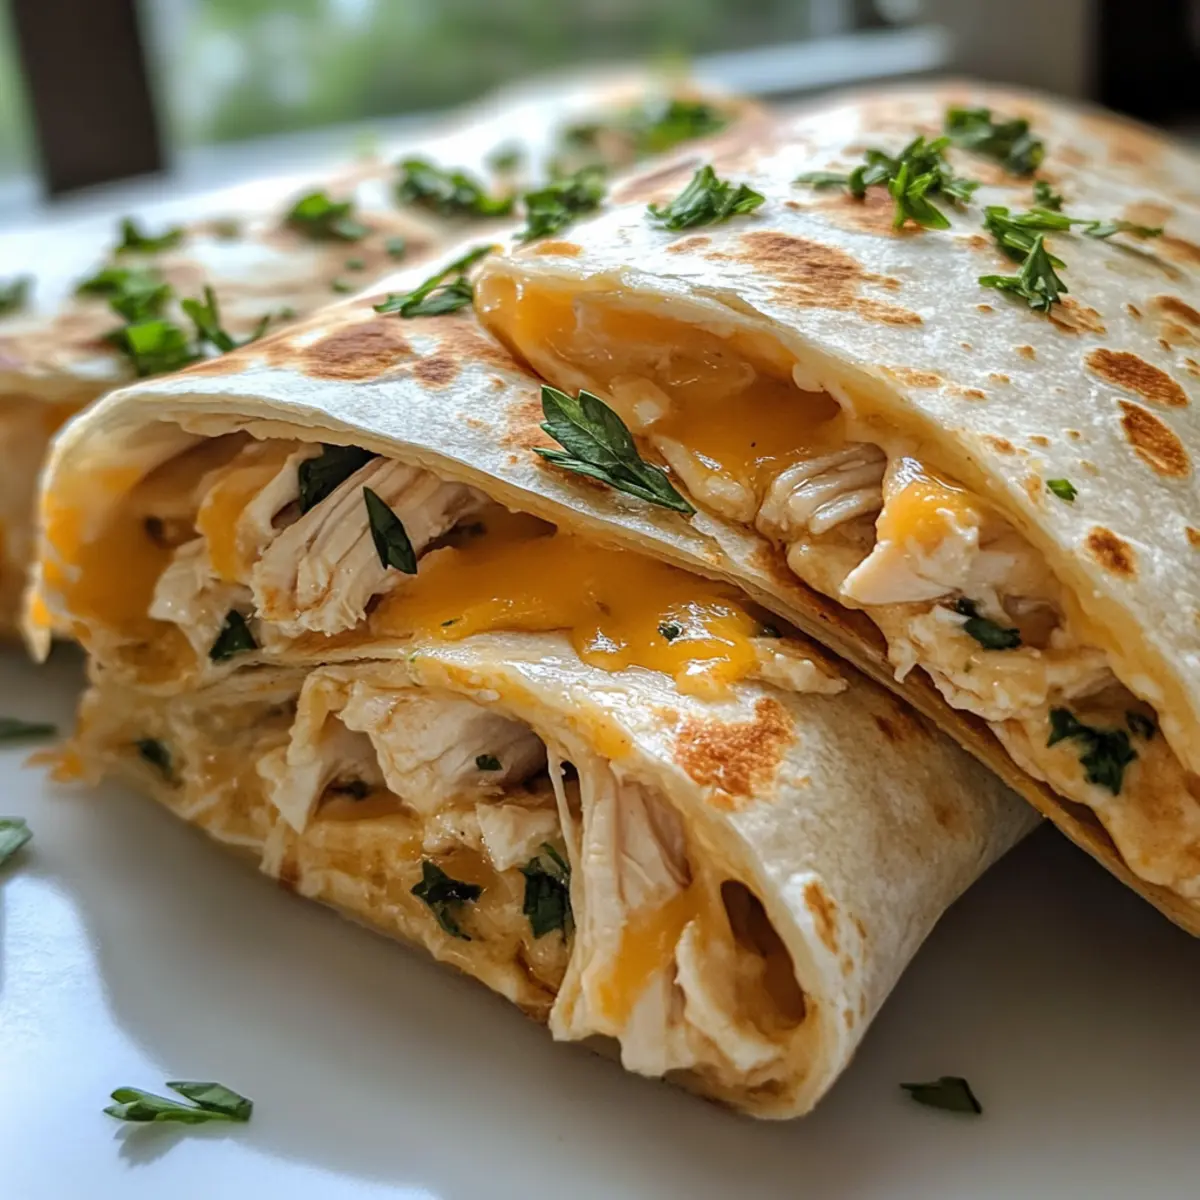
Take a warmed tortilla and scoop about ½ cup of the chicken mixture into the center. Carefully roll the tortilla tightly, tucking in the sides as you go to resemble a burrito. Repeat this process with the remaining tortillas and filling to create your stacked Cheesy Garlic Chicken Wraps, ensuring they are filled but not overstuffed to prevent bursting.
Step 5: Cook the Wraps
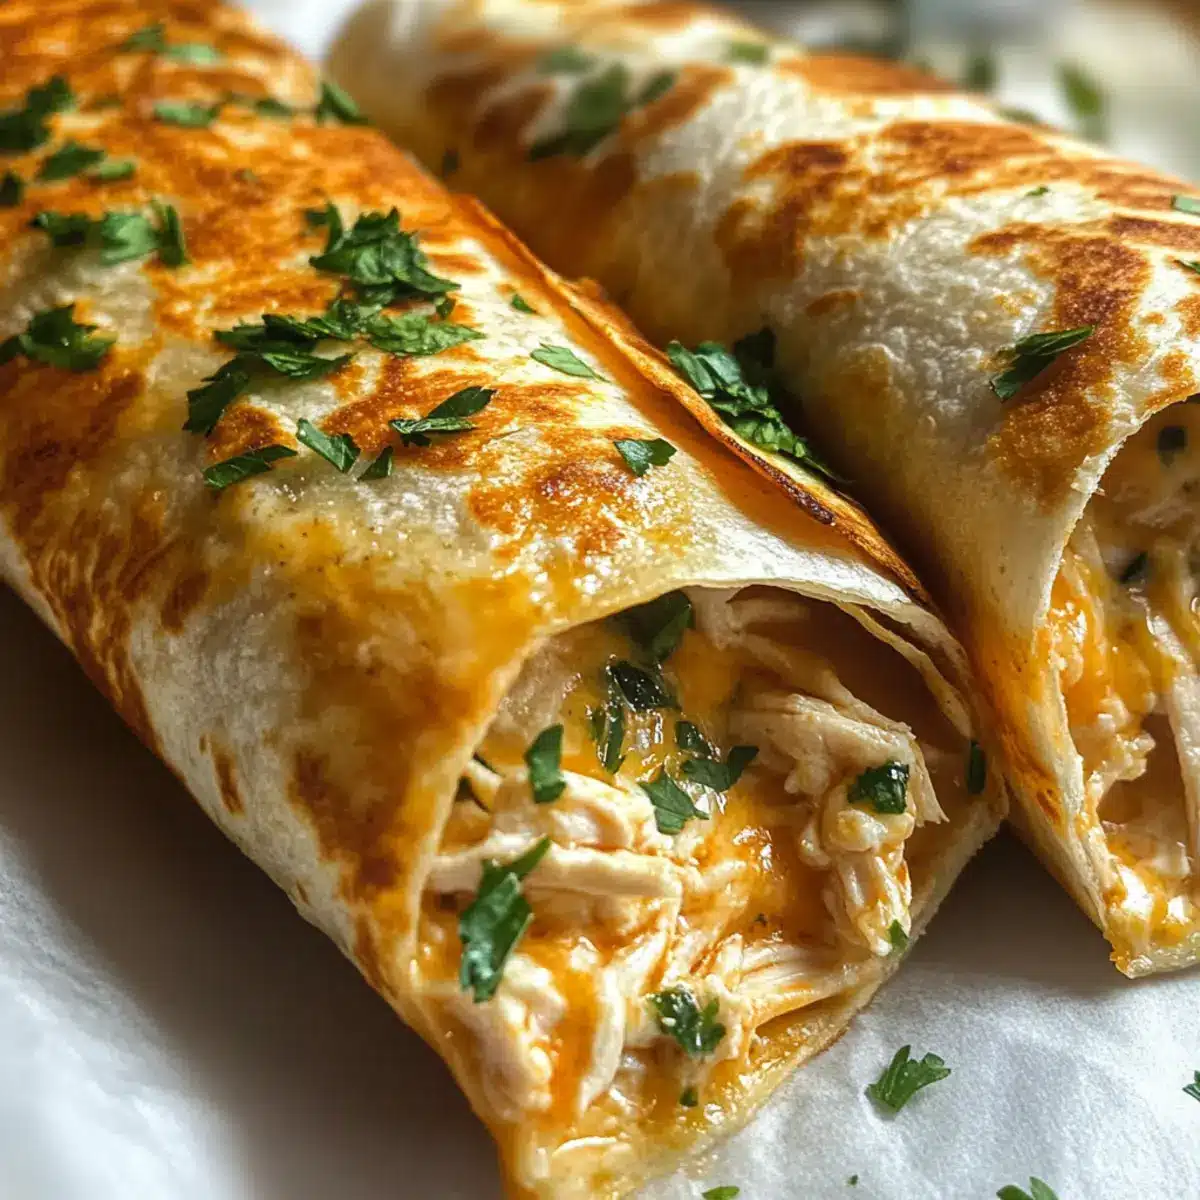
With the skillet ready, place the assembled wraps seam-side down in the pan. Cook them for 2-3 minutes on each side without moving them, until they are golden brown and crispy. This method will melt the cheese inside and create a delightful crunch outside for your Cheesy Garlic Chicken Wraps.
Step 6: Serve and Enjoy
Once the wraps are cooked to perfection, remove them from the skillet and let them rest for a minute. Slice each wrap diagonally and plate them up. Serving them hot will enhance the gooey, melty goodness of the cheese inside, making your Cheesy Garlic Chicken Wraps a hit at the dinner table!
Make Ahead Options
These Cheesy Garlic Chicken Wraps are perfect for meal prep enthusiasts! You can prepare the filling—a delightful mix of shredded chicken, cheeses, and spices—up to 3 days in advance. Simply combine the ingredients in a bowl, cover, and refrigerate for great flavor retention. When you’re ready to enjoy your wraps, just warm your tortillas in the microwave, fill them with the prepped mixture, and cook as directed for that crispy finish. This method not only saves you time on busy nights but ensures you can enjoy a freshly made meal with minimal effort, maintaining the wraps’ deliciousness just as if you’d made them from scratch!
Cheesy Garlic Chicken Wraps Variations
Feel free to get creative with these wraps; there’s no limit to how you can adapt this tasty dish to fit your cravings!
-
Turkey Swap: Substitute shredded chicken with cooked turkey for a delightful twist. The savory flavor enhances each bite beautifully.
-
Bacon Boost: Add crumbled bacon for an extra crunch and smoky flavor. It brings a satisfying richness that’s hard to resist!
-
Creamy Alternative: Replace cream cheese with Greek yogurt for a tangy taste. This swap offers a lighter option without sacrificing creaminess.
-
Veggie Medley: Incorporate diced bell peppers or mushrooms in the filling for extra nutrition. The added veggies not only taste great but also add color and texture.
-
Spice it Up: Add a pinch of cayenne pepper or red pepper flakes for a heat kick. This little addition turns your wraps into a zesty culinary adventure!
-
Cheese Excursion: Experiment with different cheeses like pepper jack or gouda for varied flavors. Each cheese will bring its unique character to your wraps.
-
Fresh Herb Fusion: Swap parsley for chopped cilantro or basil for an herbaceous lift. Fresh herbs can transform the flavor profile, making it more refreshing.
-
Keto Crunch: Try using cooked and crumbled pork rinds in place of tortillas for a super-low-carb wrap. This option brings an entirely new texture and taste!
Enjoy these variations with a side of your favorite Garlic Parmesan Roasted Sprouts or connect the flavors with some Cheesy Christmas Tree as you explore the myriad ways to savor these wraps!
Expert Tips for Cheesy Garlic Chicken Wraps
-
Don’t Overfill: Avoid the temptation to overstuff your wraps; this prevents them from staying secure and may lead to messy results.
-
Warm Tortillas: Always warm your low-carb tortillas before filling; this crucial step keeps them flexible and prevents cracking during rolling.
-
Cheese Variations: Experiment with different cheeses like gouda or pepper jack to enhance the flavor profile of your Cheesy Garlic Chicken Wraps.
-
Storage Savvy: When storing leftovers, place parchment paper between the wraps in an airtight container to prevent sogginess.
-
Add Veggies: Boost nutrition by adding chopped bell peppers or spinach to the filling, making your wraps even more delicious and colorful.
What to Serve with Low Carb Cheesy Garlic Chicken Wraps
These delicious wraps make the perfect centerpiece for a cozy meal, but pairing them with complementary sides can enhance your dining experience.
-
Simple Arugula Salad: A fresh mix of arugula, cherry tomatoes, and a light vinaigrette adds a crisp, peppery contrast to the creamy wraps. The brightness of the salad refreshes the palate, making each bite of the wrap even more delightful.
-
Roasted Vegetables: Seasonal veggies drizzled with olive oil and herbs, roasted to perfection, provide a hearty and colorful side. The caramelized flavors of the vegetables balance the richness of the cheesy wraps wonderfully.
-
Cucumber Tomato Salad: This refreshing side is a delightful mix of crunchy cucumber and juicy tomatoes, dressed lightly in vinegar. Its coolness offsets the warmth of the wraps, creating a satisfying contrast in textures.
-
Zesty Guacamole: A scoop of homemade guacamole offers a creamy, tangy dip that pairs perfectly with each bite of the wrap. Vibrant flavors and healthy fats round out the meal beautifully, making it satisfying and delicious.
-
Herbed Yogurt Dip: A yogurt dip mixed with fresh herbs adds a delightful creaminess that complements the wraps perfectly. This tangy dip introduces a new layer of flavor while enhancing the overall enjoyment of the meal.
-
Sparkling Water with Lemon: To drink, a refreshing glass of sparkling water with a squeeze of lemon brightens the entire meal. The effervescence cleanses the palate, allowing the wraps to shine wonderfully.
-
Dark Chocolate Squares: For a little sweet finish, indulge in a small piece of rich dark chocolate. Its bittersweet notes delightfully contrast the savory flavors of the wraps, leaving you with a satisfying end to your meal.
Storage Tips for Cheesy Garlic Chicken Wraps
- Fridge: Store leftover wraps in an airtight container for up to 2 days. To maintain their crunch, separate each wrap with parchment paper.
- Freezer: For longer storage, freeze wrapped individually in plastic wrap, then place in a freezer-safe bag for up to 1 month.
- Reheating: Reheat in a preheated oven at 350°F (175°C) for about 10-15 minutes until heated through and crispy. Avoid the microwave, which can make the wraps soggy.
- Room Temperature: If you’re serving Cheesy Garlic Chicken Wraps at a gathering, they can be kept in a warm spot for about 2 hours before needing refrigeration.
Cheesy Garlic Chicken Wraps Recipe FAQs
What type of cooked chicken is best for this recipe?
Absolutely! I recommend using shredded rotisserie chicken for added flavor, but any cooked chicken breast will work well, too. Just make sure it’s shredded to allow for even mixing and heating in the filling.
How should I store leftover Cheesy Garlic Chicken Wraps?
Store your leftover wraps in an airtight container in the refrigerator for up to 2 days. I suggest placing parchment paper between each wrap to prevent them from getting soggy. When you’re ready to enjoy them again, just pop them in the oven to retain that delightful crunch!
Can I freeze these wraps? How?
Yes, you can freeze them! Wrap each Cheesy Garlic Chicken Wrap individually in plastic wrap, then place them inside a labeled freezer-safe bag. They can be stored for up to 3 months. When it’s time to eat, thaw them in the fridge overnight and reheat in the oven at 350°F (175°C) for 10-15 minutes until heated through and crispy.
What if my tortillas crack when rolling?
Very! If you notice your tortillas cracking, it might be because they weren’t warmed long enough. Simply microwave them for an additional 5 seconds or so. Always make sure to cover them with a damp paper towel to keep them moist while warming.
Are these wraps suitable for a keto diet?
Definitely! These Cheesy Garlic Chicken Wraps are low in carbs, making them ideal for anyone following a keto diet. You can also make them gluten-free by choosing appropriate low-carb tortillas. Just be sure to check the labels!
Can I add vegetables to the wraps?
Of course! I often add chopped bell peppers or spinach for extra nutrition and color. Feel free to get creative and throw in whatever veggies you have on hand! Just ensure they’re finely chopped to fit well within your wrap.
Cheesy Garlic Chicken Wraps: Quick, Low-Carb Comfort Delight
Ingredients
Equipment
Method
- Preheat a skillet over medium heat, adding 1 tablespoon of olive oil and heating until shimmering.
- Warm low-carb tortillas on a microwave-safe plate, covered with a damp paper towel for 10-15 seconds.
- In a bowl, mix the shredded chicken, mozzarella, cheddar, cream cheese, garlic, parsley, and season with salt and pepper.
- Scoop about ½ cup of the chicken mixture into a warmed tortilla and roll tightly.
- Place wraps seam-side down in the skillet; cook for 2-3 minutes on each side until golden brown.
- Remove from skillet, let rest for a minute, slice diagonally, and serve hot.
Leave a Reply