
As I stood in my kitchen, the sweet, tropical scent of mango filled the air, transporting me to a sun-kissed island paradise. That’s the magic of this easy Mango Pudding, a delightful dessert that requires only five simple ingredients and no baking at all. Using convenient canned mango pulp, this recipe delivers a creamy, gelatinous treat that’s both impressive and incredibly easy to whip up. Whether you’re hosting a dinner party or simply craving a sweet pick-me-up, this dessert is sure to please. Best of all, it holds its shape perfectly, making it just as suitable for elegant plating as it is for casual family gatherings. Are you ready to dive into a world of fruity bliss and elevate your dessert game? Let’s get started!
Why is this Mango Pudding irresistible?
Simplicity: This recipe only requires five ingredients, making it perfect for busy days when you want something sweet without the hassle.
No-Bake Delight: Forget the oven! This easy no-bake pudding allows you to whip up a delicious dessert in minutes, leaving you more time to enjoy it.
Creamy Texture: The use of creamy evaporated milk combines beautifully with the mango pulp for a luscious mouthfeel that will have everyone coming back for seconds.
Versatile Serving Options: Whether poured into molds for elegant presentations or served in ramekins for a cozy family treat, this pudding offers endless serving possibilities.
Year-Round Favorite: Using canned mango pulp ensures you can enjoy this tropical treat no matter the season. For a richer flavor, consider pairing it with Spice Vanilla Pudding for a delightful dessert duet!
Crowd-Pleaser: Perfect for potlucks or dinner parties, this mango pudding is sure to impress your guests without breaking a sweat.
Mango Pudding Ingredients
• Here’s everything you need for this delightful mango pudding recipe!
For the Pudding
- Gelatin – 2.5 packets provide the perfect structure for a firm texture.
- Sugar – Adjust this ingredient based on the sweetness of your mango pulp for balanced flavor.
- Boiling Water – Essential for activating and dissolving the gelatin smoothly.
- Evaporated Milk – Adds a rich creaminess; coconut milk is a great substitute for a dairy-free alternative.
- Mango Pulp – The star of the show, canned mango pulp ensures a smooth consistency and vibrant flavor; Kesar will add a delightful hint of tartness.
Step‑by‑Step Instructions for Mango Pudding
Step 1: Mix Gelatin and Sugar
Begin by combining 2.5 packets of gelatin and sugar in a large mixing bowl. The sugar will help balance the sweetness in your mango pudding, so feel free to adjust based on your taste preferences. Make sure to stir them together thoroughly to ensure even distribution.
Step 2: Dissolve with Boiling Water
Next, pour in approximately 1 cup of boiling water into the gelatin and sugar mixture. Stir vigorously for about 2 minutes until the gelatin is completely dissolved and the mixture is clear. You’ll know it’s ready when there are no granules left, creating a smooth base for your creamy mango pudding.
Step 3: Add Evaporated Milk and Mango Pulp
Once the gelatin mixture has cooled slightly, add in 1 cup of evaporated milk and 1 cup of canned mango pulp to the bowl. Whisk everything together until you achieve a homogeneous, creamy mixture. The vibrant color and tropical aroma will immediately fill your kitchen, making this easy mango pudding even more enticing.
Step 4: Incorporate Lemon Juice
To enhance the tropical notes of your mango pudding, add 1 tablespoon of fresh lemon juice. This will add a zesty brightness that perfectly complements the sweetness of the mango. Whisk again until everything is well blended and the mixture is smooth, ensuring a delightful flavor in every bite.
Step 5: Pour into Molds
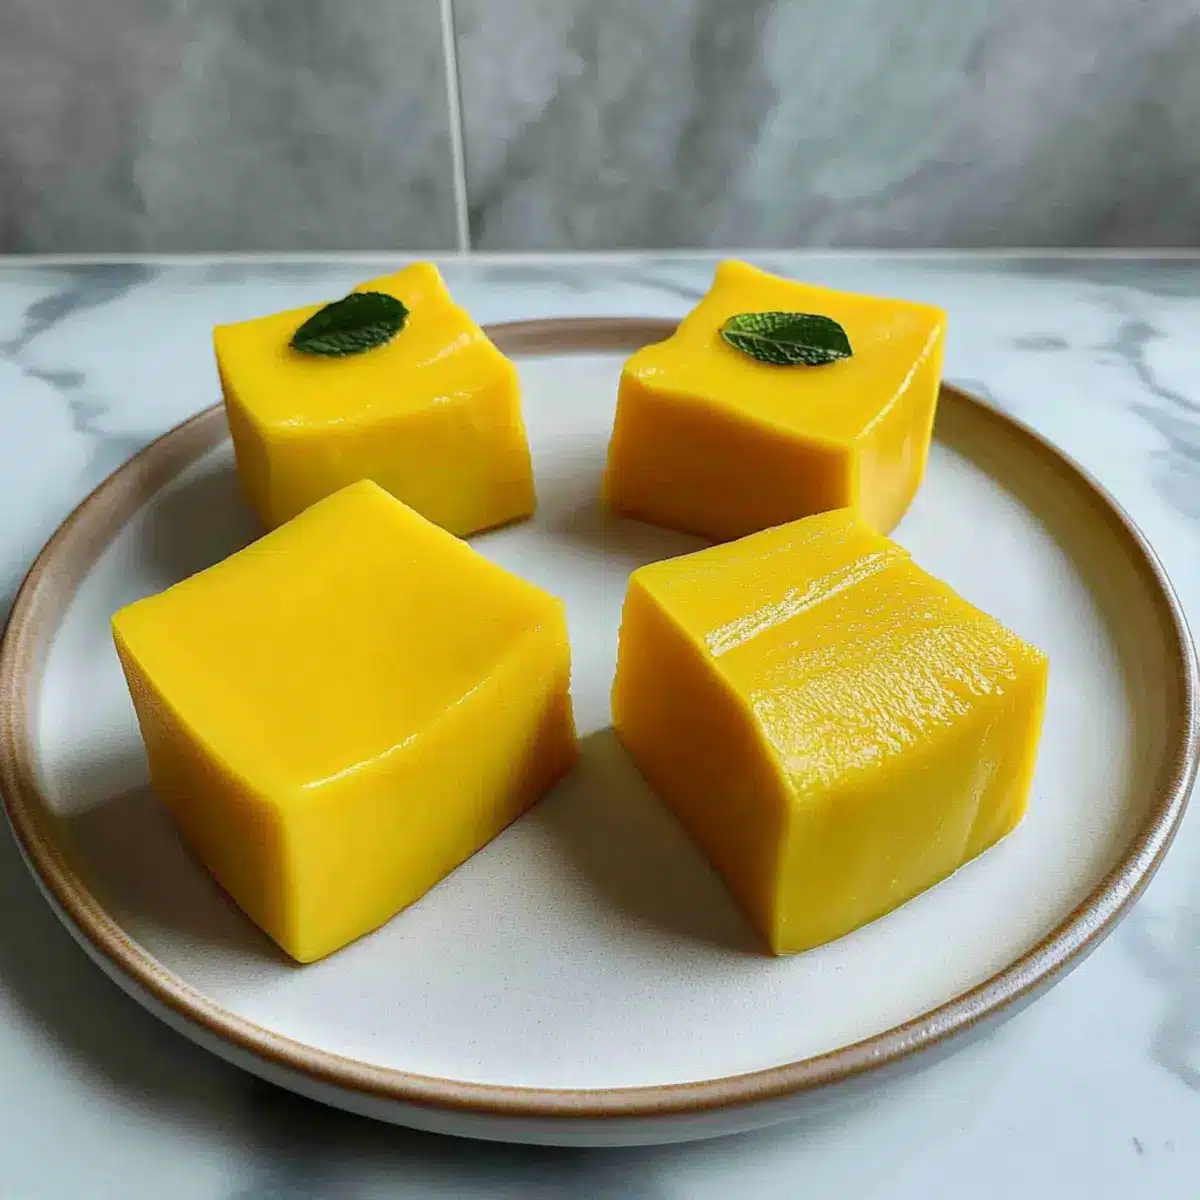
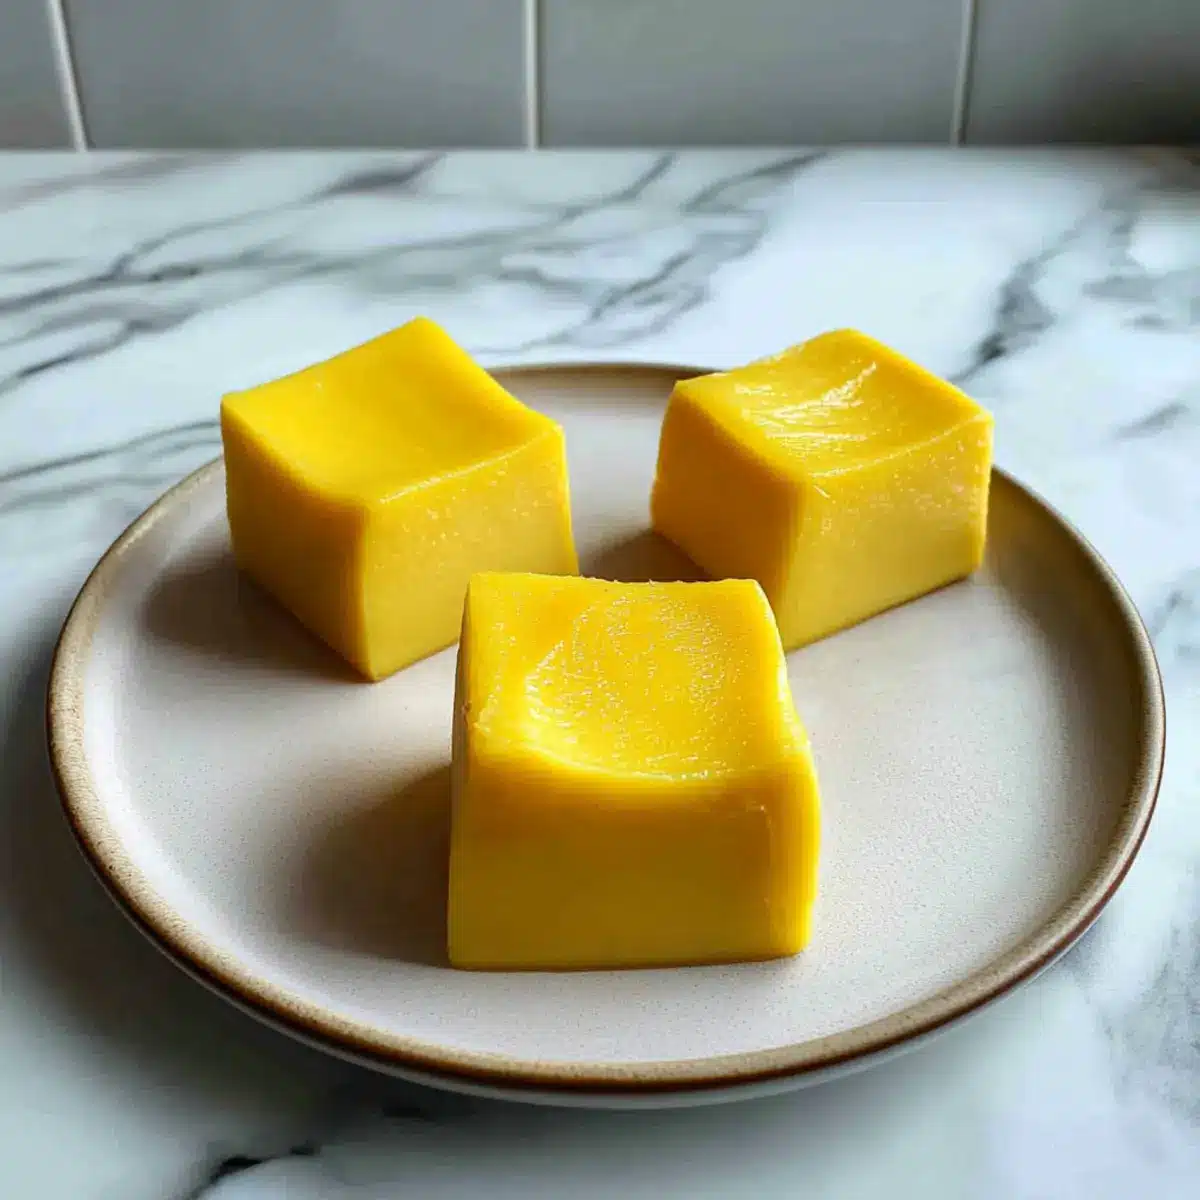
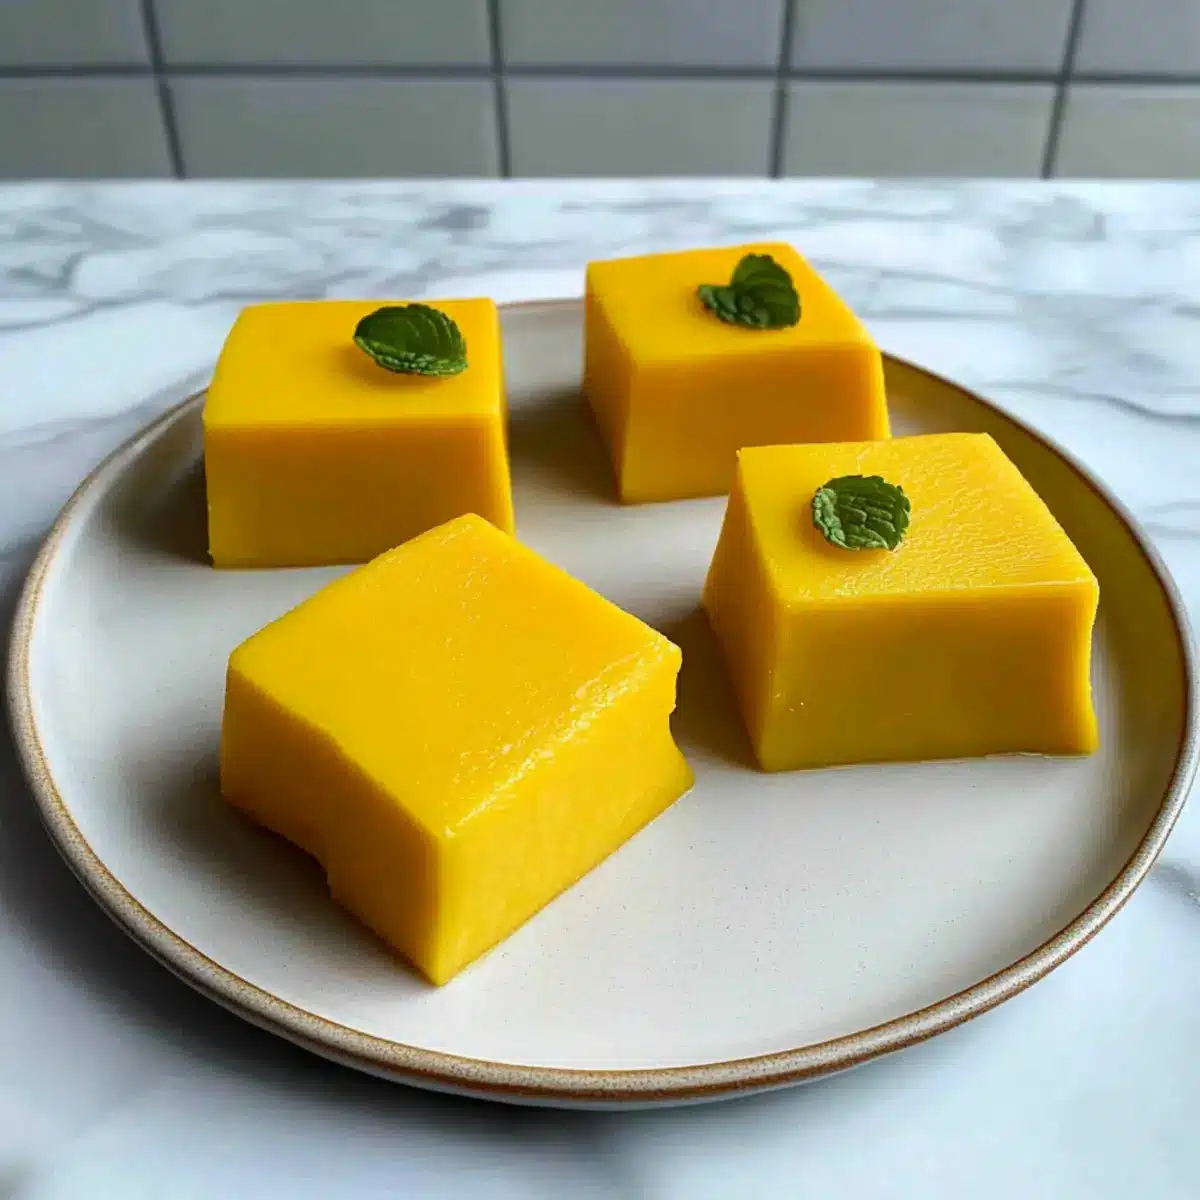
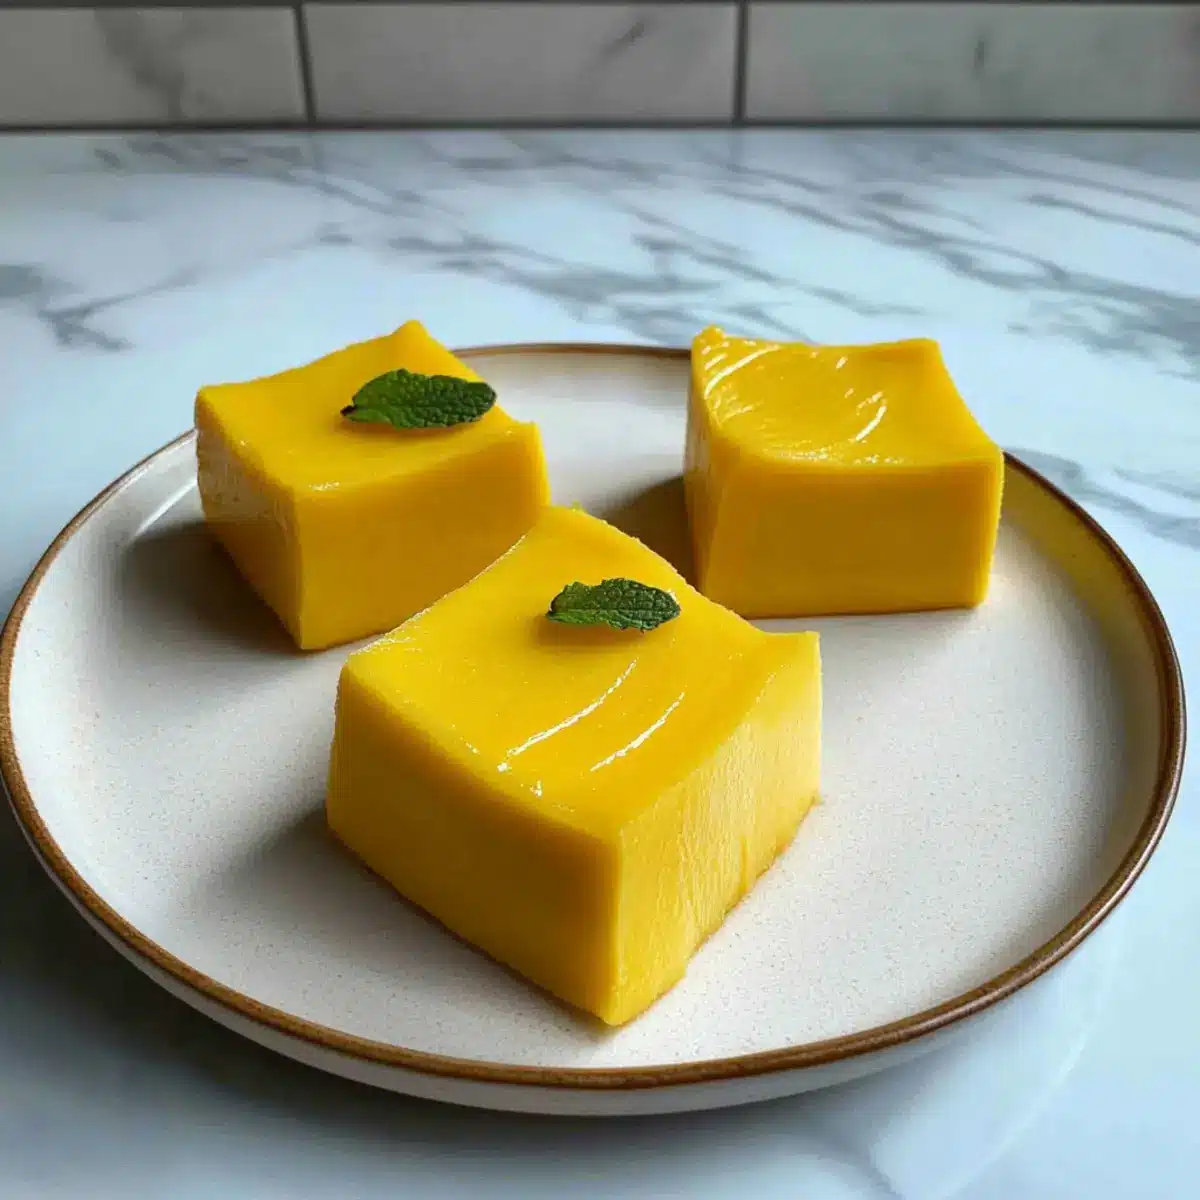
For an elegant presentation, pour the mango pudding mixture into silicone molds for cube shapes. Alternatively, you can use individual ramekins if you prefer single servings. The choice is yours! Ensure the mixture fills each mold evenly to create uniform pieces when set.
Step 6: Refrigerate to Set
Cover the molds or ramekins with plastic wrap to prevent any odors from blending into your mango pudding. Place them in the refrigerator for at least 2 hours, or until fully set. You’ll know it’s ready when the pudding holds its shape and has a firm yet silky texture that’s simply irresistible.
Step 7: Serve and Enjoy
Once set, carefully remove the pudding from the molds, if using, and place on a serving platter or individual dishes. Garnish with a dollop of whipped cream or fresh fruit if desired. Your easy mango pudding is now ready to impress your family and friends with its beautiful presentation and delightful tropical flavor!
Mango Pudding Variations & Substitutions
Feel free to get creative and customize your mango pudding to suit your taste buds!
-
Dairy-Free: Substitute evaporated milk with coconut milk for a rich, creamy texture that’s also perfect for vegan diets. The tropical flavor will shine through beautifully!
-
Flavor Boost: Add a hint of vanilla extract or almond extract for a delightful twist that enhances the sweetness of the mango. This simple addition can elevate the pudding to another level.
-
Texture Twist: For added texture, fold in some finely chopped nuts or toasted coconut flakes before pouring into molds. This will bring a satisfying crunch that complements the silky pudding.
-
Fruit Frenzy: Mix in smallpieces of other tropical fruits like diced pineapple or kiwi for an extra burst of flavor and a colorful finish. This combination is not only stunning but also delicious!
-
Spice It Up: Incorporate a pinch of ground cardamom or cinnamon for a warm, spicy note that beautifully contrasts with the sweet mango flavor. Just a sprinkle can transform your dessert!
-
Elevated Presentation: Serve in inverted gelatin molds for an elegant look and top with fresh mango slices and mint leaves. This eye-catching presentation will impress at any gathering.
-
Heat Level: For those who enjoy a little heat, add a few drops of chili oil or sprinkle red pepper flakes on top before serving. This unexpected kick will delight adventurous palates!
-
Pair with Whipped Cream: Serve alongside whipped cream or a scoop of Spice Vanilla Pudding to create a luscious dessert duo that everyone will love. The creaminess complements the mango wonderfully!
Expert Tips for Perfect Mango Pudding
- Choose Quality Ingredients: Using high-quality canned mango pulp ensures a better flavor and smoother texture in your mango pudding, elevating the entire dessert.
- Correct Gelatin Measurement: Be precise with your gelatin measurement; too little can cause the pudding to be runny, while too much may make it overly firm.
- Chill Properly: Allow adequate chilling time for your mango pudding to set properly. Rushing this step can result in a pudding that doesn’t hold its shape.
- Fresh Lemon Juice: Always use fresh lemon juice instead of bottled; the difference in flavor will significantly enhance your mango pudding.
- Experiment with Add-ins: Feel free to get creative! Adding a hint of vanilla extract or a little zest can elevate the tropical flavors of your mango pudding.
What to Serve with Easy Mango Pudding
Elevate your easy mango pudding experience with these delightful pairings that complement its tropical sweetness and creamy texture.
- Whipped Cream: A fluffy dollop adds richness, helping to balance the brightness of the mango and enhance the dessert’s overall indulgence.
- Fresh Mint Leaves: The refreshing herbal notes of mint provide a lovely contrast, adding a touch of elegance and color to your presentation.
- Coconut Flakes: Sprinkle toasted coconut on top for a delightful crunch and extra tropical flair that resonates with the mango’s flavor.
- Lime Sorbet: A scoop of tart lime sorbet not only adds a pop of color but also contrasts beautifully with the creamy mango pudding, creating a vibrant pairing.
- Crispy Biscuits: Serve with buttery, crispy biscuits or cookies for a delightful texture contrast; the crunch complements the smooth pudding perfectly.
- Tropical Fruit Salad: A medley of fresh fruits like kiwi, pineapple, and papaya can provide additional textures and flavors, enhancing the summery vibe of the dessert.
- Iced Tea: A refreshing glass of iced tea, perhaps with a hint of peach, offers a cooling beverage that perfectly balances the creamy sweetness of the pudding.
- Dark Chocolate Shavings: A sprinkle of dark chocolate adds a touch of bitterness, creating a sweet and savory combination that enchants the palate.
How to Store and Freeze Mango Pudding
- Fridge: Keep your mango pudding covered in the refrigerator for up to 3 days for the best taste and texture. Enjoy it chilled for a refreshing dessert!
- Freezer: If you need to freeze it, portion out the pudding into airtight containers or freezer bags, where it can last for up to 2 months.
- Thawing: To serve after freezing, thaw your mango pudding in the fridge overnight. If it separates, gently whisk to re-combine before serving.
- Reheating: This dessert is best served chilled, so simply let it sit at room temperature for a few minutes before serving if it’s been frozen.
Make Ahead Options
These easy mango puddings are perfect for busy home cooks looking to save time without sacrificing flavor! You can prepare the entire pudding mixture up to 24 hours in advance, allowing the gelatin to set in the refrigerator overnight. Simply follow the instructions through Step 6, then cover your molds or ramekins with plastic wrap to prevent any odors from affecting the taste. When you’re ready to serve, just remove them from the fridge, unmold the pudding if necessary, and garnish it with whipped cream or fresh fruit for an impressive presentation. This make-ahead option ensures your mango pudding remains just as delicious and mesmerizing as if you made it fresh that day!
Mango Pudding Recipe FAQs
How do I choose ripe mango pulp?
When selecting canned mango pulp for your pudding, look for brands that use high-quality, ripe mangoes. The pulp should be vibrant in color without any dark spots or off-putting smells. Kesar mango pulp is an excellent option due to its sweet and slightly tangy flavor, which enhances the pudding.
How should I store leftovers?
You can store your mango pudding in the refrigerator for up to 3 days. Make sure to cover it with plastic wrap or transfer it to an airtight container to prevent it from absorbing odors. It’s best enjoyed fresh, but leftovers make a delightful snack!
Can I freeze mango pudding?
Absolutely! Portion your mango pudding into airtight containers or freezer bags. It can be stored in the freezer for up to 2 months. To thaw, place it in the refrigerator overnight. If you notice separation, simply whisk it gently to restore the creamy texture before serving.
What if my pudding doesn’t set properly?
If your mango pudding hasn’t set, it may be due to insufficient gelatin. Make sure to use the correct amount—2.5 packets for this recipe. You can fix a runny pudding by pouring it back into a saucepan, heating it gently, and adding a little more dissolved gelatin. Stir until combined, then pour back into molds and refrigerate to set again.
Is mango pudding suitable for people with allergies?
This recipe contains gelatin, which is derived from animal products, so it isn’t suitable for vegetarians or vegans. For allergies, be cautious with the ingredients: ensure that the canned mango pulp doesn’t contain added allergens like preservatives. And if you need it to be dairy-free, substitute evaporated milk with coconut milk for a delicious alternative.
Can my pets eat mango pudding?
No, it’s best not to share mango pudding with pets. The sugar and gelatin aren’t suitable for their diets. However, you can share plain mango flesh in moderation, as it can be a refreshing treat for them!
Delicious Mango Pudding: Easy No-Bake Treat You’ll Love
Ingredients
Equipment
Method
- Combine 2.5 packets of gelatin and sugar in a large mixing bowl.
- Pour in approximately 1 cup of boiling water into the mixture and stir for 2 minutes until smooth.
- Add in 1 cup of evaporated milk and 1 cup of mango pulp, whisking until creamy.
- Incorporate 1 tablespoon of fresh lemon juice, whisk until well blended.
- Pour the mixture into molds or ramekins, filling evenly.
- Cover with plastic wrap and refrigerate for at least 2 hours to set.
- Once set, remove from molds and serve, optionally garnishing with whipped cream or fresh fruit.
Leave a Reply