
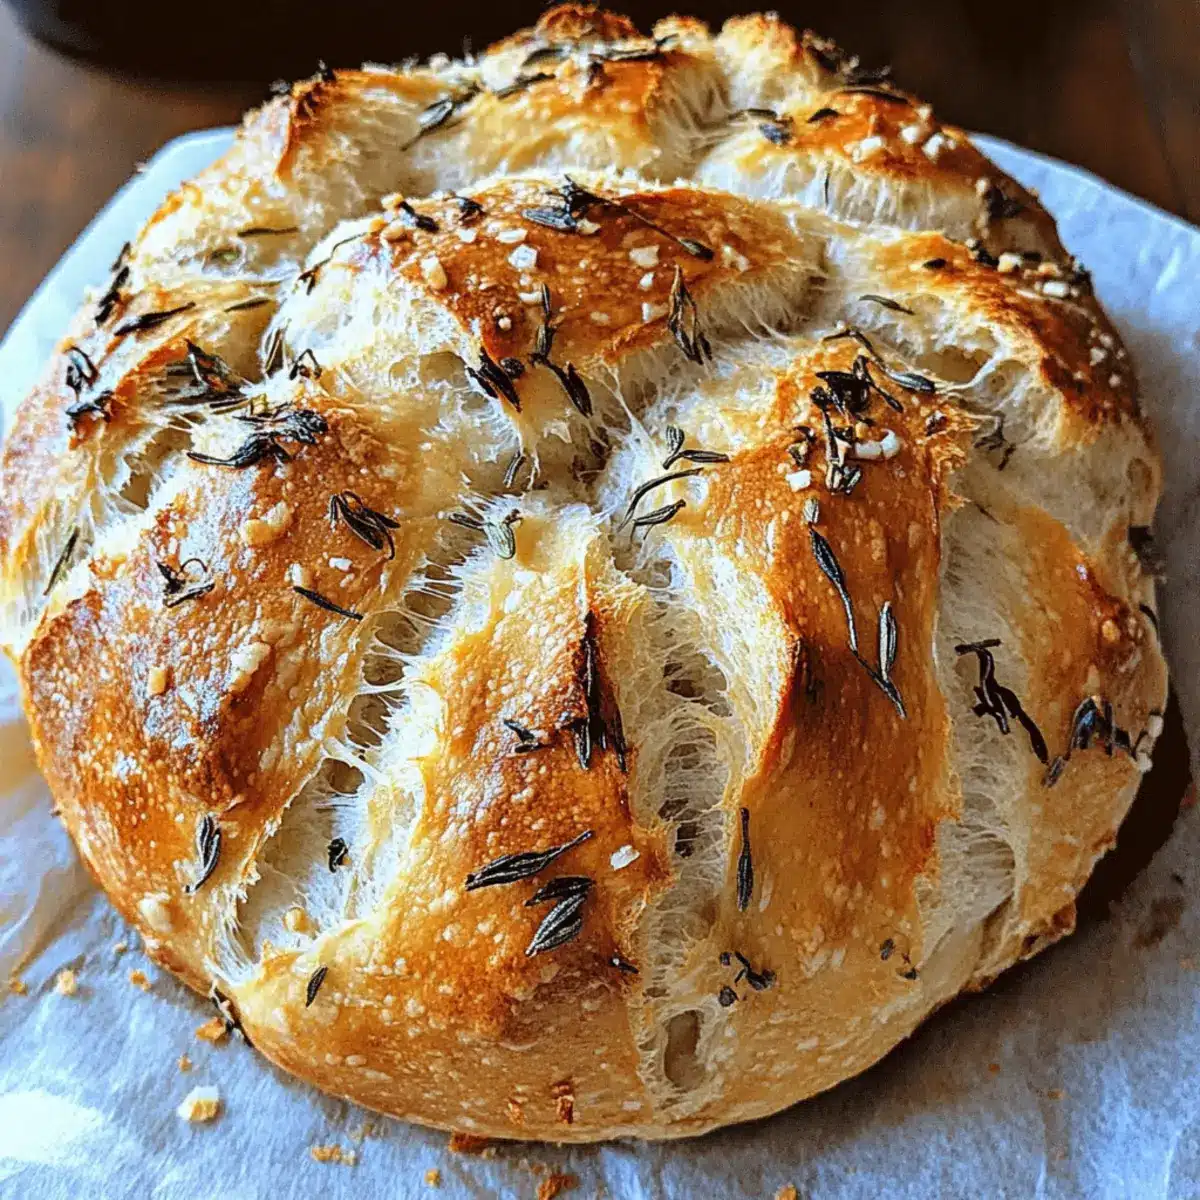
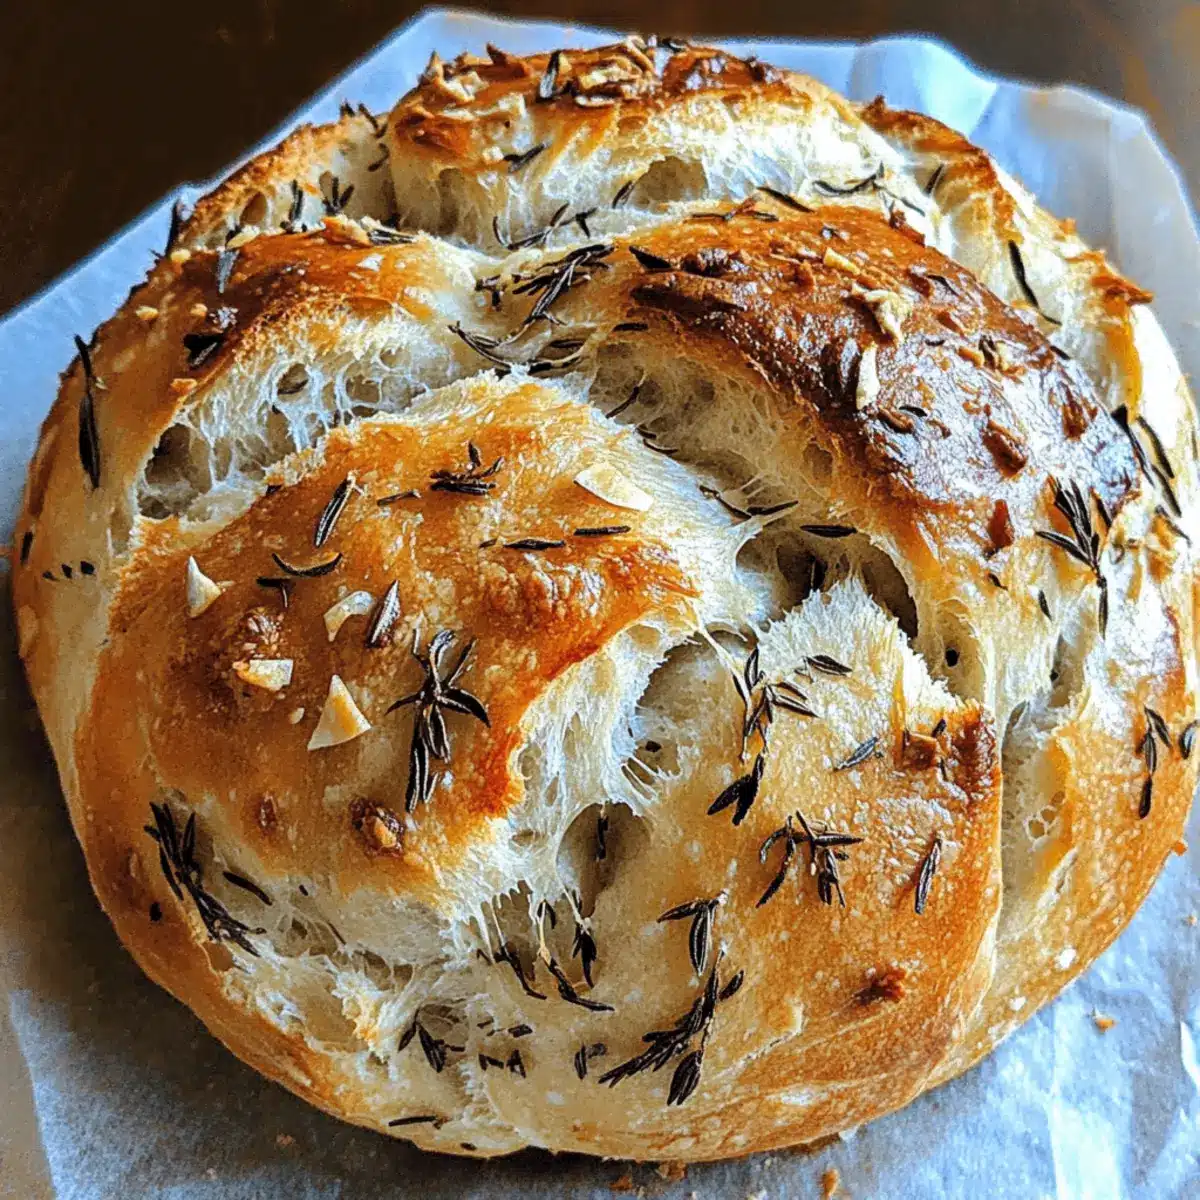
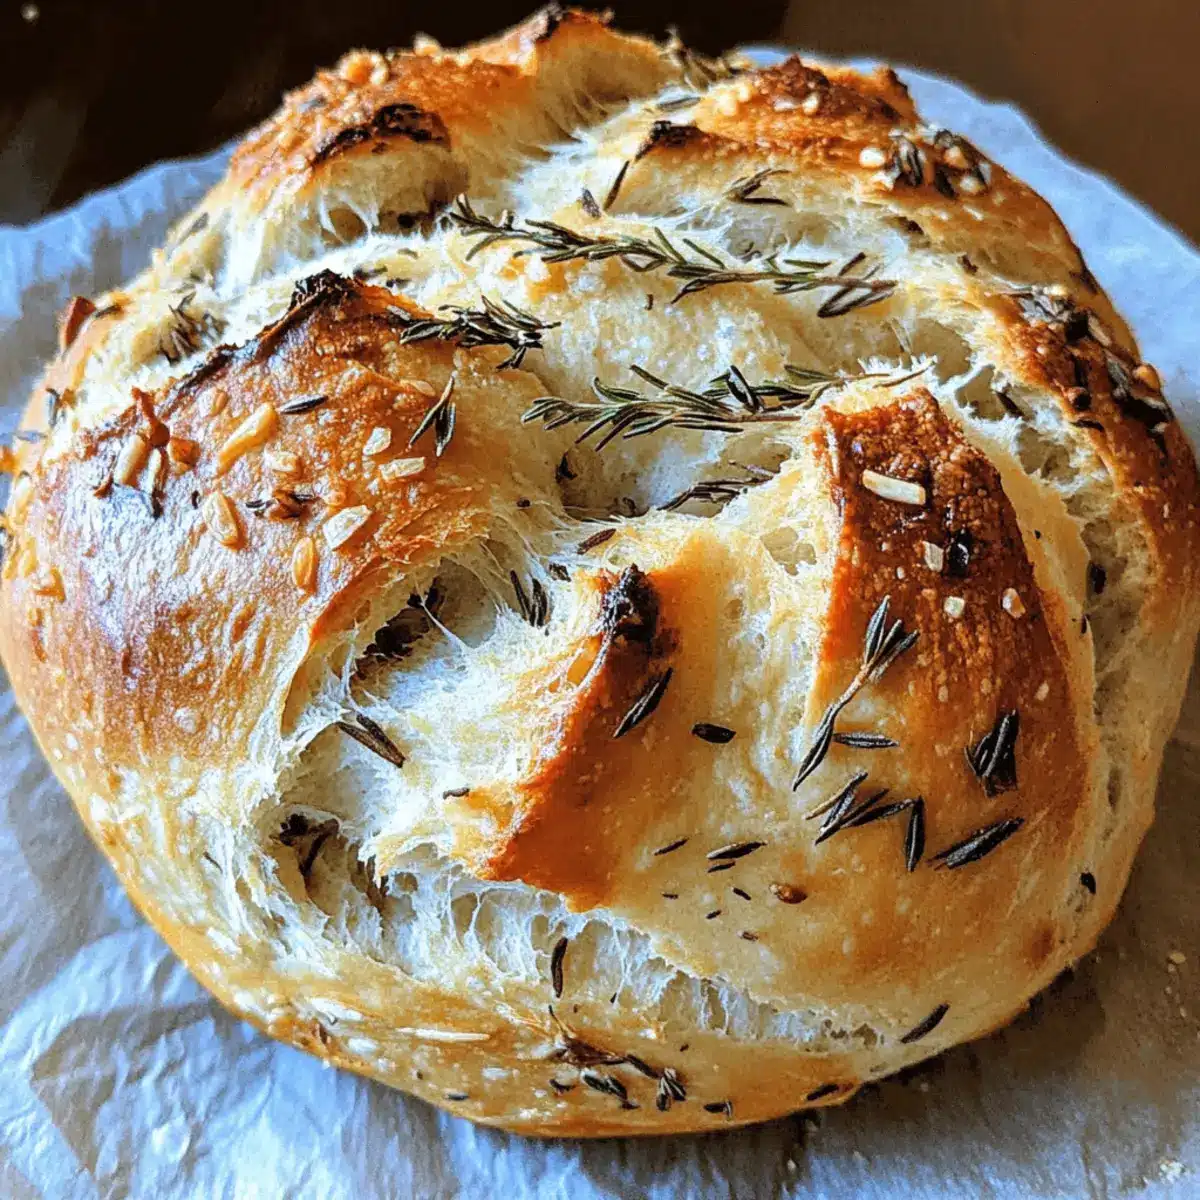
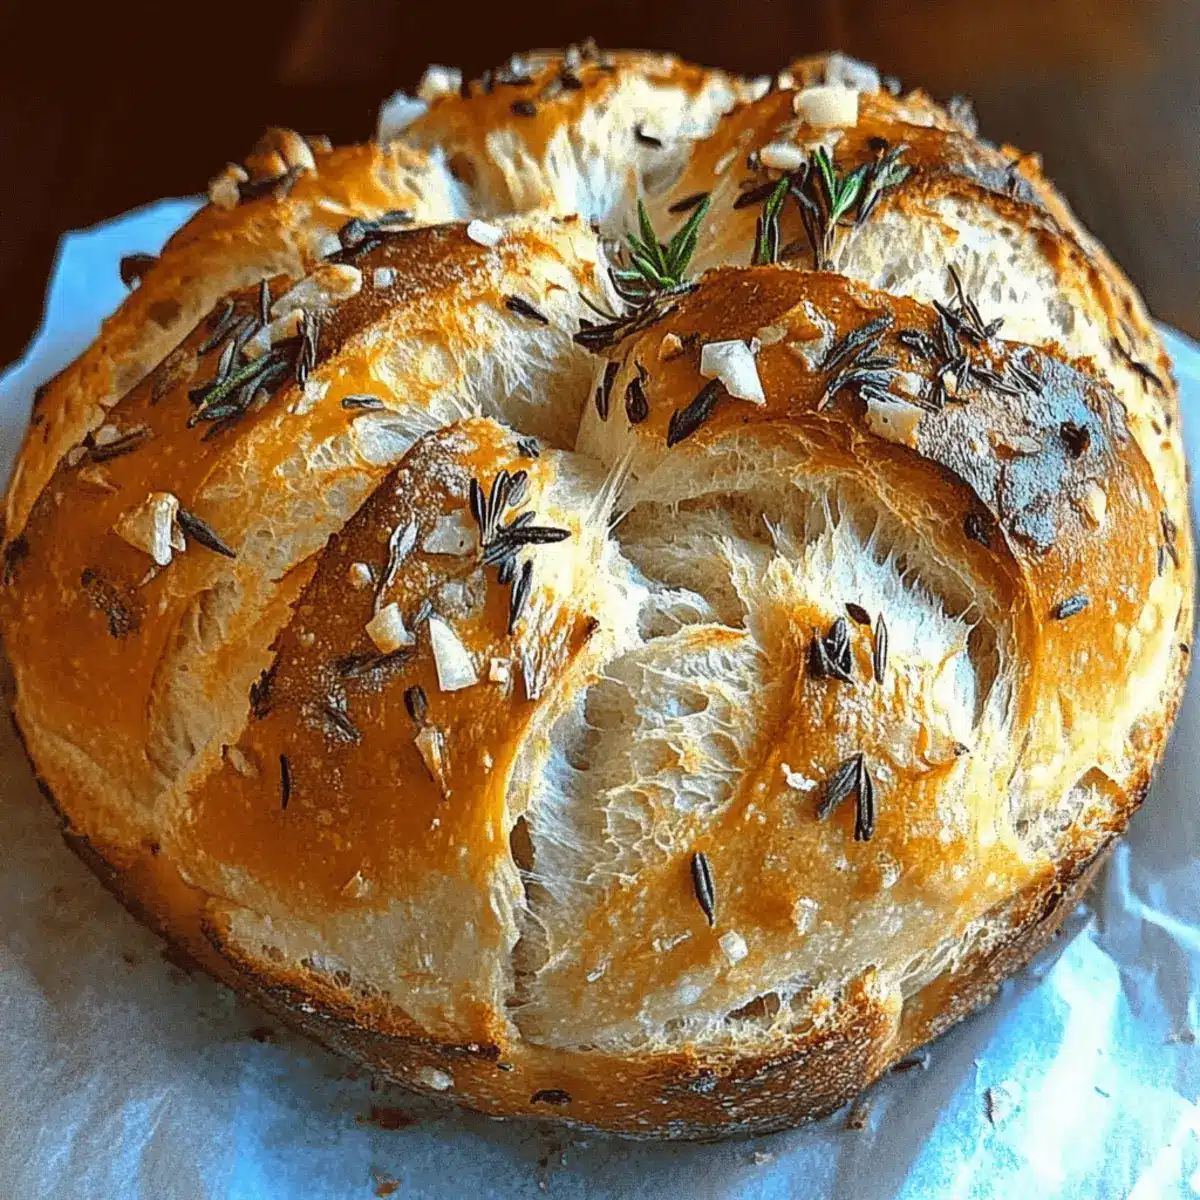
As I unwrapped my latest culinary creation from the oven, the air filled with the mouthwatering scent of freshly baked Garlic Herb Braided Bread. This artisan loaf isn’t just a sight to behold with its beautiful golden crust and soft interior; it’s also a source of genuine happiness that elevates any meal. Infused with roasted garlic, aromatic herbs, and a touch of savory parmesan, this bread is a game-changer for family dinners and social gatherings alike. Plus, it’s beginner-friendly, making it perfect for anyone eager to try their hand at homemade bread without feeling overwhelmed. Looking for a fun twist on your weeknight dinner or a showstopper for your next gathering? Let’s hop into the recipe and start crafting something special together!
Why is Garlic Herb Bread a Must-Try?
Irresistible Aroma: The moment you take this Garlic Herb Braided Bread out of the oven, your kitchen fills with a warm, inviting scent that calls everyone to the table.
Artisan Touch: With its stunning braid pattern, this loaf not only tastes divine but also adds a touch of sophistication to any dining experience.
Beginner-Friendly: Don’t worry if you’re new to baking! This simplified process ensures you can create artisan-quality bread without the stress.
Flavor Explosion: The combination of roasted garlic, herbs, and parmesan offers a savory depth that elevates everyday meals and impresses guests.
Versatile Pairing: Enjoy this delicious bread warm with soups, pastas, or as a delightful addition to your bread basket. If you’re into tried-and-true side dishes, consider serving it alongside Garlic Roast Potatoes or Garlic Parmesan Roasted veggies for a satisfying feast!
Garlic Herb Braided Bread Ingredients
• Get ready to gather these essential ingredients that will bring your Garlic Herb Braided Bread to life!
For the Dough
- All-purpose or Bread Flour – Provides structure and texture; you can substitute with a gluten-free 1:1 flour blend if needed.
- Active Dry Yeast – Leavens the dough for a light and airy texture; instant yeast can save you about 15 minutes of rise time.
- Warm Water – Activates the yeast; ensure it’s around 110°F for optimal results.
- Olive Oil – Adds moisture and flavor; consider using garlic butter for an extra rich taste.
- Salt – Balances flavor and controls yeast activity; don’t skip it!
- Sugar – Feeds yeast and encourages a better rise.
For the Flavor
- Garlic (minced or roasted) – Infuses delightful flavor into the dough; opt for roasted for a sweeter touch.
- Dried Mixed Herbs (oregano, thyme, basil) – Boosts depth of flavor; fresh herbs can brighten your bread even more!
- Grated Parmesan Cheese – Introduces a savory richness that complements the garlic beautifully.
For the Finish
- Melted Butter (for brushing) – Creates a golden, glossy crust; this is the secret to that eye-catching finish!
- Optional Add-ins – Elevate your bread with red pepper flakes (for heat), shredded mozzarella (for cheese richness), or fresh parsley (for garnish).
With this ingredient lineup, you’re set to create not just a loaf of bread, but a culinary masterpiece!
Step‑by‑Step Instructions for Garlic Herb Braided Bread
Step 1: Activate the Yeast
In a small bowl, combine 1 cup of warm water (around 110°F) and 1 tablespoon of sugar. Sprinkle 2 teaspoons of active dry yeast over the top and let it sit for 5-10 minutes until foamy, signaling that your yeast is alive and ready to create the light texture essential for your Garlic Herb Braided Bread.
Step 2: Make the Dough
In a large mixing bowl, combine 2½ cups of all-purpose flour, 1 teaspoon of salt, 1 tablespoon of olive oil, 3 minced garlic cloves, and 1 teaspoon of dried mixed herbs. Pour in the foamy yeast mixture and stir until a soft dough forms. If the dough is too sticky, gradually add more flour while mixing until it pulls away from the sides of the bowl.
Step 3: Knead the Dough
Transfer the dough to a lightly floured surface and knead it for 6-8 minutes. Aim for a smooth and elastic consistency, incorporating ½ cup of grated parmesan cheese halfway through. You’ll know it’s ready when the dough springs back slightly when pressed and is no longer sticky—this is key for great Garlic Herb Braided Bread.
Step 4: First Rise
Place the kneaded dough in a greased bowl, cover it with a damp cloth, and let it rise in a warm spot until doubled in size, about 1 hour. You can check the progress by gently pressing down on the dough; it should hold an impression and appear puffy—this means it’s ready for the next step!
Step 5: Shape the Bread
Once the dough has risen, punch it down gently to release the air. Divide the dough into three equal portions and roll each into ropes, about 12-14 inches long. Braid the three ropes together, tucking the ends underneath for a neat appearance. This braiding adds an artisan touch to your Garlic Herb Braided Bread.
Step 6: Second Rise
Transfer the braided loaf onto a parchment-lined baking sheet and cover with a cloth. Allow it to rise for another 30-40 minutes until puffy. This step is crucial for achieving that perfect texture, and you should see visible swelling as the dough rises again before baking.
Step 7: Preheat and Brush
While your bread is rising, preheat your oven to 375°F (190°C). Once ready, brush the top of the bread with melted butter to give it that golden, shiny crust. Feel free to sprinkle additional herbs or Parmesan on top for added flavor and visual appeal. The aroma wafting through your kitchen will be irresistible!
Step 8: Bake the Bread
Place the baking sheet in the preheated oven and bake for 25-30 minutes, or until the bread is golden brown and sounds hollow when tapped on the bottom. You’re looking for a beautifully baked Garlic Herb Braided Bread that not only tastes amazing but also looks absolutely stunning as it comes out of the oven.
Step 9: Cool and Serve
After baking, remove the bread from the oven and let it cool slightly on a wire rack. Allowing it to rest enhances the flavors and makes slicing easier. Once it’s slightly cooled, slice and serve warm, perfect for savoring alongside your favorite meals or as a delightful stand-alone treat.
Expert Tips for Garlic Herb Braided Bread
-
Fresh Ingredients: Always use fresh yeast and high-quality flour for the best Garlic Herb Braided Bread. Stale yeast can hinder your bread’s rise.
-
Kneading Technique: Make sure to knead adequately for a smooth, elastic dough. Under-kneading can result in a dense texture rather than a light, airy loaf.
-
Perfect Temperature: Ensure your water is at 110°F; too hot can kill the yeast, while too cool can slow down the activation process.
-
Avoid Overbaking: Keep an eye on the bread towards the end of the baking time. Overbaking can dry it out, losing that soft, tender interior you desire.
-
Storage Dos and Don’ts: To store leftovers, wrap them well in plastic wrap or place in an airtight container. Avoid leaving the bread uncovered, or it may lose moisture and freshness.
Make Ahead Options
These Garlic Herb Braided Bread preparations are a lifesaver for busy home cooks! You can prepare the dough up to 24 hours in advance. Simply follow the initial steps to activate the yeast and make the dough, then cover it tightly and refrigerate. This slow chilling enhances the flavor while keeping the dough fresh. When you’re ready to bake, remove it from the fridge, let it come to room temperature for about 30 minutes, shape it into a braid, and let it rise again for 30-40 minutes. Brush with melted butter and bake as directed. Your scrumptious Garlic Herb Braided Bread will taste just as delightful as if made fresh that day!
How to Store and Freeze Garlic Herb Braided Bread
Room Temperature: Store the Garlic Herb Braided Bread in an airtight container at room temperature for up to 3 days. This keeps it soft and ready for delicious meals.
Fridge: If you live in a particularly warm area, you can refrigerate the bread to extend its freshness for up to 5 days; however, this may alter the texture slightly.
Freezer: For long-term storage, wrap the bread tightly in plastic wrap and aluminum foil, then freeze for up to 3 months. Thaw and reheat for the perfect serving.
Reheating: To refresh the crust, preheat your oven to 300°F and bake the bread for 10 minutes after thawing. Enjoy the wonderful taste of homemade Garlic Herb Braided Bread once more!
Garlic Herb Braided Bread Variations
Feel free to get creative with your Garlic Herb Braided Bread and make it your own!
-
Fresh Herbs: Substitute dried herbs with fresh ones for a more vibrant flavor. Each bite will burst with freshness and aroma!
-
Cheese Variety: Use different cheeses like feta or mozzarella instead of parmesan. This twist can introduce delightful new dimensions to your bread.
-
Rolls Instead of Loaf: Divide the dough into smaller pieces to create individual rolls. Perfect for gatherings or a cozy family dinner!
-
Mediterranean Flair: Toss in sun-dried tomatoes or olives for a delicious Mediterranean twist. The added flavors will transport your taste buds to sunny shores.
-
Add Some Heat: Mix red pepper flakes into the dough for a spicy kick. Those who love a little heat will appreciate this exciting variation!
-
Sweeten the Deal: Incorporate a touch of honey or maple syrup in the dough for a hint of sweetness. This could be an unexpected but delightful combo!
-
Savory Add-ins: Try adding sautéed onions or roasted red peppers for an extra layer of deliciousness. This option gives a gourmet feel to your homemade bread!
-
Herb Butter Brush: Swap melted butter for a mixture of herbs and garlic in your brushing step. This will amplify flavors and enhance the crust’s aroma!
For an unforgettable experience, enjoy your Garlic Herb Braided Bread warm with a side of Garlic Parmesan Roasted veggies or pair it with a bowl of hearty soup for a meal that feels both homey and satisfying.
What to Serve with Garlic Herb Braided Bread?
There’s nothing quite like pairing fresh, warm bread with hearty, flavorful dishes to create a memorable meal experience.
-
Rich Tomato Soup: The tangy acidity of tomato soup complements the savory garlic and herbs in the bread, creating a comforting duo. Dipping a warm slice brings warmth and satisfaction to any chilly night.
-
Garlic Butter Shrimp: The garlicy goodness echoes the flavors of the bread, while the succulent shrimp adds a delightful seafood touch. It’s a perfect match for impressing dinner guests!
-
Mixed Green Salad: A crisp salad with a light vinaigrette contrasts beautifully with the warm, soft bread, adding a refreshing crunch. Don’t forget to top it with toasted nuts or cheese for extra flavor.
-
Creamy Mashed Potatoes: These luscious potatoes provide a velvety texture that pairs excellently with the bread’s crusty exterior—perfect for soaking up gravy or sauces. Together, they create a symphony of comfort food!
-
Cheese Platter: A selection of aged cheeses, olives, and artisanal crackers alongside the bread creates a sophisticated and inviting snack or appetizer spread. Ideal for gatherings or as a cozy night in treat!
-
Chardonnay or Light Red Wine: A crisp Chardonnay enhances the bread’s herbal notes, while a light red wine, like Pinot Noir, offers a delightful contrast. Raise a glass and savor the moment!
Indulge in these pairings, and watch the simple act of breaking bread elevate your meal into something truly special.
Garlic Herb Braided Bread Recipe FAQs
How do I select the right garlic for this recipe?
Absolutely! Choose firm, plump cloves with no dark spots or sprouting greens. Fresh garlic adds a robust flavor, while older garlic may bring a bitter taste. If you’re using roasted garlic, select bulbs with a soft, caramelized texture for sweetness.
What’s the best way to store leftover Garlic Herb Braided Bread?
To keep it fresh, store the bread in an airtight container at room temperature for up to 3 days. This will help maintain its softness and flavor. If you prefer a longer storage option, wrap it tightly in plastic wrap and freeze for up to 3 months.
Can I freeze Garlic Herb Braided Bread?
Yes, you can! After the bread has completely cooled, wrap it tightly in plastic wrap followed by aluminum foil to prevent freezer burn. When you’re ready to enjoy it again, simply thaw it in the refrigerator overnight, then reheat at 300°F for about 10 minutes to refresh the crust.
Why is my dough not rising?
Very often, this issue arises due to inactive yeast. Make sure your water temperature is around 110°F for optimal activation. If your yeast doesn’t foam within 5-10 minutes of adding it to the warm sugar water, it’s best to start over with fresh yeast. Also, ensure that your dough is in a warm, draft-free area to promote rising.
Can I make this bread gluten-free?
Certainly! For a gluten-free version, substitute the all-purpose or bread flour with a gluten-free 1:1 flour blend. However, keep in mind that the texture and rise might differ slightly, so it’s always good to follow the manufacturer’s instructions on the flour packaging for best results.
What should I do if my bread comes out dense?
Very important! Dense bread may indicate under-kneading or using old yeast. Ensure that you knead the dough for the full 6-8 minutes, allowing it to develop gluten. If your yeast is fresh and active, the dough should rise nicely, resulting in a light and airy finished loaf.
Garlic Herb Braided Bread
Ingredients
Equipment
Method
- Activate the yeast by combining warm water and sugar, then sprinkle yeast and let sit until foamy.
- Make the dough by mixing flour, salt, olive oil, garlic, and herbs, then add the yeast mixture.
- Knead the dough for 6-8 minutes, incorporating parmesan until smooth and elastic.
- Let the dough rise in a greased bowl until doubled in size, about 1 hour.
- Shape the bread by dividing the dough, rolling into ropes, and braiding.
- Allow the braided loaf to rise again on a baking sheet for 30-40 minutes.
- Preheat the oven to 375°F, brush the bread with melted butter, and add herbs or parmesan if desired.
- Bake for 25-30 minutes or until golden brown.
- Cool the bread on a wire rack before slicing and serving.
Leave a Reply