
“It’s just a puddle of milk, right?” I overheard my friend say, doubting the allure of homemade desserts. Little did she know, the magic of creamy homemade vanilla pudding transforms simple ingredients into nostalgia and comfort in every spoonful. With this easy-to-follow recipe, you’ll create a simple homemade dessert that even the pickiest eaters will love. Say goodbye to those boxed mixes, because once you whip up this creamy delight, it will become your go-to treat whenever you’re craving something sweet. Plus, it’s perfect for both special occasions and quiet evenings at home. Are you ready to discover the joy of making this delightful dessert from scratch?
Why is Homemade Vanilla Pudding Special?
Nostalgic Flavor: Every bite of this creamy pudding takes you back to childhood, filled with sweet memories.
Simple Ingredients: Made from pantry staples, it’s an easy homemade dessert for any skill level.
Quick to Make: In just under 30 minutes, you can whip up a delightful treat that’s sure to impress.
Versatile Delight: Enjoy it alone or use it as a base for Fig Brie Fillo or layered in parfaits!
Kid-Friendly: This recipe is a hit with all ages, making it perfect for family gatherings.
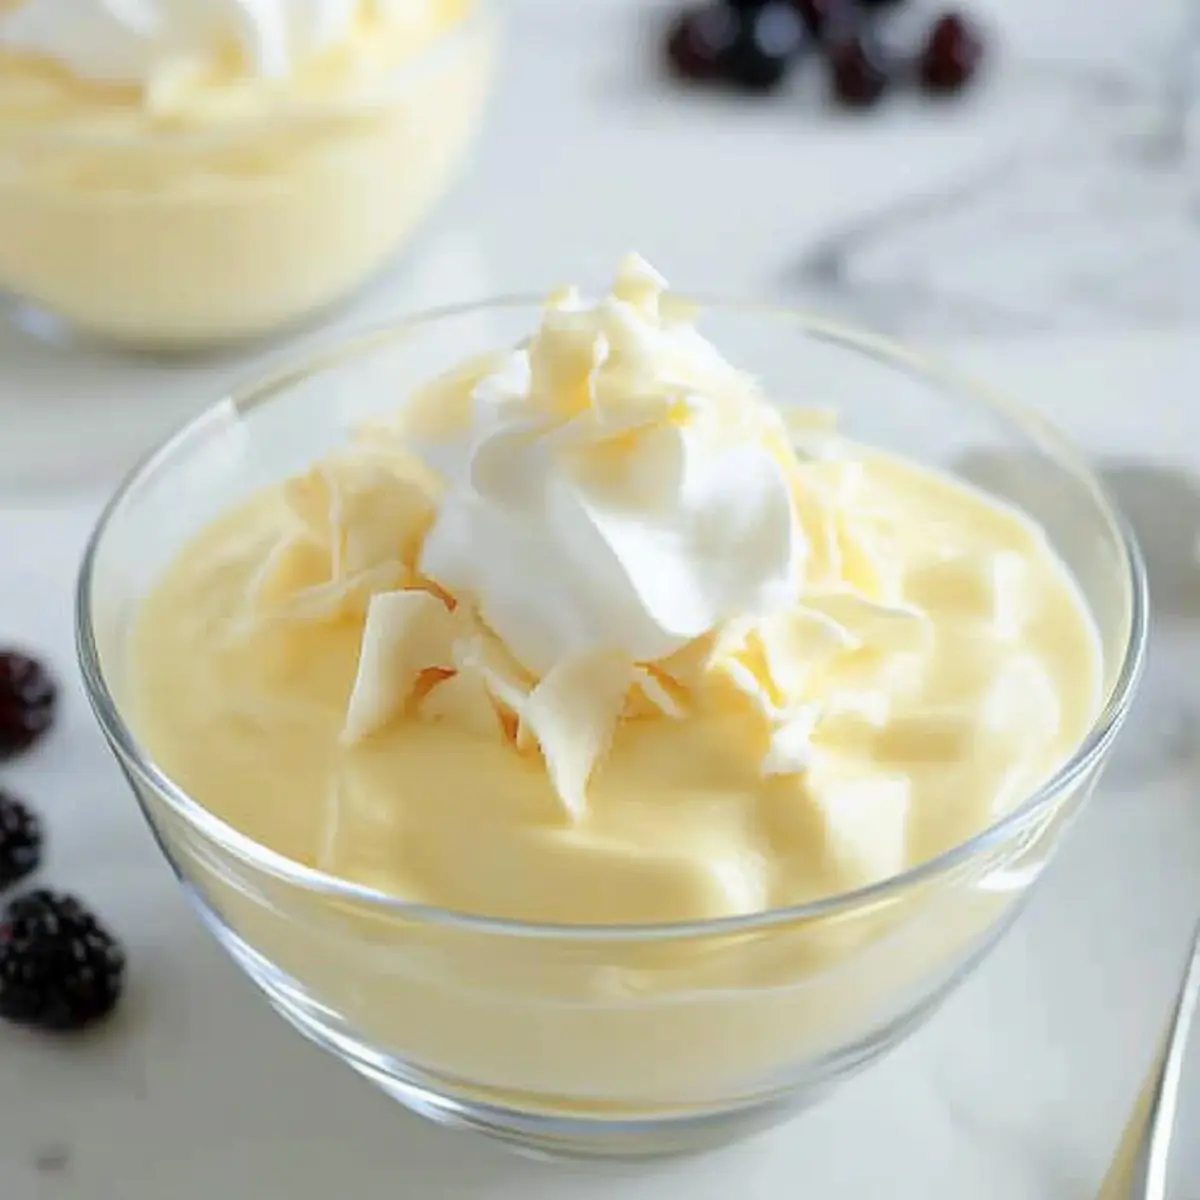
Crowd Pleaser: Homemade vanilla pudding is a dessert that brings everyone together, whether it’s a special occasion or a cozy night in with a dollop of whipped cream!
Homemade Vanilla Pudding Ingredients
-
For the Pudding Base
-
Whole Milk – Provides the creamy base; substitute with low-fat milk for a lighter texture.
-
Granulated White Sugar – Sweetens the pudding; brown sugar can enhance the flavor with deeper notes.
-
Corn Starch – Acts as a thickening agent; if unavailable, all-purpose flour can work in a pinch (just adjust the quantity).
-
Egg Yolks – Adds richness and a smooth texture; for a vegan option, replace with a cornstarch slurry.
-
Vanilla Extract – Imparts wonderful vanilla flavor; fresh vanilla beans can elevate the taste to gourmet levels.
-
Salted Butter – Boosts creaminess and flavor; swap for unsalted butter if you’re monitoring sodium intake.
-
For Serving
-
Whipped Cream – A delightful topping that adds lightness; fresh is best, but store-bought works in a hurry.
-
Fresh Berries – Adds a pop of color and flavor; strawberries or raspberries pair beautifully with this creamy dessert.
-
Crushed Cookies – Adds crunch and texture; graham crackers or chocolate wafers create an exciting contrast.
Give this homemade vanilla pudding a try, and you’ll soon discover just how easy and satisfying it is to whip up your own indulgent dessert!
Step‑by‑Step Instructions for Homemade Vanilla Pudding
Step 1: Whisk the Base
In a medium saucepan, combine 2 cups of whole milk, 3/4 cup of granulated sugar, and 1/4 cup of cornstarch. Use a whisk to thoroughly blend the ingredients until no lumps remain. This initial mixing will ensure a smooth texture in your homemade vanilla pudding, so take your time. Set the saucepan over medium heat and keep whisking as the mixture begins to warm.
Step 2: Heat and thicken
Cooking the mixture will cause it to thicken; continue stirring gently for about 5-7 minutes. Watch closely as the pudding comes to a gentle boil—indicated by bubbling around the edges. You want to achieve a creamy consistency similar to heavy cream. As soon as you notice it thickening and bubbling, reduce the heat to low.
Step 3: Prepare the Egg Yolks
While the pudding thickens, crack and separate 3 large egg yolks into a separate bowl. Whisk the yolks lightly and slowly add about 1/2 cup of the hot milk mixture, stirring constantly to temper the eggs. This process prevents the yolks from scrambling when added to the hot mixture, ensuring a rich and velvety texture for your homemade vanilla pudding.
Step 4: Combine and Cook Again
Carefully pour the tempered egg yolk mixture back into the saucepan with the thickened pudding. Stir continuously for an additional minute over low heat, until the pudding thickens slightly further. This step deepens the flavor and richness of your homemade vanilla pudding. Once it’s velvety and thickened to your liking, you can proceed to the next step.
Step 5: Add Flavor and Fat
Remove the saucepan from the heat and immediately stir in 1 tablespoon of unsalted butter and 1 tablespoon of pure vanilla extract. As you mix, the butter will melt and create a luscious creaminess, while the vanilla adds delightful flavor. The pudding should be smooth and glossy at this stage, making it irresistible as part of your homemade vanilla pudding.
Step 6: Chill the Pudding
Transfer the pudding into serving bowls or a large bowl and cover the surface with plastic wrap to prevent a skin from forming. Place it in the refrigerator for at least 2 hours to chill and set properly. The resting time is crucial for achieving the perfect texture. The longer it chills, the more flavorful and creamy your homemade vanilla pudding will become.
Step 7: Serve and Garnish
Once chilled, remove the pudding from the refrigerator and uncover it. For an elegant touch, serve each portion with a dollop of whipped cream, some fresh berries, or a sprinkle of crushed cookies. These fun toppings add color and texture, enhancing both the presentation and flavor of your creamy homemade vanilla pudding.
Homemade Vanilla Pudding Variations
Customize your homemade vanilla pudding to suit your taste and occasion—there are so many delightful options to explore!
- Vegan Option: Use almond milk or coconut milk instead of whole milk, and replace the egg yolks with cornstarch for a creamy plant-based treat.
- Chocolate Twist: For a rich chocolate flavor, stir in cocoa powder or melted dark chocolate once you’ve removed the pudding from heat. Chocolate lovers will rejoice!
- Fruit-Infused: Add a splash of your favorite fruit juice or puree, like raspberry or mango, to the pudding for a refreshing twist. It not only brightens the flavor but adds a beautiful color as well.
- Spiced Delight: Sprinkle in a touch of cinnamon or nutmeg for a warm spice that complements the vanilla beautifully. It’s an unexpected twist that evokes cozy memories!
- Butterscotch Bliss: Swap some of the sugar for brown sugar and stir in a hint of molasses for a luscious butterscotch flavor profile that’s simply unbeatable.
- Caramel Swirl: Drizzle caramel sauce into the pudding just before serving for a sweet and gooey twist. It takes your dessert to a whole new level of indulgence.
- Nutty Flavor: Incorporate almond extract instead of vanilla for a nutty aroma that elevates the pudding. Pair it with slivered almonds for added crunch!
- Serving Variety: Try layering the pudding in cups with Homemade Orange Candy and whipped cream for an eye-catching dessert that’s as delicious as it is beautiful.
With these variations, your homemade vanilla pudding will always be a delightful surprise, making every spoonful a new adventure!
What to Serve with Creamy Homemade Vanilla Pudding?
Imagine a delightful spread that amplifies the rich, velvety goodness of your pudding while inviting all senses to the table.
- Fresh Berries: The vibrant colors and juicy sweetness of strawberries or raspberries cut through the creaminess, enhancing every spoonful.
- Whipped Cream: Light and airy, a dollop of freshly whipped cream adds a playful texture, bringing an indulgent touch to your dessert.
- Crushed Cookies: Chocolate wafers or graham crackers provide a crunchy contrast, adding an exciting twist to the smooth consistency of your homemade vanilla pudding.
- Chocolate Shavings: These delicate curls lend a hint of bitterness that beautifully balances the sweetness of the pudding, creating a flavor harmony that’s irresistible.
- Mint Leaves: A sprig of fresh mint not only brightens the dish visually but also adds a refreshing pop of flavor that complements the vanilla.
- Coffee: Pairing your pudding with a rich cup of coffee enhances the dessert’s sweetness and provides a warm, comforting experience.
Your homemade vanilla pudding, served alongside these goodies, transforms into an unforgettable feast that captivates both young and old.
How to Store and Freeze Homemade Vanilla Pudding
Fridge: Store your homemade vanilla pudding in an airtight container for up to 5–7 days. Make sure to cover the surface with plastic wrap to prevent a skin from forming.
Freezer: While it’s best enjoyed fresh, you can freeze pudding for up to 2 months. Portion it into freezer-safe containers, leaving space for expansion.
Reheating: Thawed pudding can be reheated gently on the stovetop over low heat, whisking constantly to restore original consistency. Avoid microwaving directly, as it may curdle.
Serving Tips: If you plan on serving leftovers, add fresh toppings like whipped cream or berries just before serving to maintain their texture and flavor.
Expert Tips for Homemade Vanilla Pudding
- Stir Constantly: To prevent burning and ensure even thickening, keep your whisk moving while cooking. This is crucial in making a perfect homemade vanilla pudding.
- Tempering Technique: Always temper the egg yolks with some hot milk mixture before adding them to the pot; this prevents curdling and maintains a smooth texture.
- Chill Time Matters: Do not skip the chilling step; it’s essential for the best flavor and texture. Allowing at least 2 hours for your pudding to set is key.
- Serving Suggestions: Experiment with toppings like whipped cream, fresh berries, or crushed cookies to elevate your creamy dessert into a beautiful presentation.
- Store Properly: Keep any leftovers in an airtight container in the fridge for up to 5–7 days, ensuring your homemade vanilla pudding stays fresh and delicious.
Make Ahead Options
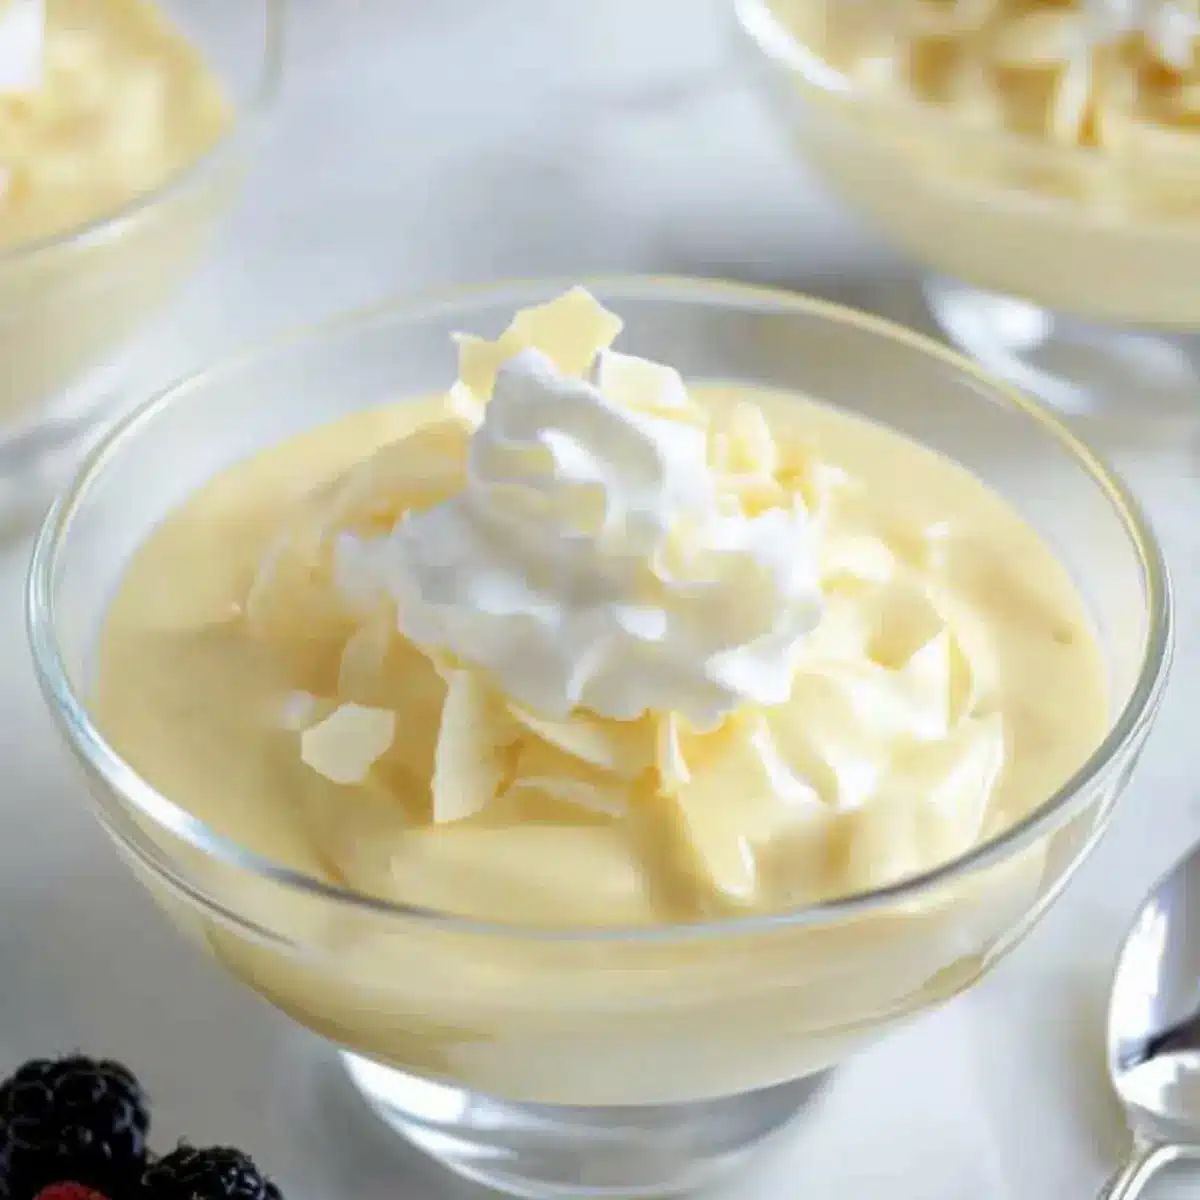
These creamy homemade vanilla pudding are perfect for meal prep, allowing you to save time on busy weeknights! You can prepare the pudding base up to 24 hours in advance; just remember to cover the surface with plastic wrap to prevent a skin from forming. Once prepared, refrigerate it until you’re ready to enjoy. When it’s time to serve, simply remove it from the fridge, give it a gentle stir, and garnish with whipped cream, fresh berries, or crushed cookies for an extra special touch. This way, you’ll have a delicious dessert ready with minimal effort, ensuring it stays just as delightful as when freshly made!

Homemade Vanilla Pudding Recipe FAQs
What type of milk works best for homemade vanilla pudding?
Absolutely! Whole milk is ideal for a rich and creamy texture, but you can use low-fat or even non-dairy milk alternatives if you prefer a lighter version or have dietary restrictions. Just be mindful that the creamier the milk, the smoother your pudding will be.
How long can I store homemade vanilla pudding in the fridge?
You can store your homemade vanilla pudding in an airtight container for up to 5-7 days. To keep it fresh and prevent a skin from forming, it’s best to cover the surface with plastic wrap before sealing.
Can I freeze homemade vanilla pudding?
Yes, you can! Although it’s best enjoyed fresh, homemade vanilla pudding can be frozen for up to 2 months. Just portion it into freezer-safe containers, leaving some space at the top to allow for expansion. When you’re ready to enjoy, thaw it in the refrigerator overnight.
What should I do if my pudding isn’t thickening?
Very! If your pudding isn’t thickening as expected, make sure you’re stirring constantly while cooking. You can also try cooking it a bit longer over medium heat. If it still doesn’t thicken, you can whisk a tablespoon of cornstarch with a bit of cold milk and then stir it into the warm pudding. Cook for another 1-2 minutes until it thickens.
Are there any dietary considerations I should be aware of with this recipe?
Indeed! This recipe contains dairy and eggs, so it’s not suitable for those with lactose intolerance or egg allergies. If you’re looking for a vegan alternative, you can replace the egg yolks with a cornstarch slurry (mix 2 tablespoons of cornstarch with 3 tablespoons of water) and use a non-dairy milk like almond or coconut milk.
How do I serve homemade vanilla pudding more creatively?
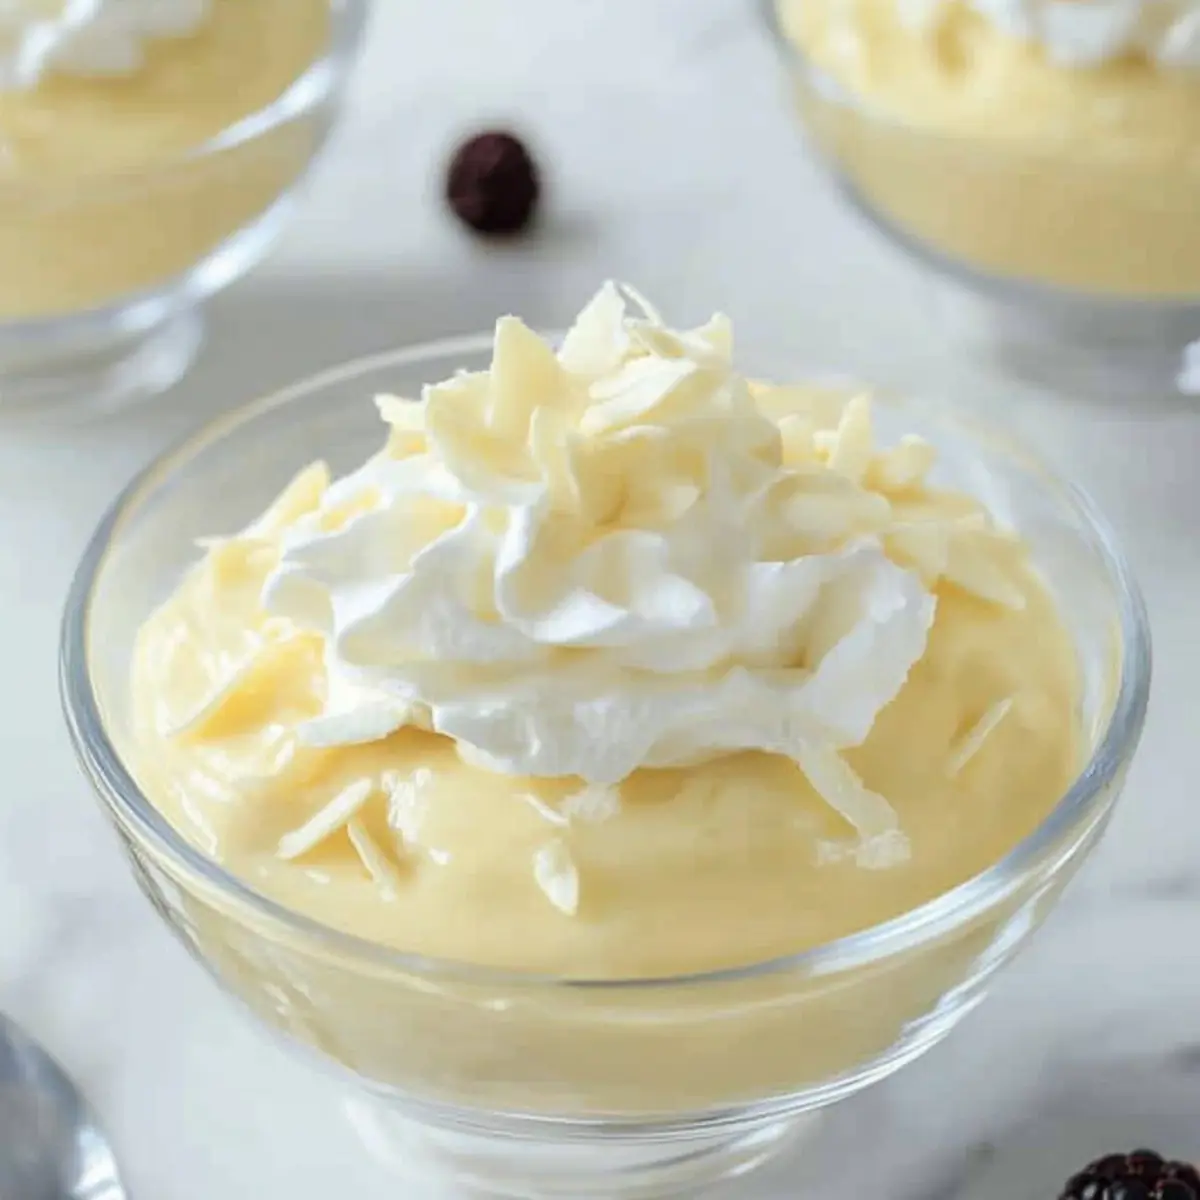
I often make my pudding interactive and fun! You can serve it chilled in individual cups topped with whipped cream, fresh berries, or crushed cookies for added flavor and texture. For a beautiful presentation, consider layering the pudding in parfaits with fruits or crumbled cookies, making it a showstopper at any gathering!
Irresistibly Creamy Homemade Vanilla Pudding Recipe
Ingredients
Equipment
Method
- In a medium saucepan, combine 2 cups of whole milk, 3/4 cup of granulated sugar, and 1/4 cup of cornstarch. Whisk thoroughly until smooth.
- Set the saucepan over medium heat, whisking continuously until the mixture thickens, about 5-7 minutes.
- While mixture thickens, crack 3 egg yolks into a bowl, whisk lightly, and gradually add 1/2 cup of hot milk mixture while stirring constantly.
- Pour the tempered egg yolk mixture back into the saucepan, stirring continuously for an additional minute over low heat.
- Remove from heat and stir in 1 tablespoon of unsalted butter and 1 tablespoon of pure vanilla extract.
- Transfer the pudding into serving bowls, cover with plastic wrap, and chill in the refrigerator for at least 2 hours.
- Serve each portion with whipped cream, berries, or crushed cookies.
Leave a Reply