
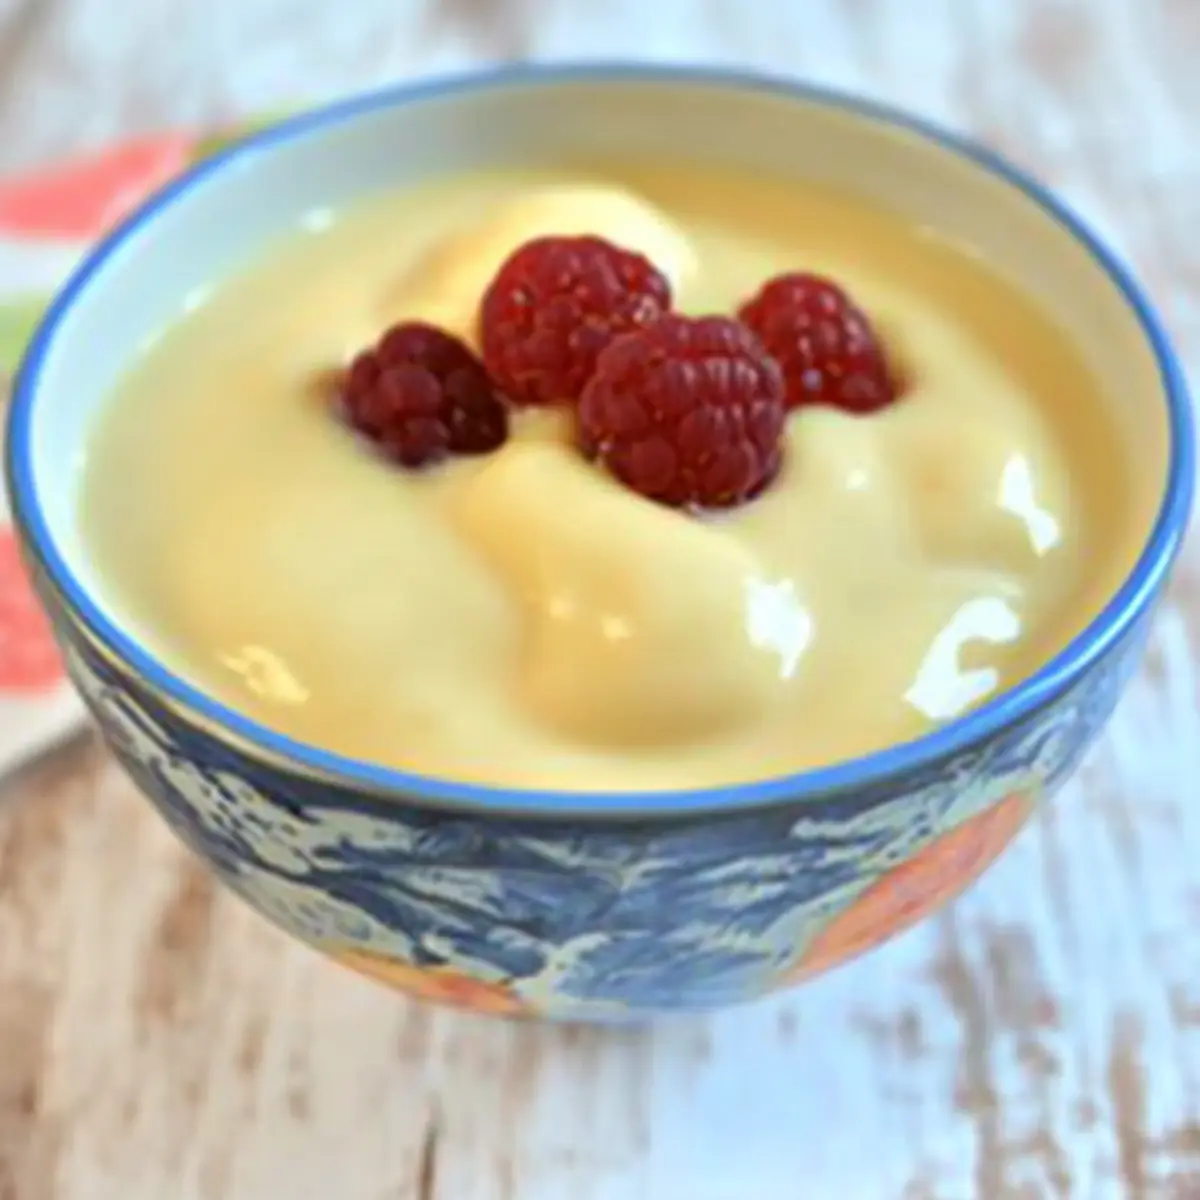
As I stirred the pot, the gentle fragrance of sweet vanilla wafted through my kitchen, instantly transporting me back to childhood dessert nights filled with laughter and joy. This Homemade Dairy-Free Vanilla Pudding is my take on a classic favorite, and it’s incredibly simple to whip up, promising a delightful treat sans the dairy. Not only is this dessert gluten-free, but it also offers a creamy texture that will impress even the most discerning of palates. Best of all, with just a handful of common ingredients, you can create a sweet escape that’s perfect for any evening, whether enjoyed warm or after a few hours of chilling in the fridge. Are you curious to discover how this easy recipe can elevate your dessert game? Let’s dive in!
Why is Dairy-Free Vanilla Pudding a Must-Try?
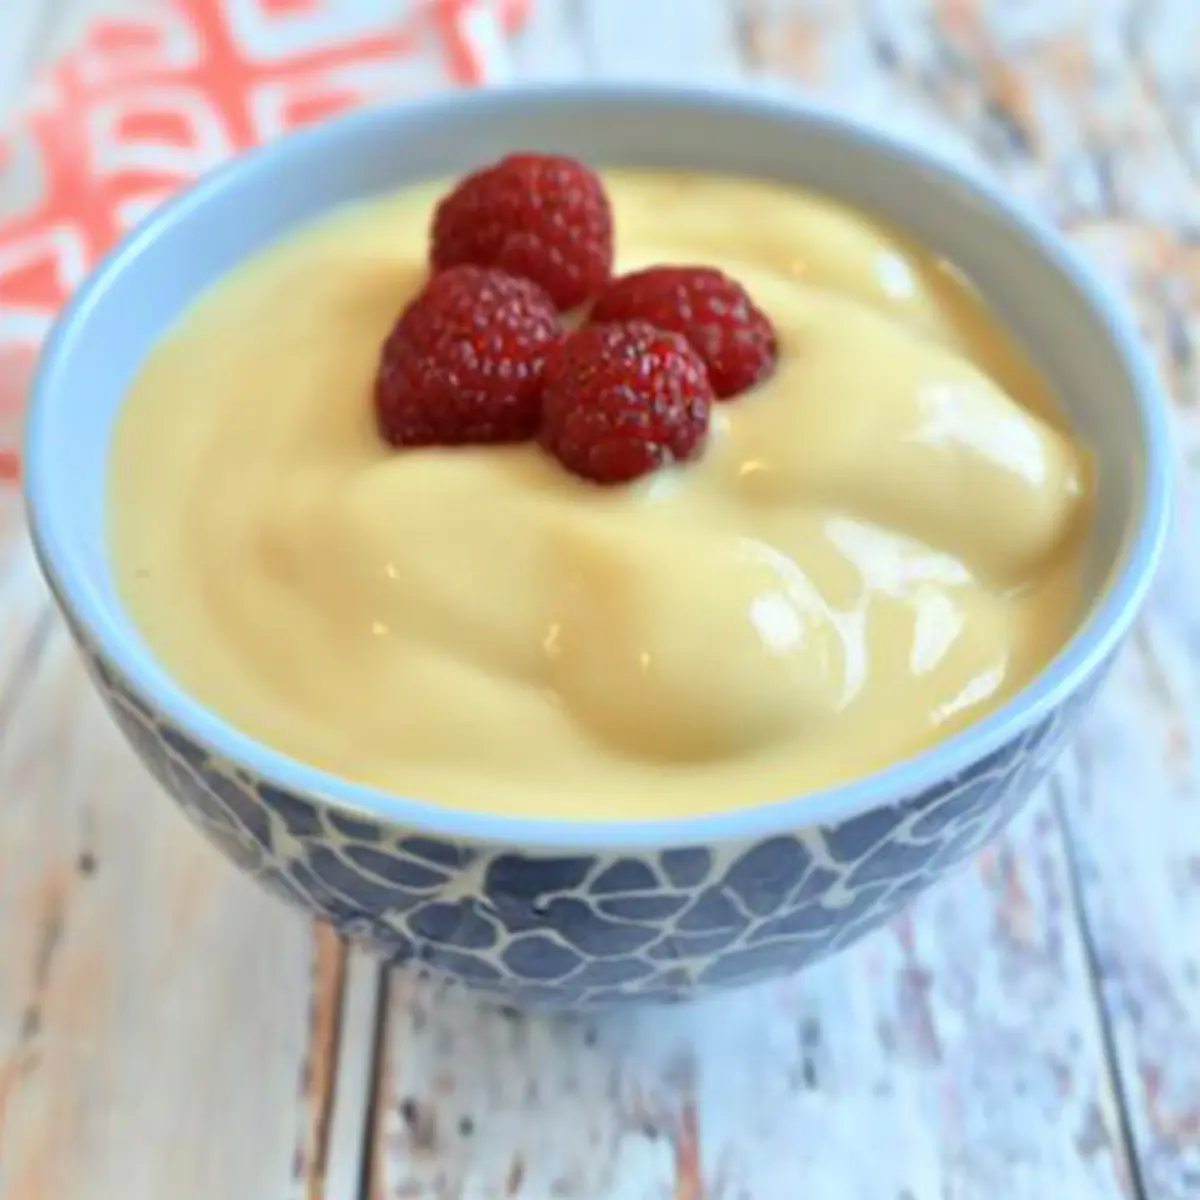
Creamy Delight: This pudding boasts an ultra-smooth texture that melts in your mouth, making it an irresistible treat for dessert lovers.
Versatile Ingredient Swaps: Feel free to customize with different non-dairy milk or sweeteners; try coconut milk for a tropical twist or coconut sugar for a caramel-like sweetness!
Quick and Easy: In just under 30 minutes, you’ll have a delicious dessert ready to impress your guests or satisfy midnight cravings.
Crowd-Pleasing Appeal: It’s dairy-free and gluten-free, making it a perfect option for gatherings and inclusive of various dietary needs.
Nostalgic Flavor: Indulge in that tasty vanilla richness reminiscent of childhood desserts while sticking to your health goals. For something equally delightful, check out my Spice Vanilla Pudding for an exciting twist.
Dairy-Free Vanilla Pudding Ingredients
For the Pudding
- Sugar – A sweetener for the pudding; substitute with coconut sugar for a deeper, caramel-like flavor.
- Cornstarch – The crucial thickening agent that gives the pudding its creamy texture.
- Salt – Adds depth and enhances the overall flavor of the pudding.
- Almond Milk – The base liquid providing a rich and creamy consistency; you can substitute with coconut milk if a tropical note is desired.
- Eggs – Acts as a stabilizer and enriches the pudding; consider a vegan egg replacement for a fully vegan treat.
- Vanilla Extract – Adds the beloved vanilla flavor; use high-quality extract for best results.
Optional Toppings
- Dairy-Free Whipped Cream – A light and airy topping that enhances the dessert’s indulgence without dairy.
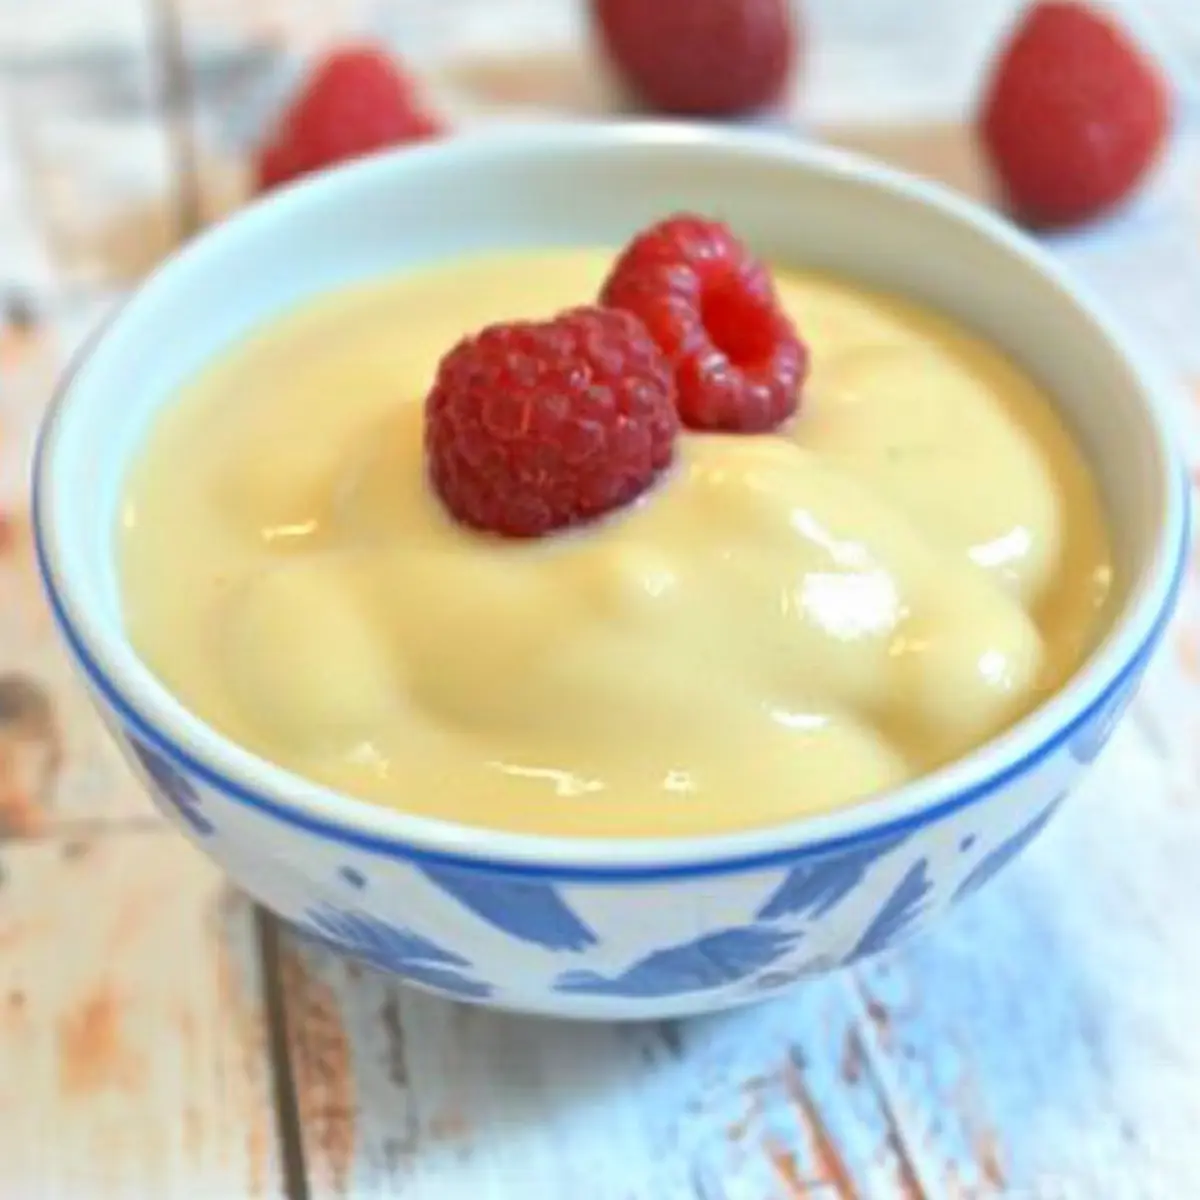
- Fresh Fruit – Berries or other fruits add freshness and vibrancy, balancing the richness of the pudding.
Enjoy this delicious Dairy-Free Vanilla Pudding and let your taste buds revel in its delightful blend of flavors and textures!
Step‑by‑Step Instructions for Dairy-Free Vanilla Pudding
Step 1: Prepare Your Serving Bowls
Begin by gathering your heat-safe bowls or cups where you’ll serve the Dairy-Free Vanilla Pudding. Make sure they’re clean and dry, ready to receive the warm, creamy mixture. This little step ensures a smooth transition from cooking to serving, which makes the process feel seamless.
Step 2: Combine Dry Ingredients
In a medium saucepan, combine the sugar, cornstarch, and salt. Use a whisk to mix these dry ingredients thoroughly until they’re well combined, which should take about a minute. This step is crucial as it prevents clumps from forming when you add the liquid later. Place the saucepan on the stove over medium heat.
Step 3: Whisk the Almond Milk and Eggs
In a separate bowl, whisk together the almond milk and eggs vigorously until the mixture is fully emulsified and smooth. This blending ensures that your Dairy-Free Vanilla Pudding has a rich texture. Take about 2 minutes for this step, as achieving a uniform consistency is essential for a silky pudding.
Step 4: Heat the Mixture
Pour the almond milk and egg mixture into the saucepan with the dry ingredients over medium heat. Stir continuously with a whisk to combine everything thoroughly. Keep whisking for about 9 minutes, or until the mixture begins to thicken visibly and bubbles form around the edges, indicating it’s cooking properly.
Step 5: Thicken the Pudding
Continue to whisk the mixture on medium heat for another 2 minutes until it thickens further, achieving a pudding-like consistency. When ready, it should coat the back of a spoon and not drip off easily, showcasing that rich depth we desire in our Dairy-Free Vanilla Pudding. Remove the saucepan from heat.
Step 6: Add Vanilla Extract
Once your pudding has thickened beautifully, stir in the vanilla extract until well mixed. The warmth of the pudding helps to release the fragrant notes of the vanilla, enhancing the overall flavor. This step can take less than a minute, but it’s vital for that signature vanilla taste.
Step 7: Transfer and Cover
Immediately pour the thickened pudding into the prepared bowls. To prevent a skin from forming on top, press a piece of plastic wrap directly onto the surface of the pudding. This little trick ensures that your Dairy-Free Vanilla Pudding remains smooth and creamy while it cools.
Step 8: Chill in the Refrigerator
Place the covered bowls in the refrigerator and chill for 1 to 2 hours. During this time, the pudding will set and develop a delightful texture. If you’re in a hurry, you can also serve it warm, but allow it some time to cool for the best results.
Step 9: Serve and Enjoy
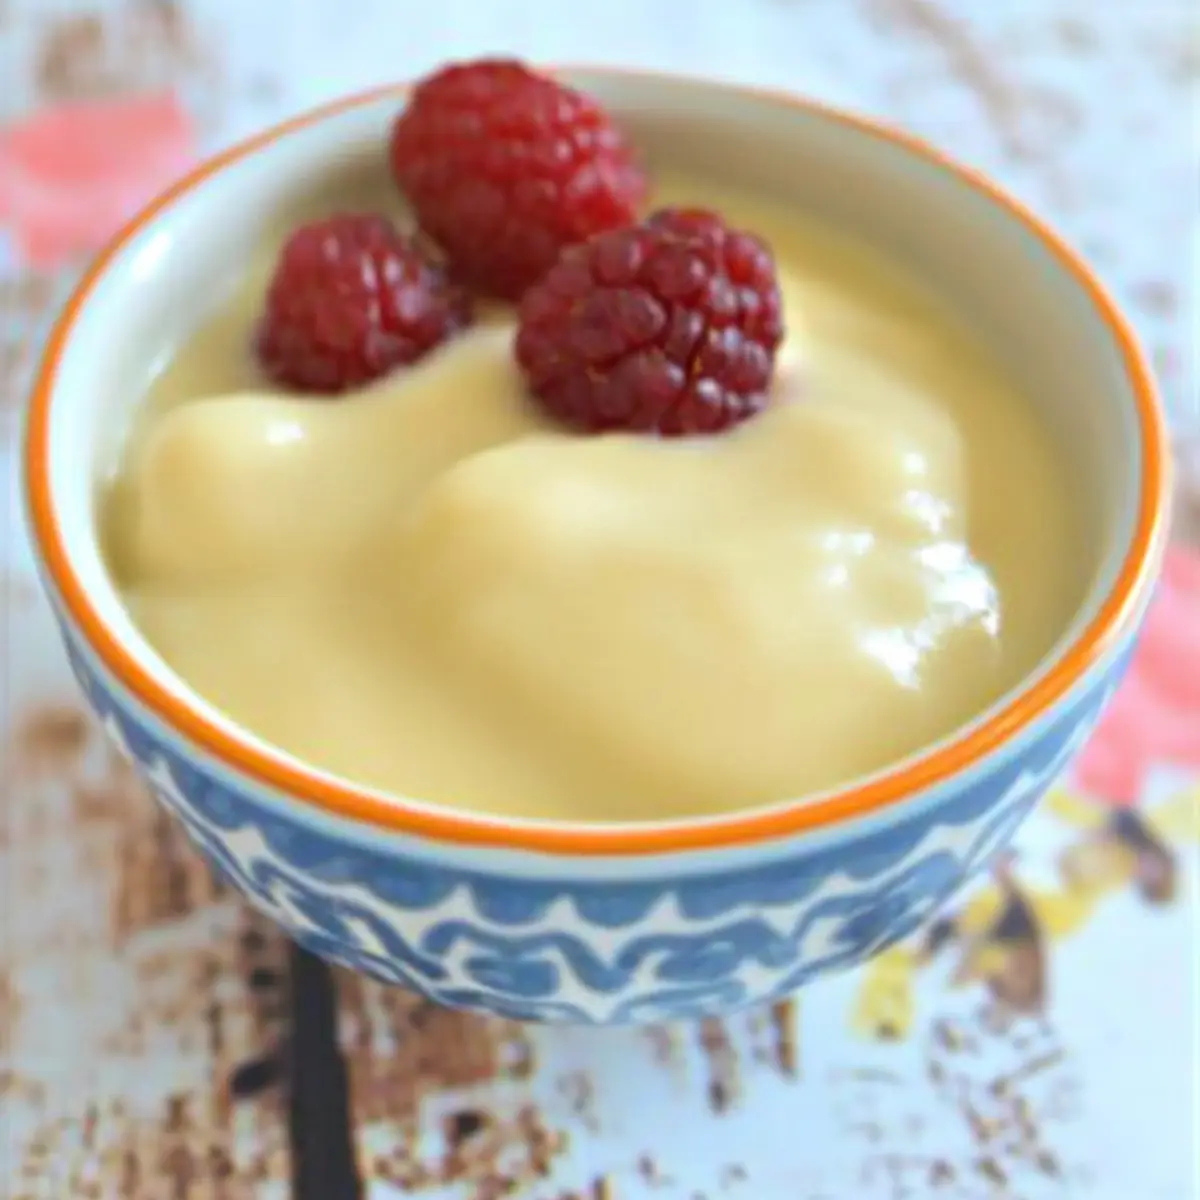
Once chilled, remove the pudding from the fridge. You can serve it as is, or top it with dairy-free whipped cream and fresh fruit for an added burst of flavor. The smooth, creamy Dairy-Free Vanilla Pudding is ready to impress your family and friends with its nostalgic taste!
What to Serve with Homemade Dairy-Free Vanilla Pudding
Elevate your dessert experience by pairing this creamy delight with irresistible sides and treats that bring out its rich flavors.
-
Fresh Berries: The tartness of strawberries or blueberries complements the sweet, creamy pudding perfectly, adding a refreshing burst of flavor.
-
Coconut Whipped Cream: A smooth, dairy-free topping that enhances the dessert’s richness while adding a luscious, tropical twist.
-
Almond Biscotti: These crunchy cookies provide a delightful contrast to the velvety pudding, making every bite a crunchy, sweet experience.
-
Chocolate Sauce: Drizzling some velvety chocolate sauce over your pudding adds a touch of indulgence that chocolate lovers will adore.
-
Fruit Compote: A warm fruit compote introduces a complementary sweetness and delicious texture, making your pudding even more irresistible.
-
Iced Herbal Tea: A chilled glass of mint or hibiscus tea refreshes the palate, creating a harmonious balance with the creamy richness of the pudding.
-
Gluten-Free Cake: A slice of light gluten-free vanilla or lemon cake serves as a delightful base to scoop your pudding, transforming the dessert into a divine layered treat.
-
Roasted Nuts: Crunchy roasted almonds or pecans provide a satisfying texture, while their mild saltiness balances the sweetness of the pudding for a perfectly balanced bite.
How to Store and Freeze Dairy-Free Vanilla Pudding
Fridge: Store your Dairy-Free Vanilla Pudding in the refrigerator for up to 3 days. Keep it covered with plastic wrap or in an airtight container to prevent drying out and maintain its creamy consistency.
Freezer: For longer storage, you can freeze the pudding for up to 2 months. Ensure it’s in a freezer-safe container with a tight lid, leaving some space for expansion.
Thawing: To enjoy frozen pudding, transfer it to the fridge for several hours or overnight for a gradual thaw. Once thawed, re-whisk gently to restore creaminess.
Reheating: If you prefer serving it warm, reheat in a saucepan over low heat, stirring constantly until warmed through. Avoid overheating to keep it smooth and velvety.
Expert Tips for Dairy-Free Vanilla Pudding
Whisk Consistently: Keep whisking continuously during the thickening stage to prevent clumps from forming; a steady hand will ensure a creamy texture.
Strain If Needed: If you notice any clumps in your pudding, don’t fret! Simply strain the mixture through a wire mesh before chilling to achieve smoothness.
Choose Quality Ingredients: Use high-quality vanilla extract for the best flavor impact. The richness of your Dairy-Free Vanilla Pudding depends on it!
Storage Matters: Store the pudding in the fridge for up to 3 days, but remember to keep it covered to maintain its delightful freshness.
Serve Warm or Chilled: Whether you choose to enjoy it warm right off the stove or chilled from the fridge, both options provide a delicious escape for your taste buds!
Make Ahead Options
You can easily prepare this Dairy-Free Vanilla Pudding in advance, making it a lifesaver for busy weeknights or festive gatherings! To save time, you can whisk together the dry ingredients (sugar, cornstarch, and salt) and store them in an airtight container for up to 3 days. The almond milk and eggs mixture can also be prepared in advance and refrigerated for up to 24 hours. When you’re ready to make the pudding, just combine the mixtures over heat, whisk until thickened, and then chill as directed. To maintain the pudding’s creamy texture, cover it with plastic wrap directly on the surface before refrigerating. This way, you can enjoy a delicious homemade dessert with less hassle!
Dairy-Free Vanilla Pudding Variations
Feel free to let your creativity shine by customizing this pudding recipe in delightful ways!
-
Coconut Milk: Swap almond milk with coconut milk for a tropical twist that’s rich and creamy. The coconut flavor beautifully enhances the pudding’s sweetness.
-
Sweetener Swap: Use coconut sugar instead of regular sugar for a deeper, caramel-like sweetness that offers a unique flavor profile. It’s a small change that makes a big difference!
-
Chocolate Variation: For a chocolatey indulgence, mix in a tablespoon of cocoa powder when combining the dry ingredients. This simple addition transforms your pudding into a decadent treat!
-
Fruity Twist: Fold in fresh berries or pureed fruits like mango or banana before chilling, adding vibrant color and fresh flavor. This will give your pudding a fruity freshness that’s irresistible.
-
Spiced Delight: Sprinkle in a dash of cinnamon or nutmeg for a warm spice note that pairs beautifully with vanilla. It adds comforting depth, making it perfect for chilly evenings.
-
Nutty Flavor: Blend in a spoonful of almond or hazelnut butter for a nutty kick, enriching the creamy texture while introducing a delightful earthiness.
-
Chill with a Froth: Top with a scoop of dairy-free whipped cream before serving for a light and fluffy finish. It elevates the indulgence factor effortlessly!
-
Lemon Zest: Grate some lemon zest into the pudding before chilling for a refreshing citrus kick. It’s a subtle yet invigorating enhancement that brightens the overall flavor.
For an equally delicious experience, try my Spice Vanilla Pudding and discover how spices can elevate simple desserts. Each variation invites you to enjoy something a little different while still embracing the comforting essence of homemade vanilla pudding!
Dairy-Free Vanilla Pudding Recipe FAQs
How do I select the right almond milk for this recipe?
Absolutely! When choosing almond milk, look for unsweetened varieties to better control the sweetness of your pudding. Take a moment to check the ingredients list and avoid any with added preservatives or artificial flavors, as high-quality almond milk will enhance the vanilla flavor beautifully.
How should I store leftover dairy-free vanilla pudding?
Very simply! Store your pudding in the refrigerator for up to 3 days. Make sure to cover it tightly with plastic wrap or place it in an airtight container. This prevents the surface from drying out and keeps that rich, creamy texture intact.
Can I freeze dairy-free vanilla pudding for later use?
Yes, you can! To freeze your pudding, pour it into a freezer-safe container. Leave some headspace at the top since it will expand as it freezes. It can be stored for up to 2 months. When you’re ready to enjoy it, thaw it overnight in the refrigerator, and then gently re-whisk to restore its smoothness.
What should I do if my pudding has lumps?
If you find yourself facing lumps in your pudding, don’t worry! Simply strain the mixture through a fine mesh sieve. This helps catch any clumps while allowing the smooth pudding to pass through. It’s a useful technique to ensure that your Dairy-Free Vanilla Pudding has that delightful, silky quality!
Is this recipe suitable for those with egg allergies?
Absolutely! If you or any loved ones have an egg allergy, you can easily substitute the eggs in this recipe with a vegan egg replacement. Options like flaxseed meal combined with water or commercial egg substitutes work wonderfully, allowing everyone to indulge in this delicious dairy-free treat!
Creamy Dairy-Free Vanilla Pudding for Sweet Indulgence
Ingredients
Equipment
Method
- Gather your heat-safe bowls or cups to serve the pudding.
- In a medium saucepan, combine the sugar, cornstarch, and salt, whisking until well combined.
- In a separate bowl, whisk together the almond milk and eggs until smooth.
- Pour the almond milk and egg mixture into the saucepan over medium heat and stir continuously.
- Whisk for about 9 minutes until the mixture begins to thicken and bubbles form.
- Continue whisking for another 2 minutes until the pudding-like consistency is achieved.
- Stir in the vanilla extract until well mixed.
- Pour the pudding into the prepared bowls and press plastic wrap onto the surface.
- Chill in the refrigerator for 1 to 2 hours.
- Serve as is or topped with dairy-free whipped cream and fresh fruit.
Leave a Reply