
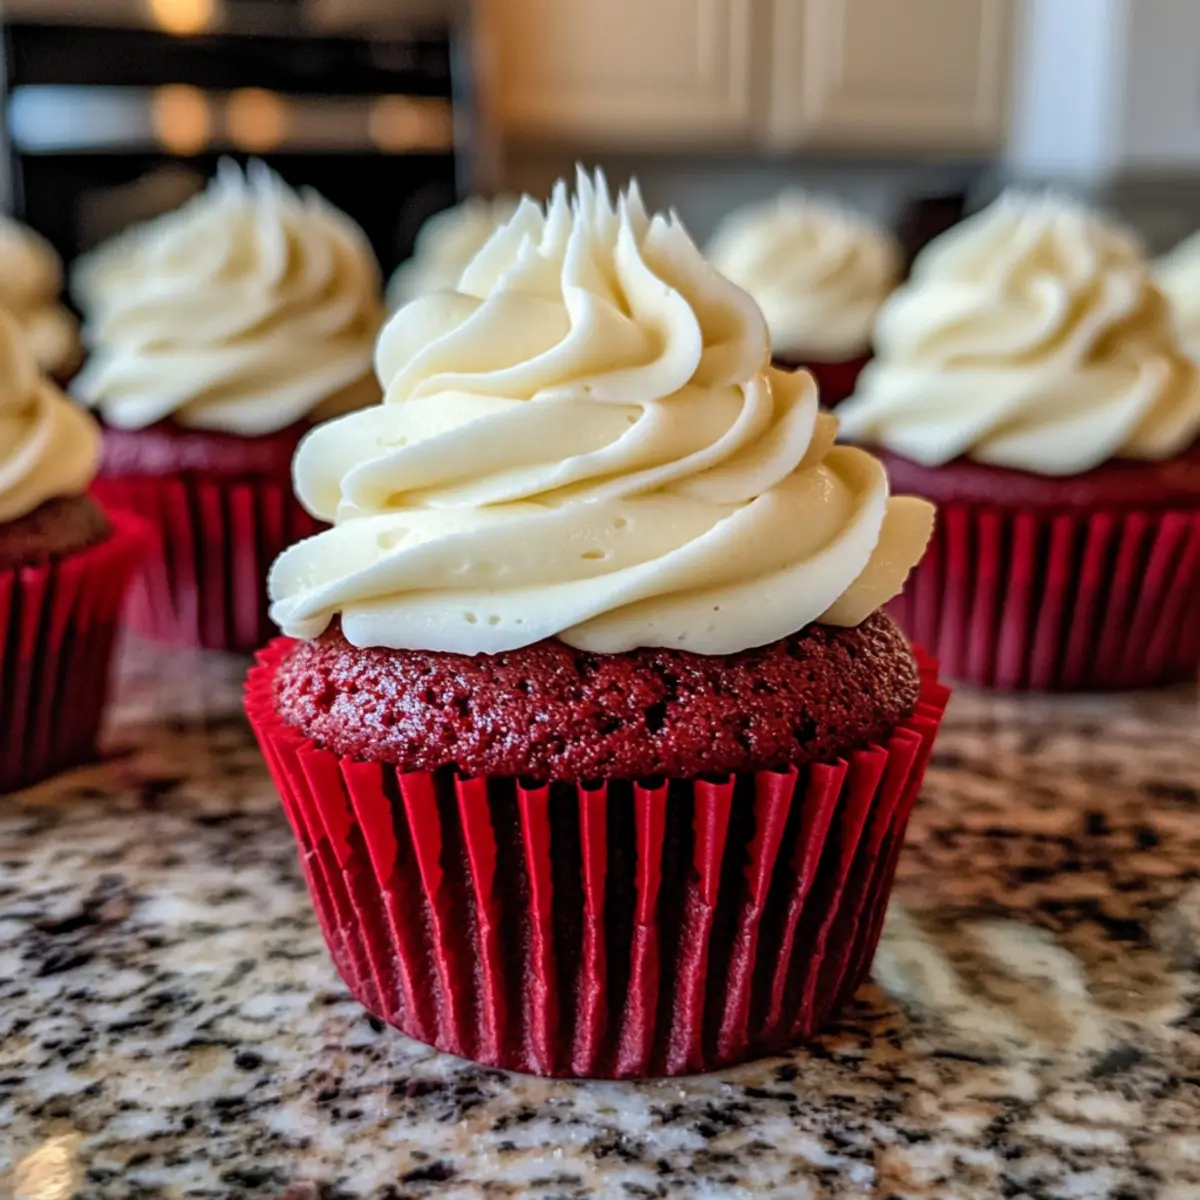
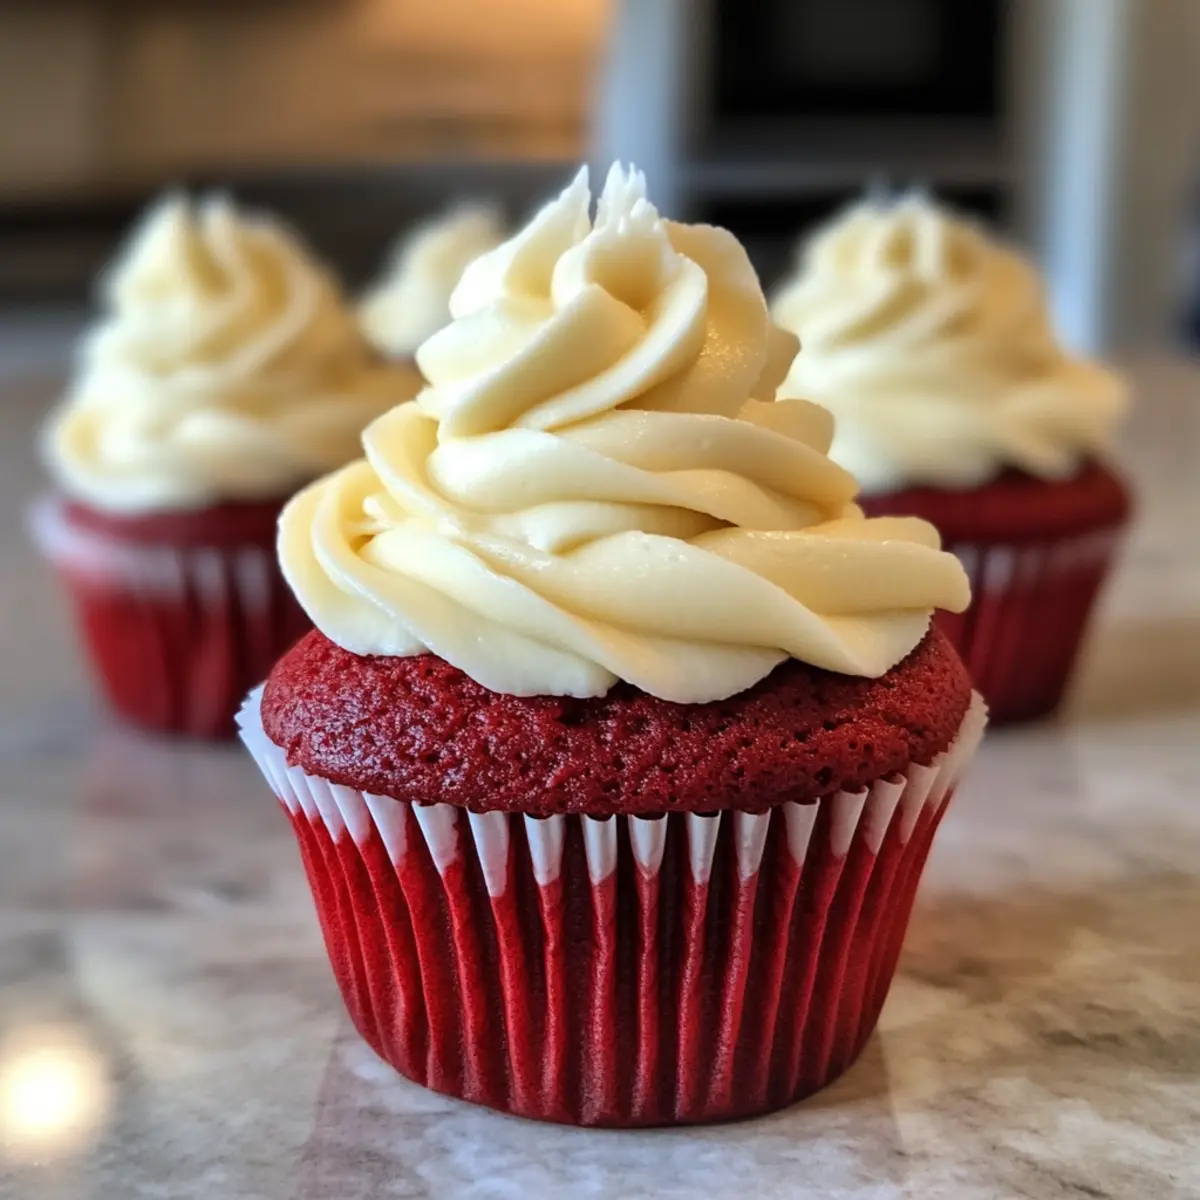
Amidst the laughter and clinking of glasses, I found myself in a flurry of flour and cocoa—right on the brink of cupcake magic. These Soft and Moist Red Velvet Cupcakes are not just desserts; they’re a heartfelt nod to celebrations, perfect for birthdays, weddings, or simply because you deserve a treat. With a whirl of deep crimson hues and a tender, velvety crumb, each bite captures the essence of joy. Best of all, you can whip these up quickly, and they’re easily adaptable to gluten-free or vegan diets, ensuring everyone can join in on the fun. Ready to create your own sweet memories? Let’s dive into this delightful recipe!

Why are Moist Red Velvet Cupcakes a must-try?
Irresistible Taste: These cupcakes are a perfect balance of cocoa and vanilla, delivering a flavor that dances on your palate. Festive Appeal: Their rich red color makes them a stunning addition to any celebration, brightening up dessert tables with a festive flair. Quick and Easy: With straightforward steps, you can whip them up without hassle, making them ideal for spontaneous gatherings. Customizable Options: From gluten-free to vegan, there’s a version for everyone, ensuring no one misses out on this treat. Crowd Favorite: Whether it’s a birthday party or holiday celebration, these cupcakes will disappear faster than you can say “delicious”! For even more delightful options, check out my Spice Cake Eggnog and Christmas Fruit Cake recipes!
Moist Red Velvet Cupcake Ingredients
• Dive into these cupcakes brimming with flavor!
For the Batter
- All-Purpose Flour – Provides structure for the cupcakes; can be substituted with a gluten-free flour blend for a gluten-free version.
- Granulated Sugar – Adds sweetness and moisture; can be adjusted to taste without substitutions.
- Baking Soda – Acts as a leavening agent; ensure it is fresh for fluffy results.
- Cocoa Powder – Gives the cupcakes their rich signature flavor; unsweetened cocoa works best.
- Salt – Enhances flavor; optional in gluten-free versions but suggested for sweetness enhancement.
- Vegetable Oil – Keeps the cupcakes moist; can be replaced with melted coconut oil or unsweetened applesauce.
- Buttermilk – Adds richness and tanginess; substitute with almond milk mixed with vinegar for a vegan adjustment.
- Eggs – Provides structure and moisture; replace with flax eggs for vegan cupcakes (1 tbsp flaxseed meal + 2.5 tbsp water).
- Red Food Coloring – Gives the cupcakes their vibrant color; natural alternatives include beet juice for a unique touch.
- Vanilla Extract – Adds wonderful flavor; using pure vanilla enhances the taste.
- White Vinegar – Essential for fluffiness as it reacts with baking soda; lemon juice can be used as a substitute if necessary.
For Frosting (Optional)
- Cream Cheese – Adds a tangy and rich flavor to the frosting; can be replaced with vegan cream cheese for a dairy-free alternative.
- Powdered Sugar – Sweetens the frosting; ensure it’s sifted for a smooth texture.
- Vanilla Extract – Complementary flavor in the frosting; opt for high-quality vanilla for the best taste.
These moist red velvet cupcakes surely make a memorable treat that everyone will enjoy!
Step‑by‑Step Instructions for Moist Red Velvet Cupcakes
Step 1: Preheat Oven and Prepare Pan
Begin by preheating your oven to 350°F (175°C). While it warms up, line your cupcake pans with colorful liners to add a festive touch. This will ensure easy removal later and give your cupcakes a charming appearance. Gaze upon those empty cups filled with potential—soon to become the moist red velvet cupcakes we all adore.
Step 2: Whisk Dry Ingredients
In a large mixing bowl, combine the dry ingredients: all-purpose flour, granulated sugar, baking soda, cocoa powder, and a pinch of salt. Whisk them together until fully blended, ensuring there are no clumps. This step is crucial for achieving that light, airy texture in your moist red velvet cupcakes. The final mix should appear well-mixed and dry, ready for the wet ingredients.
Step 3: Combine Wet Ingredients
In another bowl, whisk together the wet ingredients: vegetable oil, buttermilk, eggs, red food coloring, vanilla extract, and white vinegar. Mix thoroughly until the mixture is smooth and cohesive. The vibrant red hue should be inviting, hinting at the deliciousness to come. This step adds richness and moisture, making your cupcakes tender and flavorful.
Step 4: Mix Dry and Wet Ingredients
Now, gradually add the wet mixture to the dry ingredients, stirring gently with a spatula or wooden spoon until just combined. Avoid overmixing, as this could affect the texture of your moist red velvet cupcakes. You want to see a few flour streaks still visible—this indicates a perfect, tender batter waiting to be baked.
Step 5: Fill Cupcake Liners
Spoon the batter into the lined cupcake pans, filling each liner about two-thirds full. This will allow space for your cupcakes to rise beautifully without overflowing. The rich crimson batter should fill the liners to create cupcakes that are moist and soft. Pop the pans in the preheated oven and set your timer for 18-20 minutes.
Step 6: Bake and Check for Doneness
Bake the moist red velvet cupcakes in the oven for 18-20 minutes, until a toothpick inserted into the center comes out clean or with a few moist crumbs. The tops should bounce back slightly when touched, indicating they are perfectly baked. Once done, remove the pans from the oven and let them cool for just 5 minutes.
Step 7: Cool and Transfer
Carefully transfer the cupcakes from the pans to a wire rack to cool completely. This step is essential, as cooling completely prevents the frosting from melting when you’re ready to indulge. The aroma of freshly baked red velvet in the air signals success—it’s almost time to enjoy your creations!
Step 8: Frost and Serve
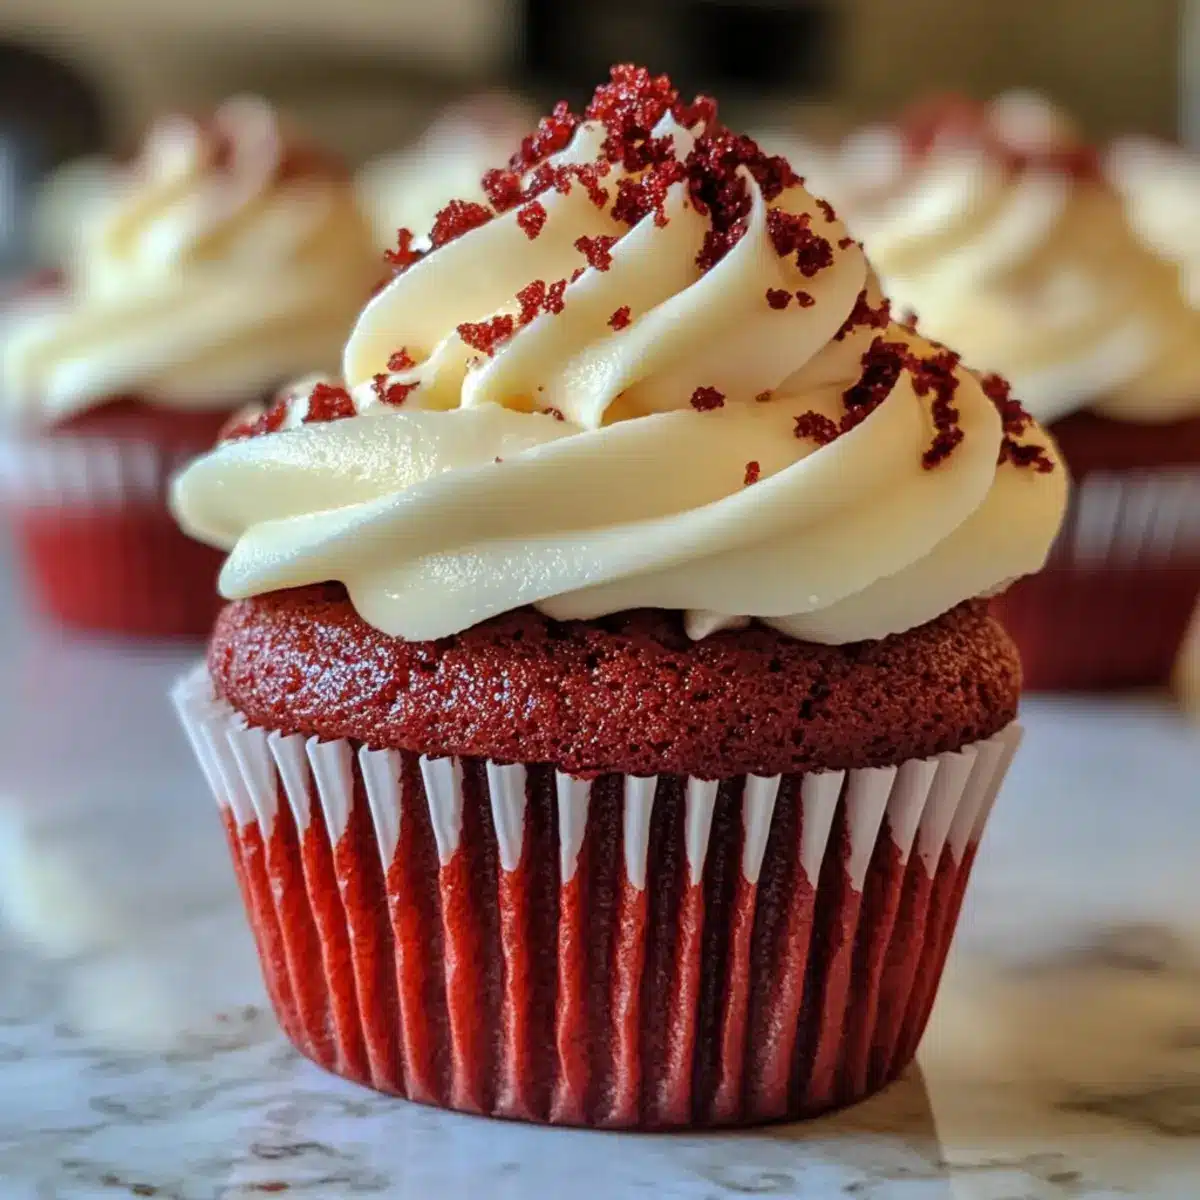
Once cooled, frost the cupcakes with your favorite cream cheese frosting or any delightful topping of your choice. The sweet, tangy contrast of the frosting complements the velvety cupcakes beautifully, making for a delicious celebration treat. Serve them on a decorative platter or share with loved ones—these moist red velvet cupcakes are bound to create sweet memories!
Expert Tips for Moist Red Velvet Cupcakes
-
Room Temperature Ingredients: Ensure all your ingredients are at room temperature to promote better mixing and a smoother batter, resulting in incredibly moist red velvet cupcakes.
-
Don’t Overmix: Gently combine the wet and dry ingredients; overmixing can lead to dense cupcakes. A few small flour streaks are perfectly fine!
-
Fresh Baking Soda: Always check that your baking soda is fresh to ensure proper leavening. Old baking soda can cause your cupcakes to be dense instead of fluffy.
-
Proper Cooling: Allow the cupcakes to cool completely before frosting. This prevents melting and ensures the frosting stays beautifully intact on each moist red velvet cupcake.
-
Flavor Variations: Don’t hesitate to try different frosting flavors like chocolate or lemon for a delightful twist! This adds a unique touch to your moist red velvet cupcakes, making them even more exciting.
Make Ahead Options
These Moist Red Velvet Cupcakes are a fantastic option for busy home cooks looking to save time without sacrificing flavor. You can prepare the cupcake batter up to 24 hours in advance; simply refrigerate it in an airtight container until you’re ready to bake. Alternatively, bake the cupcakes up to 3 days ahead of time and store them in an airtight container at room temperature. When it’s time to serve, just frost them with cream cheese frosting, and they’ll be just as delightful as the day they were made. Ensure you cool the cupcakes completely before frosty to keep the frosting from sliding off—a step that maintains the quality of your treat!
Moist Red Velvet Cupcake Variations
Feeling inspired to tweak your cupcakes? Let your creativity shine and delight your loved ones with wonderful variations!
- Gluten-Free: Swap all-purpose flour for a gluten-free blend to enjoy the same tender texture without the gluten.
- Vegan Delights: Replace eggs with flax eggs (1 tbsp flaxseed meal + 2.5 tbsp water) and use almond milk with vinegar instead of buttermilk.
- Flavor Boost: Stir in some chocolate chips for an extra layer of rich chocolate flavor that will surprise and please every palate.
- Berry Twist: Add a layer of fresh raspberries or strawberries between the cupcake and frosting for a fruity surprise that enhances the overall taste.
- Spicy Kick: Sprinkle in a pinch of cinnamon or cayenne pepper for a surprising warm kick that pairs beautifully with the sweetness of chocolate.
- Nutty Crunch: Fold in chopped walnuts or pecans for added texture and a delightful nutty flavor that complements the moistness.
- Citrus Zing: Mix in a little orange or lemon zest to brighten the flavor profile and add a refreshing citrus twist to every bite.
- Frosting Fusion: Experiment with frosting options! Try a chocolate ganache or a tart lemon frosting for a completely different experience.
Have fun mixing and matching these variations! For an extra treat, consider whipping up some Homemade Orange Candy to complement your cupcakes. After all, dessert should be memorable!
How to Store and Freeze Moist Red Velvet Cupcakes
Room Temperature: Keep the cupcakes in an airtight container at room temperature for up to 3 days to retain their moistness.
Fridge: If desired, you can refrigerate the cupcakes for up to 5 days. Make sure they are well wrapped to prevent them from drying out.
Freezer: To freeze, place the cupcakes in a single layer on a baking sheet, freeze until solid, then transfer to a freezer-safe container or bag. They can be stored for up to 3 months.
Reheating: Thaw frozen cupcakes in the fridge overnight, then let them come to room temperature before enjoying. Consider adding fresh frosting for an extra touch of indulgence!
What to Serve with Soft and Moist Red Velvet Cupcakes
Delight your guests with the perfect accompaniments to these vibrant, velvety treats that elevate any celebration.
-
Creamy Cream Cheese Frosting: This classic pairing enhances the cupcakes’ richness, offering a slightly tangy contrast to their sweetness.
-
Fresh Berries: Strawberries or raspberries provide a bright, tart burst that balances the cupcakes’ decadent flavors perfectly.
-
Chocolate Ganache: Drizzling this luscious chocolate sauce adds an indulgent touch, turning every bite into a heavenly experience.
-
Vanilla Ice Cream: The cool creaminess complements the warm cupcakes, creating an irresistible mix of textures in every mouthful.
-
Nutty Milkshake: A delicious chocolate or vanilla milkshake offers a nostalgic element, enhancing the cupcakes’ celebratory vibe.
-
Homemade Whipped Cream: Light and airy, this addition crowns the cupcakes beautifully, counteracting their density to create a softer texture.
-
Seasonal Fruit Salad: A refreshing medley of fruits brings a vibrant color palette to the table, lightening up the overall dessert experience.
-
Sparkling Wine: A flute of bubbly pairs delightfully, adding a celebratory feel that complements the festive essence of these moist red velvet cupcakes.
Moist Red Velvet Cupcakes Recipe FAQs
How do I know if my red velvet cupcakes are baked properly?
Absolutely! The best way to check for doneness is by inserting a toothpick into the center of a cupcake. It should come out clean or with just a few moist crumbs attached—this indicates that your moist red velvet cupcakes are perfectly baked. If the toothpick comes out with wet batter, give them a few more minutes, checking every couple of minutes until done.
What should I look for when choosing ingredients for my cupcakes?
Very! For the best results, use fresh ingredients, especially baking soda and cocoa powder. When selecting your flour, consider a gluten-free blend if required. Look for all-purpose flour that feels soft and powdery, which usually offers the best structure. Ensure that your eggs and buttermilk are at room temperature for optimal mixing, which enhances the texture of your moist red velvet cupcakes.
How should I store my moist red velvet cupcakes?
You can keep these delightful cupcakes in an airtight container at room temperature for up to 3 days to maintain their moisture. For longer storage, refrigerate them for up to 5 days. Make sure they’re well-wrapped to prevent drying out!
Can I freeze my red velvet cupcakes? How long do they last?
Absolutely! To freeze, place the cooled cupcakes in a single layer on a baking sheet and freeze until solid. Then, transfer them to a freezer-safe container or bag. They can be stored for up to 3 months. To enjoy, just thaw them in the fridge overnight and let them come to room temperature before adding your favorite frosting.
Are there any dietary considerations I should keep in mind?
Very! If you or your guests have dietary restrictions, you can easily adapt this recipe. Use a gluten-free flour blend in place of all-purpose flour for gluten-free cupcakes, and for a vegan version, replace eggs with flax eggs (1 tbsp flaxseed meal + 2.5 tbsp water) and use almond milk mixed with vinegar instead of buttermilk. Always be mindful of any specific allergies to ingredients like nuts or gluten.
Moist Red Velvet Cupcakes That Melt in Your Mouth
Ingredients
Equipment
Method
- Preheat oven to 350°F (175°C) and line cupcake pans with liners.
- Whisk together dry ingredients: flour, sugar, baking soda, cocoa powder, and salt.
- In another bowl, whisk together wet ingredients: oil, buttermilk, eggs, food coloring, vanilla, and vinegar.
- Gradually combine wet mixture with dry ingredients, stirring gently.
- Spoon the batter into cupcake liners, filling them two-thirds full. Bake for 18-20 minutes.
- Check doneness by inserting a toothpick; it should come out clean or with a few moist crumbs.
- Allow cupcakes to cool for 5 minutes, then transfer to a wire rack to cool completely.
- Frost cooled cupcakes with your favorite frosting and serve.
Leave a Reply