
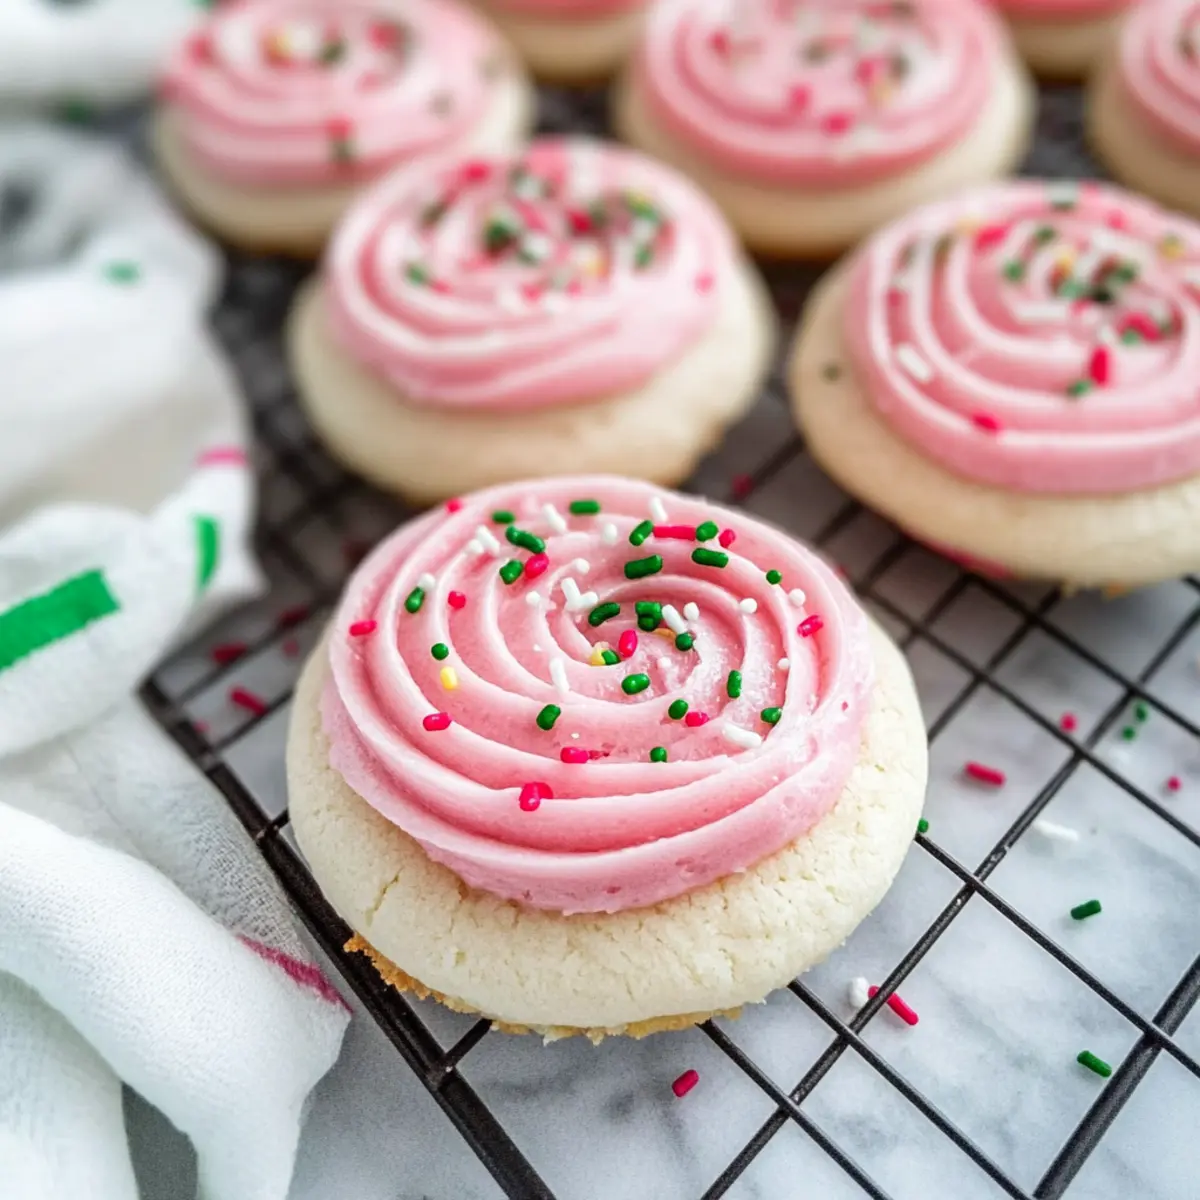
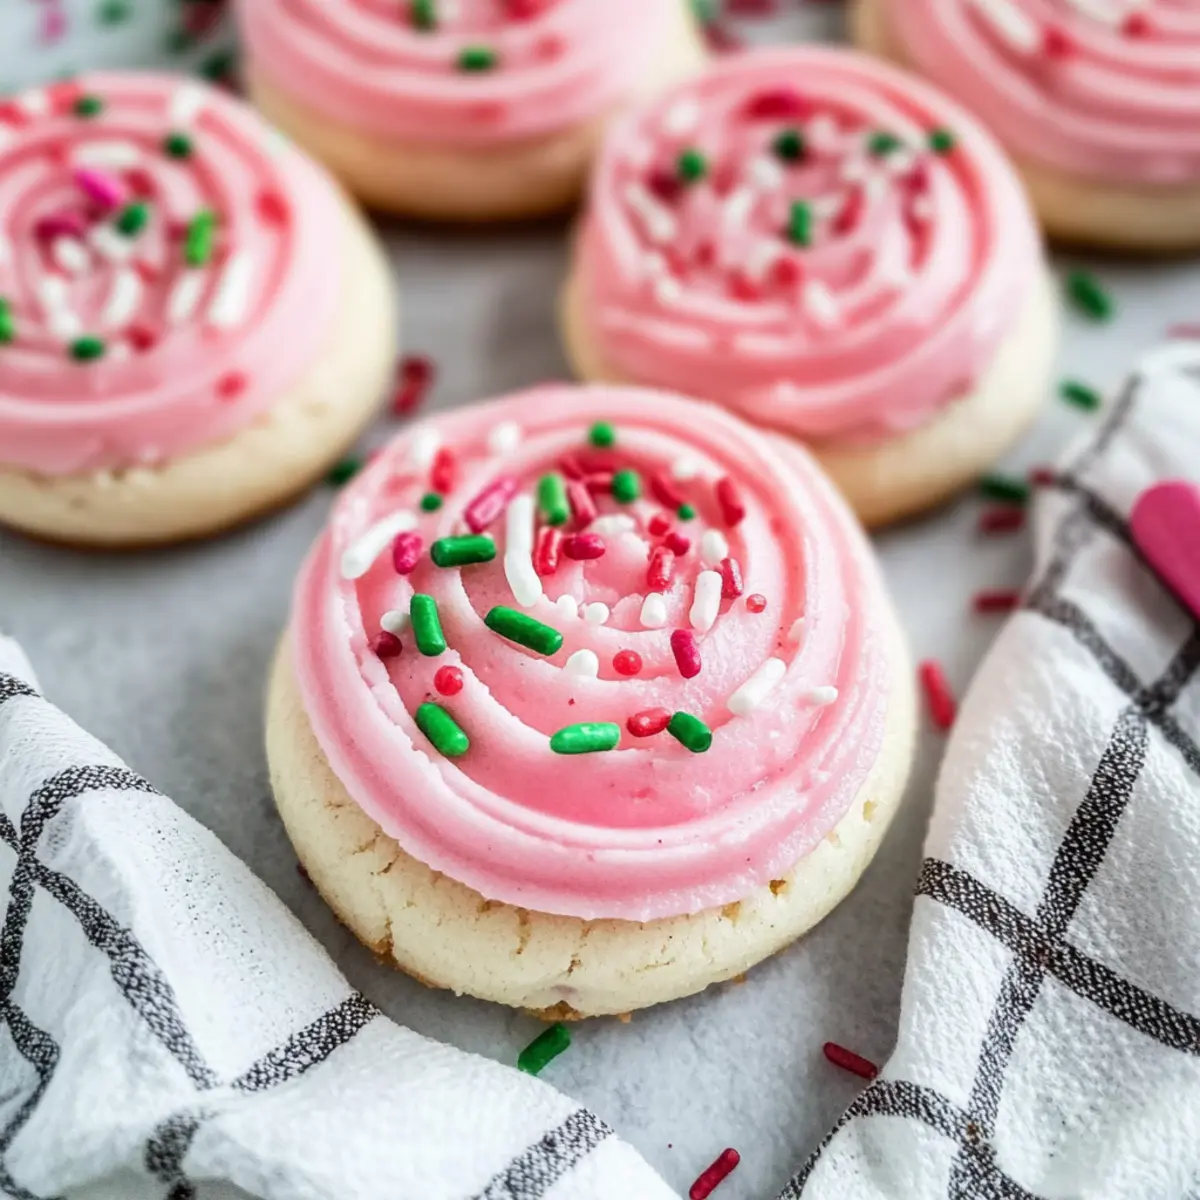
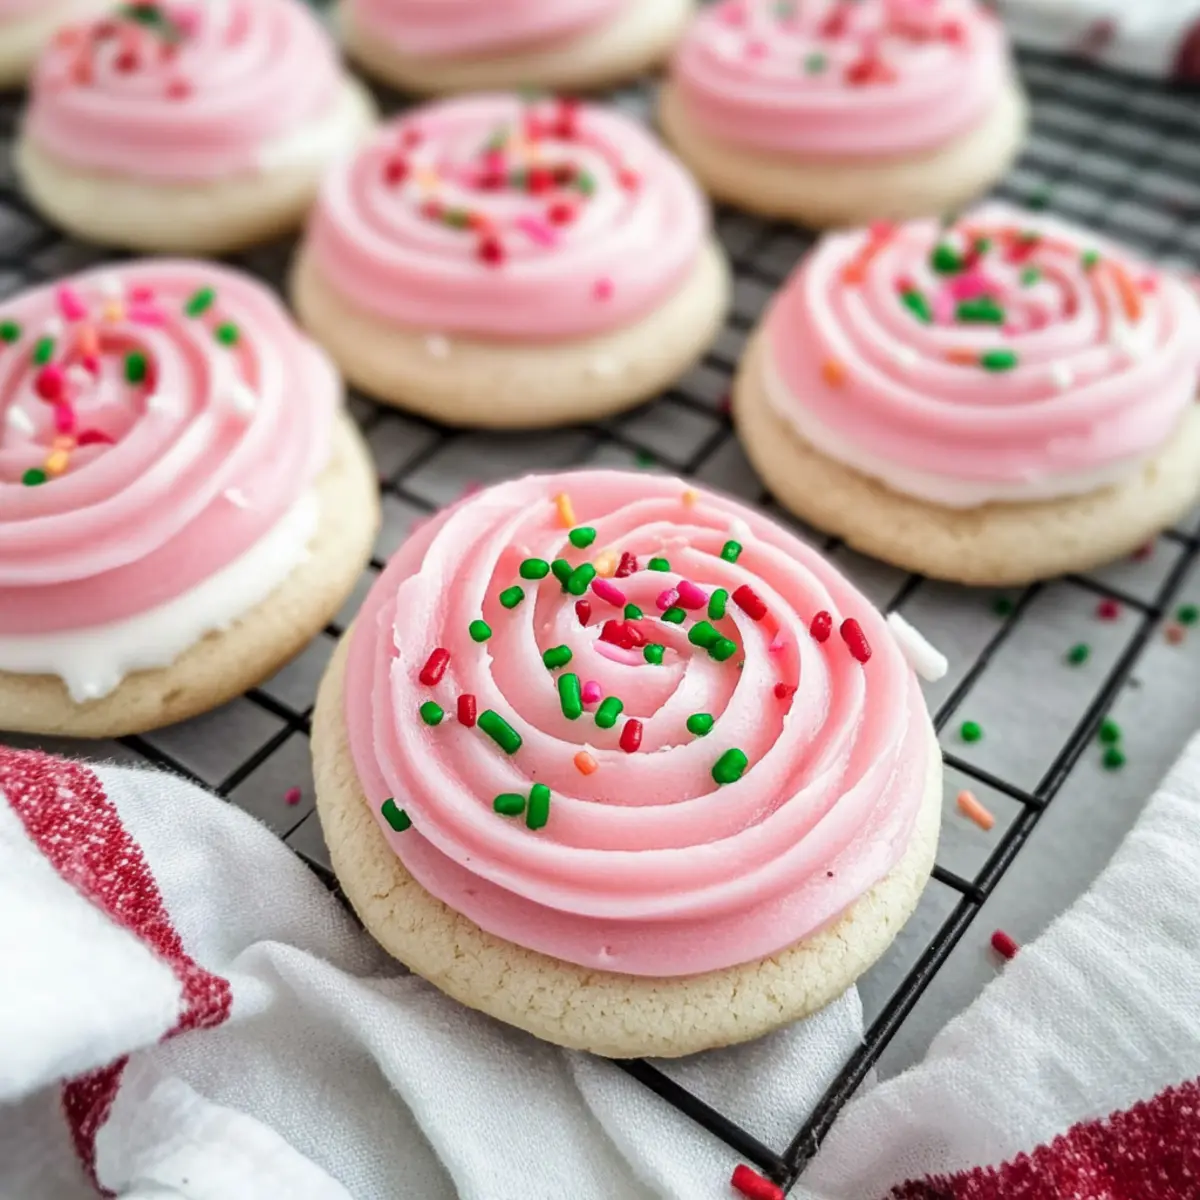
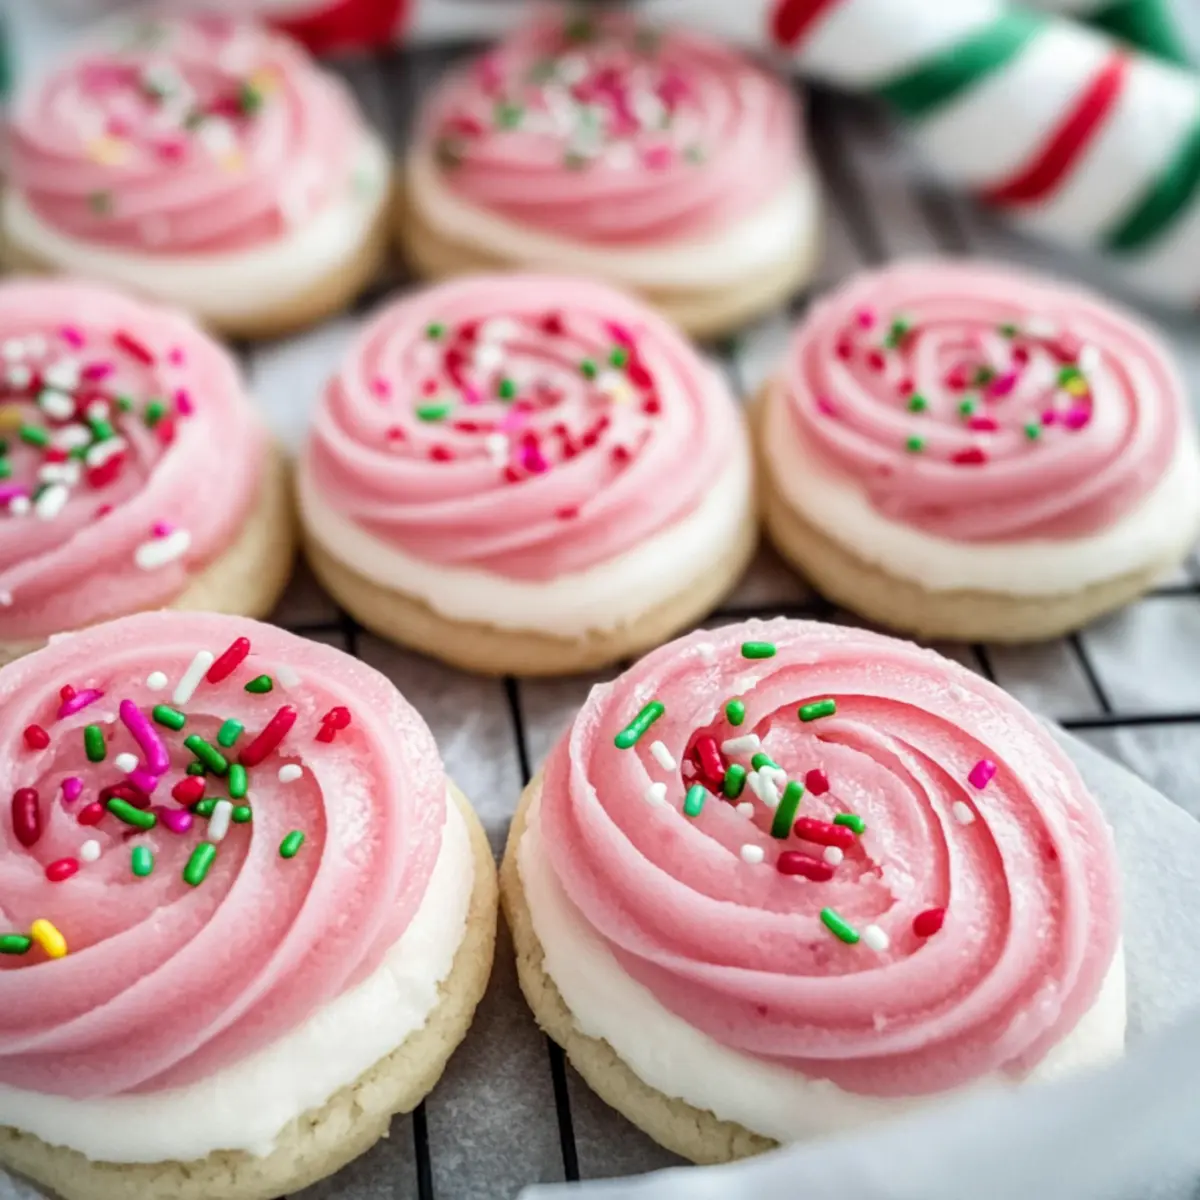
“Have you ever stumbled upon a recipe that instantly brings the holiday spirit into your kitchen?” This was my reaction when I first baked Christmas Pink Velvet Cookies. With their tender, cake batter flavor and a vibrant pink hue, these cookies are irresistibly festive. They’re not just easy to whip up; they’re a delightful treat that brings smiles at any gathering. Topped with a creamy cream cheese frosting and festive sprinkles, they’re perfect for holiday parties and will leave your guests reaching for seconds. Imagine a soft texture that feels more like a cozy hug than a simple dessert! Ready to create memories that will fill your kitchen with warmth and cheer? Let’s dive into how to make these delightful Christmas Pink Velvet Cookies!
Why Are These Cookies a Must-Bake?
Festive Delight: These Christmas Pink Velvet Cookies are not just visually stunning but also embody the joyful spirit of the season. Soft and Tender: Their cake batter flavor and soft texture feel luxurious and melt in your mouth. Quick and Easy: You can whip them up in no time, making them perfect for unexpected guests or holiday parties. Versatile Toppings: Experiment with sprinkles or even a drizzle of chocolate for a personalized touch. Crowd-Pleasing Treat: Whether you serve them at a gathering or indulge yourself, these cookies will be a hit every time! For other great holiday ideas, try pairing them with the delightful Cranberry Shortbread Cookies or some tasty Christmas Meatballs Sweet.
Christmas Pink Velvet Cookies Ingredients
• Brighten your holiday baking with these delightful cookies!
For the Cookies
- Salted Butter – Provides richness and moisture; can substitute with unsalted and adjust salt to taste.
- Granulated Sugar – Adds sweetness and helps achieve a tender cookie; no substitutions suggested.
- Eggs – Bind ingredients and add moisture; a flax egg may work as a vegan alternative.
- Cake Batter Flavoring – Gives a distinct cake-like taste; if unavailable, substitute with vanilla extract.
- Pink Food Coloring – Achieves the bright pink hue; any gel or liquid coloring works.
- All-Purpose Flour – Supplies structure; whole wheat flour can be used for a healthier option but may alter texture.
- Baking Powder – Helps cookies rise and become fluffy; ensure it is fresh for optimal results.
For the Vanilla Cream Cheese Frosting
- Butter – Adds smoothness and structure; can substitute with margarine.
- Cream Cheese – Creates a creamy texture and tanginess; consider non-dairy cream cheese for a dairy-free option.
- Vanilla – Enhances flavor; any extract can work.
- Powdered Sugar – Sweetens the frosting and provides stability; no replacements suggested.
- Salt – Balances flavors; essential for taste—omit cautiously.
- Milk/Heavy Cream – To thin the frosting as needed; any non-dairy milk works as a substitute.
Dive into this festive baking adventure with these Christmas Pink Velvet Cookies!
Step‑by‑Step Instructions for Christmas Pink Velvet Cookies
Step 1: Preheat the Oven
Begin by preheating your oven to 350°F (180°C). This will set the perfect baking environment for your Christmas Pink Velvet Cookies. As the oven warms up, gather your baking sheets and line them with parchment paper to ensure easy cookie removal after baking.
Step 2: Cream the Butter and Sugar
In a large mixing bowl, combine the softened salted butter and granulated sugar. Using an electric mixer, cream the mixture on medium speed until it becomes light and fluffy, which should take about 2 minutes. This aeration is crucial for achieving the soft, tender texture that defines your cookies.
Step 3: Add Eggs and Flavoring
Next, crack in the eggs, and add the cake batter flavoring and pink food coloring to the butter-sugar mixture. Mix on low speed until all the ingredients are well incorporated and you achieve a smooth, pastel pink liquid. This will ensure that your Christmas Pink Velvet Cookies are both rich in flavor and visually appealing.
Step 4: Incorporate Dry Ingredients
Gradually add the all-purpose flour and baking powder to the wet ingredients, stirring gently with a spatula or wooden spoon. Continue mixing until a soft dough begins to form. Be careful not to overwork the dough; it should look slightly sticky but cohesive, ready to bring festive cheer to your kitchen.
Step 5: Shape the Cookies
Using a cookie scoop or tablespoons, portion the dough into 3-tablespoon balls. Gently flatten each ball slightly before placing them on your prepared baking sheet, leaving a couple of inches of space between each cookie. This step helps them spread evenly as they bake, resulting in a lovely texture.
Step 6: Bake the Cookies
Pop the baking sheet into your preheated oven and bake for 9-11 minutes, or until the cookies are puffed and the centers no longer appear glossy. Keep a close eye on them; they should have a soft, cake-like texture that signals they are ready to come out of the oven.
Step 7: Cool the Cookies
Once baked, remove your Christmas Pink Velvet Cookies from the oven and let them cool on the baking sheet for about 5 minutes. This brief cooling period makes them easier to transfer. Then, move the cookies to a wire rack to cool completely, allowing the soft centers to set perfectly.
Step 8: Prepare the Frosting
While the cookies cool, prepare the vanilla cream cheese frosting. In a mixing bowl, beat together the softened butter, cream cheese, and vanilla extract until the mixture is smooth and creamy. This should take about 2-3 minutes and will provide a luscious topping for your festive cookies.
Step 9: Sweeten the Frosting
Gradually add the powdered sugar to the frosting mixture and continue mixing until it reaches your desired consistency. If it seems too thick, add a splash of milk or heavy cream to thin it out. The frosting should be spreadable yet stable enough to hold its shape when piped onto the cookies.
Step 10: Decorate the Cookies
Finally, take your cooled Christmas Pink Velvet Cookies and pipe the creamy frosting on top of each one, creating a generous swirl. Immediately sprinkle festive decorations over the frosting to make each cookie pop with color and holiday spirit. These delightful treats will surely brighten your festivities!
How to Store and Freeze Christmas Pink Velvet Cookies
Fridge: Keep freshly baked cookies in an airtight container for up to 5 days to maintain their soft texture and flavor.
Freezer: For longer storage, freeze cookies without frosting in a single layer, then transfer to a sealed bag for up to 3 months.
Reheating: To enjoy a warm cookie, thaw at room temperature and microwave for 10-15 seconds before frosting.
Frosting Tip: If you’ve frozen the cookies, frost them after thawing to prevent the frosting from melting.
What to Serve with Christmas Pink Velvet Cookies
These enchanting cookies will be the stars of your holiday table, pairing wonderfully with delightful accompaniments.
-
Eggnog: A classic holiday drink, eggnog’s creamy richness complements the sweet, soft texture of the cookies beautifully. Sip it slowly together for a festive experience.
-
Hot Cocoa: Warm, velvety cocoa enhances the cake-like flavor of the cookies, inviting cozy moments by the fire. Top with whipped cream for an extra indulgent treat!
-
Cranberry Sauce: The tartness of cranberry sauce contrasts deliciously with the sweet frosting, providing a refreshing burst of flavor in every bite.
-
Vanilla Ice Cream: A scoop of creamy vanilla ice cream alongside will contrast the softness of the cookies with its cool, smooth texture. It’s a heavenly combination!
-
Sugar Cookies: Serve alongside traditional sugar cookies for a festively decorated cookie platter. The variations in texture and flavor will delight guests both young and old.
-
Fruit Platter: Fresh fruits like strawberries and oranges add a refreshing touch to the dessert spread, balancing the richness of the frosting seamlessly.
-
Sparkling Water: Opt for a pretty flavored sparkling water for a light and bubbly drink that pairs well without overpowering the cookies’ flavors. Perfect for those who prefer something non-alcoholic!
-
Gingerbread Cookies: Add some spice to your spread! Gingerbread cookies offer a complementary flavor profile, making for an exciting mix at your holiday gatherings.
Each pairing enhances the joy and memories made with your Christmas Pink Velvet Cookies, making your celebrations even more memorable.
Christmas Pink Velvet Cookies Variations
Feel free to let your creativity shine with these delightful twists on the classic recipe!
-
Dairy-Free: Substitute cream cheese with a non-dairy version for a creamy frosting that anyone can enjoy. The flavors remain rich and satisfying.
-
Whole Wheat: Swap all-purpose flour with whole wheat for a healthier cookie option. You’ll get a nuttier taste that pairs beautifully with the sweet frosting.
-
Different Sprinkles: Change up the sprinkles for every occasion! Use green for the holidays, or red and blue for Fourth of July festivities. The visual appeal will match the celebration!
-
Flavor Infusion: Try adding almond or coconut extract in place of cake batter flavoring. This will bring a unique and aromatic twist to your cookies.
-
Peppermint Frosting: Add peppermint extract to the frosting for a cool, refreshing flavor that’s perfect for winter gatherings. It will give a festive kick to each bite!
-
Chocolate Chips: Fold in chocolate chips for a gooey texture contrast. The creamy frosting paired with melty chocolate chips adds a special surprise inside.
-
Nutty Crunch: Incorporate chopped nuts, like walnuts or pecans, into the dough. This adds a wonderful crunch and elevates the flavor profile.
-
Citrus Zest: Add a teaspoon of orange or lemon zest to the cookie dough for a zesty finish that pairs wonderfully with the sweet frosting. The bright notes uplift the festive spirit!
These variations could creatively enhance your baking experience. Whether you’re making a holiday platter or simply treating yourself, these ideas will surely please your palate. For more festive treats, don’t forget to check out the delicious Christmas Meatballs Sweet or indulge in some cozy Cranberry Shortbread Cookies!
Expert Tips for Christmas Pink Velvet Cookies
-
Cream Well: Thoroughly cream the butter and sugar to create a light, airy texture; this is the secret to soft Christmas Pink Velvet Cookies.
-
Watch the Oven: Keep an eye on your cookies as they bake; overbaking can lead to a dry texture, while the perfect time makes them soft and delightful.
-
Chill for Frosting: Allow the cookies to cool completely before frosting; this prevents the cream cheese frosting from melting and losing its shape.
-
Color Carefully: Add pink food coloring gradually to achieve your desired shade; too much can make the cookies overly vibrant.
-
Experiment with Sprinkles: Have fun decorating with various festive sprinkles; this not only elevates the visual appeal but also allows each cookie to feel special.
-
Taste Test First: Always sample one before serving; ensuring the flavors align is key to a successful batch of your Christmas Pink Velvet Cookies!
Make Ahead Options
These Christmas Pink Velvet Cookies are a fantastic choice for meal prep during the bustling holiday season! You can prepare the cookie dough up to 24 hours in advance; simply wrap it in plastic wrap and refrigerate to keep it fresh. Additionally, the cookies can be baked and stored in an airtight container for up to 3 days before frosting them. To maintain their delightful softness, place a slice of bread in the container, which helps retain moisture. When you’re ready to serve, frost the cookies just before enjoying to ensure the cream cheese topping tastes fresh and creamy. This way, you can effortlessly impress your guests without the last-minute rush!
Christmas Pink Velvet Cookies Recipe FAQs
How do I select ripe ingredients for my cookies?
Absolutely! For the best results, use room temperature salted butter and eggs, which help create a tender texture. When choosing your eggs, check for freshness by ensuring they don’t have any cracks or off smells. For the pink food coloring, a vibrant gel or liquid coloring will make your cookies pop beautifully!
What’s the best way to store Christmas Pink Velvet Cookies?
To maintain their delightful softness, keep your freshly baked cookies in an airtight container for up to 5 days in the fridge. Make sure they are completely cool before sealing them to prevent condensation, which can make them soggy.
Can I freeze Christmas Pink Velvet Cookies?
Yes, you can! For optimal freezing, store the cookies without frosting. Place them in a single layer on a baking sheet until frozen, then transfer to a freezer-safe bag. They can be kept in the freezer for up to 3 months! When ready to enjoy, simply thaw them at room temperature and frost as desired.
What can I do if my cookies are too dry?
Don’t worry if your cookies turn out drier than expected! First, check if you overbaked them; the magic time is between 9-11 minutes. If they are already baked, you could enjoy them with a dollop of whipped cream or vanilla ice cream to add moisture. Next time, ensure you measure your flour correctly—using a spoon to fluff it up before spooning into the measuring cup can prevent overpacking.
Are these cookies safe for people with allergies?
Great question! These Christmas Pink Velvet Cookies contain eggs, dairy, and gluten, which can be problematic for some. For a vegan option, substitute the eggs with a flax egg (1 tablespoon of ground flaxseed mixed with 2.5 tablespoons of water) and use non-dairy cream cheese in the frosting. Always check for any specific allergens in your ingredients!
Can I make these cookies ahead of time?
Definitely! You can prepare the cookie dough up to 2 days in advance and refrigerate it wrapped tightly in plastic wrap. When ready to bake, simply scoop and shape the dough before popping it in the oven. This saves time on the day of your holiday gathering and fills your home with the most wonderful scents!
Irresistible Christmas Pink Velvet Cookies for a Joyful Holiday
Ingredients
Equipment
Method
- Preheat your oven to 350°F (180°C) and line baking sheets with parchment paper.
- In a large mixing bowl, cream together the salted butter and granulated sugar until light and fluffy.
- Add the eggs, cake batter flavoring, and pink food coloring to the mixture; mix until smooth.
- Gradually incorporate the all-purpose flour and baking powder until a soft dough forms.
- Scoop dough into 3-tablespoon balls and slightly flatten before placing on the baking sheet.
- Bake for 9-11 minutes until puffed and centers are no longer glossy; let cool for 5 minutes.
- Prepare the frosting by beating together butter, cream cheese, and vanilla until smooth.
- Gradually mix in powdered sugar until desired consistency; thin with milk if necessary.
- Pipe frosting onto cooled cookies and decorate with festive sprinkles.
Leave a Reply