
The first whiff of freshly baked bread can transport you to a cozy bakery on a Sunday morning. That’s the magic of these Fluffy Buttermilk Rolls, a delightful addition to any meal that promises warmth and familiarity. Crafted with simple ingredients like tangy buttermilk and fluffy flour, these rolls not only elevate your dinners but also serve as a comforting reminder of home-cooked traditions. Imagine biting into a soft, airy roll with a crispy golden crust, perfect for sopping up savory soups or slathering with butter. The best part? They’re surprisingly quick to prepare, making them an ideal choice for holiday feasts or just a weeknight treat. Ready to transform your kitchen into a bakery and fill your home with irresistible aromas? Let’s dive into making these buttermilk rolls!
Why Are These Buttermilk Rolls Special?
Softness and Fluffiness: Every bite of these rolls is a delight, thanks to the perfect combination of buttermilk and flour creating an airy texture that melts in your mouth.
Quick to Prepare: You won’t need to spend all day in the kitchen—these rolls come together swiftly, making them a fantastic option for last-minute gatherings.
Versatile Pairing: Whether accompanying a warm soup, as part of your Thanksgiving feast, or simply enjoyed with a pat of butter, these rolls enhance any meal.
Traditional Flavor: Embrace the comfort of classic American cooking that brings everyone back to tender moments shared around the dinner table.
Feeling inspired? For similar delightful recipes, check out these Christmas Sausage Rolls and Pie Crescent Rolls.
Buttermilk Rolls Ingredients
For the Dough
• Buttermilk – Provides creaminess and moisture for the rolls; substitute with milk mixed with vinegar or lemon juice if needed.
• Milk – Used in the egg wash and for the dough; ensure it’s warmed to activate the yeast effectively.
• Active Dry Yeast – Essential for leavening the rolls, creating that wonderful light texture.
• Granulated Sugar – Adds sweetness and helps feed the yeast for rising.
• Salt – Enhances flavors, making it a key ingredient in this buttermilk rolls recipe.
• Baking Powder – Works alongside yeast, ensuring the perfect rise and delightful texture.
• All-Purpose Flour – Provides structure to the rolls; you can use bread flour for added strength.
• Egg – Needed for the egg wash to create a golden, glossy finish.
• Additional Milk (for egg wash) – Combined with the egg for that perfect shiny top.
These buttermilk rolls promise to bring joy and flavor to any meal, making every moment at the table feel like a cherished memory!
Step‑by‑Step Instructions for Buttermilk Rolls
Step 1: Activate the Yeast
In a stand mixer bowl, combine 1 cup of warm milk (between 105-115°F) with 2 teaspoons of active dry yeast. Allow the mixture to sit for 10 minutes until it becomes frothy, indicating that the yeast is activated and ready to work its magic in the buttermilk rolls.
Step 2: Mix the Dough
Once the yeast is frothy, add in 1 cup of buttermilk, 1/4 cup of granulated sugar, and 1 teaspoon of salt. Mix on medium speed until the ingredients are well combined. The mixture should be smooth and blended thoroughly before proceeding to the next step.
Step 3: Incorporate the Flour
Gradually add 2 cups of all-purpose flour and 1 tablespoon of baking powder to the bowl, mixing continuously on low speed. Once combined, switch to medium speed and knead the dough for about 5 minutes until it becomes smooth and elastic, signaling that it’s ready for the next stage.
Step 4: Shape the Dough
If the dough is sticky, incorporate more flour as needed, until it forms a soft, smooth ball. Once achieved, place the dough in a greased bowl, cover it with a clean kitchen towel, and let it rise in a warm place for 1-2 hours, or until it has doubled in size.
Step 5: Cut and Shape Rolls
After the dough has risen, gently punch it down to release air. Roll the dough into a 12-inch log and cut it into 12 equal pieces. Shape each piece into a ball, ensuring the rolls are nicely rounded for that soft finish in your buttermilk rolls.
Step 6: Second Rise
Place the shaped rolls onto a parchment-lined baking sheet, ensuring they are spaced apart. Cover them loosely with a towel and let them rise again for about 1 hour, until they puff up visibly, ready for that final baking step.
Step 7: Preheat Your Oven
While the rolls are rising, preheat your oven to 375°F. This ensures that your oven reaches the perfect temperature for baking, allowing your buttermilk rolls to bake evenly and develop a golden crust.
Step 8: Prepare the Egg Wash
In a small bowl, whisk together 1 egg and 1 tablespoon of milk to create a shiny egg wash. Once the rolls have risen, baste each roll generously with the egg wash to achieve that beautiful, glossy finish when baked.
Step 9: Bake the Rolls
Carefully place the baking sheet in the preheated oven and bake the buttermilk rolls for 13-15 minutes. Keep an eye on them as they turn golden brown and fragrant, and a toothpick inserted into the center should come out clean when they’re done.
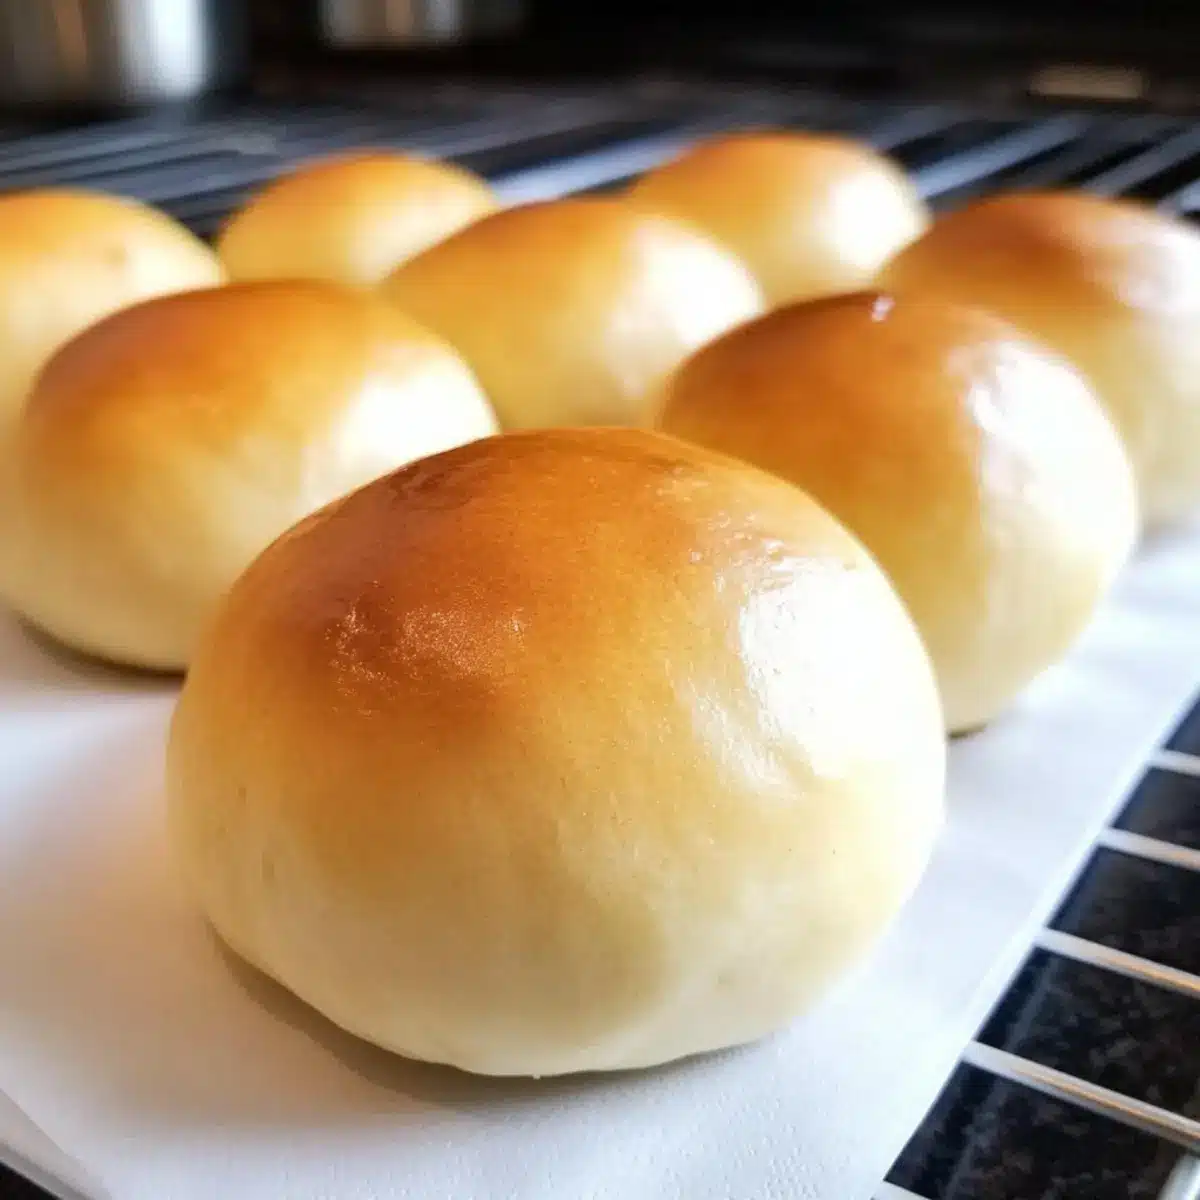
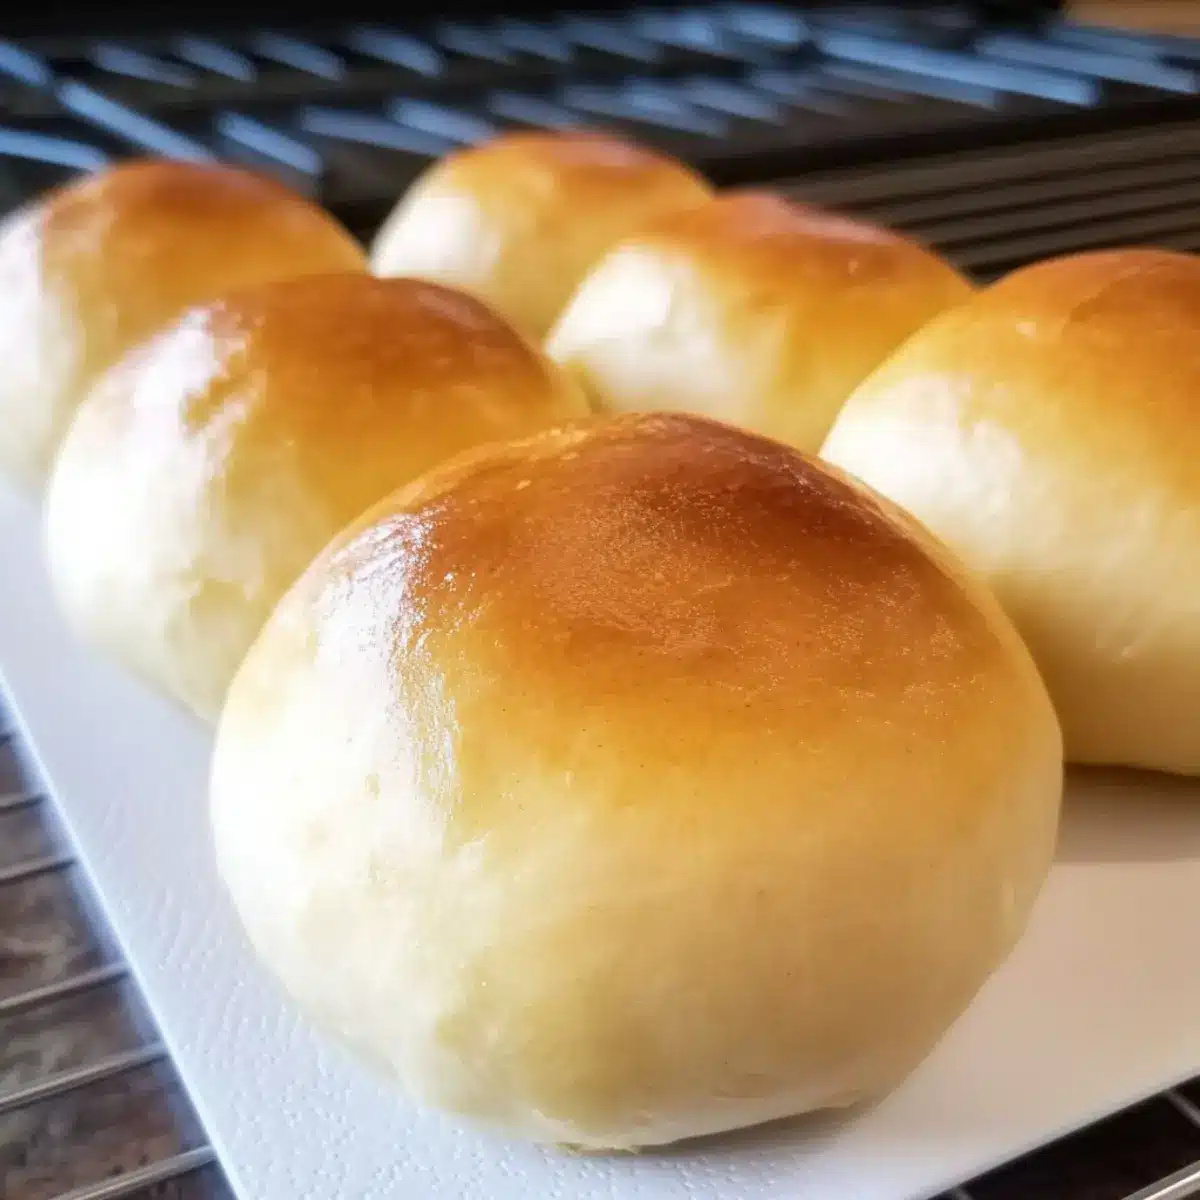
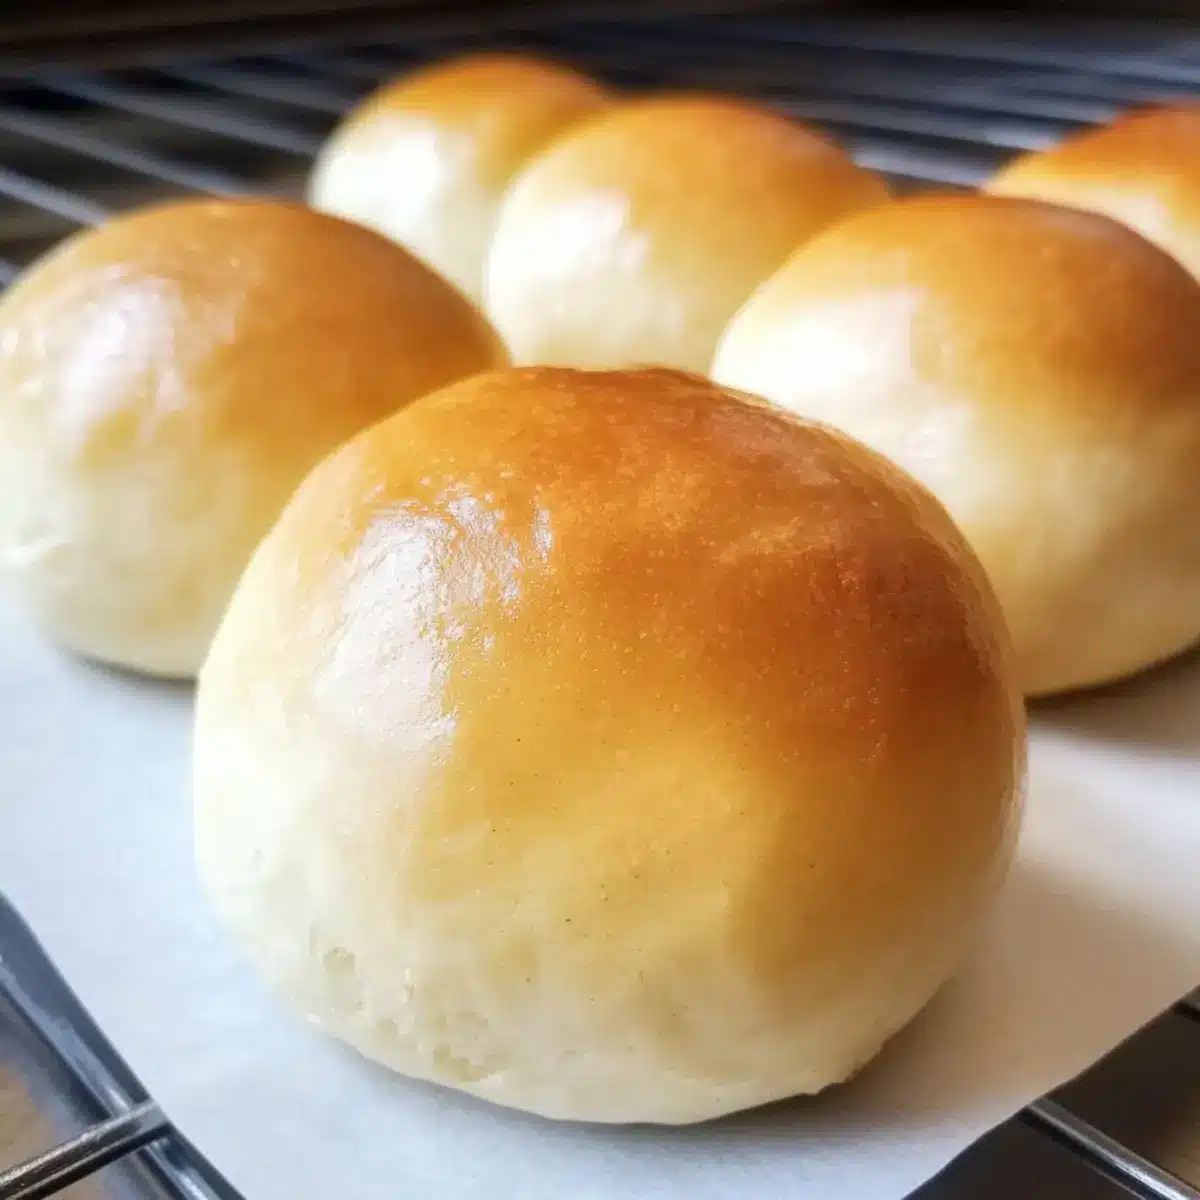
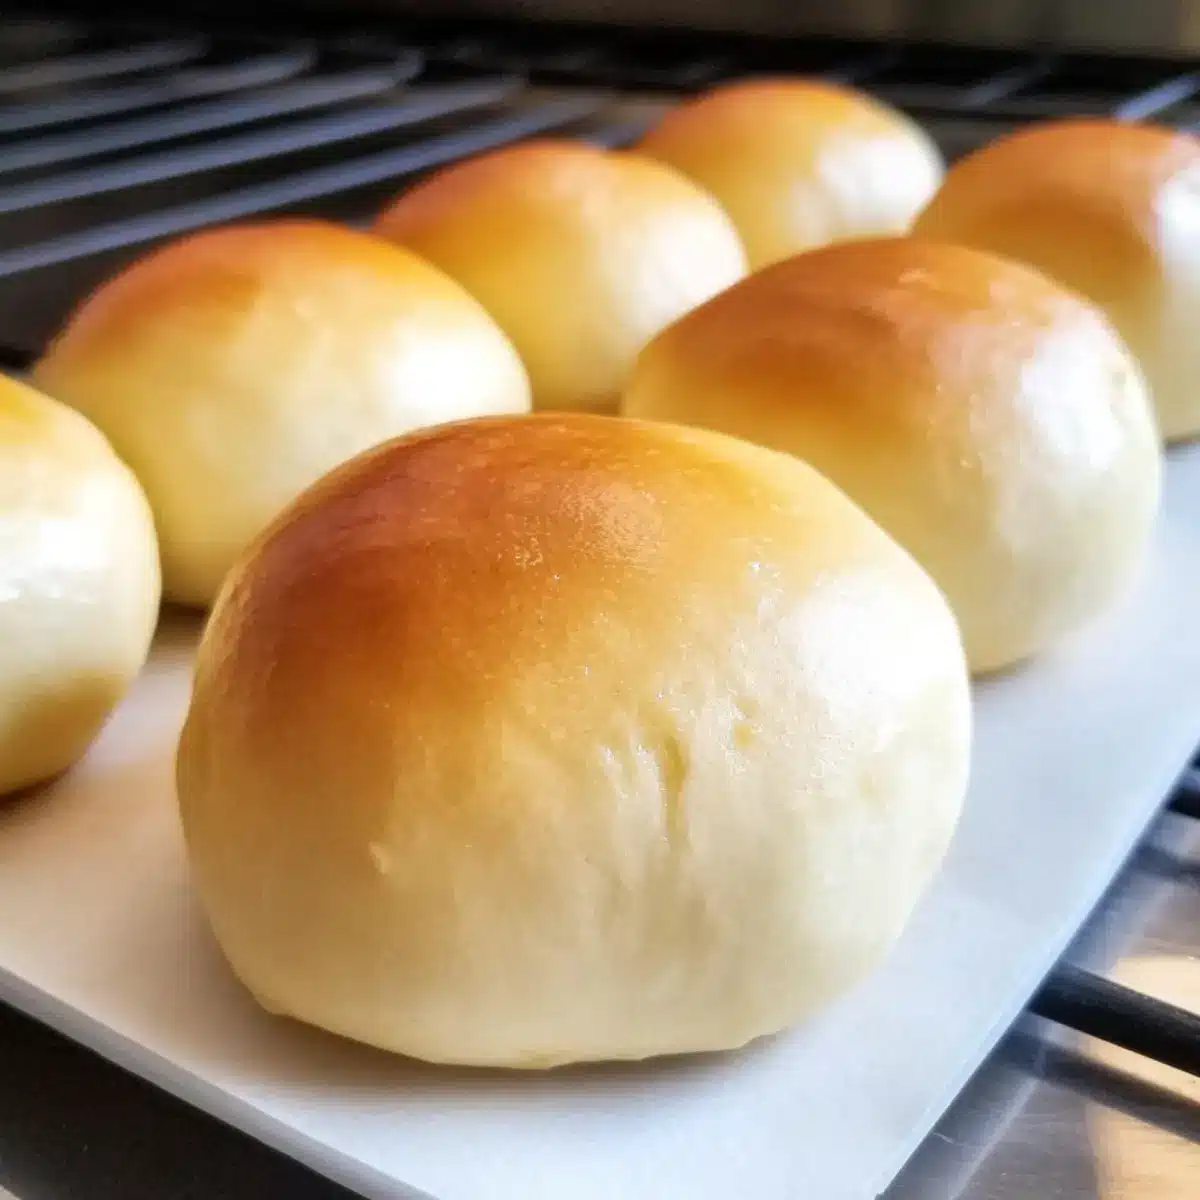
Step 10: Cool and Serve
Once baked, remove your golden rolls from the oven and transfer them to a cooling rack. Allow them to cool slightly before serving, as this will help retain their fluffy texture and ensure they are ready to be enjoyed!
Buttermilk Rolls Variations & Substitutions
Feel free to get creative with these delightful buttermilk rolls — your kitchen, your rules!
-
Whole Wheat: Substitute half of the all-purpose flour with whole wheat flour for a nuttier flavor and added fiber. This twist not only enhances the taste but also offers a healthier option.
-
Cheesy Delight: Fold in shredded cheese, such as cheddar or Parmesan, into the dough for a savory, cheesy experience that pairs beautifully with soups and salads.
-
Herb-Infused Rolls: Add herbs like rosemary or thyme to the dough for a fragrant twist. The aromatic herbs add a lovely depth of flavor that complements any meal.
-
Sweet Variants: Incorporate cinnamon and sugar into the dough for a sweet touch, perfect for serving at brunch or alongside a warm beverage. These rolls will bring a cozy warmth to any morning.
-
Garlic Rolls: Before shaping the dough, mix minced garlic with melted butter and brush it over the rolled-out dough. This addition turns your rolls into a flavorful side for pasta dishes or soups.
-
Spicy Kick: For a bit of heat, add crushed red pepper flakes or finely chopped jalapeños into the dough. Spice lovers will enjoy this unexpected twist as they savor each bite!
-
Fruit-Filled: Insert small dollops of your favorite jam or fruit preserves into the center of each roll before baking for a delightful surprise. This sweet variation is sure to please those with a sweet tooth at any gathering.
-
Mini Rolls: Instead of full-sized rolls, shape smaller dough balls for bite-sized versions. These mini buttermilk rolls are perfect for parties or as an entrée accompaniment!
For more scrumptious ideas, consider whipping up some delicious Pie Crescent Rolls or festive Christmas Sausage Rolls. Customize your cooking journey and let these rolls be a canvas for your culinary creativity!
How to Store and Freeze Buttermilk Rolls
Room Temperature: Store cooled rolls in an airtight container or a plastic bag at room temperature for up to 5-7 days to maintain freshness and softness.
Fridge: If you prefer a longer shelf life, refrigerate the rolls in an airtight container for up to 1 week, though this may lead to slight drying.
Freezer: For longer storage, freeze the rolls in a resealable bag for up to 3 months; make sure they are wrapped tightly to prevent freezer burn.
Reheating: To enjoy frozen buttermilk rolls, thaw them overnight in the fridge, then reheat in a warm oven at 350°F for about 10 minutes until warmed through and delightful again.
Make Ahead Options
These Buttermilk Rolls are perfect for meal prep enthusiasts looking to save time on busy weeknights! You can prepare the dough up to 24 hours in advance; simply follow the steps until the first rise, then cover it tightly and refrigerate to slow the fermentation process. When ready to bake, let the dough come to room temperature for about 30 minutes before shaping the rolls. Additionally, shaped rolls can be refrigerated for up to 3 days before the second rise; just cover them well to prevent drying. For a quick meal option, finish by preheating your oven and baking them as directed, ensuring they’re just as fluffy and delicious when served!
Expert Tips for Buttermilk Rolls
-
Perfect Yeast Activation: Ensure your milk is between 105-115°F to properly activate the yeast, preventing flat rolls.
-
Avoid Sticky Dough: If your dough feels too sticky, add flour gradually until it forms a smooth ball, ensuring the right texture for fluffy buttermilk rolls.
-
Second Rise Importance: Don’t rush the second rise; allowing the rolls to puff up adds to their lightness and softness, resulting in a perfect bake.
-
Egg Wash Details: Applying the egg wash gently helps achieve that coveted golden color. Be generous, but avoid letting it drip.
-
Cool Before Storing: Let the buttermilk rolls cool completely before storing to prevent moisture buildup that can lead to staleness.
What to Serve with Buttermilk Rolls
Cozy up your dinner table with comforting sides that elevate your buttermilk rolls to the star of the meal.
-
Creamy Tomato Soup: A classic pairing, the acidity of the soup perfectly balances the buttery richness of the rolls, making every dip irresistible. The warmth and familiarity of this combination will remind you of cozy afternoons spent at home.
-
Garlic Butter Green Beans: The crisp textures of fresh green beans, coated in garlicky goodness, add a vibrant crunch that complements the softness of the rolls beautifully. Their bright flavor will elevate any meal.
-
Homemade Chili: A hearty bowl of chili creates a delightful contrast to the light, fluffy rolls. Spoon up that savory blend of spices and meat, and enjoy it with a roll for the perfect filling meal.
-
Maple-Glazed Carrots: The sweetness of these tender carrots brings a wonderful balance to the savory flavor of the buttermilk rolls. Each bite offers a delightful splash of color and flavor on your plate.
-
Savory Herb Roasted Chicken: This delicious chicken adds a comforting, rustic element that pairs perfectly with the soft rolls. Imagine taking a bite and letting the flavors meld together.
-
Cranberry Sauce: Especially around the holidays, a dollop of tart cranberry sauce on your buttermilk roll makes for a delightful contrast. It not only tastes amazing but also adds a festive touch to your table.
-
Sparkling Lemonade: A refreshing drink option, the zesty notes of lemonade will contrast nicely with the rich taste of the buttermilk rolls, making your meal even more uplifting.
-
Chocolate Chip Cookies: For a sweet ending, classic cookies create a lovely finish to your dining experience, reminding everyone of cherished family traditions. Pair the warmth of rolls with freshly baked cookies for a cozy dessert moment.
Buttermilk Rolls Recipe FAQs
How do I choose the right buttermilk for this recipe?
Absolutely! The fresher the buttermilk, the better. Look for buttermilk that has no lumps and has not passed its expiration date. If you can’t find it, you can mix 1 cup of milk with 1 tablespoon of vinegar or lemon juice and let it sit for 5-10 minutes as a great substitute.
How should I store leftover buttermilk rolls?
You can store cooled buttermilk rolls in an airtight container or a plastic bag at room temperature for up to 5-7 days. If you prefer, the fridge will keep them fresh for about a week, but it might dry them out a little. If you aren’t eating them right away, freezing is the best option!
Can I freeze buttermilk rolls? How do I do it?
Yes, you absolutely can! To freeze buttermilk rolls, let them cool completely after baking. Wrap each roll tightly in plastic wrap and place them in a resealable freezer bag. They’re good for up to 3 months. To enjoy them later, thaw overnight in the fridge and reheat in a 350°F oven for about 10 minutes until warm and fluffy!
What if my rolls don’t rise as expected?
Very common! If the rolls don’t rise, check if your yeast was activated properly—it should look foamy after sitting in warm milk. Ensure your kitchen is warm during the rising periods, as cooler temperatures may slow the process. You can also allow more time for the rolls to expand; sometimes, they just need a little extra love!
Are there any dietary considerations for these rolls?
While this recipe contains dairy and gluten, those with lactose issues can use lactose-free milk and buttermilk substitutes. For gluten-free options, experiment with gluten-free all-purpose flour blends. Always check ingredient labels to avoid allergens!
Can I add additional flavors or ingredients to the rolls?
The more the merrier! You can personalize your buttermilk rolls by adding herbs like rosemary or thyme to the dough. For a savory twist, mix in grated cheese or even garlic powder. Just keep the proportions of wet and dry ingredients balanced for the best results!
Buttermilk Rolls – Soft, Fluffy Bliss for Every Meal
Ingredients
Equipment
Method
- Activate the Yeast: Combine 1 cup of warm milk (between 105-115°F) with 2 teaspoons of active dry yeast and let sit for 10 minutes until frothy.
- Mix the Dough: Add 1 cup of buttermilk, 1/4 cup of granulated sugar, and 1 teaspoon of salt to the yeast mixture. Mix on medium speed until smooth.
- Incorporate the Flour: Gradually add 2 cups of all-purpose flour and 1 tablespoon of baking powder, mixing on low and then medium speed until smooth and elastic.
- Shape the Dough: If sticky, add more flour until it forms a ball. Place in a greased bowl, cover, and let rise in a warm place for 1-2 hours.
- Cut and Shape Rolls: Punch down the dough, roll it into a log, cut into 12 pieces, and shape each into a ball.
- Second Rise: Place shaped rolls on a parchment-lined baking sheet, cover, and let rise for about 1 hour.
- Preheat Your Oven: Preheat oven to 375°F for even baking.
- Prepare the Egg Wash: Whisk together 1 egg and 1 tablespoon of milk. Baste rolls with egg wash.
- Bake the Rolls: Bake for 13-15 minutes until golden brown and a toothpick inserted comes out clean.
- Cool and Serve: Transfer to a cooling rack and allow to cool slightly before serving.
Leave a Reply