
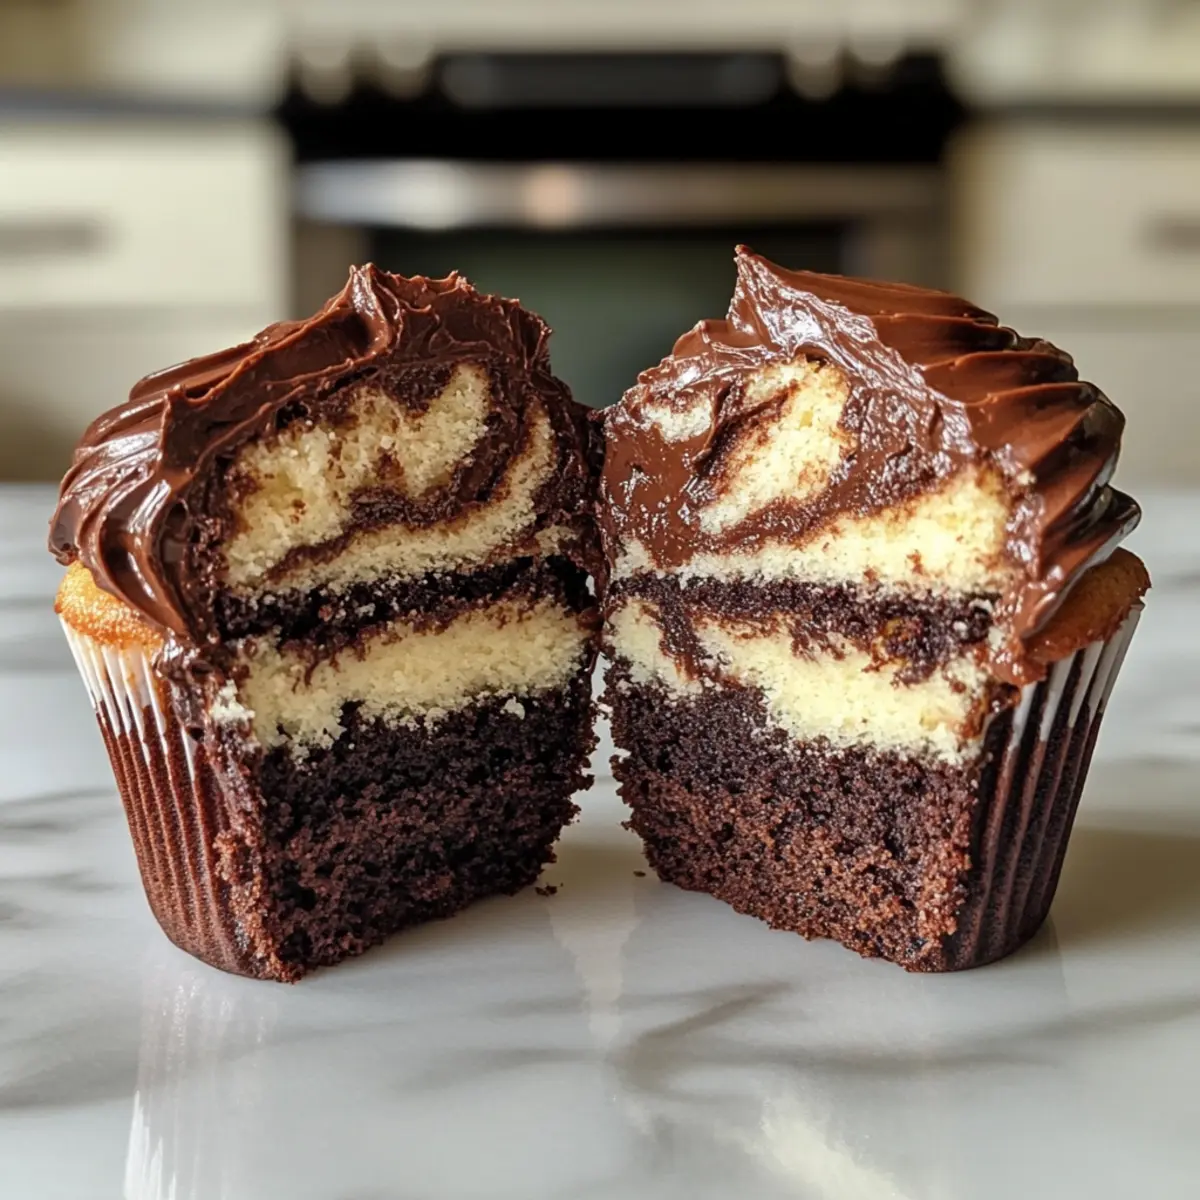
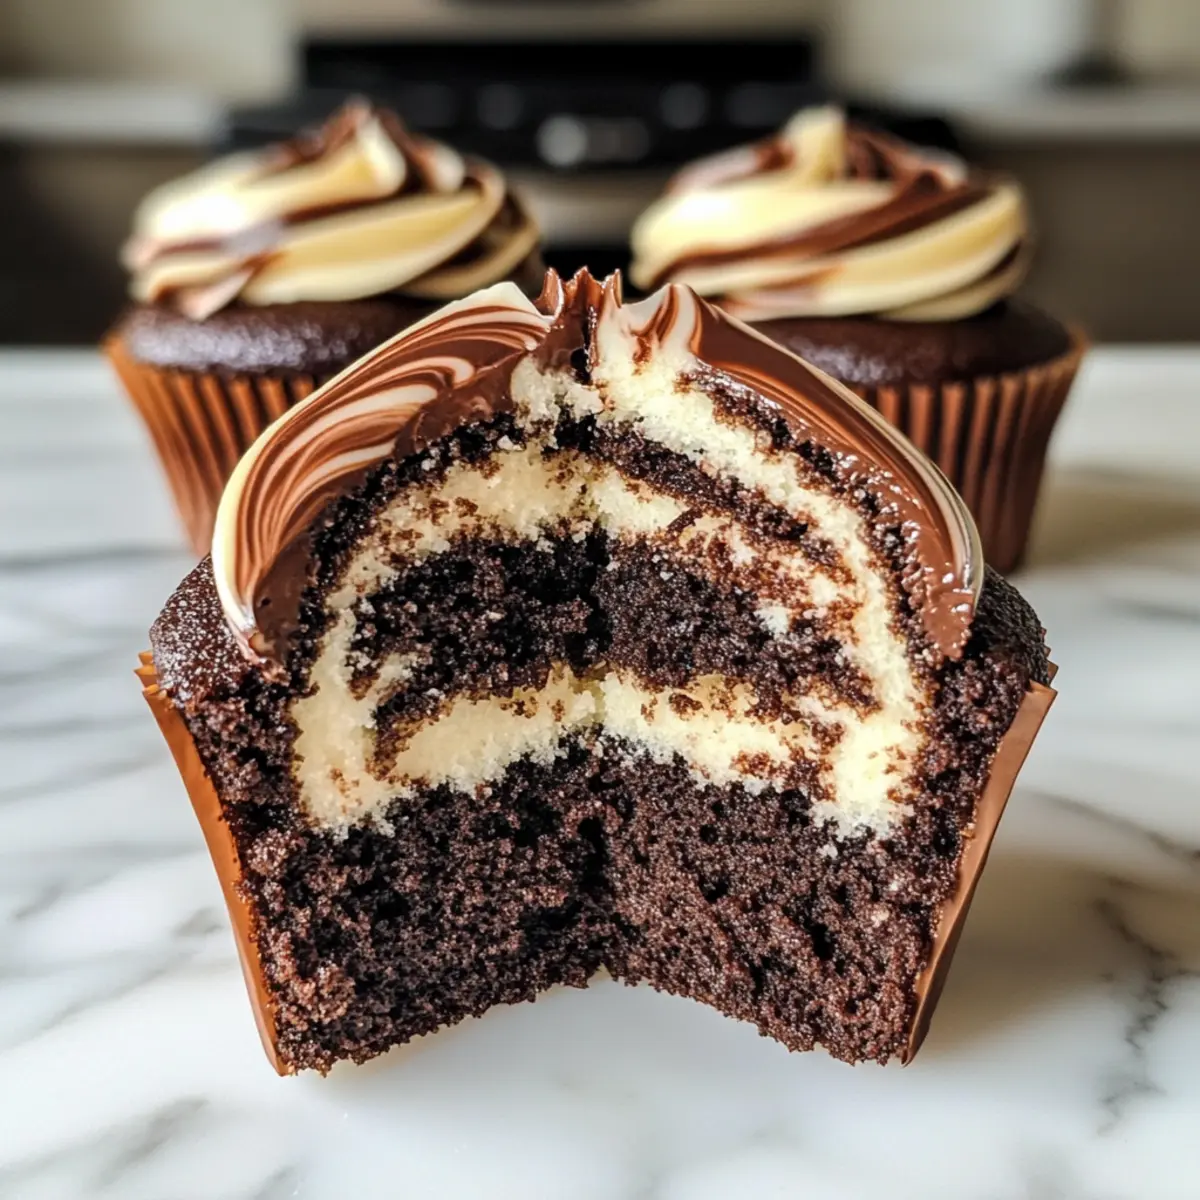
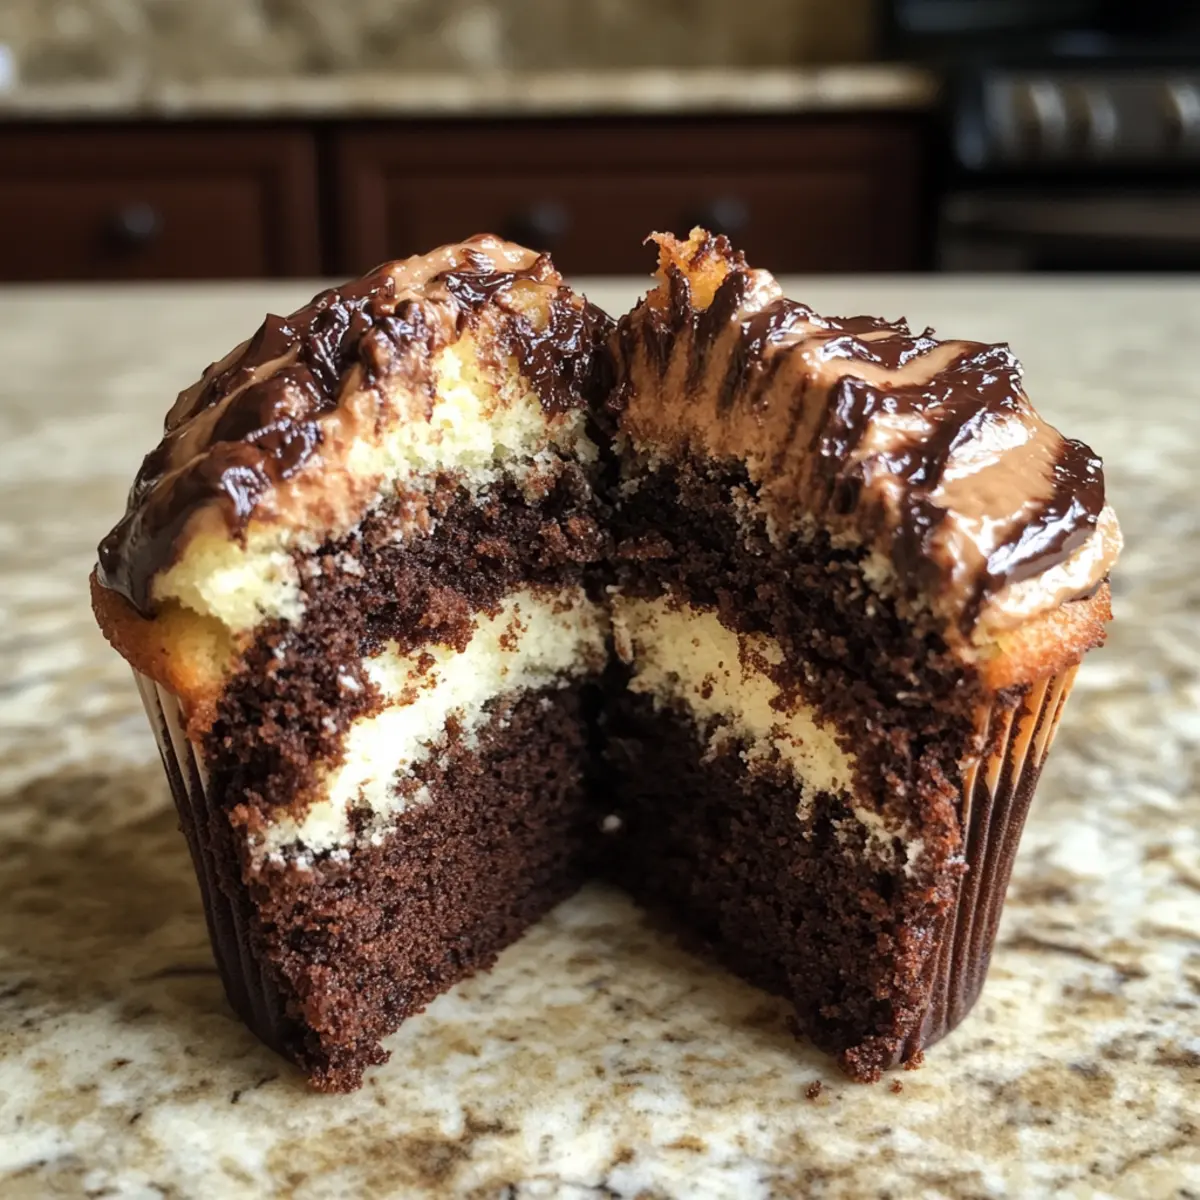
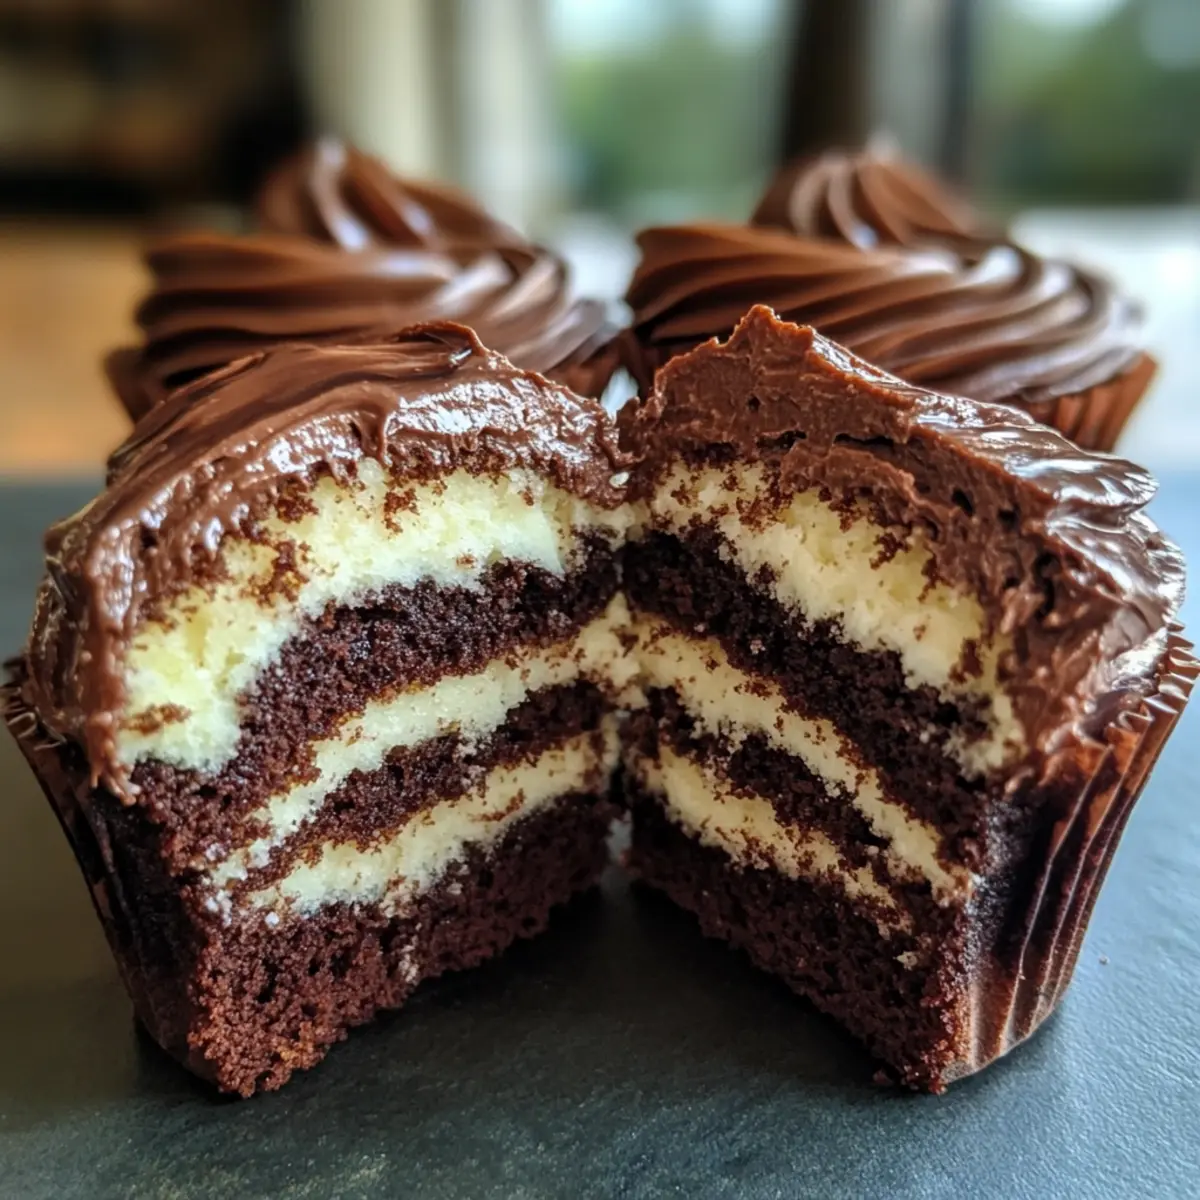
As I pulled the first tray of Chocolate Marble Cupcakes from the oven, the sweet aroma wafted through my kitchen, instantly brightening my day. These delightful treats marry a soft vanilla base with rich chocolate swirls, making them not just a feast for the eyes but also a true crowd-pleaser. Perfectly Irresistible Chocolate Marble Cupcakes are a fantastic way to bring joy to any occasion, be it a birthday bash or a casual coffee catch-up. What’s even better? They’re quick to whip up and can be easily customized with your favorite toppings—think chocolate chips or a light dusting of powdered sugar for added flair. Ready to dive into this baking adventure and discover your new go-to cupcake recipe? Let’s get started!
Why Are These Cupcakes So Irresistible?
Decadent Flavors: Each bite offers a luscious blend of rich chocolate and fluffy vanilla, making for an unforgettable taste experience.
Quick to Make: In just 30 minutes, you can have freshly baked cupcakes that rival your favorite bakery treats!
Customizable Goodness: Want to add a twist? Mix in chocolate chips or top with your choice of frosting for that personal touch.
Perfect Party Treat: Whether it’s a birthday or casual hangout, these cupcakes are sure to impress your guests!
Easy to Store: Leftovers? Store them in an airtight container, and they’ll stay delicious for days, perfect for a sweet snack anytime!
Discover more delightful ideas like these Chocolate Oat Cookies to complement your baking repertoire!
Chocolate Marble Cupcake Ingredients
• The essential elements for your baking delight!
For the Cupcake Batter
- All-purpose flour – Provides structure; substitute with gluten-free flour blend for a gluten-free version.
- Baking powder – Leavens the cupcakes; ensure it’s fresh for better rise.
- Salt – Enhances flavor; use sea salt for a subtler taste.
- Unsalted butter – Adds richness and moisture; can substitute half with vegetable oil for a lighter texture.
- Granulated sugar – Sweetens the batter; coconut sugar can be used for a hint of caramel flavor.
- Eggs – Binds ingredients and adds moisture; flax eggs (1 tbsp ground flaxseed + 2.5 tbsp water) work as a vegan substitute.
- Vanilla extract – Provides aromatic sweetness; homemade vanilla extract is best.
- Milk – Adds moisture and helps blend the batter; use buttermilk for extra tenderness.
For the Chocolate Swirl
- Unsweetened cocoa powder – Imparts the chocolate flavor; dark cocoa gives a richer taste.
- Hot milk or water – Activates cocoa for a smoother batter; hot water can serve as a direct substitute.
Optional Additions
- Chocolate chips – For a delightful textural contrast.
- Buttercream frostings – For extra sweetness and visual appeal.
- Powdered sugar – A simple finish that adds a touch of elegance.
Embrace the joy of baking with these Chocolate Marble Cupcakes, sure to become a family favorite!
Step‑by‑Step Instructions for Perfectly Irresistible Chocolate Marble Cupcakes
Step 1: Preheat Oven
Begin by preheating your oven to 350°F (175°C). While the oven is warming up, line a muffin tin with cupcake liners to ensure the cupcakes bake evenly and are easy to remove. Make sure the liners are well-placed to hold the batter beautifully as the cupcakes rise.
Step 2: Mix Dry Ingredients
In a medium bowl, whisk together 1 ½ cups of all-purpose flour, 1 ½ teaspoons of baking powder, and a pinch of salt. This mixture forms the foundation of your Chocolate Marble Cupcakes, adding structure and flavor. Set the bowl aside for later use, ensuring everything is well combined.
Step 3: Cream Butter and Sugar
In a large mixing bowl, use a hand mixer or stand mixer to cream together ½ cup of softened unsalted butter and 1 cup of granulated sugar. Beat them on medium speed until the mixture is light and fluffy, which usually takes about 3-5 minutes. You’ll know it’s ready when it turns a pale yellow and has a smooth texture.
Step 4: Incorporate Eggs and Vanilla
Add 2 large eggs one at a time to the butter-sugar mixture, beating well after each addition. Next, pour in 2 teaspoons of vanilla extract, mixing until fully incorporated. The batter should be smooth and creamy, filling your kitchen with a delightful aroma.
Step 5: Combine Mixtures
Gradually incorporate the dry ingredients into your wet mixture, alternating with ½ cup of milk. Begin and end with the dry ingredients, mixing on low speed until just combined. Be careful not to overmix, as this will help maintain the light and fluffy texture of your Chocolate Marble Cupcakes.
Step 6: Prepare Chocolate Batter
In a separate small bowl, combine ⅓ cup of unsweetened cocoa powder with ½ cup of hot milk, stirring until smooth and well blended. Gently fold this chocolate mixture into half of the cupcake batter, creating a luscious chocolate swirl that will intertwine beautifully with the vanilla base.
Step 7: Assemble Cupcakes
Using a spoon, fill each cupcake liner about halfway with vanilla batter. Follow with a dollop of the chocolate batter on top, and, using a toothpick or a skewer, gently swirl the two batters together. Aim for a marbled effect that highlights the contrasting colors without completely combining them.
Step 8: Bake
Place the muffin tin in the preheated oven and bake the cupcakes for 18-22 minutes. Check doneness by inserting a toothpick into the center; when it comes out clean, they are ready. The tops should be golden brown and slightly domed, inviting you to dive in.
Step 9: Cool Cupcakes
Remove the muffin tin from the oven and allow the cupcakes to cool in the tin for about 5 minutes. Then, carefully transfer them to a wire rack to cool completely. This step is crucial for achieving the perfect texture, ensuring your Chocolate Marble Cupcakes are moist yet light.
What to Serve with Perfectly Irresistible Chocolate Marble Cupcakes
These delightful treats can shine even brighter with the right accompaniments, making every occasion feel extra special.
- Fresh Berry Compote: A vibrant mix of berries adds a refreshing tartness, perfectly offsetting the sweetness of the cupcakes.
- Whipped Cream: Light and airy, a dollop of homemade whipped cream enhances the cupcake’s moist texture for that perfect balance.
- Vanilla Ice Cream: Serve them warm alongside a scoop of vanilla ice cream, allowing the chocolate and vanilla flavors to meld for a divine dessert experience.
- Coffee or Espresso: Rich, bold coffee pairs beautifully with the chocolate, elevating the cupcakes into an indulgent afternoon treat.
- Chocolate Ganache: Drizzle warm chocolate ganache over the cupcakes for an extra layer of decadence that chocolate lovers will adore.
- Fruit Salad: A light and refreshing fruit salad can cut through the richness, offering a burst of color and flavor alongside each cupcake bite.
- Mint Tea or Herbal Infusions: Pairing with a soothing mint tea can cleanse the palate and bring balance to the dessert experience.
- Coconut Whipped Cream: For a tropical twist, top with coconut whipped cream, enhancing both flavor and texture.
With these delightful pairings, your Chocolate Marble Cupcakes can become the centerpiece of any gathering, turning simple moments into sweet celebrations!
Expert Tips for Chocolate Marble Cupcakes
-
Use Room Temperature Ingredients: Let your eggs and milk sit out for about 30 minutes. This helps create a smoother batter and better rise in your Chocolate Marble Cupcakes.
-
Avoid Overmixing: Mix the wet and dry ingredients just until combined to keep your cupcakes light and fluffy. Overmixing can lead to dense cupcakes, so be gentle!
-
Perfect Swirls: When combining vanilla and chocolate batters, use a toothpick or skewer to create beautiful marbling. Don’t over-swish—too much can muddy the colors!
-
Check for Doneness: Insert a toothpick into the center of the cupcakes around the 18-minute mark. If it comes out clean, they’re ready to enjoy; if not, give them a few more minutes.
-
Storage Tips: Keep unfrosted cupcakes in an airtight container at room temperature for up to three days. This keeps them fresh and delicious, ready for snacking!
Make Ahead Options
These Perfectly Irresistible Chocolate Marble Cupcakes are a fantastic recipe for busy home cooks looking to save time during the week! You can prepare the batter up to 24 hours in advance—simply mix the vanilla and chocolate components, then store them in separate airtight containers in the refrigerator. When you’re ready to bake, allow the batter to come to room temperature before filling your cupcake liners and swirling them together. This ensures a light and fluffy texture. If you prefer, you can also bake the cupcakes ahead of time and store them unfrosted in an airtight container for up to 3 days at room temperature. They’ll taste just as delicious whenever you’re ready to serve!
Chocolate Marble Cupcakes Variations
Feel free to let your creativity shine while making these delightful cupcakes! There are endless ways to customize this recipe to suit your taste.
-
Mini Cupcakes: Bake for 10-12 minutes for smaller, bite-sized treats perfect for parties or after-school snacks. These petite versions are just as delicious and are a fun way to enjoy the same flavors.
-
Dairy-Free: Use almond milk or soy milk instead of regular milk for a dairy-free option. This little twist keeps the cupcakes moist without compromising flavor.
-
Gluten-Free: Substitute all-purpose flour with a gluten-free blend to cater to gluten-sensitive guests. The rich cocoa still delivers an incredibly scrumptious cupcake experience.
-
Add Espresso Powder: Incorporate ½ teaspoon of espresso powder into the chocolate batter to enhance the rich chocolate flavor. This small addition elevates the cupcakes to a whole new level of decadence.
-
Seasonal Flavors: Top your cupcakes with seasonal frostings like pumpkin spice or gingerbread during the fall and holiday seasons. These seasonal touches bring a festive spirit to your baking.
-
Decadent Fillings: Jazz up the interior by adding a dollop of raspberry jam or Nutella in the center before baking. This little surprise will wow everyone with a hidden burst of flavor in each bite.
-
Chocolate Variations: Swap out the cocoa powder for dark cocoa for a richer chocolate taste. The difference is subtle yet delightful, making each cupcake a chocolate lover’s dream.
-
Nutty Texture: Fold in chopped nuts like walnuts or pecans into the batter for added crunch. This delightful texture contrast will make the cupcakes even more satisfying to bite into.
With all these options, your Chocolate Marble Cupcakes can be uniquely yours. And if you’re inspired, why not explore some other delicious recipes like Chocolate Oat Cookies or treat yourself to Caramel Chocolate Dipped Pears? Happy baking!
How to Store and Freeze Chocolate Marble Cupcakes
Airtight Container: Store unfrosted cupcakes in an airtight container at room temperature for up to 3 days. This maintains their moistness while keeping them easily accessible for snacking.
Refrigerate: For longer freshness, place frosted cupcakes in the fridge, covered loosely with plastic wrap. They’ll stay delicious for up to a week, perfect for sweet cravings!
Freezing: If you want to save some for later, freeze unfrosted cupcakes by wrapping them individually in plastic wrap and placing them in a freezer bag. They’ll retain their taste for up to 3 months—just thaw at room temperature before serving!
Reheating: To enjoy a warm cupcake, microwave for about 10-15 seconds. This simple method revitalizes your Chocolate Marble Cupcakes, making them taste freshly baked!
Perfectly Irresistible Chocolate Marble Cupcakes Recipe FAQs
What is the best way to select ripe ingredients for these cupcakes?
Absolutely! For the best results, choose fresh ingredients. The unsalted butter should be at room temperature to cream easily with the sugar. Use eggs that are also at room temperature for optimal mixing and texture. When selecting milk, any variety will work, but buttermilk can add extra moisture and tenderness to the batter!
How should I store my Chocolate Marble Cupcakes?
It’s simple! Unfrosted cupcakes can be stored in an airtight container at room temperature for up to 3 days. If you want to keep them fresh for longer, place frosted cupcakes in the refrigerator, covered loosely with plastic wrap, where they can stay delicious for about a week.
Can I freeze Chocolate Marble Cupcakes? If so, how?
Of course! To freeze unfrosted cupcakes, wrap each one individually in plastic wrap and place them in a freezer bag. They will stay tasty for up to 3 months. When you’re ready to enjoy, simply thaw them at room temperature for about 1-2 hours. Enjoy them as though they were freshly baked!
What common issues should I be aware of when baking these cupcakes?
One common issue is overmixing the batter, which can lead to dense cupcakes. Be careful to mix just until combined! Also, ensure your baking powder is fresh for the best rise—if it’s been sitting in your pantry for a while, it might not work effectively. Lastly, keep an eye on the baking time; check for doneness around the 18-minute mark to avoid overbaking.
Are there any dietary considerations for these cupcakes?
Yes, if you’re baking for someone with dietary restrictions, I recommend using flax eggs (1 tbsp ground flaxseed mixed with 2.5 tbsp water) as a vegan substitute. You can also swap out the all-purpose flour for a gluten-free flour blend to accommodate gluten sensitivities. Just be sure to use chocolate chips that are dairy-free if you’re catering to a vegan diet!
Irresistible Chocolate Marble Cupcakes You'll Crave Daily
Ingredients
Equipment
Method
- Preheat your oven to 350°F (175°C) and line a muffin tin with cupcake liners.
- In a medium bowl, whisk together all-purpose flour, baking powder, and salt. Set aside.
- In a large mixing bowl, cream together softened unsalted butter and granulated sugar until light and fluffy.
- Add eggs one at a time to the butter-sugar mixture, followed by vanilla extract, mixing until smooth.
- Gradually mix in the dry ingredients, alternating with milk, until just combined.
- In a separate bowl, mix together cocoa powder and hot milk until smooth, then fold into half of the batter.
- Fill each cupcake liner halfway with vanilla batter, add a dollop of chocolate batter, and swirl with a toothpick.
- Bake for 18-22 minutes, checking doneness with a toothpick.
- Cool cupcakes in the tin for 5 minutes, then transfer to a wire rack to cool completely.
Leave a Reply