
The warm scent of crusty Italian bread wafts through my kitchen, inviting cherished memories of family meals and laughter. This homemade Italian bread recipe is a labor of love that yields two magnificent loaves, perfect for sharing with loved ones or enjoying solo with a pat of butter. The beauty lies in its simplicity—just a handful of ingredients combined with passion will create that golden, crunchy crust and soft, airy interior you crave. Ready in under two hours, it’s a quick and satisfying way to elevate any mealtime from ordinary to extraordinary. Whether you’re a beginner eager to tackle your first bread recipe or an experienced baker looking for a delightful addition to your repertoire, my crusty Italian bread will have you reaching for that second slice. So, how about turning your kitchen into a warm Italian trattoria today?
Why is Italian Bread so Irresistible?
Aromas that Entice: The moment you pull this bread from the oven, your kitchen will become a warm haven filled with mouthwatering scents, bringing everyone together.
Simplicity at Its Best: With only a few basic ingredients, even novice bakers can master this recipe effortlessly.
Perfect for Any Occasion: Whether it’s family dinners, weekend brunch, or a comforting afternoon snack, this bread fits seamlessly into every meal. Pair it with olive oil, or serve alongside your favorite pasta—like in our Christmas Tree Bread for festive gatherings!
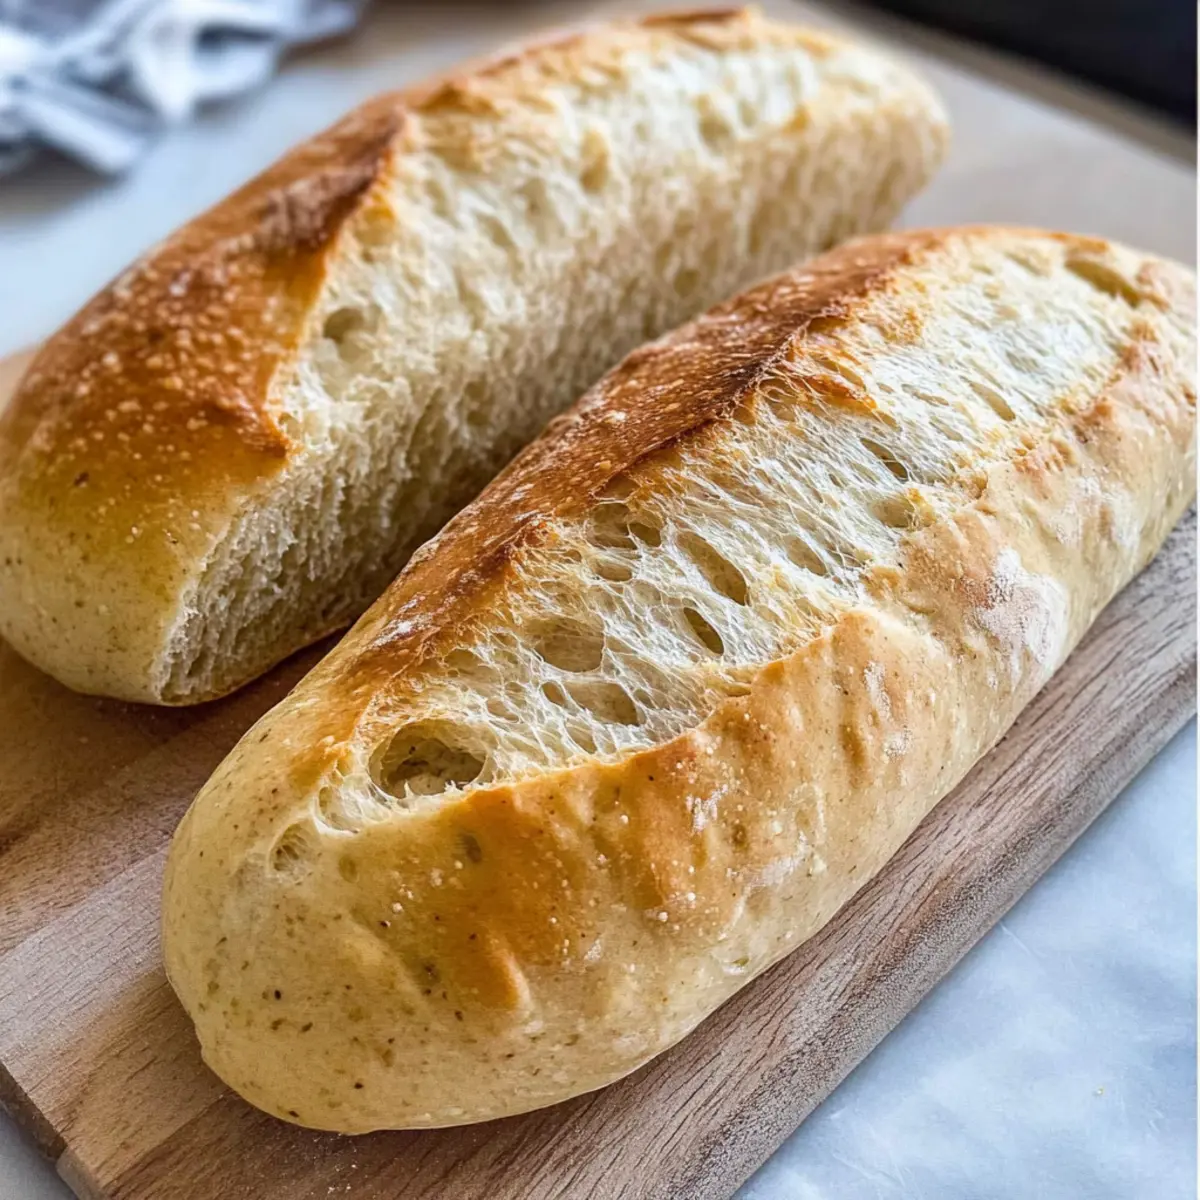
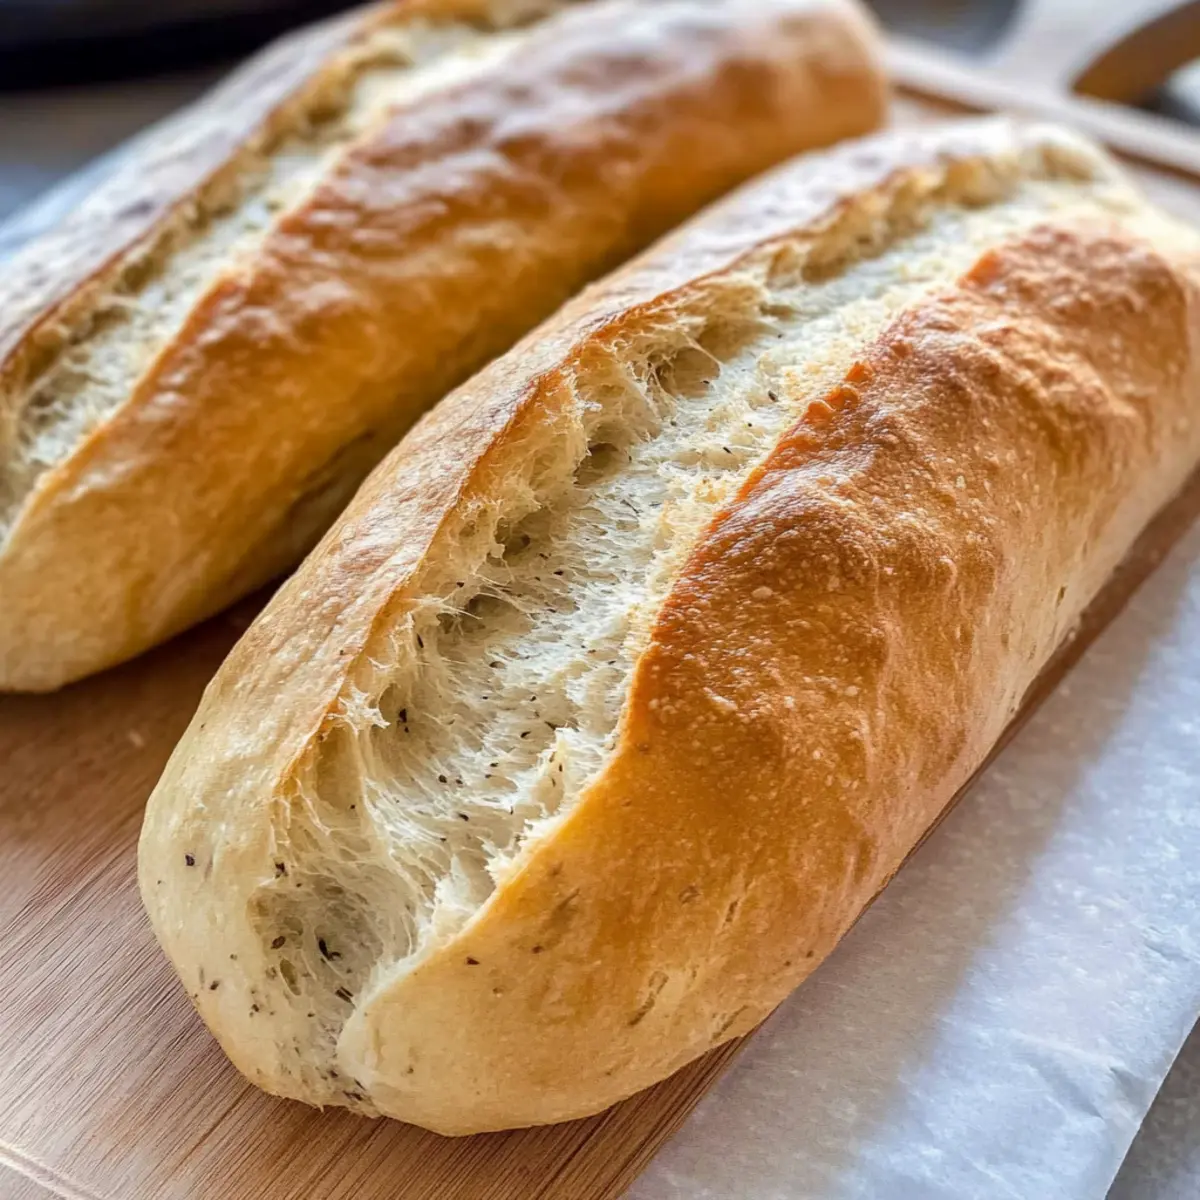
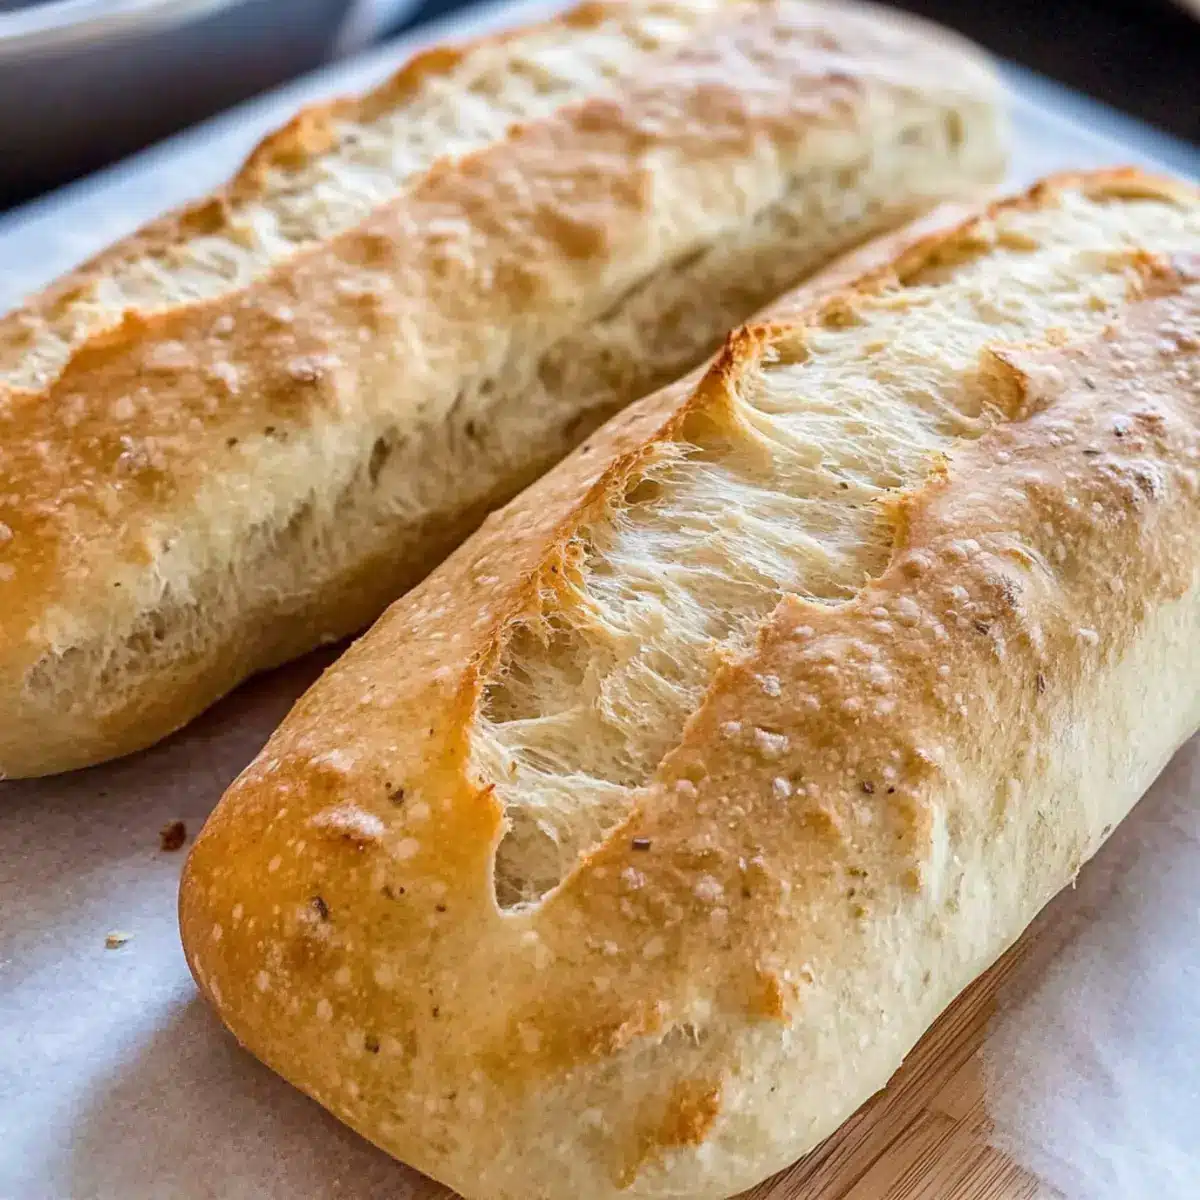
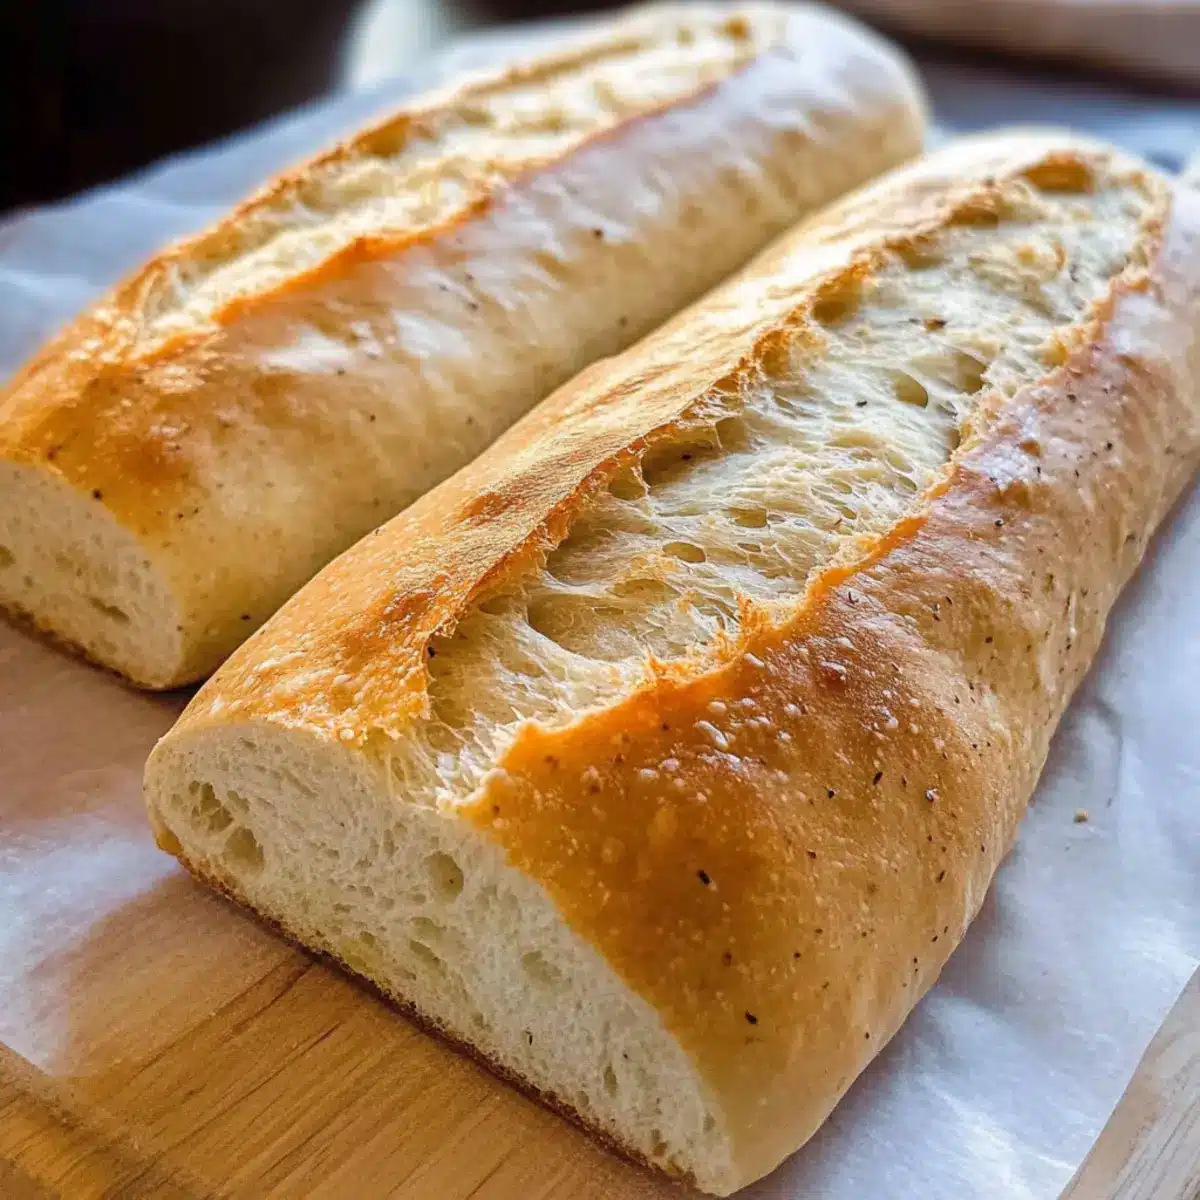
Texture You’ll Adore: Enjoy a crispy outer layer that gives way to a soft, airy inside; it’s a texture that beckons you to keep coming back for more.
Fun with Flavors: Personalize your loaves by adding herbs or even olives, making each batch uniquely yours!
A Culinary Tradition: Embrace the essence of homemade Italian bread, a warm symbol of family meals that elevates your dining experience to new heights. Enjoy creating this delicious bread and bring a slice of Italy into your home today!
Italian Bread Ingredients
-
For the Dough
-
Lukewarm Water – Activates the yeast; ensure it’s around 110°F for the best results.
-
Yeast – The backbone of leavening; using fresh yeast is crucial for that glorious rise.
-
Brown Sugar – Provides nourishment for the yeast; white sugar is a fine substitute if needed.
-
Salt – Essential for flavor and controlling yeast activation; sea or kosher salt works perfectly.
-
Italian Seasoning – Infuses a charming herbal aroma typical of Italian bread; swap for oregano or basil if you prefer.
-
Olive Oil – Adds moisture and richness to the dough; feel free to use a neutral oil if that’s what you have on hand.
-
All-Purpose Flour – The main structure for your loaf; whole wheat can substitute, just adjust the hydration level.
-
For the Egg Wash
-
Egg & Water – Creates a beautiful, shiny crust; milk can be used for an even richer finish.
This delightful Italian bread is straightforward to make, and with these quality ingredients, you’ll have everyone asking for your secrets!
Step‑by‑Step Instructions for Homemade Crusty Italian Bread
Step 1: Proof Yeast
In a stand mixer, combine 1 cup of lukewarm water (about 110°F), 1 tablespoon of brown sugar, and 2 ¼ teaspoons of yeast. Let this mixture sit for about 5 minutes until you see a foamy layer forming on the surface, indicating the yeast is activated and ready to work its magic in your crusty Italian bread.
Step 2: Mix Dough
Once the yeast is foamy, add 2 tablespoons of olive oil, 1 ½ teaspoons of salt, 1 teaspoon of Italian seasoning, and 3 cups of all-purpose flour to the mixer. Mix on low speed until a soft, cohesive dough forms, around 3-5 minutes. If the dough feels sticky, gradually add more flour by the tablespoon until it reaches a smooth consistency.
Step 3: First Rise
Transfer the dough to a lightly greased bowl and cover it with a damp cloth. Place in a warm area to rise for 30 minutes, or until it has doubled in size. This step is crucial for developing the airy texture in your homemade Italian bread, so look for a fluffy and puffy appearance before moving on.
Step 4: Shape Loaves
After the first rise, turn the dough out onto a floured surface. Divide it in half, gently shaping each half into a loaf. Pinch the seams to seal and smooth out the tops, then place the loaves on a parchment-lined baking sheet. This shaping will help create the beautiful, rustic crust we love in crusty Italian bread.
Step 5: Second Rise
Cover the loaves with a clean kitchen towel and let them rise again for another 30 minutes. During this time, you’ll observe the dough expanding further, a sign that the yeast is still active and working to create that delightful structure and texture in your Italian bread.
Step 6: Preheat Oven
While the loaves are finishing their second rise, preheat your oven to 350°F (175°C). Place a shallow dish with water on the lower rack as the oven heats up. This steam will contribute to a lovely, crusty exterior once your loaves start baking, giving your homemade Italian bread that perfect crunch.
Step 7: Egg Wash
Once the oven is preheated and the loaves have risen, carefully brush the tops of each loaf with an egg wash made of 1 beaten egg mixed with a tablespoon of water. This will give your crust a beautiful shine and golden color as it bakes. Use a sharp knife to cut a few slits on the top of each loaf for a rustic look and to allow for expansion during baking.
Step 8: Bake
Place the baking sheet in the oven and bake your crusty Italian bread for about 30 minutes. The loaves should turn a beautiful golden brown and sound hollow when tapped on the bottom. This visual cue indicates they are perfectly baked, giving a delightful contrast between the crispy exterior and the soft, airy interior.
Italian Bread Variations & Substitutions
Feel free to sprinkle your unique flavor profile on this classic Italian bread recipe; let your creativity shine!
-
Herbed Bread: Mix fresh or dried herbs like rosemary or thyme directly into the dough for an aromatic twist.
-
Cheesy Bliss: Fold in shredded cheese, such as Parmesan or mozzarella, before the first rise for a deliciously cheesy interior.
-
Garlicky Delight: Add minced garlic or garlic powder to the dough for a savory kick that pairs beautifully with pasta dishes.
-
Olive-Infused: Incorporate chopped olives into the dough for a flavorful Mediterranean twist that adds a briny touch.
-
Spicy Batch: Add red pepper flakes to the dough for those who crave a little heat in their bread.
-
Sweet Variation: For a hint of sweetness, replace brown sugar with honey or agave, giving the bread a subtle caramel note.
-
Nutty Texture: Experiment with incorporating nuts like walnuts or sunflower seeds into the dough for added crunch and flavor.
-
Whole Wheat Option: Swap half of the all-purpose flour for whole wheat flour for a nuttier flavor and denser texture—great for bread lovers!
Remember, cooking is an adventure! Each of these variations can turn your Italian bread into something uniquely yours while keeping that irresistible taste. Whether you’re making a rustic loaf or a gourmet bread, you can continue the fun over a warm slice paired with homemade dips, like an olive oil infusion or perhaps alongside some Orange Cranberry Shortbread for a delightful soirée with friends. Enjoy your baking journey!
Tips for the Best Italian Bread
-
Fresh Yeast Check: Make sure your yeast is fresh and active; a foamy layer after proofing is key to a successful rise in your Italian bread.
-
Kneading Technique: If you’re kneading by hand, work your dough for 5-8 minutes until smooth; this builds the gluten structure essential for a good texture.
-
Steam for Crunch: Don’t skip adding water in the baking pan. The steam creates a beautifully crunchy crust that makes your Italian bread irresistible.
-
Avoid Oven Peeking: Keep the oven door closed while baking; this maintains steam and ensures even baking, preserving that soft interior you love.
-
Cool Before Slicing: Allow the loaves to cool completely on a wire rack before slicing to prevent a gummy texture and enhance the bread’s overall structure.
Make Ahead Options
Preparing your homemade crusty Italian bread in advance is a fantastic way to save time during busy weekdays! You can easily mix the dough and allow it to rise up to 24 hours in the refrigerator—just be sure to cover it tightly to prevent drying out. After the first rise, shape your loaves and let them rest on the counter for 30 minutes before brushing with egg wash and baking. This method ensures your bread retains its delightful texture and flavor, just as if it were freshly made. When you’re ready to serve, simply bake the loaves as directed, and enjoy the warm, tantalizing aroma wafting through your kitchen!
Storage Tips for Italian Bread
Room Temperature: Keep your homemade Italian bread uncovered for up to a day to enjoy its crispy crust. If it’s not finished, wrap it in foil or paper to retain moisture.
Fridge: Storing Italian bread in the fridge is not recommended, as it can dry out the crust. But if you must, wrap it tightly and consume within 3 days.
Freezer: For long-term storage, wrap Italian bread tightly in plastic wrap or aluminum foil and freeze for up to 3 months. Thaw at room temperature before enjoying.
Reheating: To revive the crusty texture, preheat your oven to 375°F, unwrap the bread, and heat for about 10 minutes. This will help restore its delightful crunch!
What to Serve with Crusty Italian Bread
Indulging in the warm embrace of freshly baked Italian bread creates an unforgettable culinary experience; pairing it thoughtfully elevates your meals even further.
- Garlic Herb Butter: This luscious spread, full of flavor, beautifully complements the crusty texture, enhancing every bite. Spread it generously for a delicious appetizer.
- Bruschetta Topping: A vibrant mix of tomatoes, basil, and balsamic gives a fresh contrast, perfect for scooping with your bread. It’s a delightful way to start any gathering.
- Italian Pasta Dish: Serve alongside your favorite spaghetti or penne. The bread is ideal for swiping up rich sauces—think of it as a culinary hug for your pasta!
- Antipasto Platter: Create a charcuterie bliss with olives, cheeses, and cured meats. The crusty bread serves as a satisfying base for every bite, bringing a slice of Italy to your table.
- Mixed Green Salad: A refreshing salad with tangy vinaigrette provides a crisp contrast to the warm bread. Each crunchy bite keeps the meal light and vibrant.
- Homemade Pesto: Drizzling your crusty Italian bread with pesto creates a burst of herbaceous flavor that’s hard to resist. Perfect for dipping or topping!
- Warmed Olive Oil: Drizzle quality olive oil and sprinkle with sea salt for dipping—simple yet elegant, it’s an irresistible combination that’s a hit every time.
- Cheesy Garlic Breadsticks: Transform leftover bread into cheesy sticks by adding garlic, cheese, and herbs, then baking—a family favorite that adds fun to any meal!
- Light Wine: Finish off with a chilled glass of Pinot Grigio or Chianti, beautifully enhancing the flavors of the meal and the bread together.
Let these delightful companions transform your crusty Italian bread into an unforgettable feast, bringing joy and warmth to your table!
Homemade Crusty Italian Bread Recipe FAQs
How do I know if my yeast is fresh?
To check if your yeast is fresh, combine it with lukewarm water (about 110°F) and a bit of sugar. Let it sit for about 5 minutes—if it becomes foamy and bubbly, it’s active and ready to use. If there’s no action, it’s time to get a new batch!
What’s the best way to store homemade Italian bread?
I recommend storing your Italian bread at room temperature uncovered for up to a day to maintain its crispy crust. If you have leftovers, wrap them in foil or paper for longer freshness. For even longer storage, you can freeze the bread wrapped tightly in plastic wrap for up to 3 months.
Can I freeze the Italian bread after baking?
Absolutely! To freeze your crusty Italian bread, allow it to cool completely, then wrap it tightly in plastic wrap or aluminum foil. Place it in a freezer-safe bag for added protection. When you’re ready to enjoy it, simply thaw at room temperature before reheating for about 10 minutes at 375°F to revive that crunchy crust!
What should I do if my bread turns out too dense?
If your Italian bread is dense, it could be due to under-proofing or not enough hydration in the dough. Make sure the yeast is active by checking for foam, and ensure you let the dough rise until it has doubled in size. When adding flour, do it gradually and don’t be afraid to add enough liquid to keep the dough from getting too dry.
Is this Italian bread recipe suitable for those with gluten allergies?
Unfortunately, this recipe isn’t gluten-free as it relies on all-purpose flour for that lovely structure and texture. However, for a gluten-free alternative, you could use a gluten-free flour blend designed for baking, but you may need to adjust the hydration levels since gluten-free flours can behave differently.
Can I use alternative oils instead of olive oil?
Yes! If you don’t have olive oil or prefer a different flavor, you can use any neutral oil, such as canola or vegetable oil. Just keep in mind that olive oil adds a hint of richness and an authentic taste to your traditional Italian bread.
Irresistible Italian Bread: Bake Your Own at Home Today
Ingredients
Equipment
Method
- In a stand mixer, combine lukewarm water, brown sugar, and yeast. Let sit for 5 minutes until foamy.
- Add olive oil, salt, Italian seasoning, and all-purpose flour to the mixer. Mix on low speed until a cohesive dough forms, about 3-5 minutes.
- Transfer the dough to a greased bowl, cover with a damp cloth, and let rise for 30 minutes until doubled in size.
- Turn the dough onto a floured surface, divide in half, and shape into loaves. Place on a parchment-lined baking sheet.
- Cover the loaves with a kitchen towel and let rise for another 30 minutes.
- Preheat oven to 350°F (175°C) and place a shallow dish with water on the lower rack.
- Brush each loaf with the egg wash made from beaten egg and water, and score the tops.
- Bake for about 30 minutes until golden brown and hollow when tapped.
Leave a Reply