
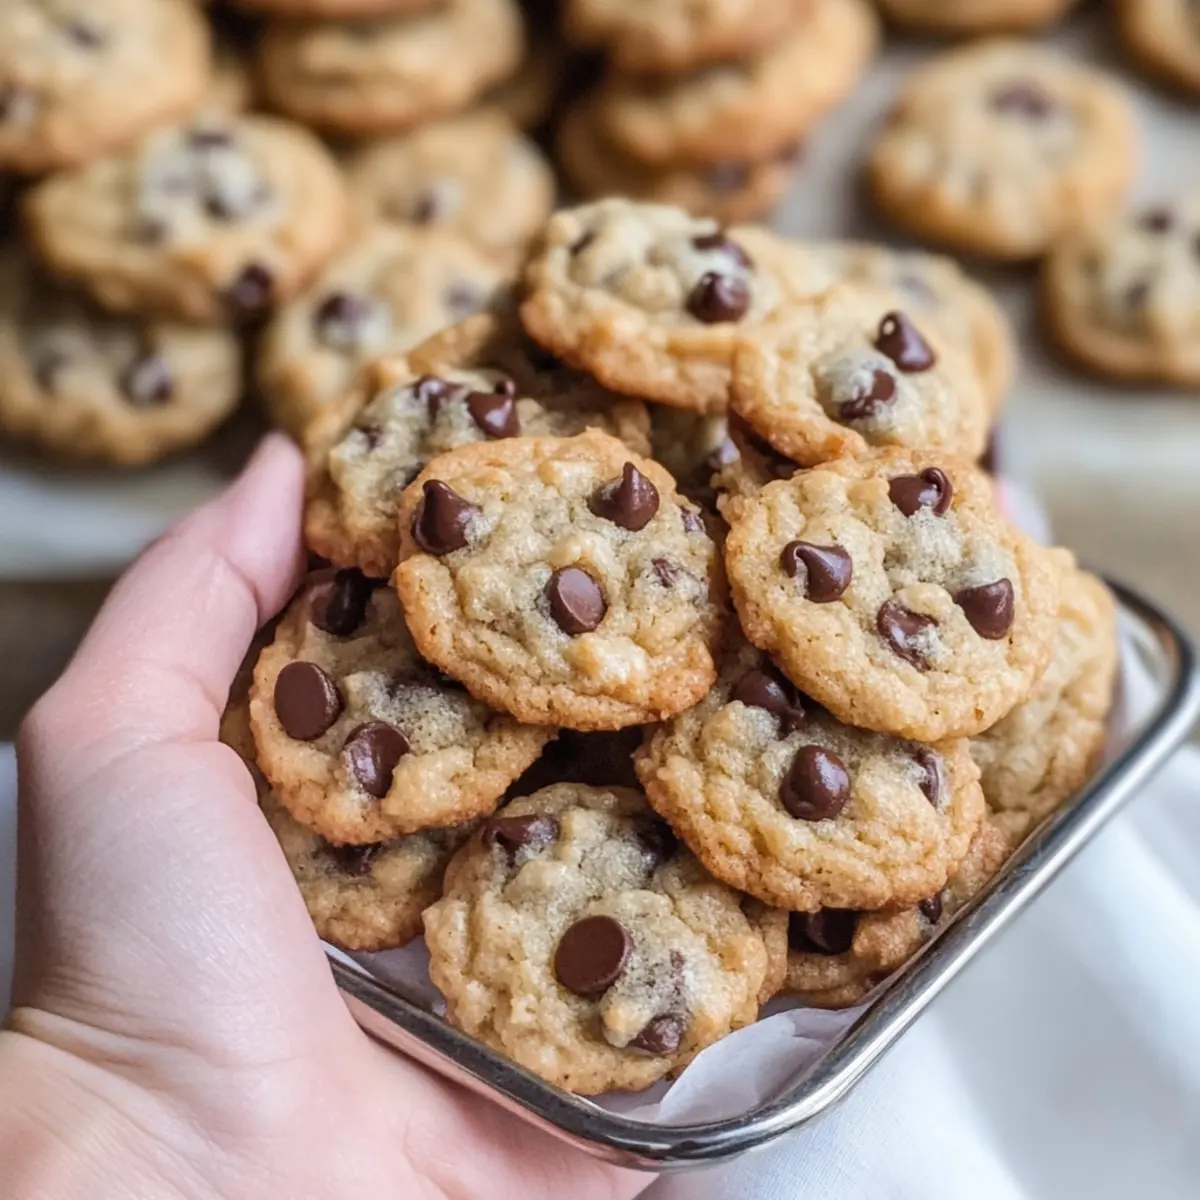
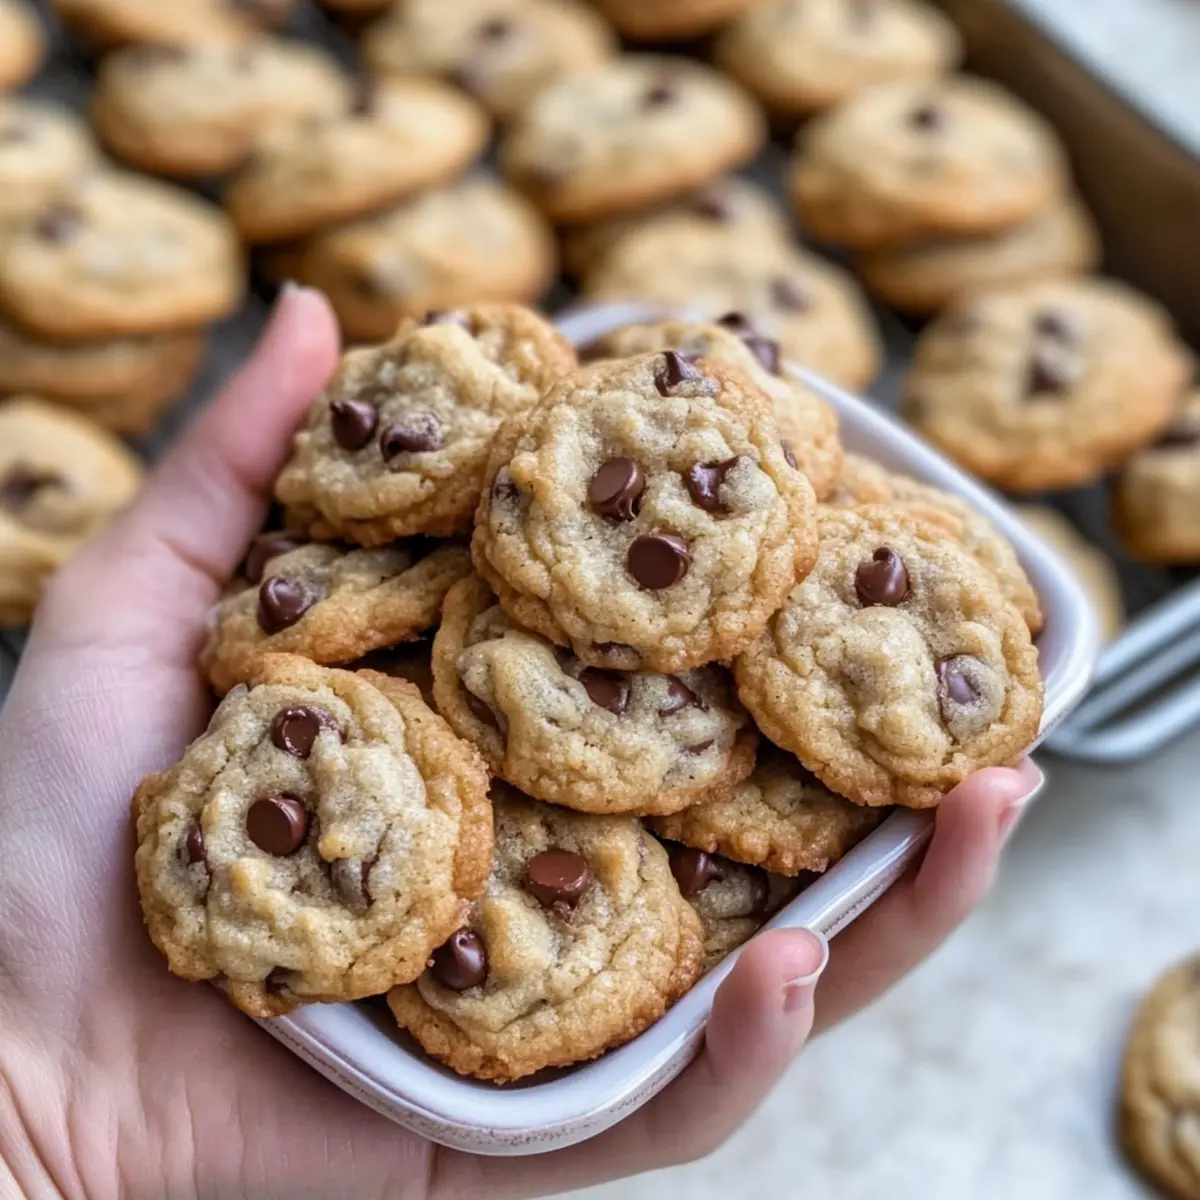
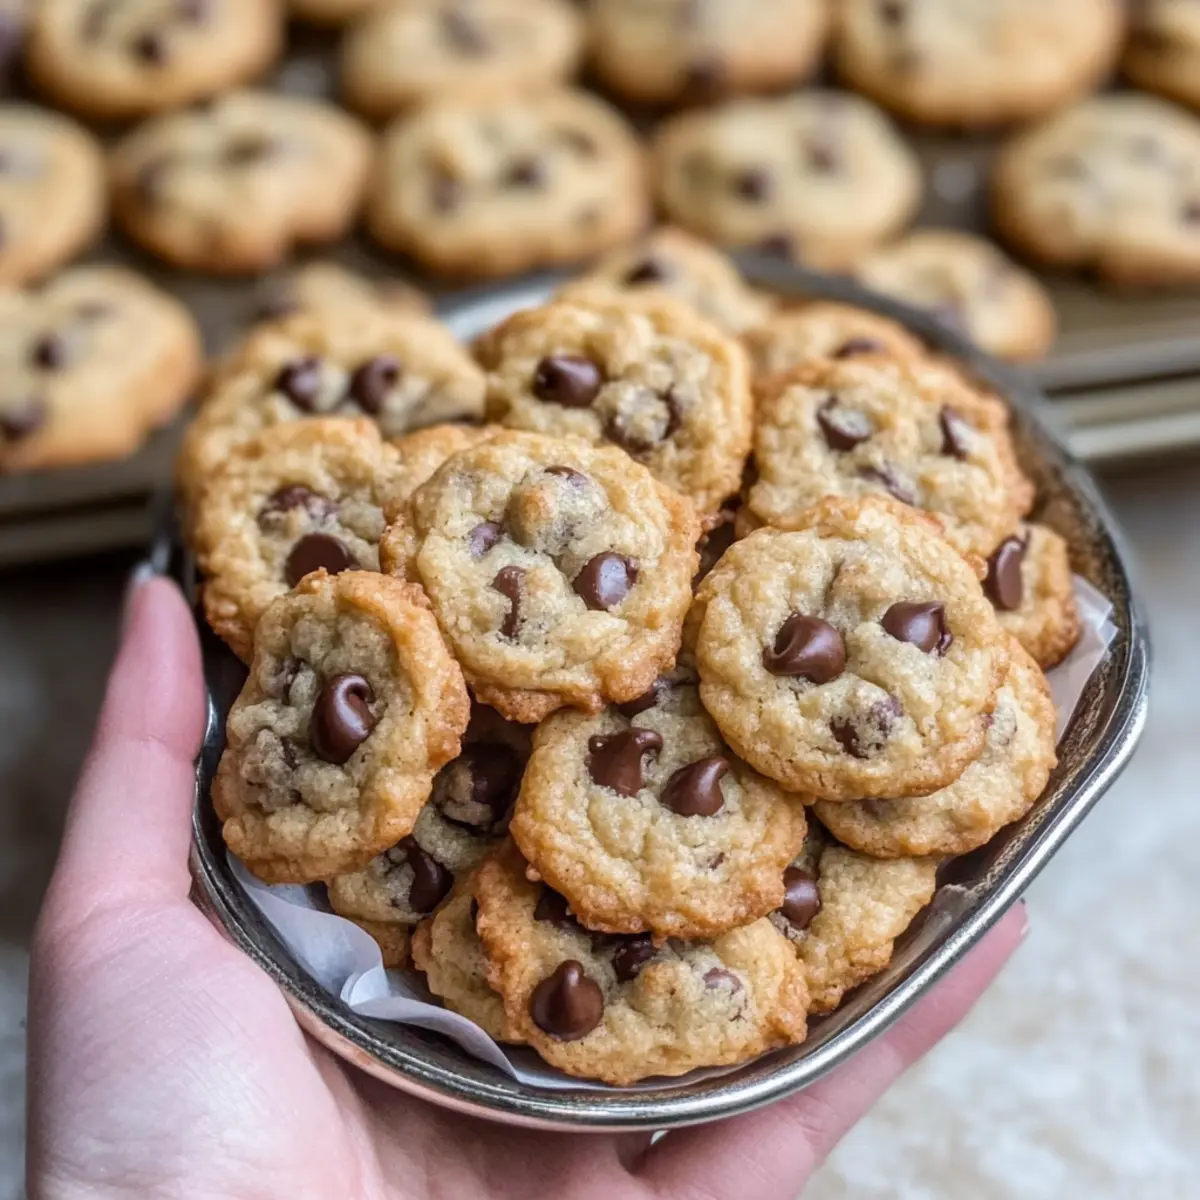
In the heart of a bustling kitchen, the sweet aroma of freshly baked cookies wafts through the air, instantly taking me back to joyful moments spent with friends and family. Today, I’m excited to share my recipe for Mini Chocolate Chip Cookies, which not only deliver a delightful bite but also bring a sense of nostalgia to each chew. Perfectly sized for snacking, these cookies are quick to whip up and allow for a variety of customizable fun—whether you want to swap in your favorite chocolate or mix in some nuts, the possibilities are endless! Prepare to indulge in heavenly softness with just the right amount of sweetness, and let me guide you through creating this simple yet irresistible treat. What variations will you try with your batch?
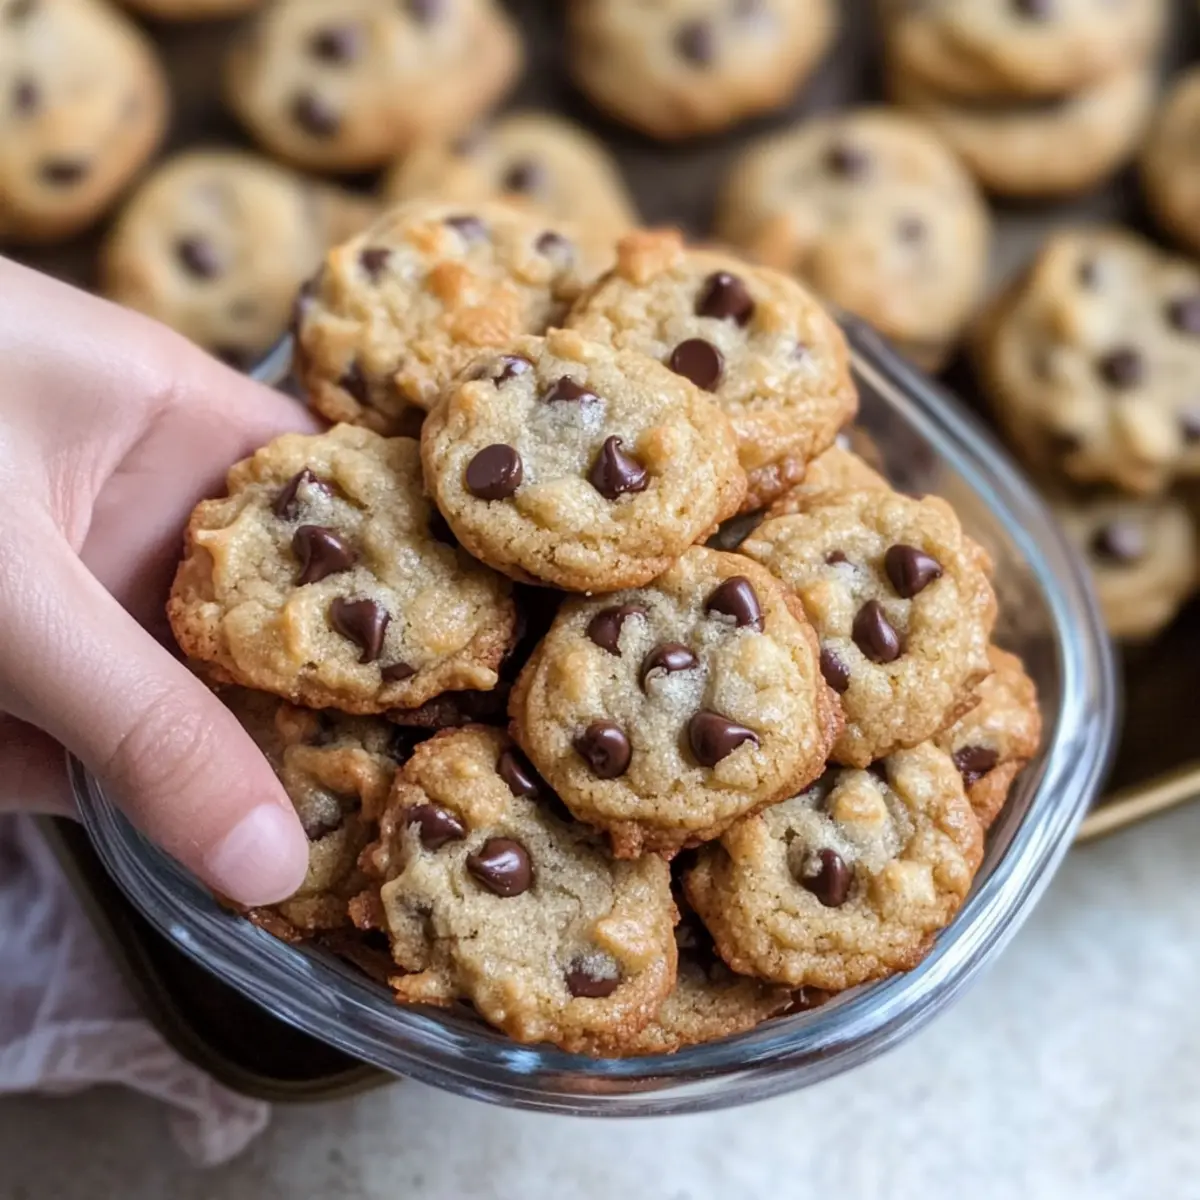
Why You’ll Love These Mini Cookies
Adorable Size: These mini chocolate chip cookies are the perfect bite-sized treats that make sharing (or not) a breeze!
Quick Preparation: Get your cookie fix in a flash! The piping method speeds up the process, making baking even more enjoyable.
Customizable Fun: Whether you stick to classic chocolate chips or explore variations like Chocolate Oat Cookies or even dried fruits, each batch can be uniquely yours.
Perfectly Chewy: Expect a soft and gooey center with crispy edges, satisfying every chocolate lover’s dream.
Nostalgic Comfort: These cookies evoke memories of home and happy times, making every bite feel like a warm hug, ideal for family gatherings or cozy evenings.
With such delightful qualities, you’ll find yourself reaching for these cookies time and again!
Mini Chocolate Chip Cookies Ingredients
• Get ready to bake these irresistible treats!
For the Cookie Dough
- Unsalted Butter (1/2 cup) – Provides richness and moisture; you can substitute with margarine if needed.
- All-Purpose Flour (1 1/3 cups) – Forms the structure of the cookies; remember to spoon and level for accurate measurement.
- Cornstarch (1 1/2 tsp) – Enhances the soft, chewy texture; no direct substitutions recommended.
- Baking Soda (1/2 tsp) – Acts as a leavening agent for perfect chewiness; you can use baking powder but be cautious when adjusting the amount.
- Fine Salt (1/2 tsp) – Enhances sweetness and balances overall flavor; substitute with sea salt if desired.
- Light Brown Sugar (2/3 cup, packed) – Adds moisture and a caramel flavor; dark brown sugar can replace it for a richer taste.
- Granulated Sugar (1/4 cup) – Provides a delightful crunch on the outside; coconut sugar works as a healthier swap.
- Egg (1 large, room temperature) – Binds ingredients and contributes richness; ensure it’s at room temperature for best blending.
- Vanilla Extract (1 tsp) – Adds depth of flavor; vanilla bean paste makes for a more intense taste if you have it.
- Mini or Chopped Chocolate Chips (1 cup) – The star ingredient for sweetness and indulgence; regular chocolate chips can be substituted.
For the Garnish
- Flaky Sea Salt (1 Tbsp) – Elevates the cookie’s sweetness; feel free to skip for a sweeter taste.
With these simple ingredients, you are just a few easy steps away from creating the most delightful Mini Chocolate Chip Cookies that are ready to please your palate and bring joy into your kitchen!
Step‑by‑Step Instructions for Mini Chocolate Chip Cookies
Step 1: Melt Butter
Begin by melting the unsalted butter in a microwave-safe bowl, which should take about 30-40 seconds. Allow it to cool for a few minutes until it’s just warm but not hot to the touch. This cooling step is crucial to ensure your chocolate chips don’t melt later when added to the dough.
Step 2: Preheat Oven
While the butter cools, preheat your oven to 350°F (175°C). Line your baking sheets with parchment paper, which will make for easy cookie removal later. This step prepares you for a smooth baking experience, ensuring your Mini Chocolate Chip Cookies have the perfect base to bake on.
Step 3: Mix Dry Ingredients
In a medium mixing bowl, whisk together the all-purpose flour, cornstarch, baking soda, and fine salt until evenly combined. This should take about a minute. Properly blending the dry ingredients is essential for achieving the ideal texture, so be sure to break up any lumps for a smooth cookie batter.
Step 4: Blend Wet Ingredients
In a separate large bowl, whisk the melted butter with the packed light brown sugar and granulated sugar until the mixture is smooth and creamy—this will take about 1-2 minutes. Afterward, add in the large room temperature egg and vanilla extract, beating well until everything is fully blended. This luscious mixture is the foundation for your Mini Chocolate Chip Cookies.
Step 5: Combine Mixtures
Gradually incorporate the dry ingredient mixture into the wet ingredients, mixing gently with a spatula until just combined. The dough should be slightly thick but not dry. Take care not to overmix, as this will ensure your cookies remain soft and chewy—a hallmark of perfect Mini Chocolate Chip Cookies.
Step 6: Add Chocolate Chips
Fold in the mini or chopped chocolate chips carefully, making sure they are evenly distributed throughout the dough. This should only take a few folds; you want those delightful chocolate morsels to shine in every bite. Your cookie dough is now ready to take shape!
Step 7: Pipe Cookies
Scoop the dough into a piping bag and cut a small tip at the end. Pipe small dollops of dough onto the prepared baking sheets, leaving enough space between each to allow for spreading during baking. This unique method offers a fun twist while creating perfectly formed Mini Chocolate Chip Cookies.
Step 8: Bake
Place your baking sheets in the preheated oven and bake for 6-8 minutes. Keep an eye on them; you’ll know they are ready when the edges are lightly browned while the centers remain soft. This perfect contrast is what makes these cookies irresistibly chewy and delicious.
Step 9: Cool
Once baked, transfer the cookies to a wire rack and let them cool for a few minutes. This step is crucial for allowing the cookies to firm up slightly while finishing the baking process for the remaining dough. Enjoy the warm, tempting aroma wafting through your kitchen!
Step 10: Garnish
If desired, while the cookies are still warm, press a few additional chocolate chips on top of each cookie and sprinkle with flaky sea salt. This final touch enhances the sweetness and adds a delightful crunch. These garnished Mini Chocolate Chip Cookies are now ready for sharing—or indulging all on your own!
What to Serve with Mini Chocolate Chip Cookies
Indulging in these delightful mini cookies invites a world of pairing possibilities that transform a simple treat into a full experience.
-
Cold Glass of Milk: There’s nothing like the classic duo of cookies and milk. The creamy texture complements the chewy goodness of these cookies perfectly.
-
Rich Vanilla Ice Cream: Serve these warm cookies over a scoop of vanilla ice cream for an enchanting dessert that melts in your mouth, bringing irresistible warmth and sweetness.
-
Dark Roast Coffee: A rich cup of coffee enhances the chocolate flavors and provides a satisfying balance to the sweetness of the cookies, making it an ideal afternoon treat.
-
Sweet Hot Chocolate: Pair these cookies with a mug of hot chocolate for a cozy, nostalgic experience that will warm your heart on chilly days.
-
Fresh Fruit Salad: Add a refreshing contrast with a vibrant fruit salad, brightening the palate and balance the richness of the cookies for a fun twist.
-
Chocolate Dipped Strawberries: Elevate your dessert game by serving these alongside chocolate-dipped strawberries, offering a delightful bite that matches beautifully in flavor and indulgence.
-
Creamy Yogurt Parfaits: Layer mini chocolate chip cookies in a yogurt parfait with fresh berries for a refreshing snack that’s both healthy and a little indulgent.
-
Sparkling Lemonade: For a light and refreshing drink choice, sparkling lemonade provides bubbly brightness that pairs beautifully with the sweetness of the cookies.
-
Chocolate Mousse: For those chocolate lovers, a side of velvety chocolate mousse serves as a rich companion, making every bite of cookie a luxurious delight.
With these enticing options, your mini chocolate chip cookies can shine even brighter in a world of tastes and textures!
Mini Chocolate Chip Cookies Variations
Feel free to let your creativity shine as you customize these delightful cookies with exciting twists and ingredients!
-
White Chocolate: Swap mini chocolate chips for white chocolate chips for a creamy, sweet variation. They bring a lovely contrast to the classic cookie taste.
-
Dried Fruit: Incorporate dried fruits, such as cranberries or cherries, for a tart burst that pairs perfectly with the sweetness of the dough. It adds both flavor and texture.
-
Nutty Crunch: Mix in chopped walnuts or pecans to add delightful crunch and a nutty flavor. This creates an amazing contrast to the soft cookie texture.
-
Oatmeal Boost: Combine oats with the dough by replacing 1/4 cup of flour to give your cookies a heartier bite, reminiscent of Chocolate Oat Cookies.
-
Whole Wheat Flour: Substitute half of the all-purpose flour with whole wheat flour for a nuttier taste and added nutritional value without compromising the cookie’s softness.
-
Flavored Extracts: Enhance the flavor by adding almond extract or a hint of cinnamon, elevating the taste profile to new heights. It creates a cozy aroma as they bake.
-
Spicy Kick: Add a pinch of cayenne pepper or chili powder for a subtle heat that balances the sweetness. You might just be surprised by how wonderful this combination is!
-
Caramel Drizzle: Drizzle warm cookies with caramel sauce for an indulgent twist. This luscious addition will elevate your cookies to a whole new level of decadence.
As you explore these variations, it’s hard to resist whipping up more batches! Remember, these Mini Chocolate Chip Cookies are all about delightful experimentation and deliciousness, much like the feel of enjoying Caramel Chocolate Dipped Pears. Happy baking!
Expert Tips for Perfect Mini Chocolate Chip Cookies
-
Cool Butter: Always allow melted butter to cool before adding it to the mixture; this prevents the chocolate chips from melting and ensures a better cookie texture.
-
Mix Gently: Be careful not to overmix your dough after adding the flour. Mixing just until combined helps maintain that soft, chewy texture essential for mini chocolate chip cookies.
-
Watch Bake Time: Check on your cookies as they bake; remove them when the edges are lightly golden but the centers remain soft for ideal chewiness.
-
Use a Scale: For best results, weigh your flour instead of measuring it with a cup. This ensures consistency and accuracy in your mini chocolate chip cookies each time.
-
Cool Briefly: Let cookies cool on the pan for a couple of minutes before transferring them to a wire rack. This helps them firm up just right!
Make Ahead Options
These Mini Chocolate Chip Cookies are perfect for busy home cooks looking to save time! You can prepare the dough up to 24 hours in advance by mixing all the ingredients and then chilling it in the refrigerator. This not only enhances the flavors but also allows for easier scooping. For even more convenience, you can pipe the dough into small dollops on a baking sheet and freeze them. Once frozen, transfer the dollops to a zip-top bag and store for up to 3 months. When you’re ready to bake, simply take out as many as you need; bake them directly from the freezer by adding an extra minute or two to the baking time. Enjoy freshly baked cookies anytime without the last-minute rush!
Storage Tips for Mini Chocolate Chip Cookies
-
Room Temperature: Store cooled cookies in an airtight container at room temperature for up to 3 days to maintain their delightful chewiness.
-
Fridge: If you prefer, you can keep the cookies in the fridge for up to a week. Just let them sit for a few minutes at room temperature before enjoying to soften.
-
Freezer: For longer storage, freeze the cookies in a single layer on a baking sheet before transferring to an airtight container. They’ll last for up to 1 month, ensuring you have mini chocolate chip cookies ready whenever a craving strikes.
-
Reheating: When you’re ready to indulge, reheat the cookies in a 350°F (175°C) oven for about 5 minutes to restore their soft, gooey texture. Enjoy each bite!
Mini Chocolate Chip Cookies Recipe FAQs
How do I choose the right ripeness of ingredients?
For the best results in your mini chocolate chip cookies, ensure your egg is at room temperature, as it binds the ingredients more effectively. Also, use fresh unsalted butter for optimum flavor—look for butter that’s creamy and free of any off odors.
What is the best way to store these cookies?
Store your cooled mini chocolate chip cookies in an airtight container at room temperature for up to 3 days. If you want to keep them longer, place them in the fridge for up to a week. Just allow them a few minutes to come to room temperature before you dig in to restore their chewiness!
Can I freeze mini chocolate chip cookies?
Absolutely! To freeze, first arrange the cookies in a single layer on a baking sheet and place them in the freezer for about 1 hour until firm. Once frozen, transfer the cookies to an airtight container or resealable bag. They’ll stay fresh for up to 1 month. When you’re ready to enjoy them, thaw them in the refrigerator overnight or reheat them in a 350°F (175°C) oven for about 5 minutes for that just-baked taste.
What should I do if my cookies are too hard?
If you find your cookies are harder than expected, this might be due to overbaking or overmixing your dough. Take care to bake them only until the edges are lightly browned and the centers are still soft. If they come out too hard, try adding a slice of bread to the storage container; the moisture can help soften them back up!
Are there any dietary considerations I should be aware of?
These mini chocolate chip cookies are made with common ingredients and don’t contain gluten-free, keto, or vegan substitutes. If you’re baking for someone with allergies, consider using dairy-free chocolate chips and ensuring all your ingredients are safe for their dietary needs.
Mini Chocolate Chip Cookies for Sweet Cravings Anytime
Ingredients
Equipment
Method
- Begin by melting the unsalted butter in a microwave-safe bowl, which should take about 30-40 seconds. Allow it to cool for a few minutes until it's just warm but not hot to the touch.
- While the butter cools, preheat your oven to 350°F (175°C). Line your baking sheets with parchment paper.
- In a medium mixing bowl, whisk together the all-purpose flour, cornstarch, baking soda, and fine salt until evenly combined.
- In a separate large bowl, whisk the melted butter with the packed light brown sugar and granulated sugar until the mixture is smooth and creamy.
- Gradually incorporate the dry ingredient mixture into the wet ingredients, mixing gently with a spatula until just combined.
- Fold in the mini or chopped chocolate chips carefully, ensuring they are evenly distributed throughout the dough.
- Scoop the dough into a piping bag, cut a small tip at the end and pipe small dollops onto the prepared baking sheets.
- Place your baking sheets in the preheated oven and bake for 6-8 minutes. You'll know they are ready when the edges are lightly browned while the centers remain soft.
- Once baked, transfer the cookies to a wire rack and let them cool for a few minutes.
- If desired, while the cookies are still warm, press a few additional chocolate chips on top of each cookie and sprinkle with flaky sea salt.
Leave a Reply