
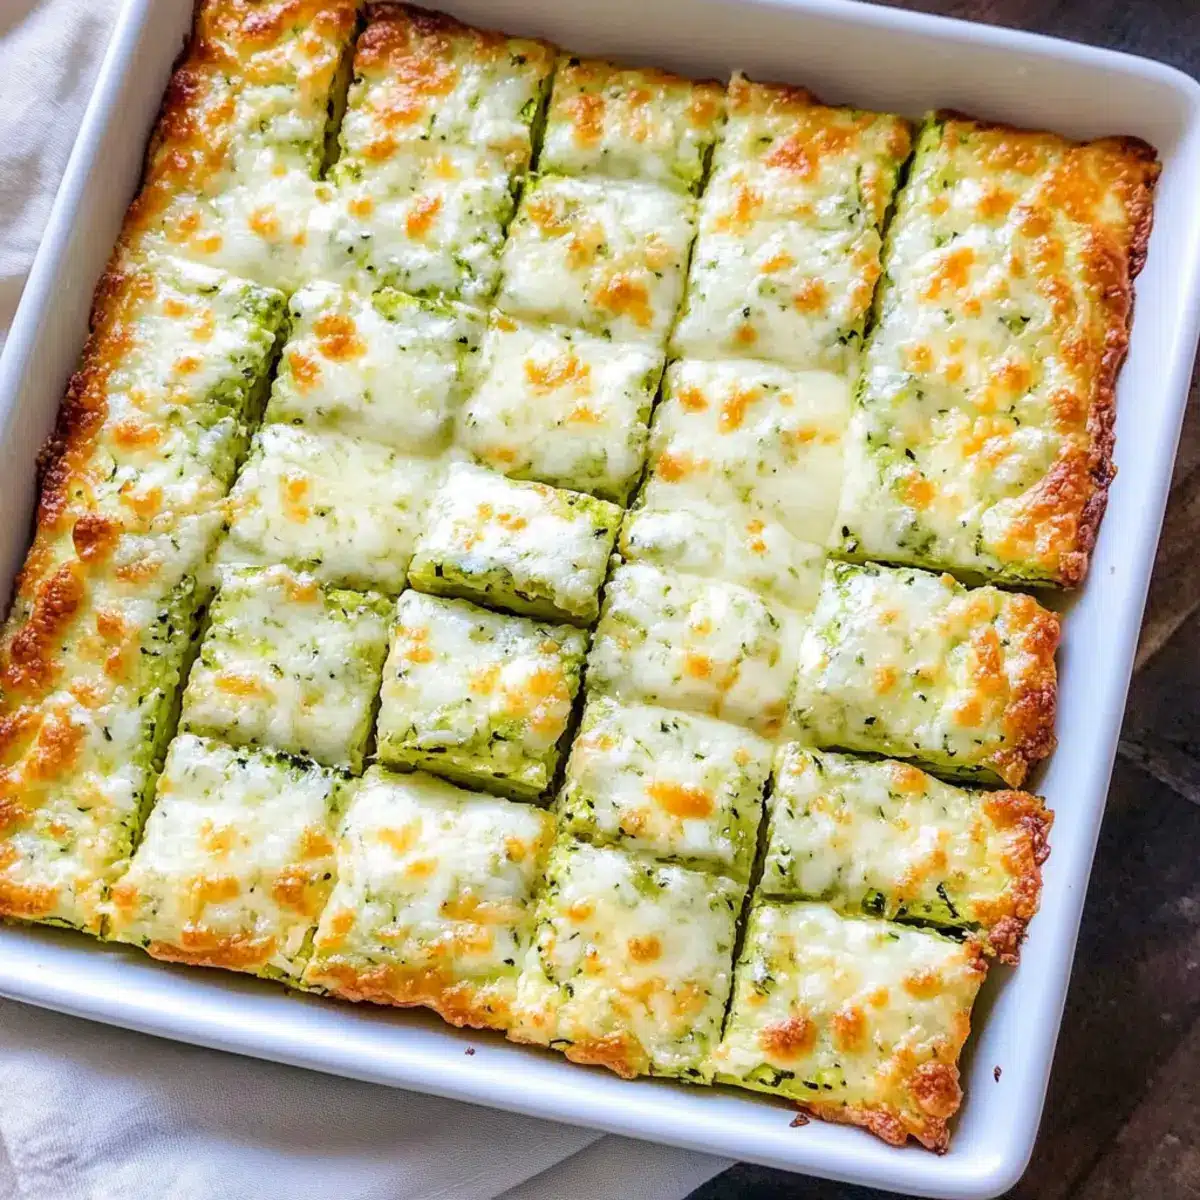
As I pulled the golden platter from the oven, a wave of cheesy aroma filled the kitchen, instantly making my mouth water. If you’re like me and love savory snacks but want to keep your diet in check, these Cheesy Zucchini Breadsticks are about to become your new favorite go-to. They’re not only low-carb and keto-friendly, but also incredibly simple to whip up with just a handful of ingredients. Plus, these delightful little bites sneak in some healthy veggies, making them a guilt-free indulgence perfect for any occasion. Whether you serve them as a party snack or craving curber during a movie night, I promise they’ll be a hit! Curious about how to make this cheesy dream a reality? Let’s dive into the recipe!
Why are Cheesy Zucchini Breadsticks a Must-Try?
Flavorful delights await you! These Cheesy Zucchini Breadsticks combine the rich creaminess of mozzarella with the savory punch of parmesan, creating a taste sensation. Guilt-free indulgence is a breeze with their low-carb profile, perfect for keto enthusiasts. Quick and easy to prepare, you can whip them up in no time for a satisfying snack. Versatile enjoyment comes from pairing them with marinara or customizing with your favorite spices! If you love a cheesy treat, you’ll adore these healthier alternatives that won’t derail your diet—perfect for game nights or cozy evenings at home. Want to explore more tempting options? Check out Cheesy Christmas Tree for another cheesy delight!
Cheesy Zucchini Breadsticks Ingredients
-
For the Batter
• Grated Zucchini – The main ingredient providing moisture and structure; make sure to thoroughly drain to avoid sogginess.
• Mozzarella Cheese – Offers creaminess and stretch; you can use low-fat mozzarella for a lighter option.
• Parmesan Cheese – Adds a savory depth of flavor; substitute with Pecorino Romano for a bolder taste.
• Egg – Acts as a binder to hold the ingredients together; for a vegan version, use a flaxseed or chia seed egg.
• Garlic Parsley Salt – Enhances overall taste; feel free to replace it with minced garlic and fresh parsley for freshness. -
For Topping
• Grated Cheese of Choice – Perfect for topping the baked breadsticks; using a blend like a Mexican cheese mix can add extra flavor.
These Cheesy Zucchini Breadsticks are not only scrumptious but also low-carb, making them a delightful snacking option that you won’t want to miss!
Step‑by‑Step Instructions for Cheesy Zucchini Breadsticks
Step 1: Prep the Zucchini
Start by preheating your oven to 425°F (220°C). Then, grab your grated zucchini and place it in a clean kitchen towel or cheesecloth. Squeeze out as much moisture as possible—this is key to avoiding soggy Cheesy Zucchini Breadsticks. You want the zucchini to be as dry as possible for the best texture.
Step 2: Mix the Ingredients
In a mixing bowl, combine the drained zucchini with your shredded mozzarella cheese, grated Parmesan, egg, and garlic parsley salt. Using a spatula or spoon, mix until all ingredients are well incorporated. The mixture should be cohesive and sticky—this will help bind the Cheesy Zucchini Breadsticks together as they bake.
Step 3: Spread the Mixture
Line a baking sheet with parchment paper for easy cleanup and to prevent sticking. Transfer the zucchini mixture onto the lined sheet, spreading it evenly into a rectangle about 1/2 inch thick. Use a spatula to smooth the top and ensure it’s evenly distributed, which will help it bake consistently.
Step 4: Bake the Base
Place the baking sheet in the preheated oven and bake for 15 minutes. Keep an eye on it—you want the edges to turn golden brown and the center to set. This initial bake creates a firm foundation for your Cheesy Zucchini Breadsticks, ensuring they’re crispy rather than soggy.
Step 5: Add the Cheese Topping
After the base has baked, remove it from the oven. Now’s the time to sprinkle your choice of grated cheese over the top of the zucchini mixture. Feel free to get creative—mixing cheeses can add delightful flavor and gooeyness to your Cheesy Zucchini Breadsticks.
Step 6: Finish Baking
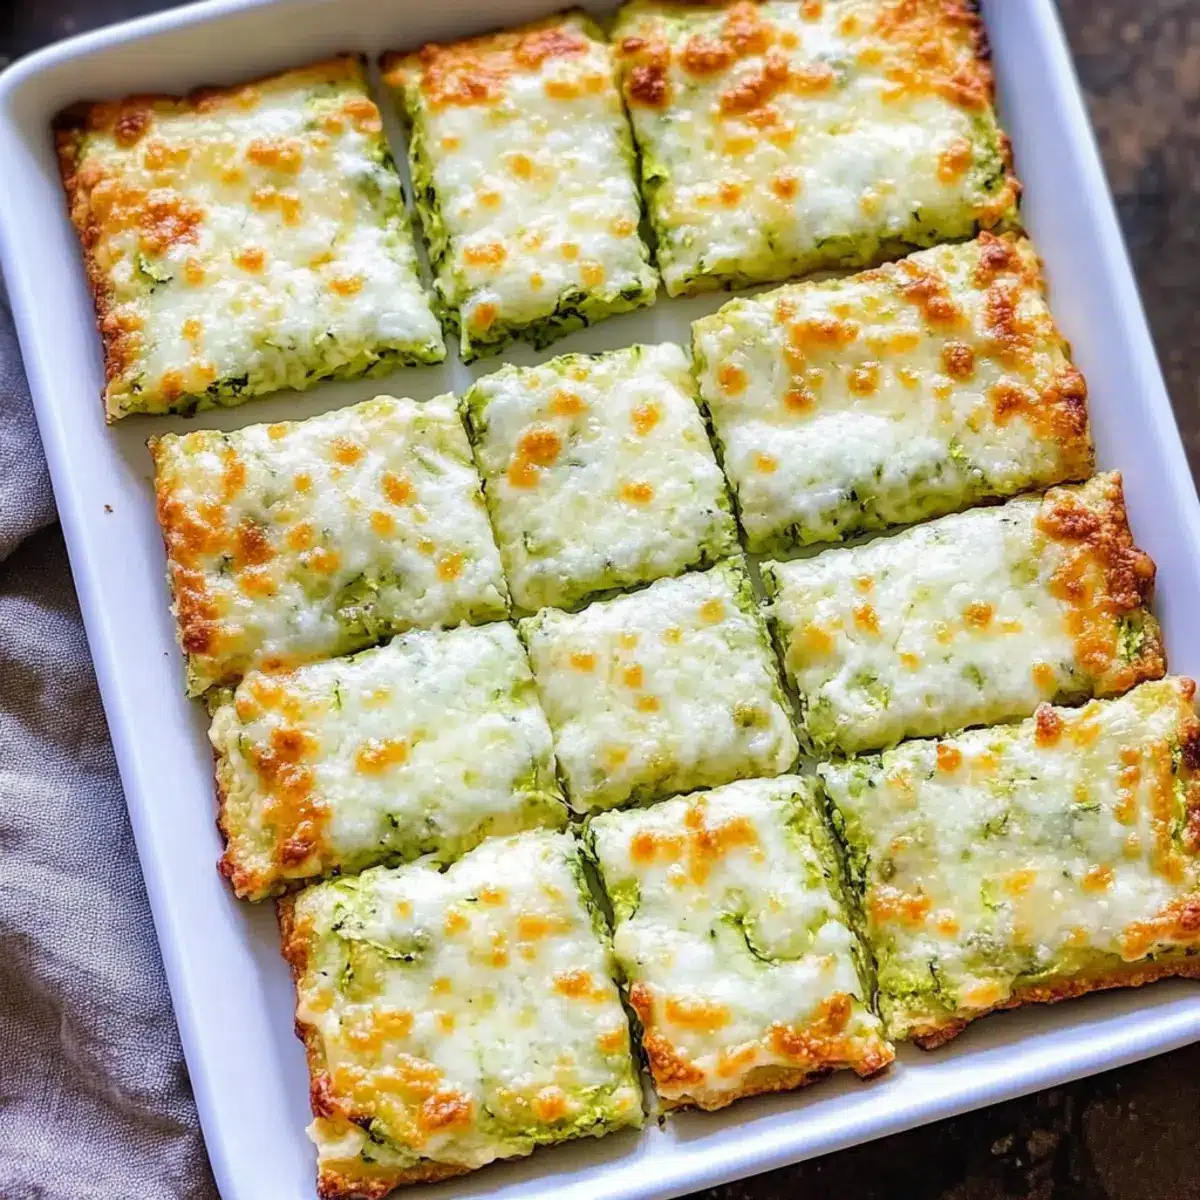
Return the baking sheet to the oven and bake for an additional 2 to 5 minutes, or until the cheese is melted and bubbling with a hint of golden color. This step adds a delicious finish to your breadsticks, enhancing the overall cheesy goodness.
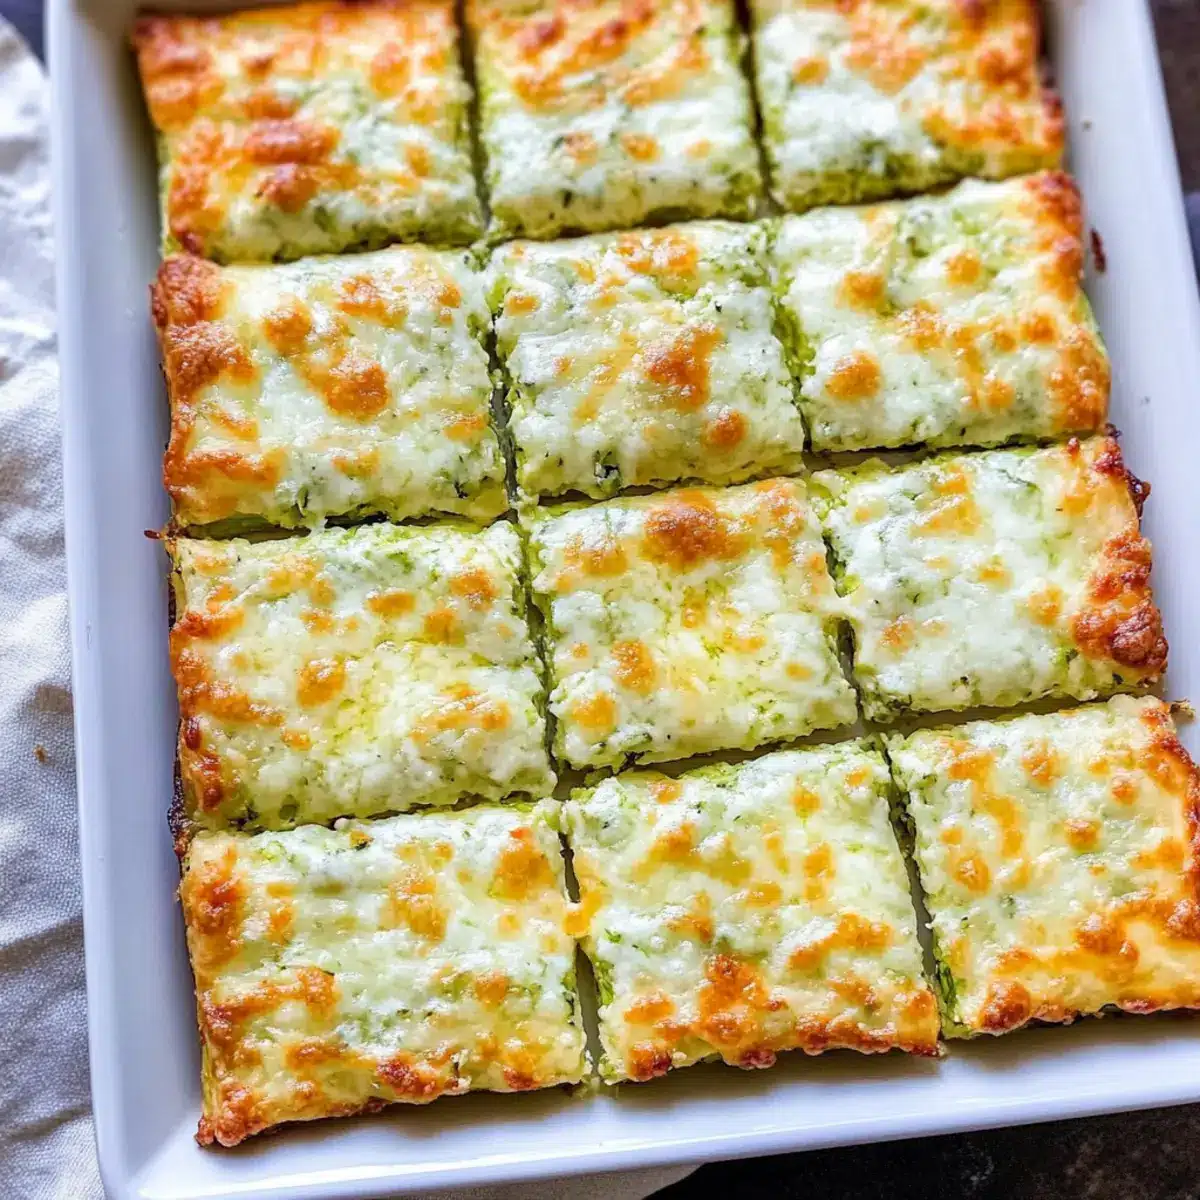
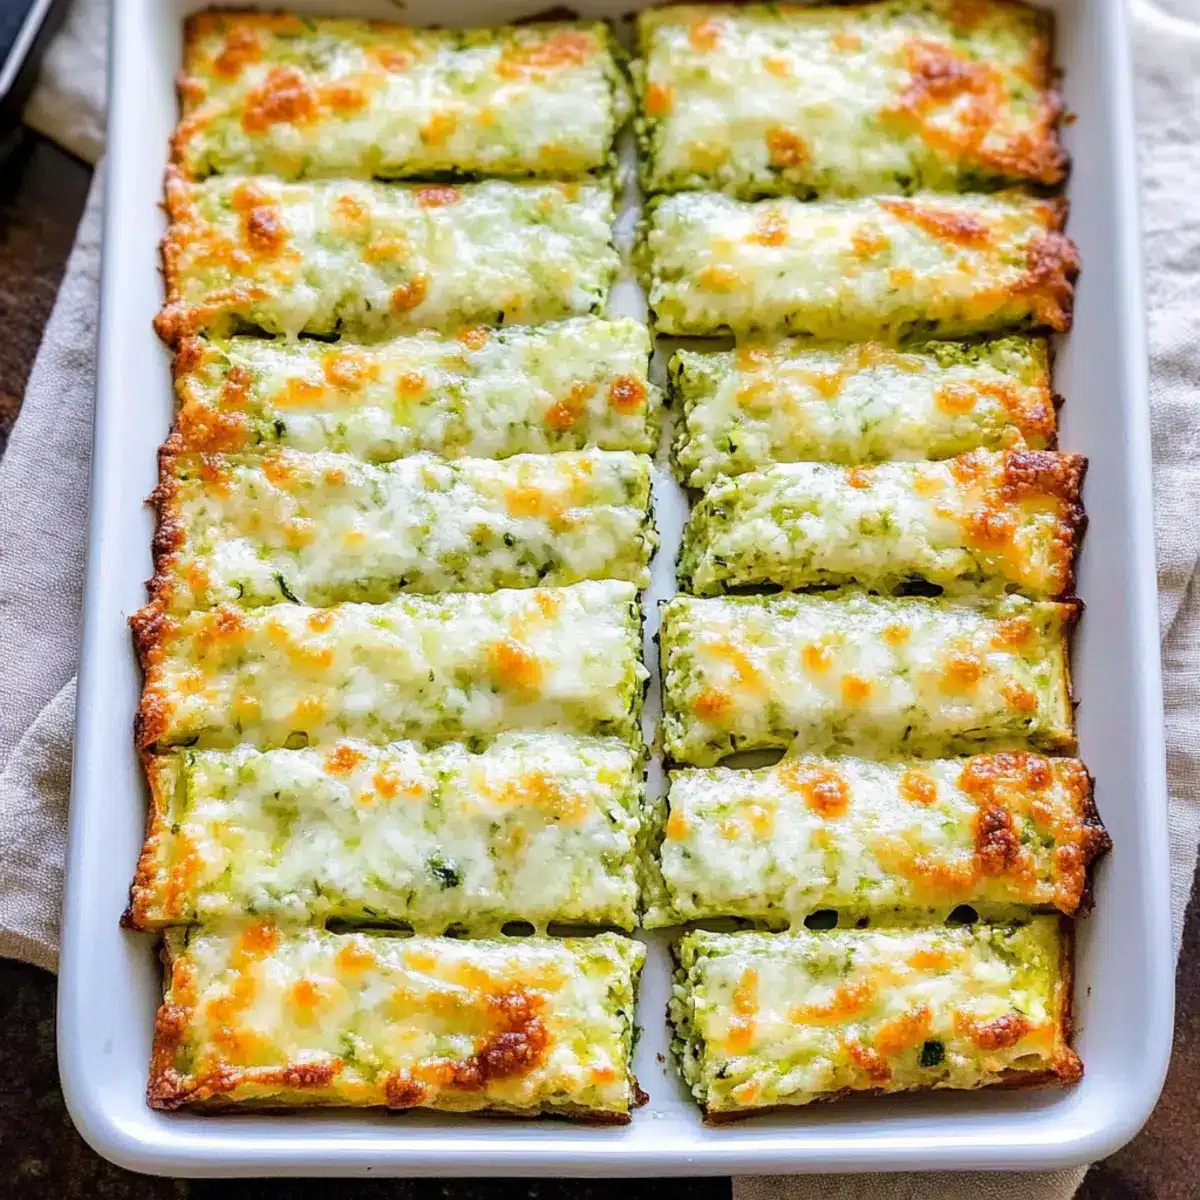
Step 7: Slice and Serve
Once the Cheesy Zucchini Breadsticks are ready, take them out of the oven and allow them to cool for a minute. Use a sharp knife or pizza cutter to slice them into strips. Serve warm, paired with marinara sauce or enjoy them as a snack on their own—either way, they’re sure to please!
What to Serve with Cheesy Zucchini Breadsticks
Add a touch of creativity to your table while enjoying the irresistible crunch of these cheesy delights.
- Marinara Sauce: A classic pairing that enhances the cheesy flavors and adds a delightful tang; perfect for dipping!
- Side Salad: A fresh mix of greens balances the rich, savory breadsticks, adding brightness and texture to your meal.
- Garlic Aioli: Creamy and flavorful, this sauce complements the cheesy goodness while adding a zesty kick with each bite.
- Rosemary Garlic Butter: Drizzling this aromatic butter over the warm breadsticks amplifies the savory experience, making them irresistible.
- Crushed Red Pepper Flakes: For those who love heat, sprinkle some on top to add a spicy contrast that excites the palate.
- Cheesy Dip: Serve with a warm queso or cheese fondue for an indulgent twist; the gooey texture is a match made in heaven.
- Sparkling Water with Lemon: A refreshing drink option that cleanses the palate, perfect for enjoying with these low-carb snacks.
- Fruit Platter: A selection of fresh fruits adds a sweet balance, complementing the savory notes while bringing vibrant colors to the plate.
- Italian Wine: A light white or rose enhances the flavors beautifully and sets the mood for a cozy evening at home.
- Chocolate-Dipped Strawberries: For dessert, this sweet ending offers a delightful contrast, rounding out the meal perfectly.
How to Store and Freeze Cheesy Zucchini Breadsticks
Fridge: Store leftovers in an airtight container for up to 3 days. Keep them in single layers to preserve their texture.
Freezer: For longer storage, flash freeze them on a baking sheet first, then transfer to an airtight container or freezer bag for up to 2 months.
Reheating: Reheat in the oven at 350°F (175°C) for about 10-15 minutes. This helps regain their crispy edges, making them just as delightful as when freshly baked.
Note: Avoid freezing the breadsticks after baking, as thawing can lead to a mushy texture. Enjoy your delicious Cheesy Zucchini Breadsticks fresh for the best experience!
Expert Tips for Cheesy Zucchini Breadsticks
• Thoroughly Drain Zucchini: Ensure you squeeze out all excess moisture from the grated zucchini to prevent soggy Cheesy Zucchini Breadsticks.
• Even Thickness: Spread the batter evenly onto the baking sheet, aiming for a thickness of about 1/2 inch for optimal crispiness.
• Watch the Bake Time: Keep an eye on the initial baking process; overbaking can lead to a tough texture. Golden edges are your cue it’s time to add cheese!
• Cheese Choices: Feel free to experiment with different cheeses for the topping. A mix can add extra flavor and richness to your breadsticks.
• Serve Immediately: These breadsticks are best enjoyed fresh out of the oven while the cheese is gooey and the edges are crisp—don’t wait too long to dig in!
Cheesy Zucchini Breadsticks Variations
Customize your Cheesy Zucchini Breadsticks for a fun twist in flavors and textures, adding to their irresistible charm!
-
Gouda or Cheddar: Swap out the mozzarella for a stronger cheese that adds a smoky richness. Gouda gives a wonderfully creamy flavor while cheddar offers a bit more bite—perfect for cheese lovers!
-
Herb Infusion: Spice things up with Italian seasoning or crushed red pepper flakes for an unexpected kick. The aroma of fresh herbs transports your taste buds, making every bite a savory delight.
-
Veggie Boost: Fold in diced bell peppers or fresh spinach to the batter for added nutrition and color. Not only does this up the veggie game, but it also makes for a vibrant presentation that catches the eye.
-
Nutty Crust: Sprinkle crushed almonds or walnuts into the batter for a delightful crunch that complements the cheesy texture beautifully. A little nutty undertone adds depth and complexity to your snacks.
-
Spicy Jalapeño: For those who crave heat, toss in some finely chopped jalapeños or sliced banana peppers for a zesty punch. They bring a flavorful warmth that contrasts wonderfully with the creamy cheese.
-
Ranch Flavor: Mix in some ranch seasoning for a tangy twist that pairs perfectly with marinara dipping. Imagine the explosion of flavors as you dip your crispy breadsticks into a cool, creamy ranch!
-
Cheesy Christmas Tree: If you’re feeling festive, check out these Cheesy Christmas Tree breadsticks for a holiday twist that’s as delicious as it is cheerful!
Experimenting with these variations will not only satisfy different palates but also keep your cheesy creation fresh and exciting each time. Enjoy the journey of flavors!
Make Ahead Options
These Cheesy Zucchini Breadsticks are perfect for meal prep enthusiasts seeking to save time during busy weekdays! You can prepare the zucchini mixture up to 24 hours in advance—just make sure to drain the grated zucchini thoroughly to prevent excess moisture. Store the mixture in an airtight container in the refrigerator until you’re ready to bake. When you’re set to enjoy your tasty snack, simply spread the mixture on a lined baking sheet and bake as directed. For best results, top with cheese just before the final bake for that gooey, golden finish. This way, you’ll have fresh, scrumptious Cheesy Zucchini Breadsticks without any last-minute stress!
Cheesy Zucchini Breadsticks Recipe FAQs
How do I select ripe zucchini?
Absolutely! Look for small to medium-sized zucchini with smooth, shiny skin and no soft spots or blemishes. Avoid zucchinis that are overly large, as they often have a tougher texture and more seeds.
What is the best way to store leftover Cheesy Zucchini Breadsticks?
For optimal freshness, store your Cheesy Zucchini Breadsticks in an airtight container in the refrigerator for up to 3 days. Make sure to place them in a single layer; this will help preserve their crispy texture and prevent them from becoming soggy.
Can I freeze Cheesy Zucchini Breadsticks?
Very! To freeze, first flash freeze the breadsticks on a baking sheet lined with parchment paper for about an hour. Once firm, transfer them to an airtight container or freezer bag. They’ll last up to 2 months. When ready to enjoy, reheat in the oven at 350°F (175°C) for 10-15 minutes, which will help regain that crispy edge.
Why are my Cheesy Zucchini Breadsticks soggy?
If you find your breadsticks turned out soggy, it’s often due to excess moisture in the zucchini. Be sure to salt and squeeze the grated zucchini thoroughly before mixing. For extra prevention, spread the zucchini mixture thin and avoid overcrowding the baking dish while baking.
Can I make these breadsticks vegan or gluten-free?
Absolutely! For a vegan version, replace the egg with a flaxseed or chia seed egg (mix 1 tablespoon of ground flaxseed or chia seeds with 2.5 tablespoons of water, let sit for 5 minutes to thicken). Make sure to check your cheese options; many brands offer dairy-free alternatives. As for gluten-free versions, simply use gluten-free cheese and ensure any added seasonings are also gluten-free.
Can my pets share these Cheesy Zucchini Breadsticks?
While zucchini is generally safe for pets in small amounts, these breadsticks have added ingredients like cheese and seasonings that may not be suitable. It’s best to offer your furry friends plain, cooked zucchini instead to avoid any potential digestive issues.
Cheesy Zucchini Breadsticks You'll Crave with Every Bite
Ingredients
Equipment
Method
- Preheat your oven to 425°F (220°C). Prepare the grated zucchini by placing it in a clean kitchen towel. Squeeze out as much moisture as possible.
- In a mixing bowl, combine the drained zucchini with mozzarella cheese, Parmesan, egg, and garlic parsley salt. Mix until well incorporated.
- Line a baking sheet with parchment paper. Spread the zucchini mixture evenly into a rectangle about 1/2 inch thick.
- Place the baking sheet in the preheated oven and bake for 15 minutes until the edges are golden brown and the center is set.
- Remove from the oven and sprinkle your choice of grated cheese over the zucchini mixture.
- Return the baking sheet to the oven and bake for an additional 2 to 5 minutes until the cheese is melted and golden.
- Allow to cool for a minute, then slice into strips. Serve warm with marinara sauce or enjoy as is.
Leave a Reply