
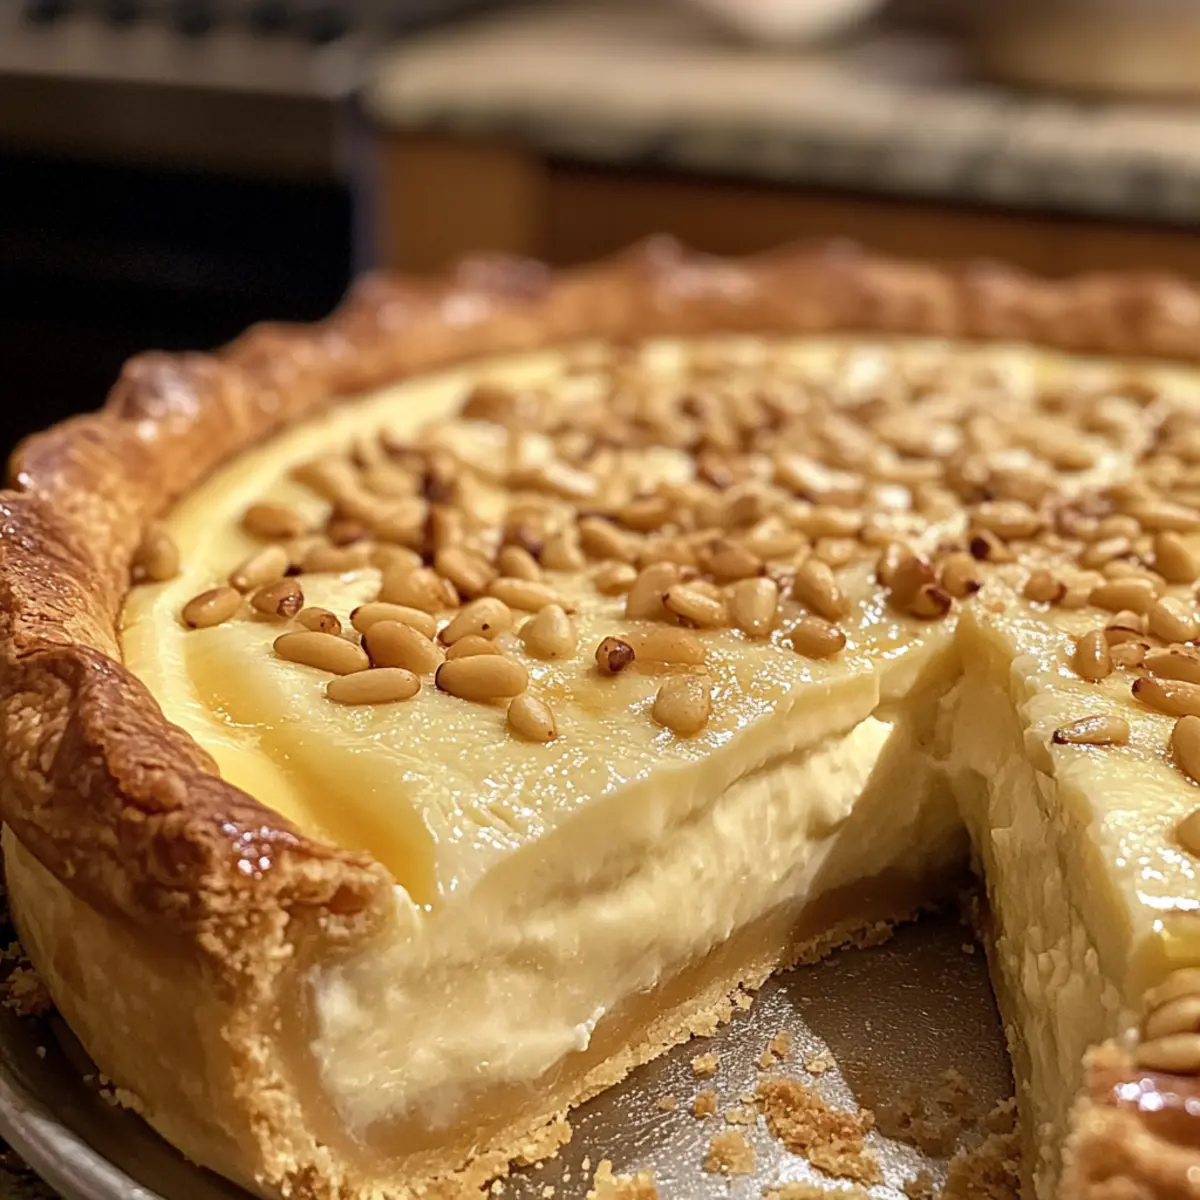
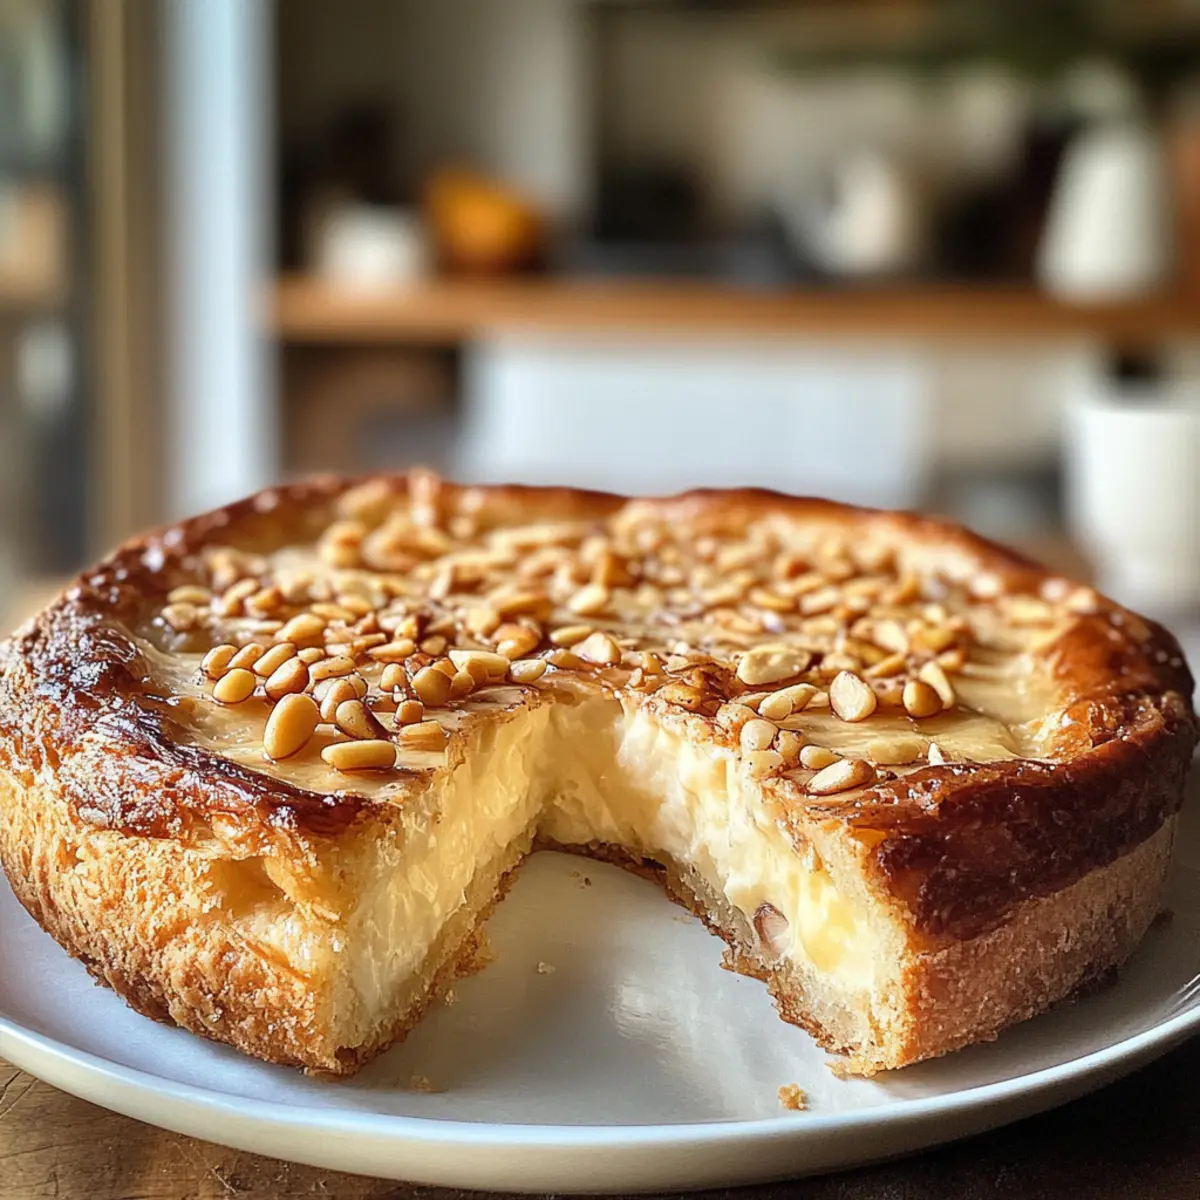
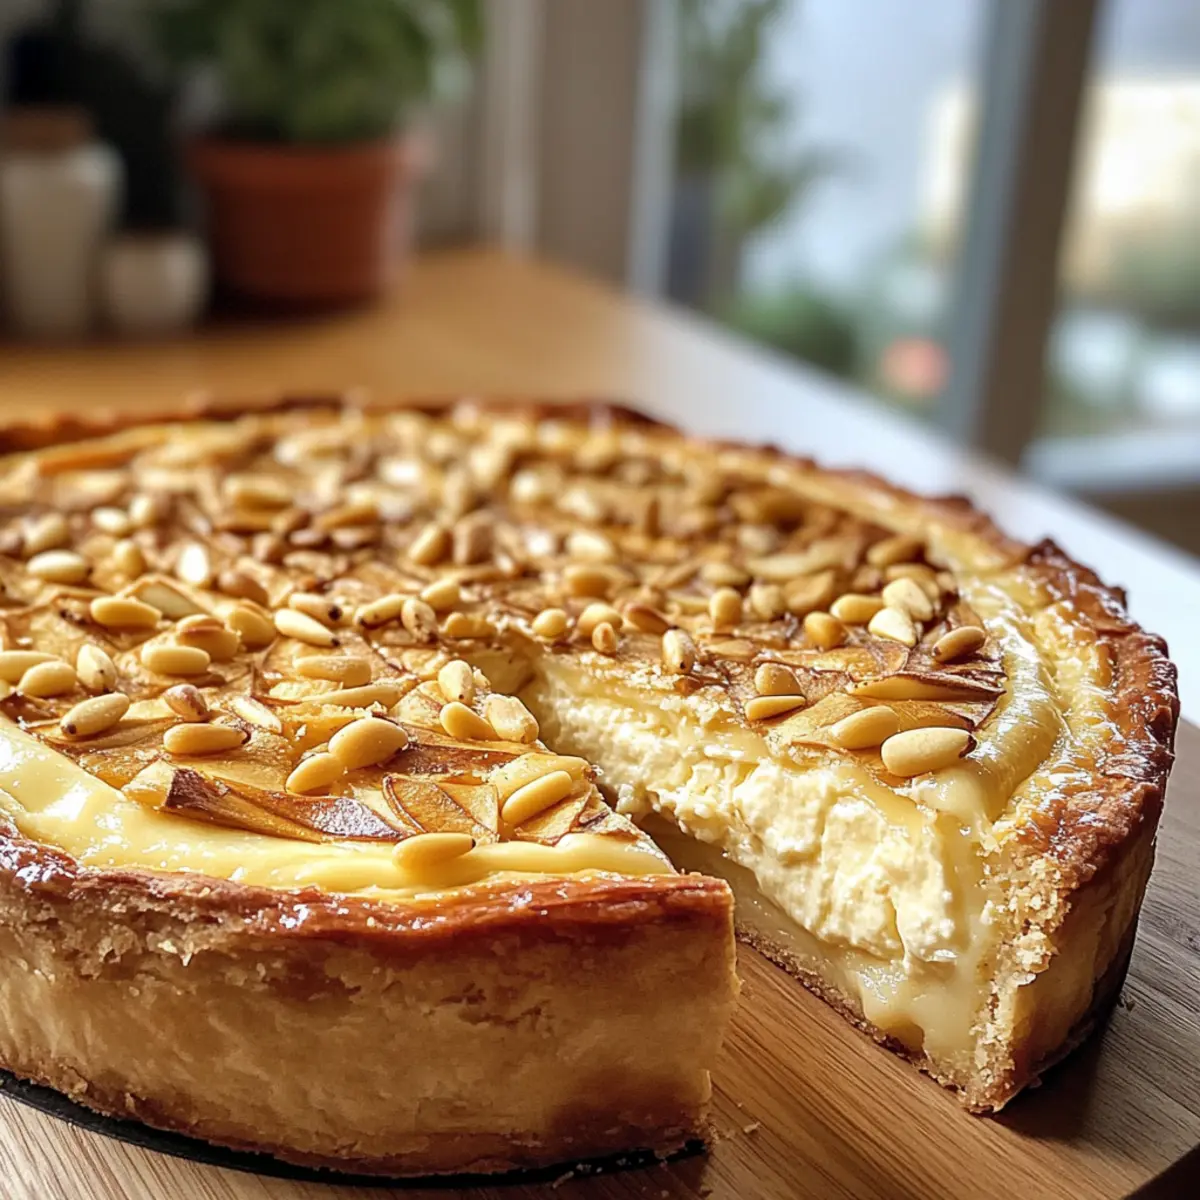
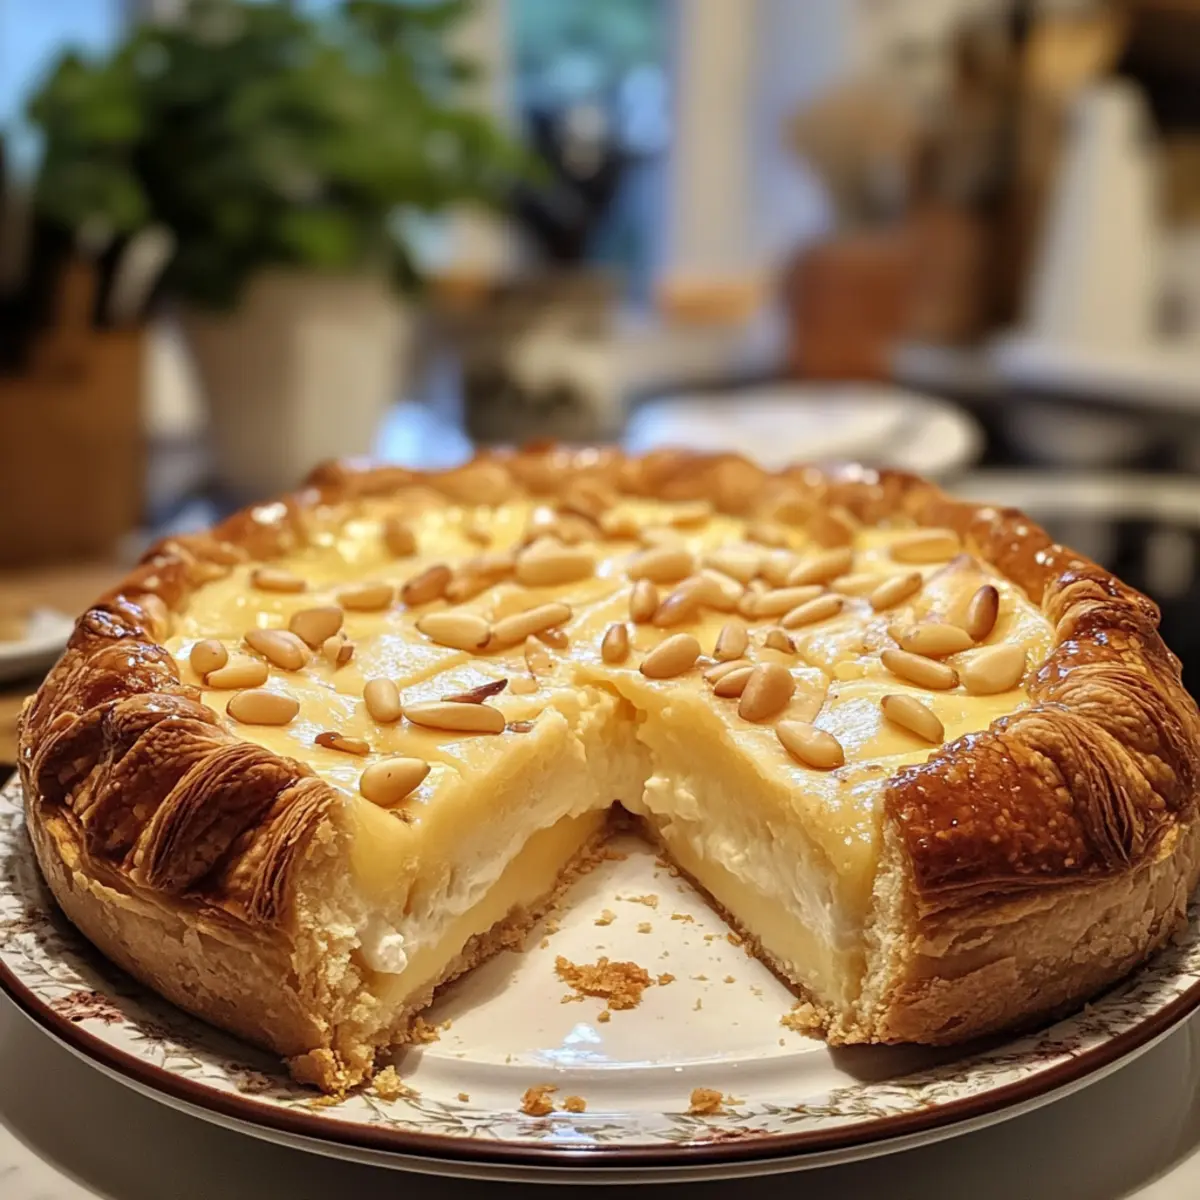
The aroma of freshly baked pastries often transports me back to my grandmother’s kitchen, where the world seemed to pause at the sight of her beloved Italian Torta della Nonna. This traditional dessert, brimming with silky custard and topped with crunchy pine nuts, is a celebration of authenticity and warmth in every bite. Not only is it straightforward to whip up, making it a perfect weeknight treat, but it’s also a showstopper at gatherings, leaving your friends and family in awe. If you’re ready to bring a slice of Italian heritage into your home, let’s dive into the delightful nuances of crafting this classic Torta della Nonna. What twist will you put on it today?
Why is Torta della Nonna So Special?
Authentic Flavor: The traditional combination of custard and pastry really shines through, making it a true Italian delight.
Easy to Create: Even novice bakers can impress with this straightforward recipe that requires minimal ingredients and skills.
Versatile Options: With ideas like adding chocolate chips or different nuts, you can customize the tart to suit your taste.
Perfect for Any Occasion: Whether it’s a family gathering or casual get-together, this dessert is sure to impress your guests and bring everyone together.
Time-Saving Delight: It can be prepared ahead of time, ensuring you spend less time in the kitchen and more time enjoying life!
Cultural Connection: This dessert tells a story of love and family, perfect for sharing memories at your next gathering. If you love classic flavors, you might also enjoy making homemade whipped cream to complement your Torta della Nonna.
Italian Torta della Nonna Ingredients
• Here’s everything you need for this delightful dessert!
For the Pastry
- All-Purpose Flour – Forms the base of the pastry; gluten-free flour can be used for a gluten-free option.
- Unsalted Butter – Provides richness and tenderness; vegan butter is a great substitute for a dairy-free version.
- Granulated Sugar – Sweetens both the pastry and custard; you can substitute it with coconut sugar for a healthier alternative.
- Large Egg – Binds the pastry together; aquafaba works as an excellent vegan substitute.
- Vanilla Extract – Enhances the flavor of both the pastry and custard; opt for pure vanilla for the best taste.
- Salt – Balances the sweetness; necessary for perfect flavor.
For the Custard
- Whole Milk – Creates a creamy custard; you can swap it with almond milk for a non-dairy version.
- Large Egg Yolks – Add richness and help thicken the custard; you can use a second egg if yolks are unavailable.
- Cornstarch – Acts as a thickening agent for the custard; arrowroot powder can be a suitable substitute.
- Lemon Zest – Infuses a bright, citrus flavor into the custard; lime zest can make a refreshing twist.
- Unsalted Butter (for Custard) – Adds creaminess to the custard; consider using vegan butter for a dairy-free option.
For the Toppings
- Pine Nuts or Sliced Almonds – Provide a crunchy topping; feel free to swap with chopped walnuts or pecans for variation.
- Powdered Sugar – Used for dusting the tart before serving; can be omitted or replaced with a sugar substitute.
Get ready to bake this heavenly Italian Torta della Nonna and leave your loved ones mesmerized!
Step‑by‑Step Instructions for Italian Torta della Nonna
Step 1: Make Pastry
In a spacious mixing bowl, combine diced cold unsalted butter, all-purpose flour, granulated sugar, a large egg, egg yolk, vanilla extract, and a pinch of salt. Use your hands or a pastry cutter to mix these ingredients together until a smooth dough forms, about 5–7 minutes. The mixture should hold together without being sticky, showcasing the classic pastry foundation for your Italian Torta della Nonna.
Step 2: Chill Dough
Once your dough is ready, wrap it in plastic wrap and refrigerate for at least 30 minutes. This chilling step is crucial for achieving a flaky texture in your pastry. While the dough rests, you can prepare the custard, ensuring everything comes together harmoniously when you assemble your Torta della Nonna.
Step 3: Prepare Custard
In a saucepan, gently heat whole milk over medium heat until it’s warm but not boiling—watch for small bubbles to form around the edges. Meanwhile, in a separate bowl, whisk together large egg yolks, granulated sugar, cornstarch, and lemon zest until the mixture is smooth and pale. This creates the creamy custard filling that is a hallmark of the Italian Torta della Nonna.
Step 4: Combine Mixtures
Gradually pour the warm milk into the egg mixture, whisking continuously to prevent the eggs from curdling. After fully integrating the milk, return this mixture to the saucepan and cook over medium heat. Stir constantly until the custard thickens and coats the back of a spoon, usually around 5–7 minutes. You should see bubbles forming as the custard reaches its perfect velvety consistency.
Step 5: Cool Custard
Once the custard has thickened, remove it from the heat and transfer it to a bowl. Cover the surface with plastic wrap to prevent a skin from forming, and allow it to cool to room temperature. This cooling process takes about 30 minutes, ensuring your custard is ready to fill the pastry without compromising its texture.
Step 6: Preheat Oven
While the custard cools, preheat your oven to 350°F (175°C). Make sure your oven is fully heated before baking, as this temperature is perfect for achieving a golden crust while ensuring the custard sets beautifully inside the pastry of your Italian Torta della Nonna.
Step 7: Roll Out Dough
After chilling, take the dough out of the refrigerator and let it sit for a few minutes at room temperature. On a lightly floured surface, roll it out to about ¼ inch thick, ensuring it’s uniformly made. The dough should be pliable and easy to work with, ready to create a beautiful crust for your tart.
Step 8: Prepare Tart Pan
Grease a tart pan with some butter to prevent sticking. Carefully line the pan with the rolled-out pastry, ensuring it fits snugly against the edges. Use a fork to prick the base lightly, allowing steam to escape while baking. This step will help in maintaining a crisp pastry base in your Italian Torta della Nonna.
Step 9: Fill Tart
Once the pastry is prepped, pour the cooled custard into the pastry shell, spreading it evenly. This creamy filling is the heart of your Torta della Nonna, so be sure to fill it to the edges for maximum flavor in every slice.
Step 10: Add Toppings
Sprinkle pine nuts or sliced almonds generously over the custard. These toppings provide a delightful crunch that complements the smooth custard. Feel free to customize with other nuts if you wish, adding your personal touch to this Italian classic.
Step 11: Bake
Carefully place the tart into the preheated oven and bake for 30-35 minutes. The pastry should turn a lovely golden brown, and the custard should be set, much like a light jiggle in the center. The delightful aroma filling your kitchen will be the perfect indicator that your Italian Torta della Nonna is nearly complete.
Step 12: Cool Completely
Once baked, remove your Torta della Nonna from the oven and allow it to cool in the pan for about 30 minutes. This cooling step helps the tart set properly, making it easier to transfer and slice without losing any of that luscious custard filling.
Step 13: Dust with Powdered Sugar
Before serving, gently dust the cooled tart with powdered sugar for an elegant finish. It not only adds a touch of sweetness but also enhances the presentation of your Italian Torta della Nonna, making it as visually delightful as it is delicious.
Expert Tips for Italian Torta della Nonna
-
Chill Your Butter: Chilled butter is key to a flaky pastry. Soft butter leads to a dense crust—this is a common mistake to avoid!
-
Whisking Technique: When adding hot milk to the egg mixture, whisk vigorously. This prevents the eggs from scrambling, ensuring a smooth custard.
-
Watch the Custard: Avoid overcooking the custard as it can curdle. Cook until it’s just thick enough to coat the spoon, then remove from heat.
-
Cool Properly: Always allow the tart to cool completely before slicing. This ensures clean cuts and helps maintain the beautiful custard filling in your Italian Torta della Nonna.
-
Experiment with Flavors: Feel free to add different flavors like almond extract or orange zest to customize your custard! This can elevate your dessert experience.
Make Ahead Options
These Italian Torta della Nonna are perfect for busy home cooks looking to save time without sacrificing flavor. You can prep the pastry dough and custard up to 24 hours in advance, making your baking experience smoother. Simply prepare the dough, wrap it tightly in plastic, and refrigerate it. Similarly, the custard can be cooled and stored in the fridge in an airtight container. To ensure the tart maintains its wonderful texture, avoid filling the pastry with custard until just before baking. When ready to serve, roll out the chilled dough, fill it with the custard, and bake; you’ll have a delectable dessert with minimal effort that retains that fresh-from-the-oven taste!
Italian Torta della Nonna Variations
Feel free to adjust this delightful dessert to suit your tastes and dietary needs!
- Dairy-Free: Use almond milk and vegan butter for the custard and pastry to enjoy a dairy-free version.
- Gluten-Free: Substitute all-purpose flour with a gluten-free flour blend for a gluten-free treat.
- Citrus Breezy: Replace lemon zest with fresh orange zest for a sweet citrus twist that brightens the custard.
- Nutty Delight: Experiment with toppings by swapping pine nuts for sliced almonds or crushed pistachios to explore new textures.
- Choco-Lover: Stir in chocolate chips into the custard for an indulgent chocolate variation that will satisfy any sweet tooth.
- Sugar Swap: Opt for coconut sugar instead of granulated sugar to add a deeper flavor with a hint of caramel sweetness.
- Warm Spices: Add a pinch of cinnamon or nutmeg to the custard for a warm and cozy seasonal touch.
- Fruity Addition: Try folding in chopped fresh berries into the cooled custard before filling the pastry for a vibrant, fruity surprise.
If you’re also interested in enhancing the flavor, consider serving your Torta della Nonna with a dollop of homemade whipped cream or a side of fresh berries for an added pop of freshness!
How to Store and Freeze Italian Torta della Nonna
Room Temperature: Once cooled, the tart can sit at room temperature for a couple of hours, but it’s best to store it in the fridge for longevity.
Fridge: Keep leftovers covered in an airtight container in the refrigerator for up to 3 days. This helps maintain the beautiful texture of the custard of your Italian Torta della Nonna.
Freezer: If you want to enjoy it later, cover the tart tightly in plastic wrap and then aluminum foil for up to one month. Thaw in the fridge overnight before serving.
Reheating: To reheat, place slices in an oven at 300°F (150°C) for about 10 minutes until warmed through. This keeps the pastry crisp while warming the custard gently.
What to Serve with Italian Torta della Nonna
Indulging in a slice of this creamy delight opens the door to a world of delicious pairings that elevate your dessert experience.
-
Whipped Cream: A dollop of freshly whipped cream adds a light and airy companion, perfectly balancing the rich custard taste.
-
Fresh Berries: Sweet strawberries or tart raspberries brighten the plate, introducing a burst of freshness that complements the creamy texture beautifully.
-
Espresso or Coffee: The bold, rich flavor of espresso enhances the sweetness of the Torta as it cuts through the richness—perfect for a delightful afternoon treat.
-
Almond Biscotti: Crunchy biscotti offer a satisfying crunch, making a wonderful side treat to dip into your coffee alongside the Torta.
-
Zesty Citrus Salad: A refreshing citrus salad brings a tangy contrast that balances the sweetness, enhancing every bite of the Torta with a revitalizing twist.
-
Chocolate Sauce: A drizzle of silky chocolate sauce adds an extra layer of decadence, inviting chocolate lovers to savor an enriched dessert experience.
Embrace these delightful options as you savor each slice of your Italian Torta della Nonna, creating a meal that is as memorable as it is delicious!
Italian Torta della Nonna Recipe FAQs
How do I choose the right ripeness of eggs for the pastry?
Absolutely! For the best results in your Italian Torta della Nonna, use fresh eggs that are within their expiry date. When cracking the eggs, look for yolks that are bright yellow and intact, indicating they are fresh. This ensures a richer flavor and better binding for the pastry.
What’s the best way to store leftover Torta della Nonna?
After baking, cover your Torta della Nonna with plastic wrap or store it in an airtight container in the refrigerator for up to 3 days. To maintain its flavor and texture, avoid leaving it out at room temperature for too long. Enjoying it chilled is just as delightful!
Can I freeze the Torta della Nonna? If so, how?
Yes, indeed! To freeze your Italian Torta della Nonna, first ensure it is completely cooled. Wrap the tart tightly in plastic wrap followed by aluminum foil, which protects it from freezer burn. You can keep it frozen for up to 1 month. When you’re ready to enjoy it, thaw the tart in the fridge overnight and reheat if desired for the best texture.
What should I do if my custard doesn’t thicken?
No worries! If your custard doesn’t thicken as expected, it might need a bit more cooking. Return it to the saucepan and heat over medium-low heat while constantly stirring until you see that it begins to coat the back of a spoon. If it’s still thin after a few minutes, you can create a slurry with a mixture of cornstarch and cold milk, whisk it into the custard, and cook it for another minute until thickened.
Is there a way to make Torta della Nonna allergy-friendly?
Very much so! To adapt your Torta della Nonna for dietary needs, you can use gluten-free all-purpose flour for the pastry, and for a dairy-free option, substitute unsalted butter with vegan butter and whole milk with almond milk. Ensure to use aquafaba as an egg replacement. This way, you can enjoy the classic flavor while accommodating various dietary restrictions!
Heavenly Italian Torta della Nonna You’ll Love to Make
Ingredients
Equipment
Method
- Combine diced cold unsalted butter, all-purpose flour, granulated sugar, large egg, vanilla extract, and a pinch of salt in a mixing bowl. Mix until a smooth dough forms, about 5–7 minutes.
- Wrap the dough in plastic wrap and refrigerate for at least 30 minutes.
- In a saucepan, gently heat whole milk over medium heat until warm. In a separate bowl, whisk together egg yolks, granulated sugar, cornstarch, and lemon zest until smooth.
- Gradually pour the warm milk into the egg mixture, whisking continuously. Return to the saucepan and cook until the custard thickens, about 5–7 minutes.
- Remove from heat, transfer to a bowl, and cover with plastic wrap. Allow to cool to room temperature.
- Preheat your oven to 350°F (175°C).
- Roll out chilled dough to about ¼ inch thick on a floured surface.
- Grease a tart pan with butter and line it with the rolled-out pastry. Prick the base with a fork.
- Pour the cooled custard into the pastry shell.
- Sprinkle pine nuts or sliced almonds over the custard.
- Bake for 30-35 minutes until golden brown and the custard is set.
- Cool in the pan for about 30 minutes before dusting with powdered sugar and serving.
Leave a Reply