
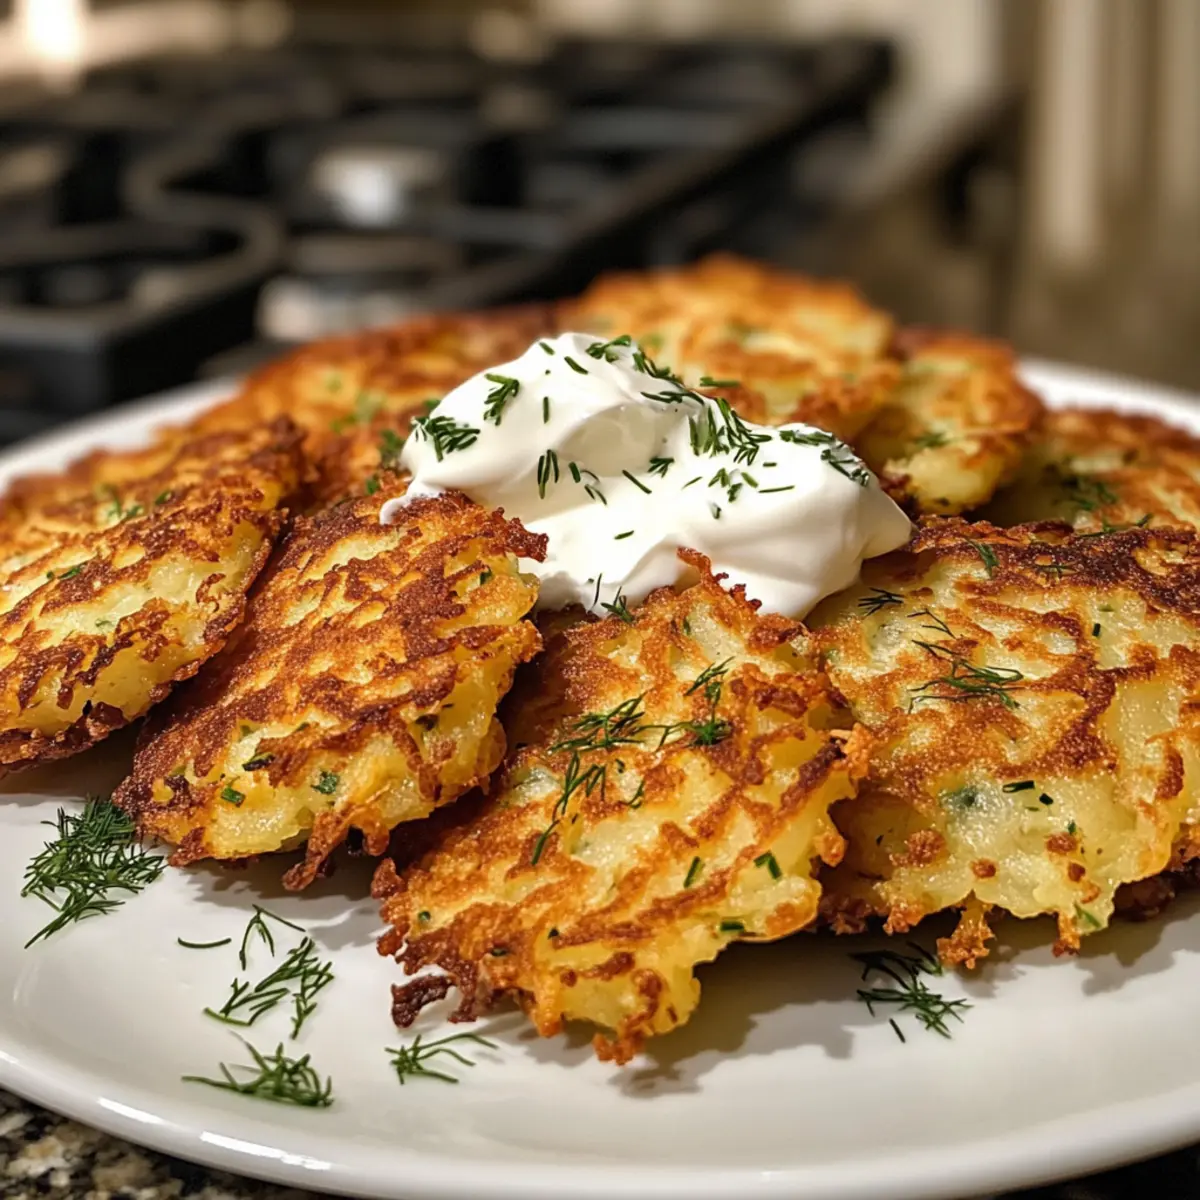
As the aroma of sizzling potatoes fills the air, I find myself transported to cozy kitchens where families gather to celebrate tradition. There’s something undeniably special about making Crispy Classic Potato Latkes—these delightful little pancakes are not just a holiday staple but a versatile delight for any day of the week! With just five simple ingredients, this easy recipe is quick to whip up, making it perfect as a snack, a savory breakfast, or a gratifying side dish. What truly sets these latkes apart is their irresistible crunch paired with the option to customize them to your heart’s content, whether you choose to swap in sweet potatoes or add a medley of toppings. Are you ready to add a tasty twist to your kitchen routine? Let’s dive in and create these delicious latkes together!
Why Are Crispy Classic Potato Latkes So Special?
Flavorful Tradition: These latkes bring warmth and nostalgia, perfect for any gathering or just a cozy night in.
Easy to Make: With just five ingredients, you can whip up a batch in no time, making them a great way to escape the fast-food routine.
Customizable Options: Try them with sweet potatoes for a sweet twist or serve with unique toppings like tzatziki or applesauce.
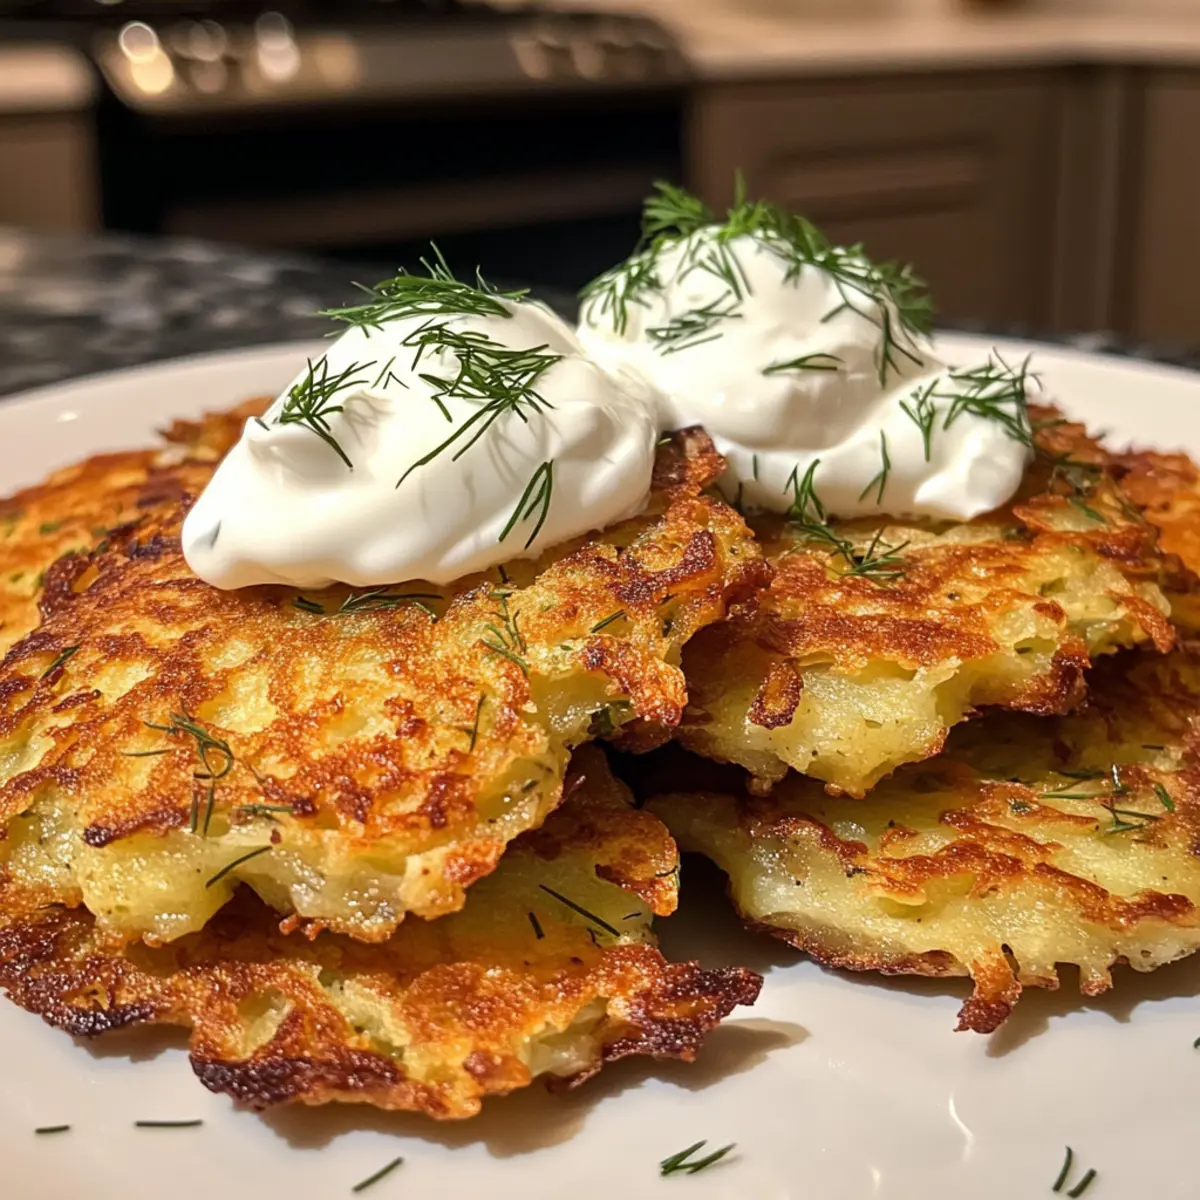
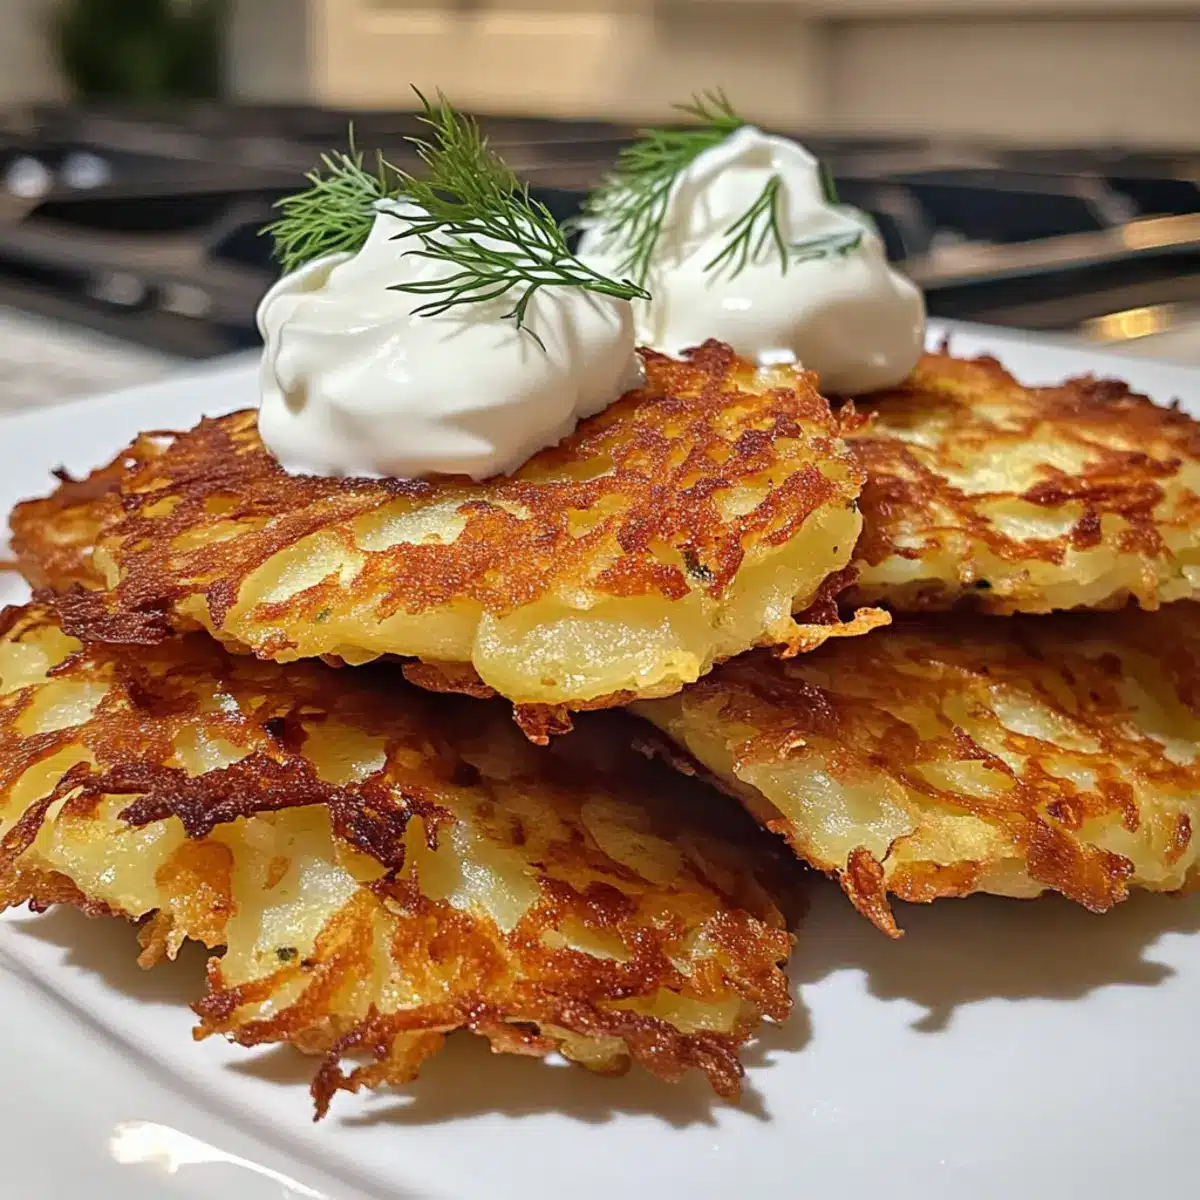
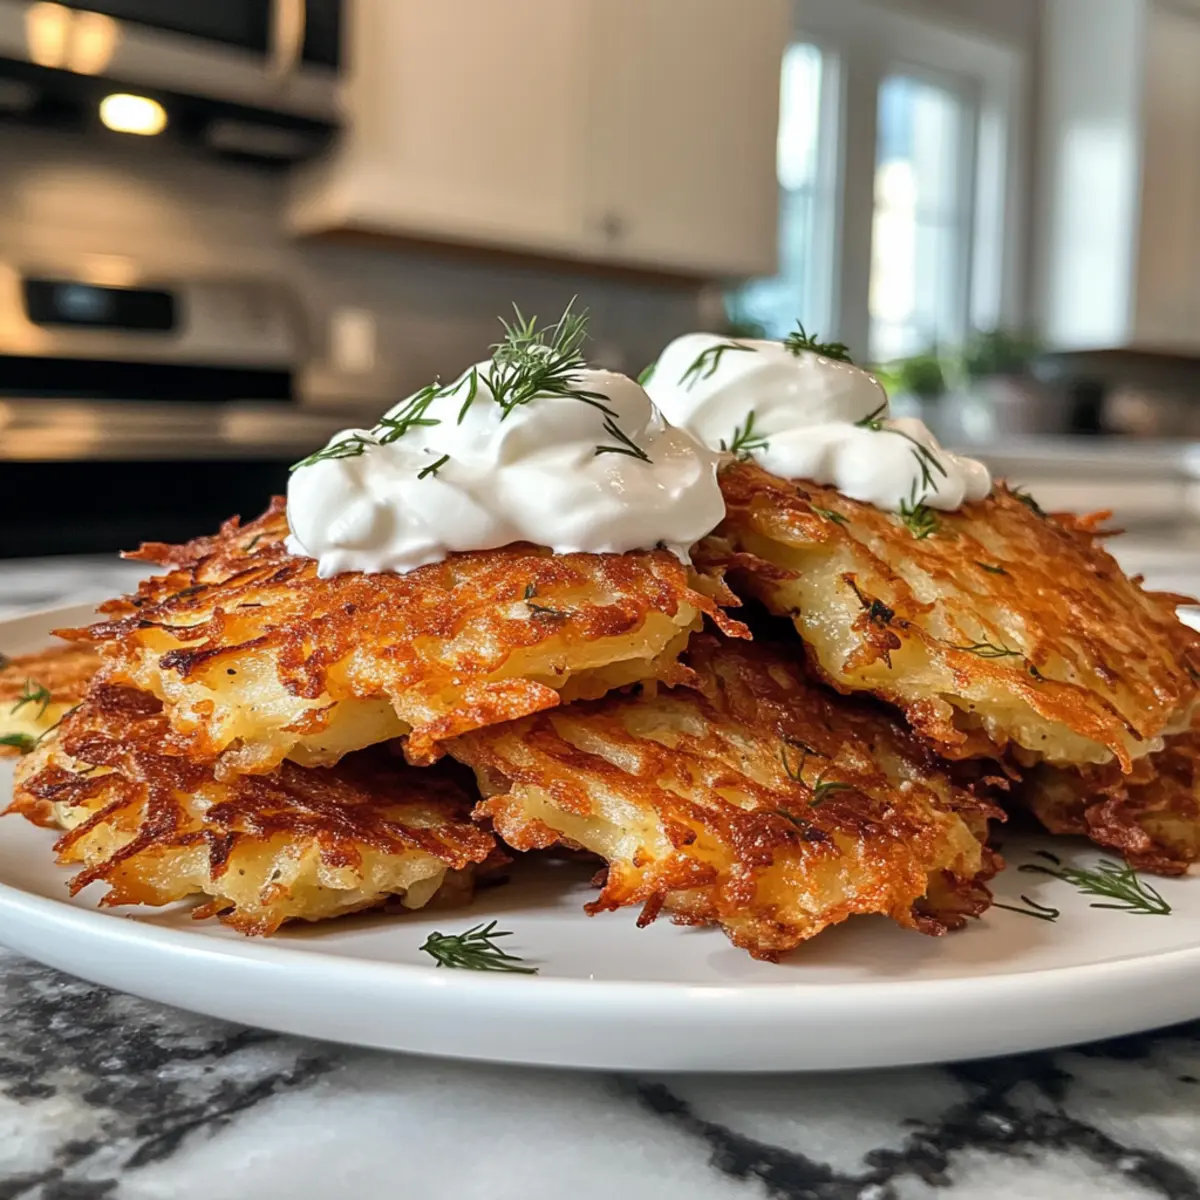
Crunchy Delight: Each latke features a superbly crispy exterior that pairs beautifully with a tender inside, reminiscent of hash browns.
Versatile Serving: Enjoy them as a snack, breakfast, or side dish, making them an excellent addition to any meal. Dive into your culinary creativity and enjoy these homemade delights, perhaps alongside my Honey Roasted Potatoes for a well-rounded meal!
Crispy Classic Potato Latkes Ingredients
For the Latkes
- Yukon Gold Potatoes (1 ½ lbs) – This is the main ingredient that gives structure and texture; Russet or sweet potatoes can be used for different flavors.
- Small Onion (1) – Adds a lovely flavor and moisture; shallots can be used for a milder taste.
- Large Eggs (2) – Serves as a binding agent to keep the latkes together; for vegan latkes, substitute with a flax egg.
- Flour (2 tbsp) – Provides stability and structure; potato starch is a great gluten-free option.
- Kosher Salt (¾ tsp) – Enhances the overall flavor; feel free to adjust according to your taste.
- Baking Powder (½ tsp) – Helps the latkes rise slightly, giving them that fluffy texture.
- Avocado Oil or Canola Oil (½ cup) – For frying; olive oil offers a different but delicious flavor profile.
Optional Toppings
- Sour Cream or Yogurt (½ cup) – Adds a creamy richness; Greek yogurt is a protein-packed alternative.
- Fresh Dill, Chives, or Green Onions (2 tbsp) – Elevate the flavor; use any combination to customize your latkes.
Indulge in these Crispy Classic Potato Latkes that will surely delight your family and friends!
Step‑by‑Step Instructions for Crispy Classic Potato Latkes
Step 1: Preheat the Oven
Begin by preheating your oven to 250°F (120°C) and line a baking sheet with parchment paper. This will allow you to keep the cooked latkes warm while you continue frying the rest. Ensuring your oven is ready ahead of time is crucial for serving crispy Classic Potato Latkes that everyone will love.
Step 2: Shred the Vegetables
Using a food processor or a hand grater, shred the Yukon Gold potatoes and the small onion together until finely grated. You should have a fluffy mixture filled with both textures and flavors. This step is essential in giving the latkes that light and crispy exterior once fried.
Step 3: Squeeze Out Excess Liquid
Transfer the shredded potato and onion mixture to a cheesecloth or a clean kitchen towel. Firmly twist and squeeze out as much liquid as possible; this is key to ensuring your latkes turn out crispy. Place the drained mixture into a large mixing bowl, ready for the next steps.
Step 4: Combine Ingredients
In the bowl with your drained mixture, add the whisked large eggs, flour, baking powder, and kosher salt. Stir well to combine all the ingredients until they form a cohesive and slightly sticky batter. This mixture is the heart of your Crispy Classic Potato Latkes, binding everything together for frying.
Step 5: Heat the Oil
In a large skillet, pour in the avocado oil or canola oil. Heat it over medium-high heat until shimmering, around 350°F (175°C). A quick test for readiness is dropping a small spoonful of the latke mixture into the oil; it should sizzle immediately. Maintaining the right oil temperature is crucial for achieving that golden brown color.
Step 6: Fry the Latkes
Using a spoon or your hands, scoop about 1½ to 2 tablespoons of latke mixture into the hot skillet. Carefully flatten them with a spatula to form pancake shapes. Fry each latke for about 2-3 minutes per side, or until they are golden brown and crispy. Keep an eye on them, flipping as necessary.
Step 7: Drain and Keep Warm
Once the latkes are perfectly golden on both sides, use a slotted spoon to remove them from the skillet. Place them on paper towels to drain excess oil, and then transfer to the prepared baking sheet in the oven to keep warm while you continue frying the remaining mixture.
Step 8: Serve with Toppings
After you’ve finished frying all the latkes, serve them immediately while they’re hot and crispy. Pair your delicious Crispy Classic Potato Latkes with optional toppings like sour cream, fresh dill, or any favorite garnishes. These delightful little pancakes are perfect for any occasion, inviting everyone to enjoy!
Crispy Classic Potato Latkes Variations
Feel free to unleash your creativity and customize these latkes to make them truly your own!
-
Sweet Potato Twist: Substitute Yukon Gold potatoes with sweet potatoes for a unique sweetness that dazzles the palate.
-
Herbaceous Delight: Add fresh chives or cilantro to the mixture for a burst of freshness that complements the crispy exterior.
-
Vegan Version: Replace large eggs with a flax egg to make these latkes vegan-friendly without sacrificing flavor or texture.
-
Gluten-Free Option: Swap out the flour for potato starch to enjoy gluten-free crispy classic latkes that everyone can indulge in.
-
Zesty Kick: Incorporate Cajun seasoning or smoked paprika into the batter for a delightful spice that elevates the flavor profile.
-
Delicious Dips: Serve these latkes with a variety of dips like tzatziki, hummus, or applesauce to introduce a flavorful twist at your gathering.
-
Cheesy Goodness: Mix in finely shredded cheese, such as cheddar or mozzarella, for an added richness that melts beautifully inside the latkes.
-
Spicy Alternative: For those who crave heat, add finely chopped jalapeños or a sprinkle of cayenne pepper for a spicy surprise in each bite.
The possibilities are endless, and I encourage you to explore flavors that excite your taste buds! Why not pair these latkes with my Balsamic Thyme Potato for a lovely and diverse meal?
Expert Tips for Crispy Classic Potato Latkes
-
Maximize Crispiness: Ensure to squeeze out as much liquid as possible from the potato and onion mixture. This step is vital to achieving perfectly crispy latkes.
-
Don’t Overcrowd the Skillet: Fry the latkes in small batches to maintain oil temperature. Overcrowding can lead to soggy latkes instead of the desired crunch.
-
Use Fresh Ingredients: Using fresh Yukon Gold potatoes and onions not only enhances flavor but also contributes to a better texture in your crispy classic potato latkes.
-
Try Different Oils: Experiment with avocado or canola oil for frying, but don’t hesitate to use olive oil for a unique flavor profile. Each oil brings its own twist to the latkes!
-
Customize Your Mix: Feel free to fold in chopped herbs or spices like chives or Cajun seasoning for an extra flavor kick—making your crispy classic potato latkes truly your own!
-
Serve Immediately: For the best texture, serve the latkes right after frying. If keeping warm in the oven, avoid covering them to prevent steam from making them soggy.
How to Store and Freeze Crispy Classic Potato Latkes
Fridge: Store cooled latkes in an airtight container in the refrigerator for up to 2 days. For optimum freshness, ensure they are completely cool before sealing.
Freezer: Freeze individual latkes in a single layer on a baking sheet for 1-2 hours, then transfer them into a freezer-safe container or bag. They can be frozen for up to 2 weeks.
Reheating: To reheat, place latkes in a skillet with a little oil over medium heat to maintain their crispiness. Alternatively, reheat in a 350°F oven for about 10-15 minutes, turning halfway through.
Prep in Advance: Make a batch of crispy classic potato latkes ahead of time for festive gatherings or busy weeknights, allowing for convenient reheating later!
What to Serve with Crispy Classic Potato Latkes
Imagine a cozy gathering around the table, where comforting flavors come together to create an unforgettable meal experience.
-
Apple Sauce: The sweet and tangy apple sauce perfectly complements the savory latkes, balancing their richness for a delightful bite.
-
Sour Cream or Greek Yogurt: A dollop of creamy sour cream or tangy Greek yogurt adds a wonderful richness, enhancing the flavor profile of each crispy latke.
-
Smoked Salmon: Luxurious smoked salmon on top of latkes provides a sophisticated twist, bringing salty and smoky flavors that elevate the dish.
-
Roasted Brussels Sprouts: These caramelized Brussels sprouts contribute a crunchy texture and earthy flavor, making for a wonderful contrast on your plate.
-
Poached Eggs: Top your latkes with a perfectly poached egg for a delightful brunch option, where the runny yolk adds a luscious richness that’s hard to resist.
-
Fresh Herb Salad: Toss together a vibrant salad of mixed greens, dill, and chives to bring freshness and brightness, cutting through the fried goodness of the latkes.
-
Sweet Potato Latkes: For a fun twist, serve alongside sweet potato latkes for variety! The added sweetness and different textures provide a delicious contrast—a perfect duo!
-
Chardonnay or Light Beer: Pair your meal with a chilled glass of Chardonnay or a light beer; their flavors beautifully balance the richness of the latkes, enhancing the entire dining experience.
Bring the warmth of tradition to your table with these delightful pairings!
Make Ahead Options
These Crispy Classic Potato Latkes are perfect for meal prep enthusiasts! You can prepare the latke mixture in advance and refrigerate it for up to 24 hours. Simply shred the potatoes and onion as described, then combine with eggs, flour, baking powder, and salt. Store the mixture in an airtight container to keep it fresh. When you’re ready to enjoy your latkes, heat oil in a skillet, scoop the prepped mix, and fry until golden brown for that irresistible crunch. This way, you save time on busy weeknights while savoring the same deliciousness as fresh-made latkes!
Crispy Classic Potato Latkes Recipe FAQs
What type of potatoes should I use for Crispy Classic Potato Latkes?
Using Yukon Gold potatoes is recommended for their creamy texture and flavor, but Russet or sweet potatoes can also provide tasty variations. Sweet potatoes add a lovely sweetness, while Russet potatoes are great for a fluffier texture!
How should I store leftover latkes?
To store cooled crispy latkes, place them in an airtight container in the refrigerator for up to 2 days. Make sure they are completely cool before sealing to maintain their crispiness. You can also layer them with parchment paper to keep them separate if desired.
Can I freeze crispy latkes?
Absolutely! To freeze your latkes, first arrange them in a single layer on a baking sheet and freeze for about 1-2 hours. Once they’re firm, transfer them to a freezer-safe container or bag. They can be stored this way for up to 2 weeks.
How do I reheat frozen latkes?
For the best results, reheat your frozen latkes in a skillet with a little oil over medium heat until hot and crispy, about 5-7 minutes. Alternatively, you can place them in a 350°F oven for 10-15 minutes, flipping halfway through to ensure they’re heated evenly.
What if my latkes are not crispy?
If your latkes aren’t crispy, it might be due to excess moisture in the potato mixture. Make sure to squeeze out as much liquid as possible before cooking. Also, avoid overcrowding your skillet; fry them in batches to maintain oil temperature for that perfect crunch.
Are these latkes suitable for a gluten-free diet?
Yes! You can easily make these crispy classic potato latkes gluten-free by substituting the all-purpose flour with potato starch or a certified gluten-free flour blend. It’s a wonderful way to enjoy this delicious treat while accommodating dietary needs!
Crispy Classic Potato Latkes: A Flavorful Tradition at Home
Ingredients
Equipment
Method
- Preheat your oven to 250°F (120°C) and line a baking sheet with parchment paper.
- Shred the Yukon Gold potatoes and the small onion together until finely grated.
- Transfer the shredded mixture to a cheesecloth or a clean kitchen towel and squeeze out excess liquid.
- In a large mixing bowl, combine the drained mixture with whisked eggs, flour, baking powder, and kosher salt.
- Heat avocado oil or canola oil in a large skillet over medium-high heat until shimmering (around 350°F / 175°C).
- Scoop about 1½ to 2 tablespoons of latke mixture into the skillet, flattening them to form pancake shapes.
- Fry each latke for about 2-3 minutes per side until golden brown and crispy.
- Use a slotted spoon to remove the latkes from the skillet, draining them on paper towels.
- Serve immediately with optional toppings like sour cream and fresh herbs.
Leave a Reply