
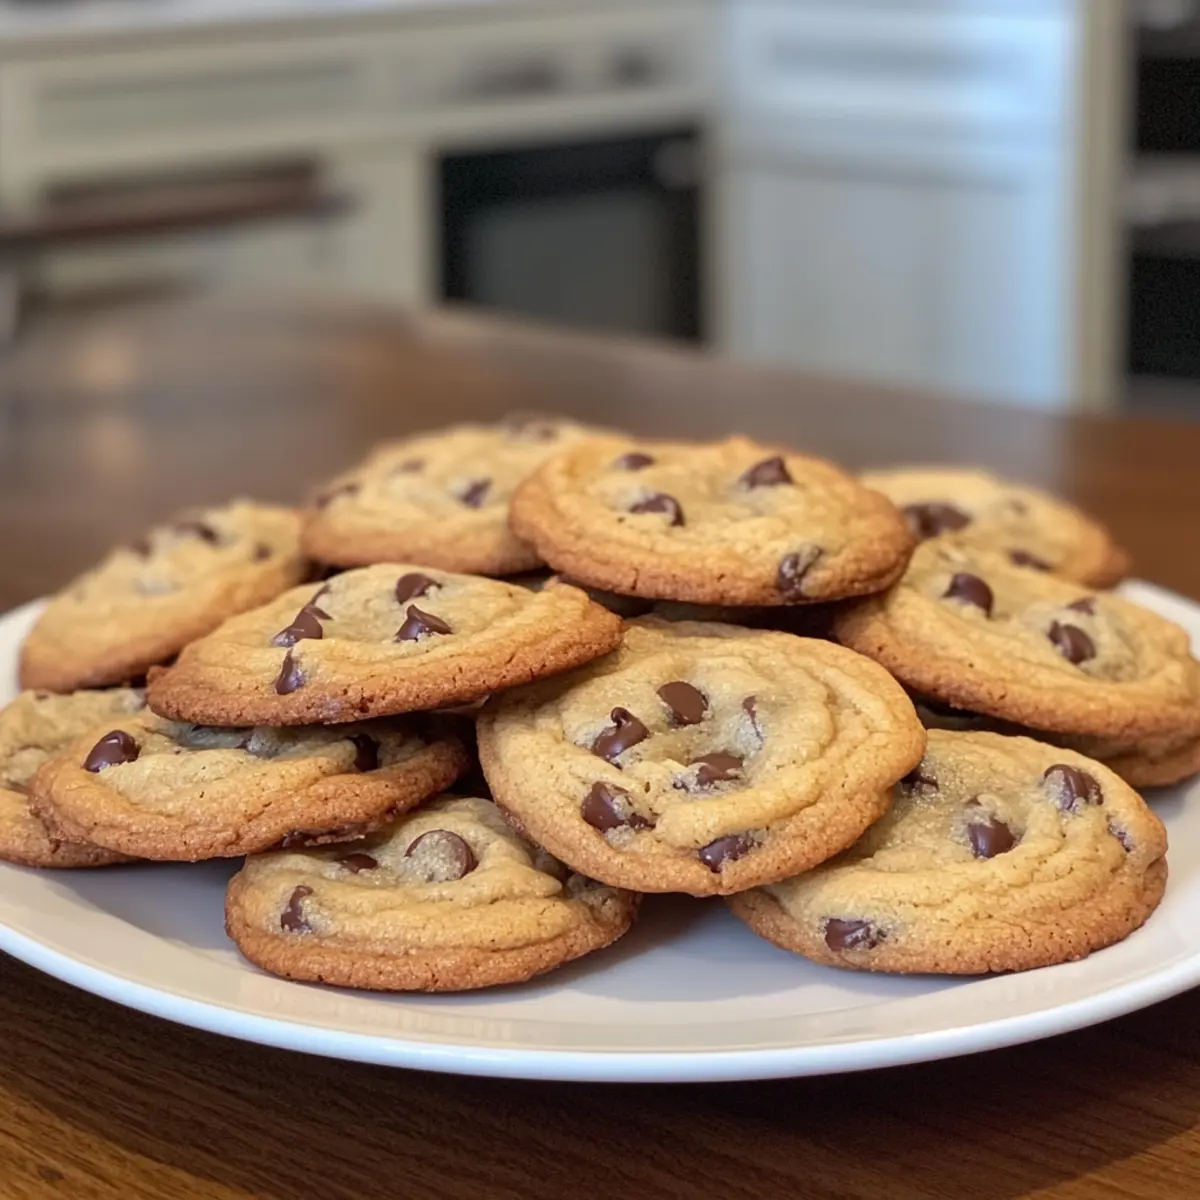
As I rummaged through my pantry the other day, I stumbled upon a forgotten bag of chocolate chips that had me dreaming of my childhood. The tantalizing nostalgia brought a rush of warmth, leading me to whip up a batch of Classic Chocolate Chip Cookies—perfectly chewy and irresistibly comforting. What I love most about this recipe is how quickly it comes together, allowing me to indulge in the simple joy of baking without fuss. Plus, it’s incredibly versatile, offering gluten-free and dairy-free options, so everyone can join the fun! Whether you’re looking to impress guests or just savor a cozy evening at home, these cookies are bound to become your new go-to. Want to know why these treats might just steal your heart? Let’s dive into the magic of baking together!
Why are These Cookies a Must-Try?
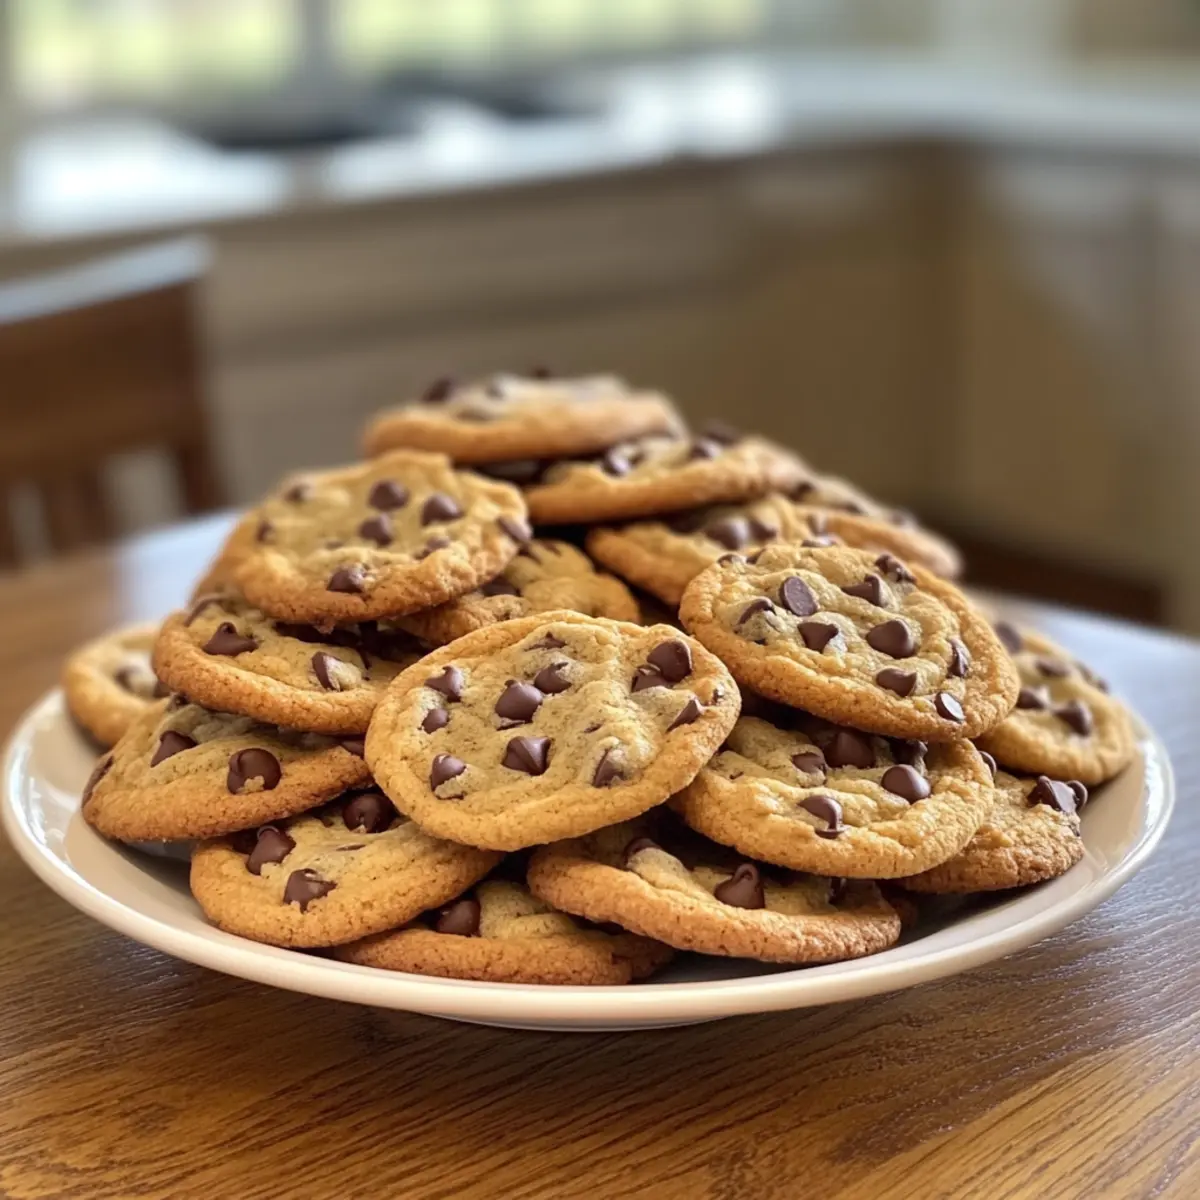
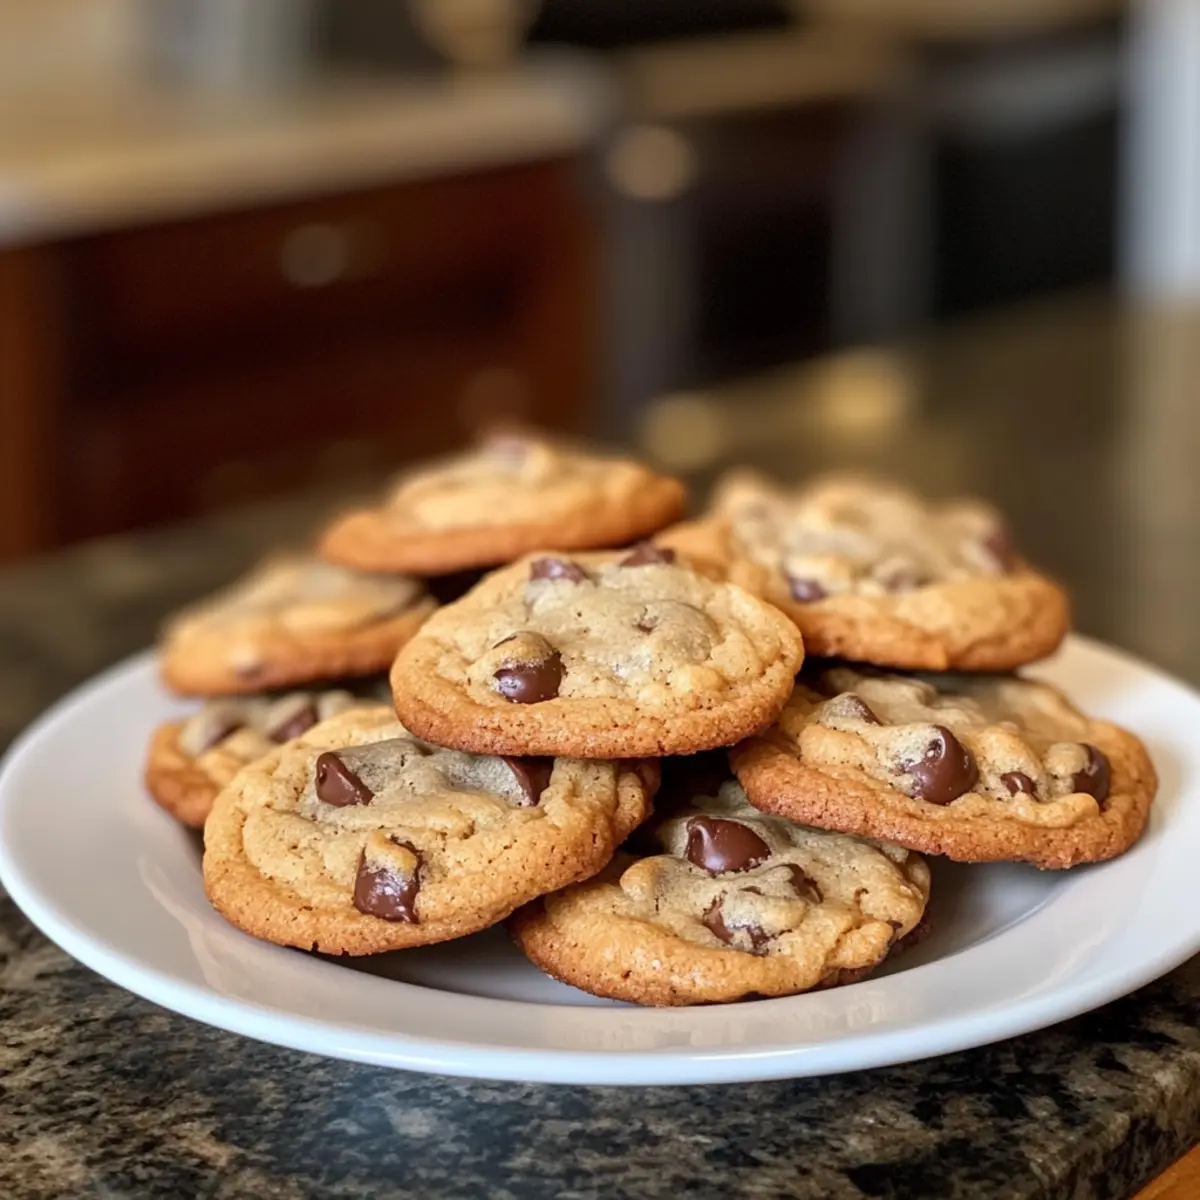
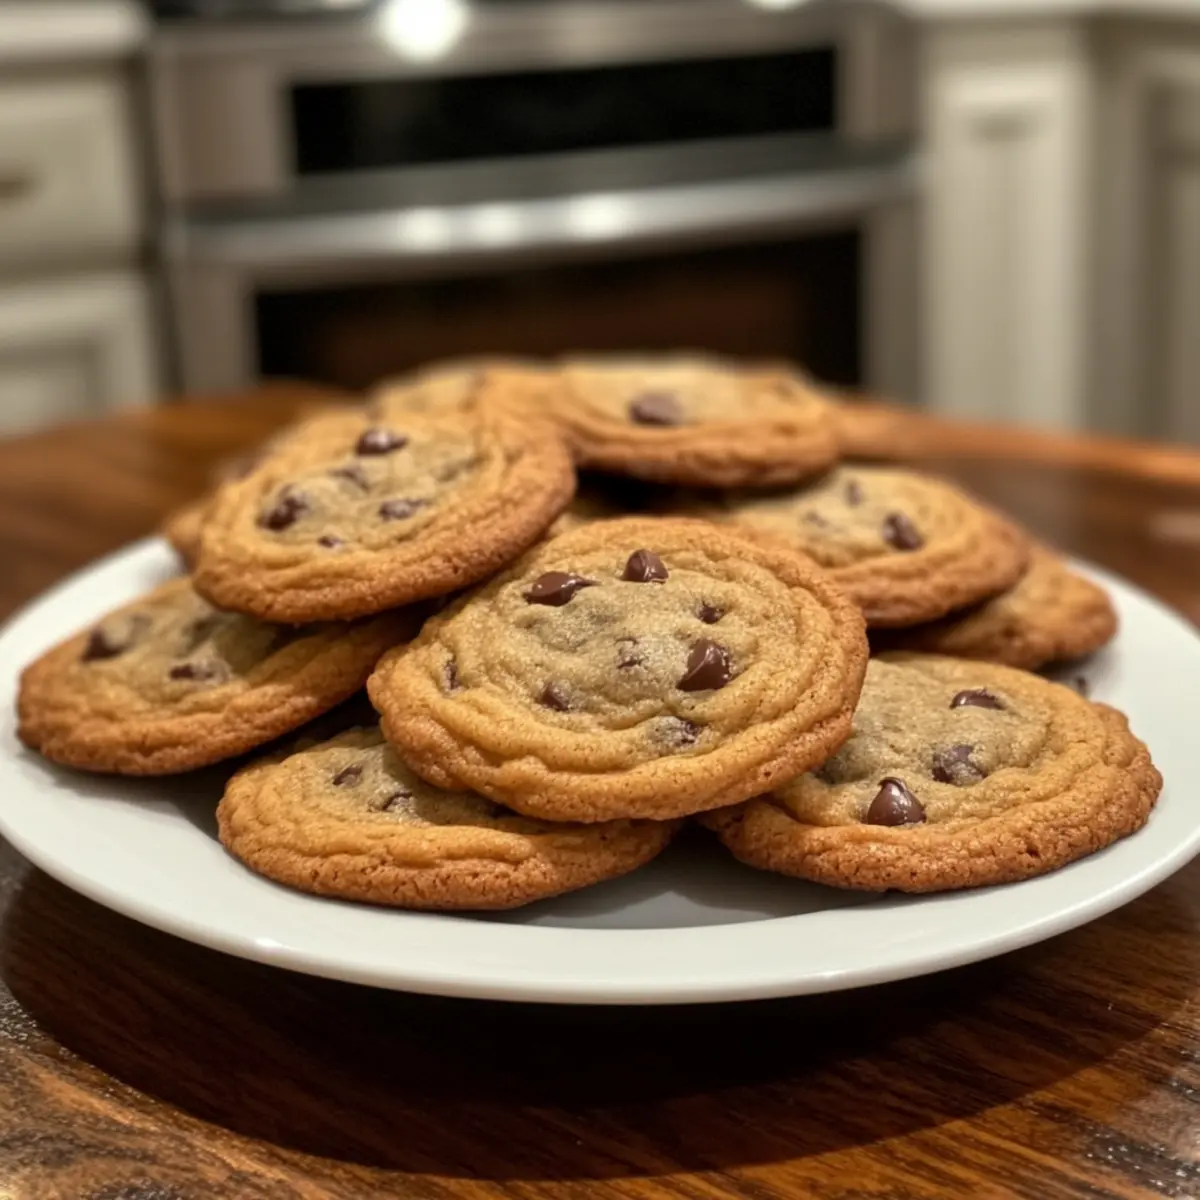
Irresistible flavor: These cookies are an absolute treat, with rich, melty chocolate chips in every bite.
Quick and easy: The straightforward process means you can whip them up in no time, making them perfect for a last-minute dessert or those lazy weekends.
Versatility: With options for gluten-free and dairy-free adaptations, everyone can enjoy these delights, regardless of dietary needs. You might also want to check out my gluten-free chocolate chip cookies for more inspiration!
Nostalgic comfort: Nothing brings back childhood memories quite like the smell of freshly baked cookies wafting through your home.
Crowd-pleaser: These cookies are sure to impress at gatherings, turning any occasion into a sweet celebration!
Classic Chocolate Chip Cookie Ingredients
Discover the perfect combination for delicious, homemade cookies!
For the Batter
- All-purpose flour – Provides structure; substitute with gluten-free flour blend for a gluten-free version.
- Brown sugar – Adds moisture and a rich caramel flavor; coconut sugar can be used for a lower GI option.
- Granulated sugar – Sweetness and crispiness; honey may be substituted for a different flavor profile.
- Baking soda – Leavening agent to help cookies rise; ensure it’s fresh for optimal results.
- Salt – Enhances flavor; can reduce or omit for low-sodium diets.
- Butter (or coconut oil for dairy-free) – Fat for richness and moisture; coconut oil provides a dairy-free option.
- Eggs – Bind ingredients and add moisture; flaxseed meal mixed with water can be an egg substitute for vegan diets.
- Vanilla extract – Enhances flavor; make sure to use pure extract for a more robust taste.
- Chocolate chips – Key ingredient for the classic taste; dark chocolate chips can be used for a richer flavor or to make it dairy-free.
Step‑by‑Step Instructions for Perfectly Classic Chocolate Chip Cookies
Step 1: Preheat the Oven
Begin by preheating your oven to 350°F (175°C). This essential step ensures your cookies bake evenly and develop that perfectly golden-brown exterior. As your oven heats, gather your baking sheets and line them with parchment paper for easy cookie transfer and cleanup.
Step 2: Mix Dry Ingredients
In a medium bowl, whisk together 2 ¼ cups of all-purpose flour, 1 teaspoon of baking soda, and ½ teaspoon of salt until well combined. This mix is crucial for structure, so make sure there are no lumps. Set this bowl aside, as you’ll be combining it with your wet ingredients shortly.
Step 3: Cream Butter and Sugars
In a large mixing bowl, beat together 1 cup of softened butter and ¾ cup each of brown sugar and granulated sugar until the mixture is light and fluffy, about 2-3 minutes. The sugars should dissolve and the blend should be pale in color. This creamy base adds richness to your classic chocolate chip cookies.
Step 4: Incorporate Eggs and Vanilla
Add in 2 large eggs, one at a time, mixing until fully incorporated. Then, stir in 1 teaspoon of pure vanilla extract. The eggs will help bind the ingredients while the vanilla will enhance the cookie’s flavor. The mixture should be smooth and glossy before moving to the next step.
Step 5: Combine Mixtures
Gradually add the dry ingredient mixture to the wet mixture, gently folding it in with a spatula or wooden spoon until just combined. This step is key to avoid over-mixing, which can result in tough cookies. Aim for the dough to be slightly sticky but cohesive for your loaded bravas tots.
Step 6: Fold in Chocolate Chips
Now, fold in 2 cups of chocolate chips into the dough, ensuring even distribution throughout. The chocolate should be nestled within the dough for that classic chocolate chip experience. This is your chance to use milk, dark, or even dairy-free chips depending on your preference or dietary needs.
Step 7: Scoop and Shape the Dough
Using a cookie scoop or two tablespoons, drop mounds of dough onto your prepared baking sheets, leaving at least 2 inches of space between each cookie. This allows room for spreading while baking. The dough should remain rounded and somewhat mounded for a nice, fluffy cookie shape.
Step 8: Bake the Cookies
Place your baking sheets in the preheated oven and bake for 10-12 minutes, or until the edges turn golden brown but the centers are still slightly soft. Keep an eye on them during the last few minutes to prevent over-baking, as you want that chewy texture for your classic chocolate chip cookies.
Step 9: Cool Before Serving
Once baked, allow the cookies to cool on the sheets for about 5 minutes. This resting time helps them set before transferring to a wire rack. Afterward, transfer them gently to the rack to finish cooling completely, ensuring each cookie maintains its shape and texture.
Storage Tips for Classic Chocolate Chip Cookies
- Room Temperature: Store cookies in an airtight container at room temperature for up to 1 week to maintain their chewy texture and flavor. Keeping them sealed helps prevent them from drying out.
- Fridge: If you live in a warmer climate, consider refrigerating cookies for up to 2 weeks. Ensure they are fully cooled before storing; this helps to seal in freshness.
- Freezer: Freeze cookies in a single layer on a baking sheet for 1-2 hours until firm, then transfer them to an airtight container or freezer bag for up to 3 months. Thaw at room temperature before enjoying your delicious loaded bravas tots.
- Reheating: To restore softness, microwave cookies for about 10-15 seconds. Alternatively, pop them in a preheated oven at 350°F (175°C) for 5-7 minutes.
Tips for the Best Classic Chocolate Chip Cookies
-
Room Temperature Butter: Ensure your butter is softened to room temperature for optimal mixing and that perfect buttery flavor.
-
Don’t Overmix: Mix the dough just until the ingredients are combined to avoid tough cookies. A light hand goes a long way in making your loaded bravas tots perfect!
-
Use Parchment Paper: Line your baking sheets with parchment paper to prevent any sticking and ensure even baking.
-
Watch the Bake Time: Bake just until the edges are golden brown; the centers should remain soft. This creates that delightful chewy texture everyone loves.
-
Cool Properly: Let the cookies cool on the baking sheet before transferring them to a wire rack. This helps them set and enhances their flavor!
What to Serve with Perfectly Classic Chocolate Chip Cookies
Indulging in warm, gooey cookies is a joy all on its own, but pairing them just right elevates the experience even further.
-
Cold Glass of Milk: Nothing beats the classic pairing of cookies and milk. The creaminess enhances the chocolate richness, making every bite melt in your mouth.
-
Vanilla Ice Cream: For a decadent treat, top a warm cookie with a scoop of vanilla ice cream. The cold creaminess and warmth create a heavenly contrast.
-
Fresh Berries: Enjoying tart strawberries or raspberries adds a refreshing pop of flavor that balances the sweetness of the cookies.
-
Coffee or Espresso: For adults, pairing these cookies with a rich coffee or a shot of espresso enhances their chocolatey goodness while providing a delightful contrast.
-
Caramel Sauce: Drizzling warm caramel sauce over your cookies adds a sweet, buttery layer that complements the chocolate wonderfully.
-
Chocolate Milkshake: For the ultimate sweet tooth satisfaction, pair your cookies with a thick chocolate milkshake. It’s a chocolate lover’s dream!
-
Nutty Granola: For a crunch factor, serve cookies with a side of nutty granola. The textures and flavors work harmoniously, offering a satisfying snack combo.
-
Fruit Compote: A warm fruit compote can introduce a tangy sweetness, cutting through the rich chocolate flavor and creating a well-rounded dessert.
-
Hot Chocolate: For chilly evenings, what could be better than a cup of decadent hot chocolate alongside your cookies? It’s like a warm hug in a mug!
-
Cheese Platter: For something unique, a small cheese platter with mild cheeses can contrast the sweetness and provide a savory element that surprises the palate.
Make Ahead Options
These Classic Chocolate Chip Cookies are perfect for meal prep enthusiasts looking to save time during busy weeks! You can prepare the cookie dough up to 3 days in advance by mixing all the ingredients together and storing it in an airtight container in the refrigerator. For even longer storage, you can scoop the dough into balls, freeze them on a baking sheet until solid, and then transfer them to a freezer-safe bag for up to 3 months. When you’re ready to bake, simply preheat the oven and bake the frozen dough straight from the freezer, adding an extra minute or two to the cooking time. This prep-ahead approach lets you enjoy freshly baked cookies anytime, just as delicious as if you made them from scratch!
Loaded Chocolate Chip Cookie Variations
Feel free to personalize these cookies with delightful twists and substitutes that suit your taste and dietary needs!
-
Gluten-Free: Substitute all-purpose flour with a gluten-free flour blend to enjoy these cookies without gluten.
-
Dairy-Free: Replace butter with coconut oil or dairy-free butter for a deliciously creamy texture without the dairy.
-
Nutty Delight: Add chopped walnuts or pecans for a satisfying crunch that complements the chocolate chips beautifully.
-
Sweet Twist: Try substituting granulated sugar with brown sugar for a richer, caramel-like flavor that enhances every bite.
-
Fruity Addition: Fold in dried cranberries or chopped dried apricots for a burst of fruity goodness in each cookie.
-
No-Bake Option: Transform dough into no-bake treats by chilling it and rolling into bite-sized balls, coating with melted chocolate for a quick and easy indulgence.
-
Extra Chocolate: Use an assortment of chocolate chips—dark, milk, and even white—for a gourmet touch that’s sure to impress.
-
Spicy Kick: For a subtle heat, sprinkle a dash of cayenne pepper or espresso powder into the dough to elevate the chocolate’s flavor.
If you’re interested in gluten-free options, you might also want to check out my gluten-free chocolate chip cookies for even more tasty alternatives!
Classic Chocolate Chip Cookies Recipe FAQs
What should I look for when selecting chocolate chips?
When choosing chocolate chips, opt for high-quality chocolate that suits your taste. Look for brands that use real cocoa butter and have few additives. If you’re aiming for the classic recipe, semi-sweet or bittersweet chocolate chips are excellent choices. If you’re going dairy-free, ensure the package clearly states it doesn’t contain milk products.
How should I store leftover cookies for maximum freshness?
To keep your cookies at their best, store them in an airtight container at room temperature for up to 1 week. You can also layer parchment paper between each cookie to prevent sticking. If you live in a warm climate, consider refrigerating the cookies, which will help maintain their freshness for up to 2 weeks.
Can I freeze cookie dough? If so, how?
Absolutely! Freezing cookie dough is a fantastic way to have freshly baked cookies at a moment’s notice. First, scoop and shape the dough into balls, placing them on a baking sheet lined with parchment paper. Freeze for 1-2 hours until solid. Transfer the frozen dough balls to an airtight container or freezer bag and store for up to 3 months. When you’re ready to bake, just add a few extra minutes to the baking time, and you’ll have warm cookies in no time!
What if my cookie dough seems too dry or crumbly?
If you find your cookie dough too dry, it might be due to a lack of moisture or over-measuring flour. Start by adding a tablespoon of milk or water, mixing gently until the dough comes together. Be careful not to overmix; you want to keep that soft, chewy texture. If you’re using gluten-free flour, it can sometimes absorb more moisture, so adjust accordingly.
Are there any allergy considerations for this recipe?
Definitely! This classic chocolate chip cookie recipe can be easily adapted for various dietary needs. For a gluten-free version, substitute regular all-purpose flour with a gluten-free flour blend. If you’re avoiding dairy, use coconut oil instead of butter and opt for dairy-free chocolate chips. Always double-check ingredient labels for any hidden allergens, especially if you’re baking for others.
Loaded Bravas Tots: Crispy, Cheesy, and Oh-So Irresistible!
Ingredients
Equipment
Method
- Preheat the oven to 425°F (220°C). Spread the frozen tater tots on a baking sheet and bake according to package instructions, usually 20-25 minutes, until golden and crispy.
- Once the tots are done, remove from the oven and sprinkle shredded cheddar cheese on top. Return to the oven for an additional 5 minutes, or until the cheese is melted.
- Drizzle with brava sauce and dollop sour cream on top. Garnish with chopped green onions before serving.
- Allow to cool for 5 minutes before serving to prevent burns.
Leave a Reply